CNC Week06
how to make (almost) anything
Computer Controlled Machining
Week 06
This week’s assignment was to “make something big” using the CNC Shop Bot and OSB (oriented strand board).
Full disclosure up front, my design failed miserably, yet, I learned a lot along the way. While guilty of not attempting a redesign (yet), I turned Week 06 around by writing a detailed final project proposal and updating my site.
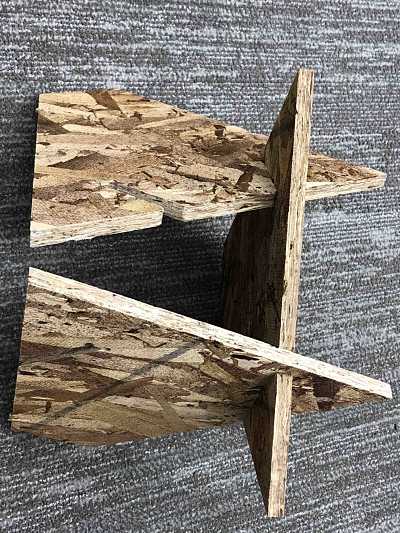
I thought I was being wiser this week by first choosing a CNC furniture design online then doing a crackers’ box mockup before attempting anything in Rhino. While I meticulously measured the OSB wood and worked precisely in Rhino, I never generated my 2D pieces to 3D and this is where I went wrong. While the slits slid into place post milling, minus one pair due to the OSB’s irregularities, even if all slid properly, my third triangle wouldn’t have reached the first.
Learning to design in Rhino, especially in 2D, reminds me of learning choreography off a monitor. When learning from a video, the dancer on screen is facing the audience (me). When she moves towards the right of the screen, I must record in my mind moving to the left. Not only is she not mirroring my orientation, but the face to face relationship is opposite to learning from behind the demonstrator in the studio. It took me many years in college before my brain could effortlessly translate choreography from screen to studio. I feel like I am a freshman again, trying to rewire my brain to interpret the Rhino interface as (real) 3D space.
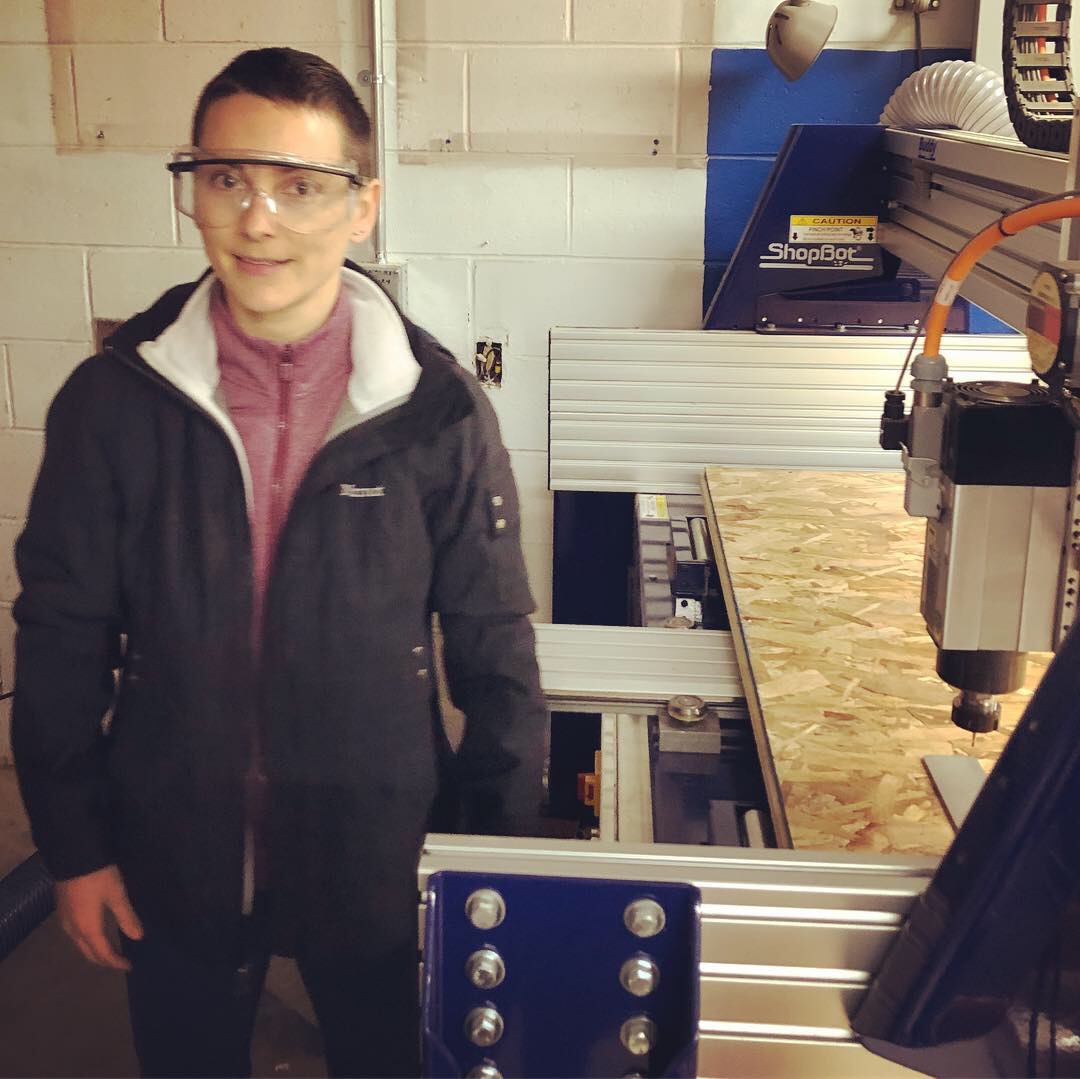
On a more victorious note, working on V-Carve to setup the tool paths and on the Shop Bot, with Rob’s adult supervision of course, felt surprisingly effortless. The logic was the same as the SRM-20 mill that we used for printing our PCB’s. Though my design failed, I was very satisfied with how the cutting came out.
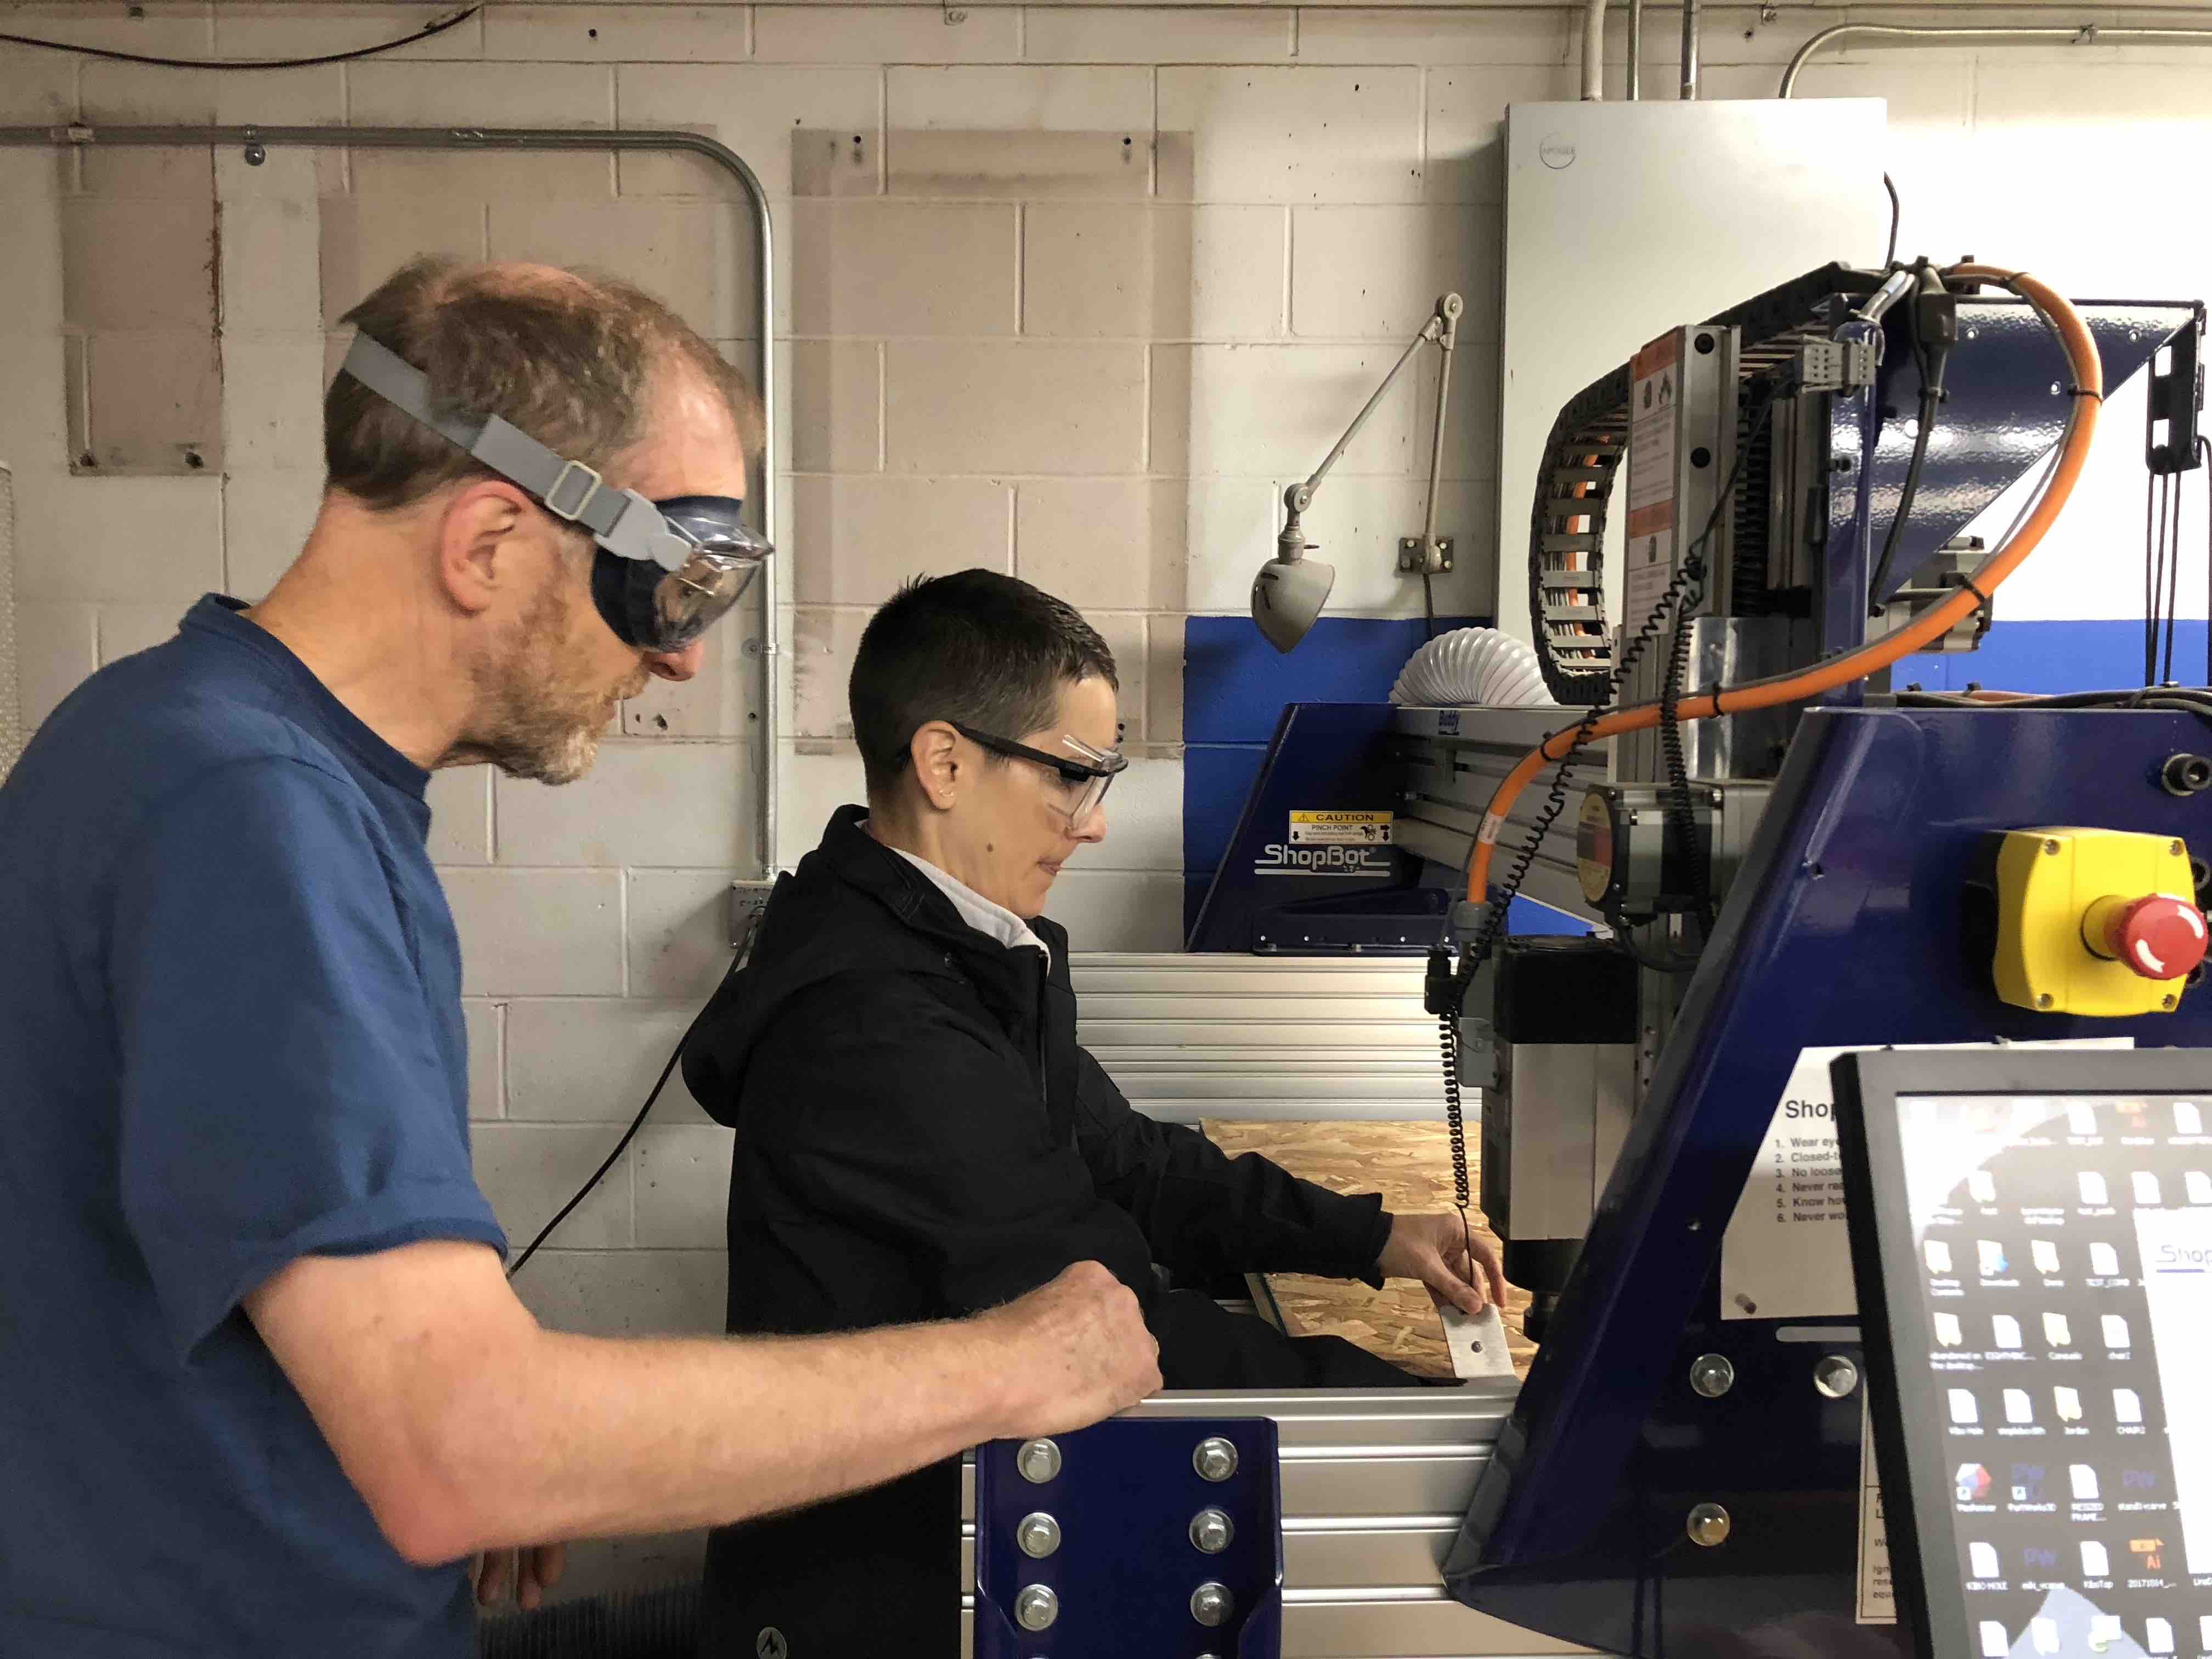
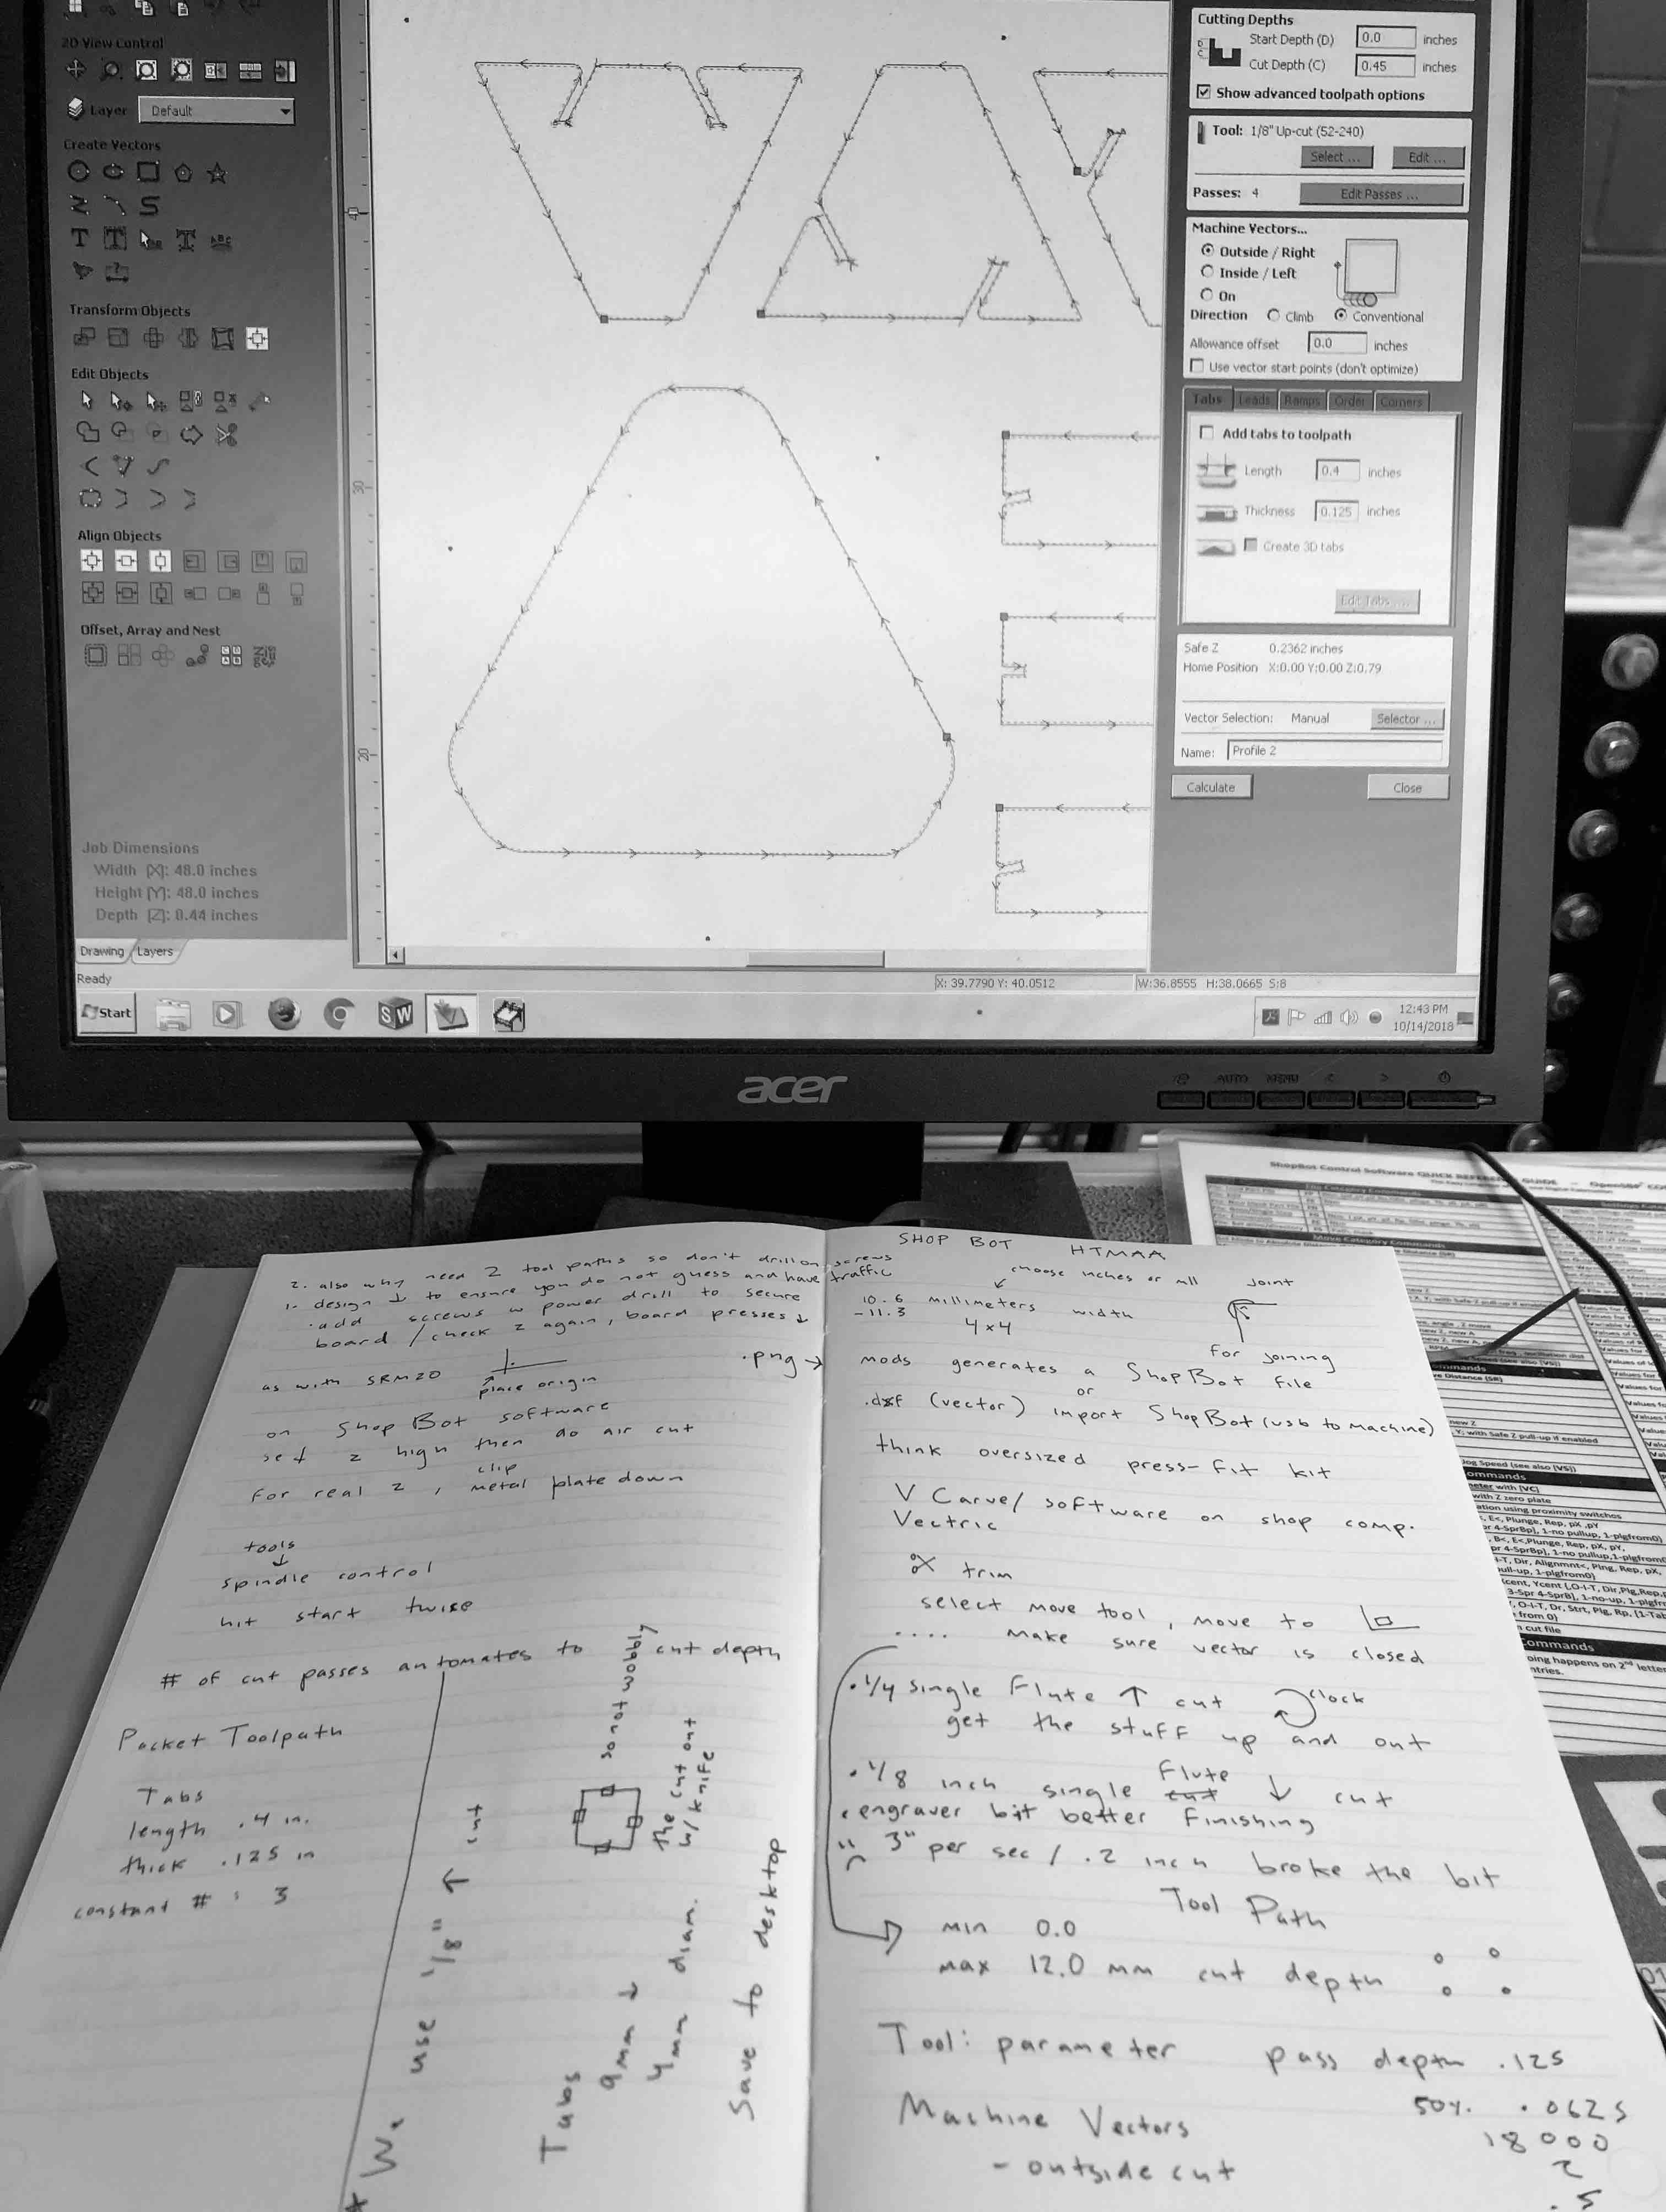
These settings in particular were golden: 1/8” Up-cut for the end mill, .125” pass depth, 50% step-over, spindle speed 18000 r.p.m, 2” feed rate, and OSB thickness plus 1mm for cut depth. For the tabs, 9mm depth, 4 mm length, and three per object worked beautifully.
Lastly, here are a few excellent reminders for ensuring CNC success:
Save the drill hole cutting path file independent from the normal cutting path so that you can run it first as well as put screws in before cutting your entire design. This does two things: it makes sure you no not put a screw in a cutting path and it allows you to secure your board firmly to the sacrificial layer so it doesn’t wobble while the design is being milled. Using the ShopBot computer control for x and y with z raised, trace the entire boarder of your OSB to make sure all edges are included in the end mill’s range. Then, as a double check, run an “air cut” keeping z raised to make sure all cutting paths are within bounds.
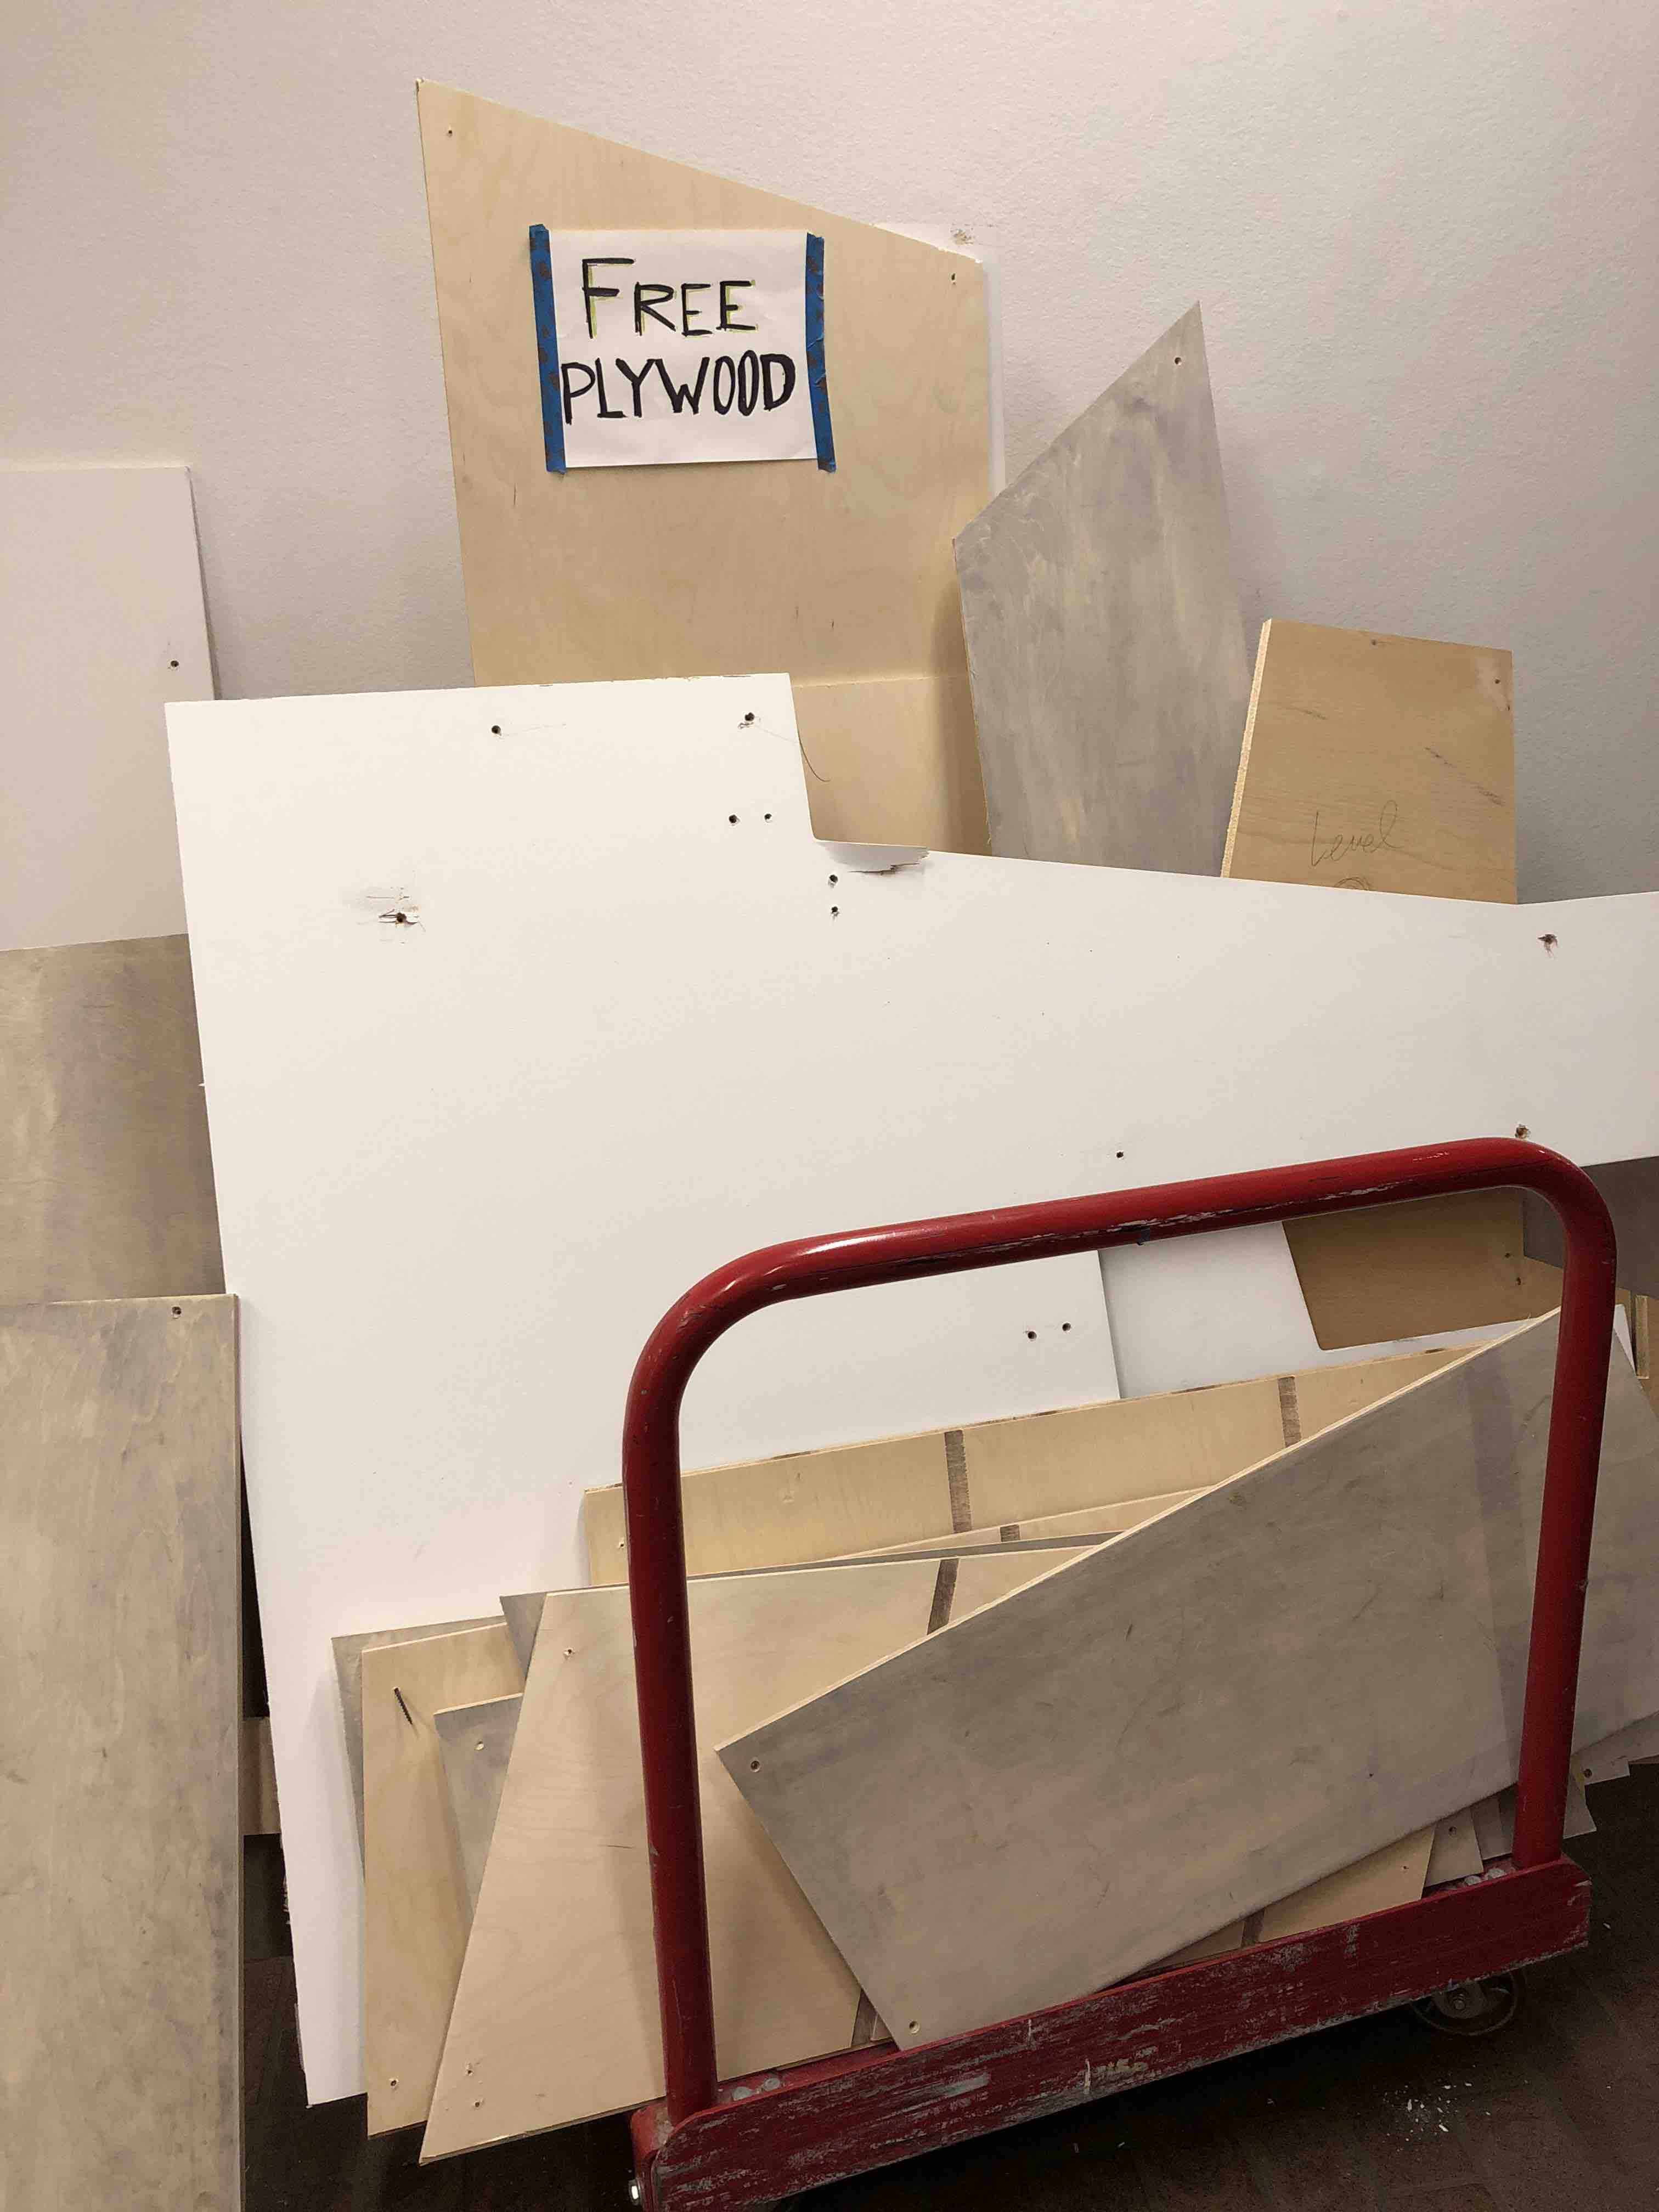
Cheered up by my HTMAA classmates, I decided to take a step back and call it a day. But wait, what’s that I see, “Free Plywood” at the GSD? #Gottawannit #Notover #Tobecontinued
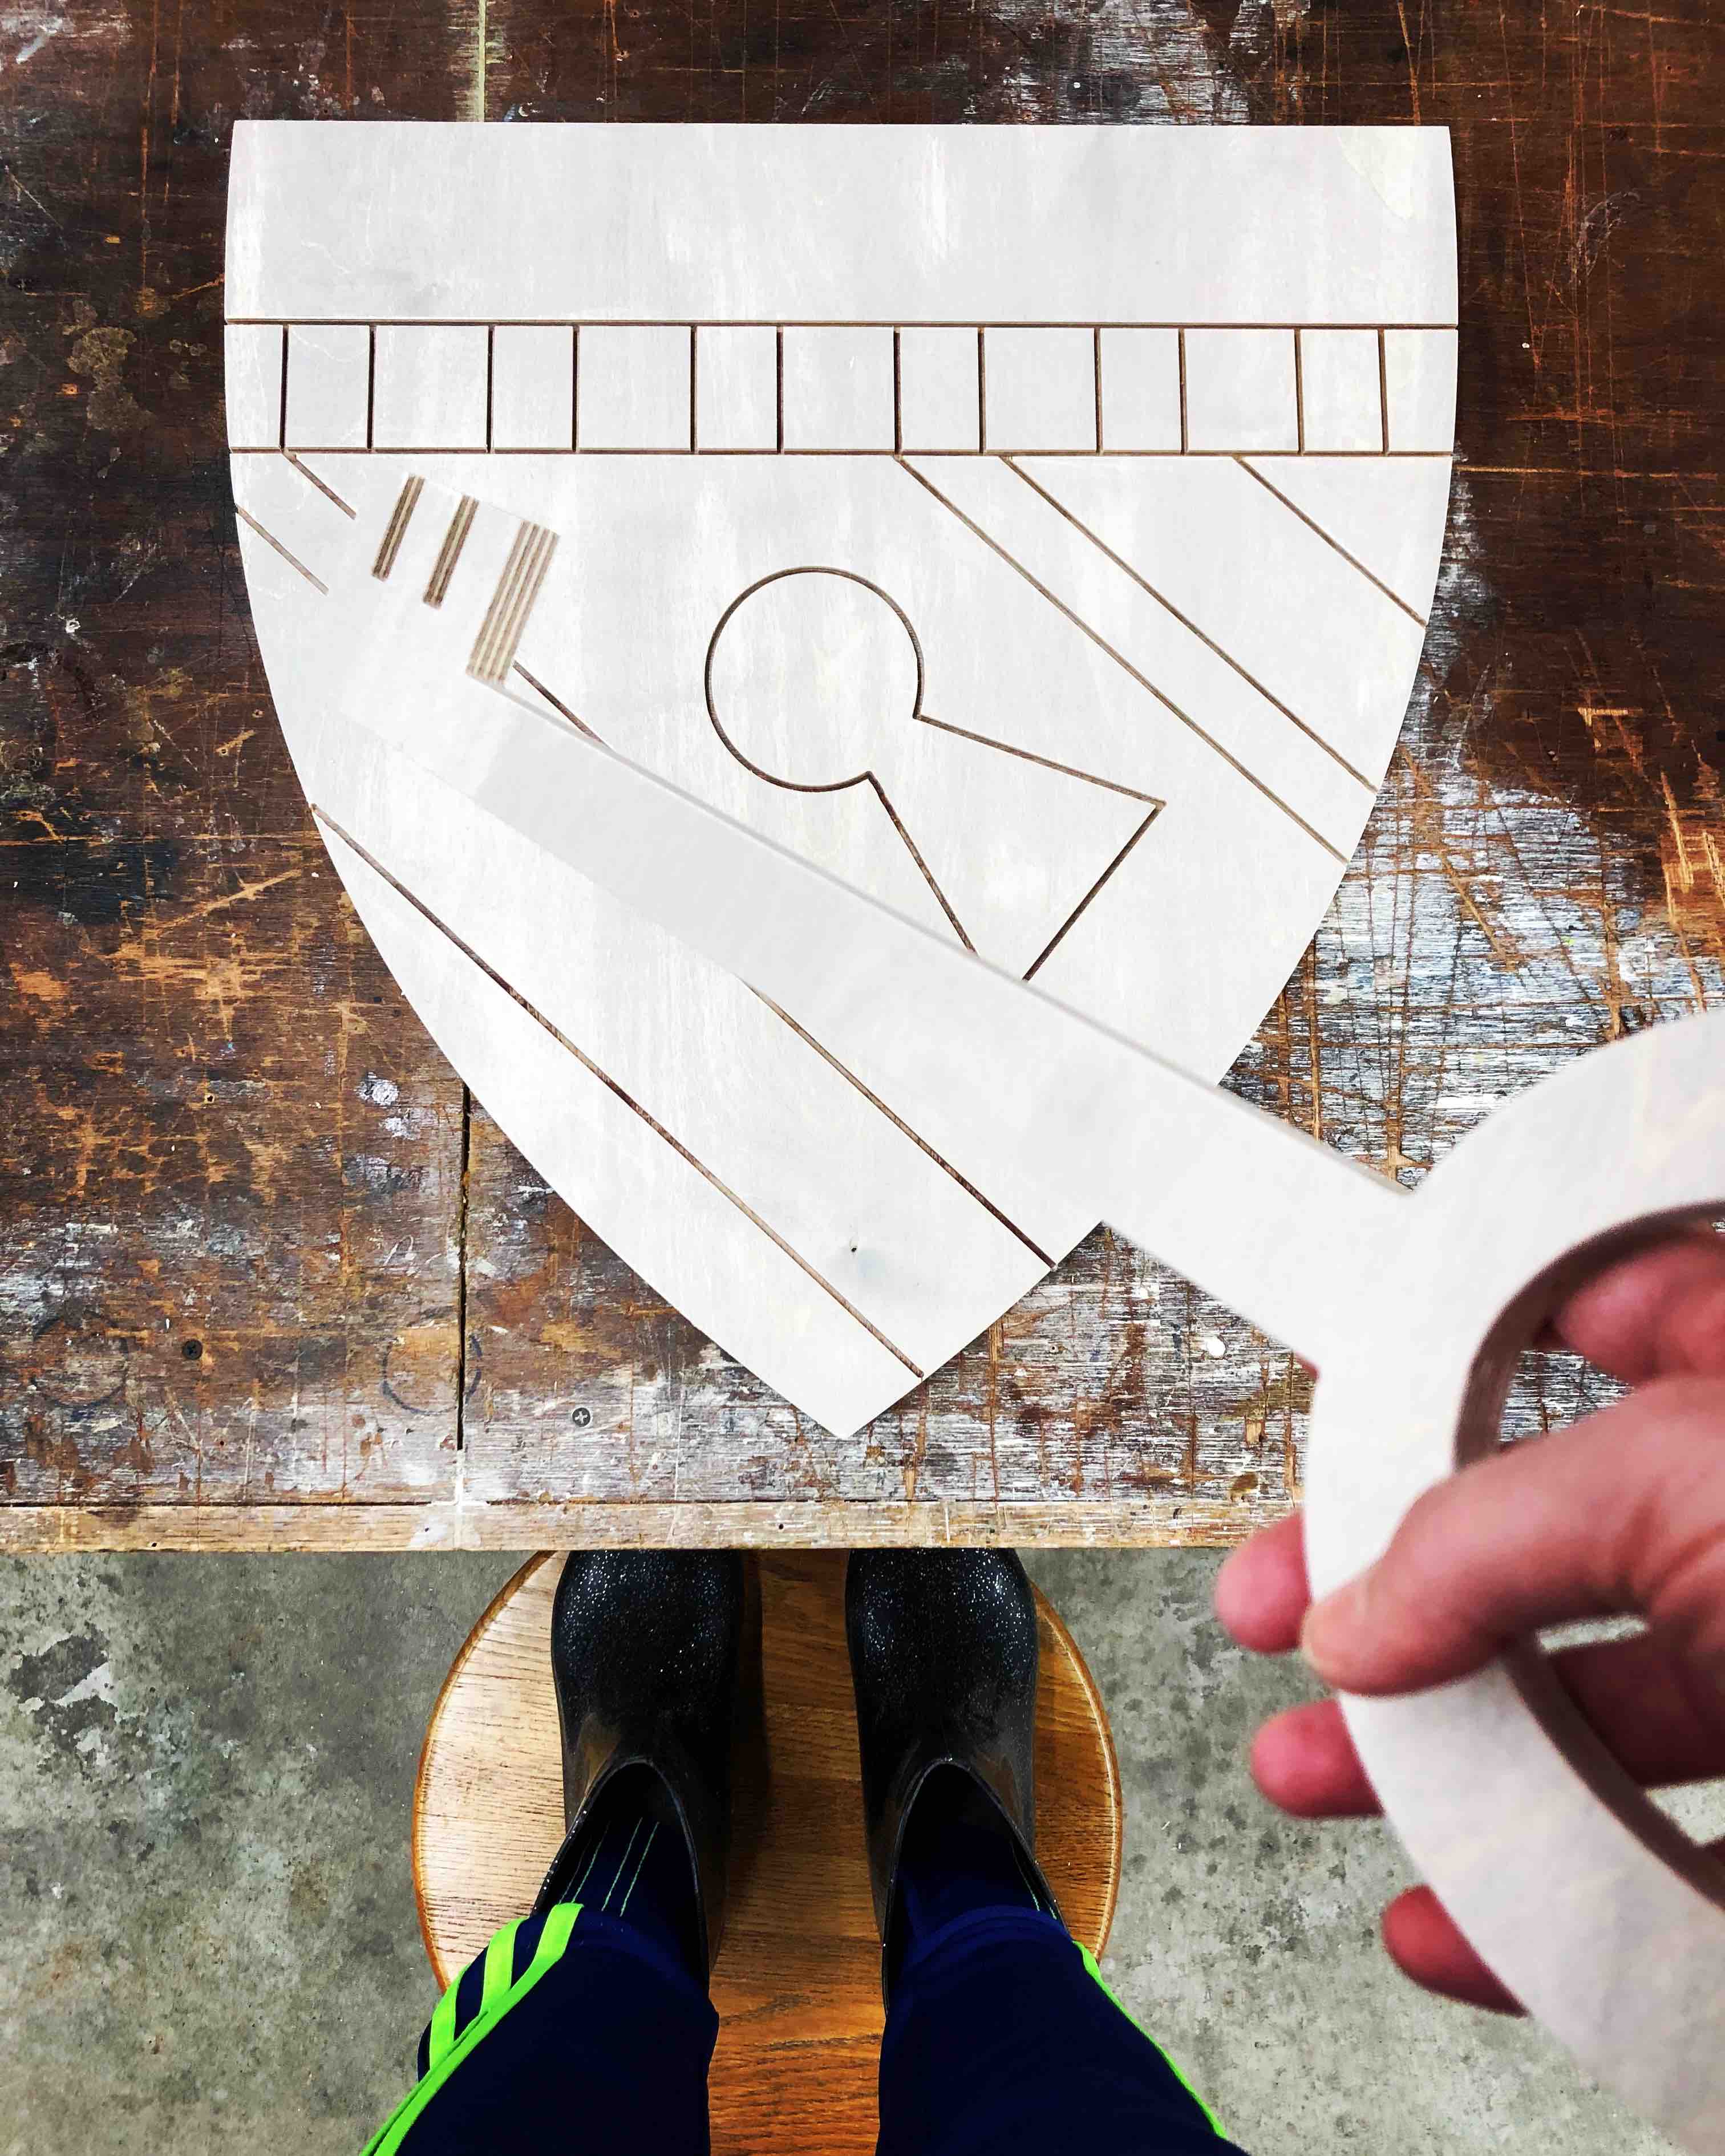
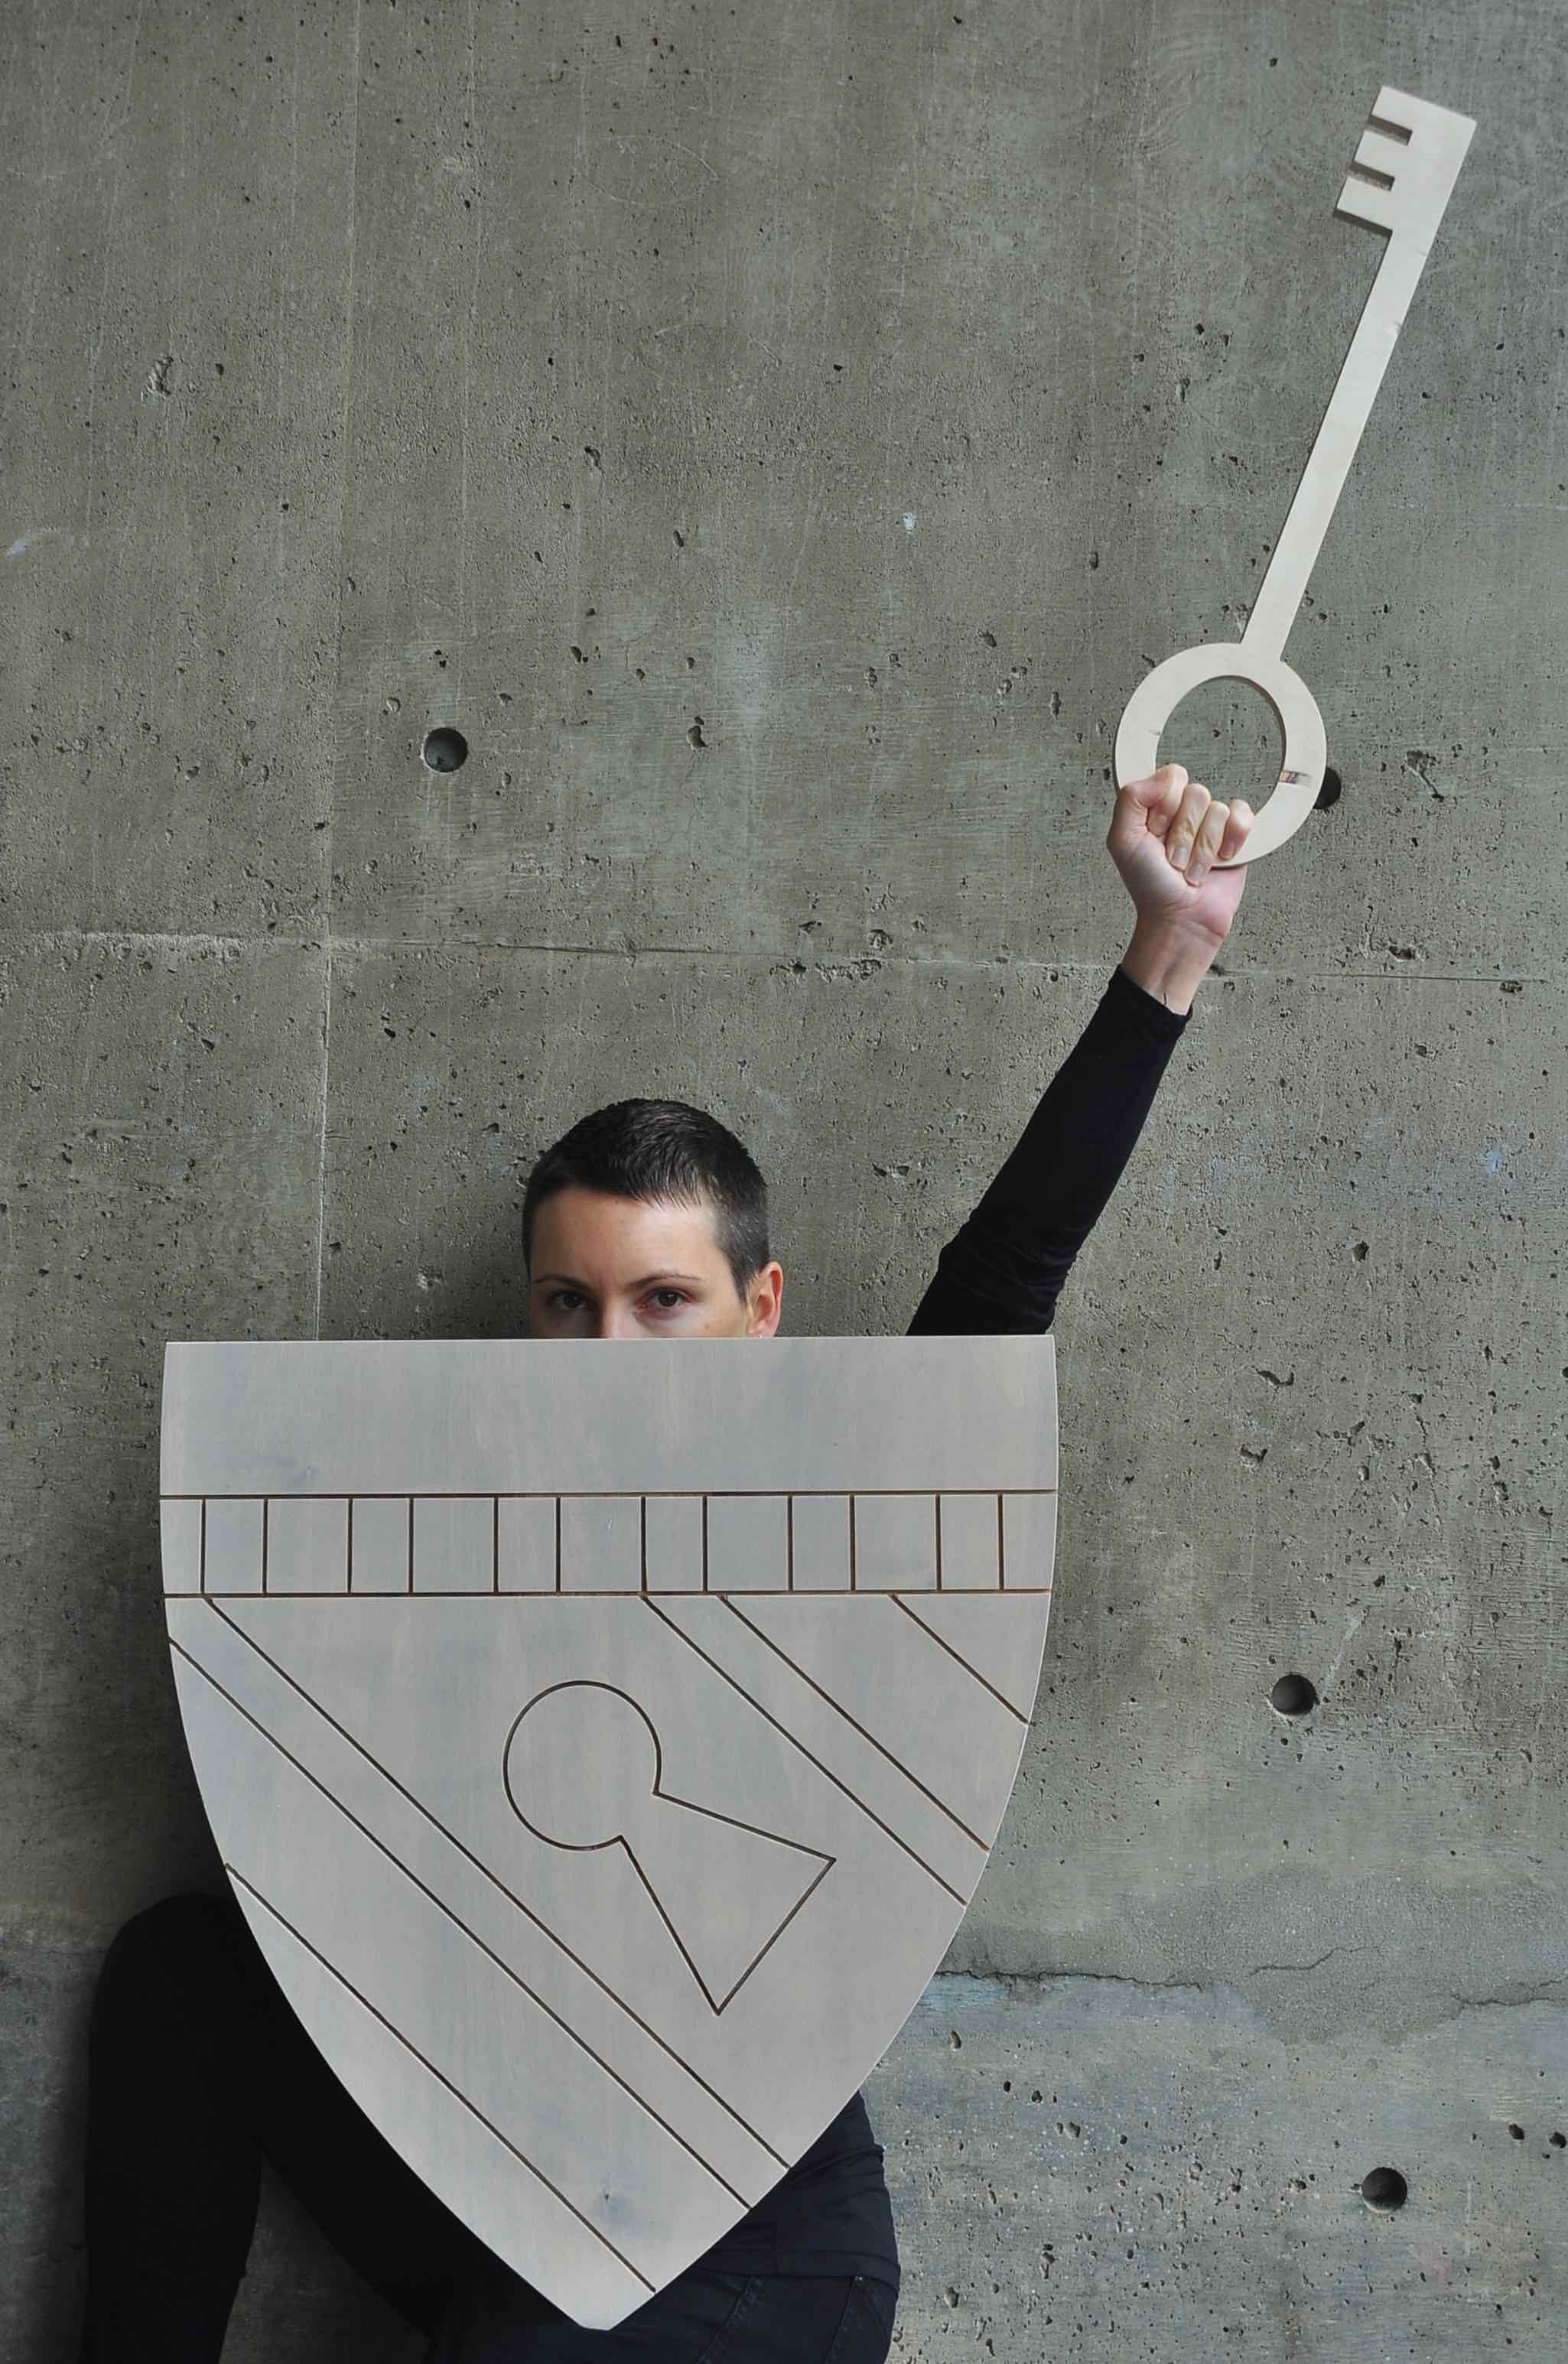
Two weeks later, I made my peace with the CNC ShopBot after my failed table design. This time around, I decided to work in 2-D and with symbolism. Essentially, I am using an adapted Harvard GSD shield and key as weaponry, shifting their meaning from pride to defensiveness. I want to speak to how most feel blocked by elite institutions. I certainly felt “rejected” before I even applied. It is less an institutional criticism and more an attempt to illuminate how traditional symbols might be perceived in unintended ways.