Chris Lloyd
MAS.863/4.140/6.943
How To Make (almost) Anything
2019
Week 4: 3D scanning and printing
This week we are exploring additive manufacturing processes as well as 3D scanning. The benefits of 3D printing is the capability to do “net-shape” fabrication, which eliminates waste. Also, PLA (polylactic acid) that is used in many FDM (fused-deposition molding) printers actually made from renewable resources instead of petrochemicals. Other benefit of additive processes is to build unique forms that can't be accomplished with subtractive manufacturing.
However, there are many challenges associated with 3D printing, mainly that it often fails. Also, there is limited resolution, especially with FDM printers and unique design rules to consider due to the properties of 3D printed material. I'm going to explore those design rules and properties this week!
Test Print
In the architecture shop, we used a Sindoh 3dwox1, and FDM printer that comes with a pretty comprehensive slicer / printing software. It was pretty similar to Prousa, except the Sindoh only uses one PLA filament size (1.75mm).
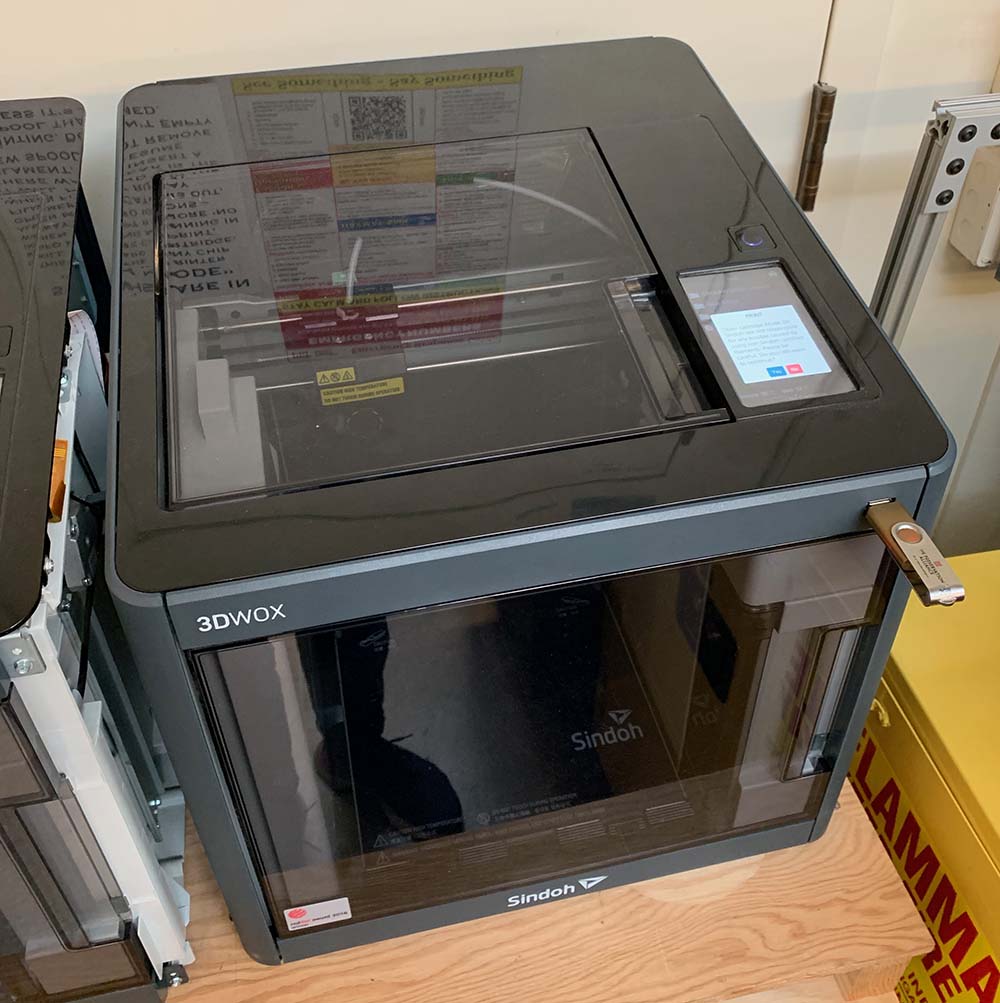
In the orientation, I learned that Sindoh printer cartridges also come with a chip that is supposed to tell the device when the filament runs out. However, this has been removed because HTMAA class had experienced about 80% error rate. Because of this, the Sindoh printer will remind the user that it is in “open mode” several times before moving forward with the print process, which can be ignored.


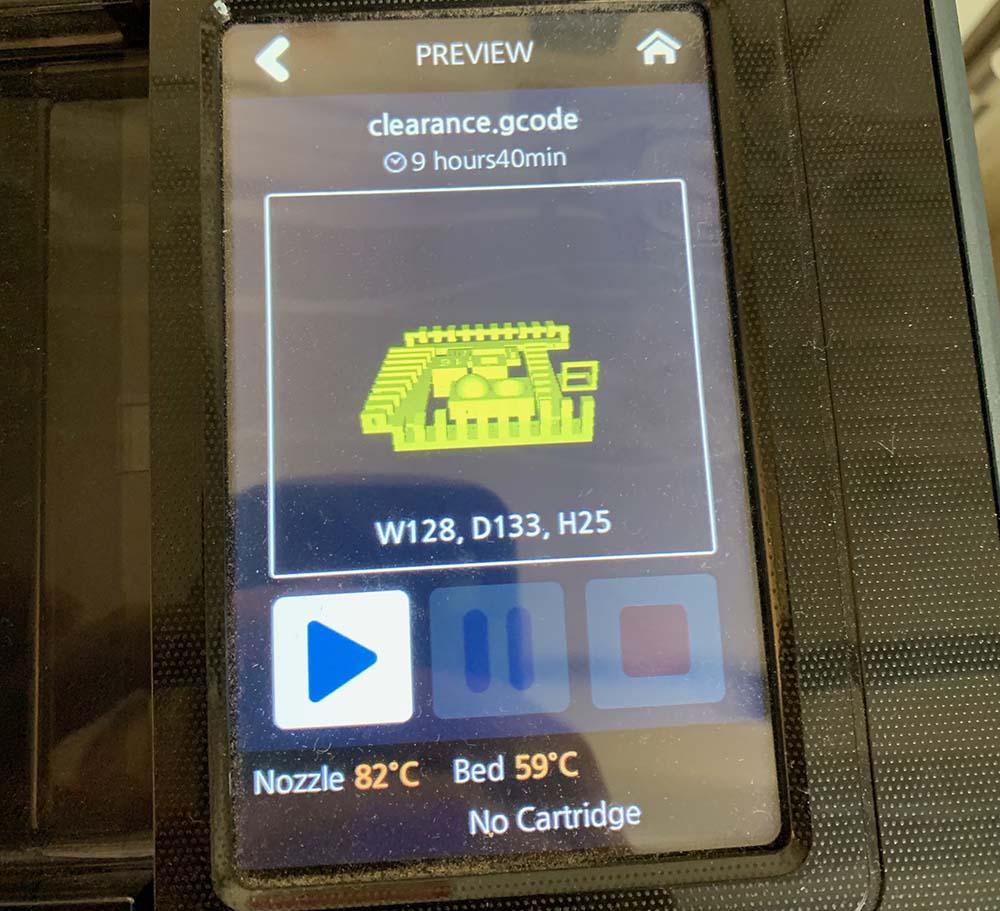
First, I needed to test the design principles to test the limits of the Sindoh printer and filament size as it relates to print resolution, minimum addressable volume, I printed the following files, which Sindoh organized on the printer bed. I’m not sure if this is done using an algorithm to increase printer productivity.
- overhang FCStd jpg stl
- clearance FCStd jpg stl
- angle FCStd jpg stl
- free overhang FCStd jpg stl
- anchored overhang FCStd jpg stl
- wall thickness FCStd jpg stl
- dimensions FCStd jpg stl
- anisotropy FCStd jpg stl
- surface finish FCStd jpg stl
- infill FCStd jpg stl
This part was really challenging… First of all, I put all of the components on the same bed and the 3d printer seemed to not be able to handle it. It stopped for some reason and I can’t seem to figure out why.
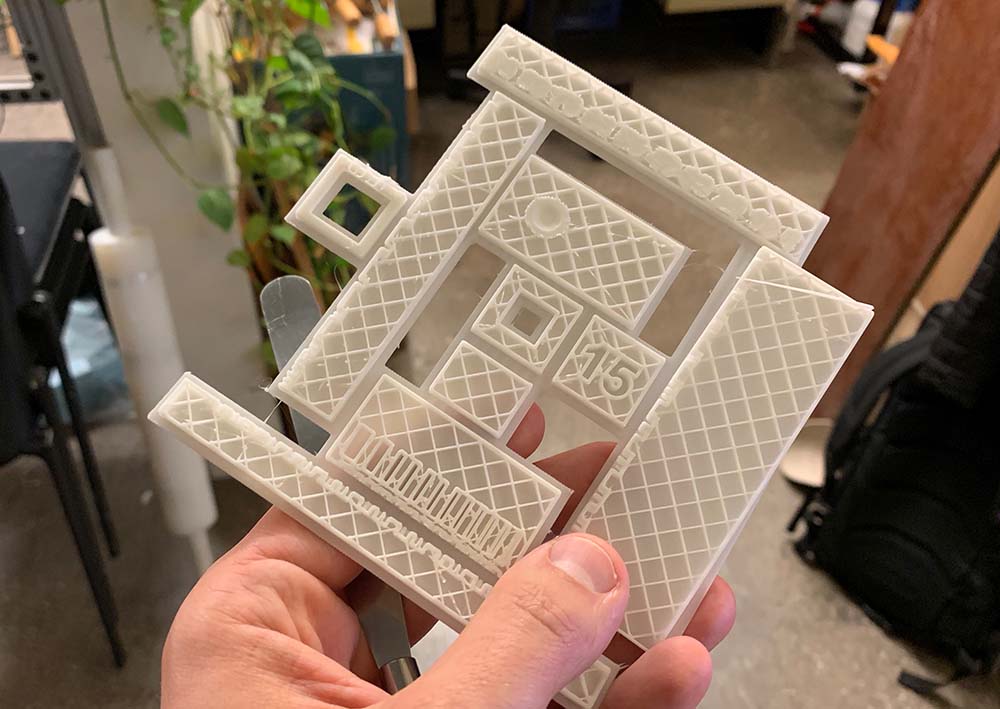
Additionally, I had issues printing some of the individual pieces, which made me wonder if I would have better luck on another 3d printers.

This was getting a little stressful as I burned a lot of time printing these test objects, so I went over to the petting zoo pop up on campus to lower my stress level.
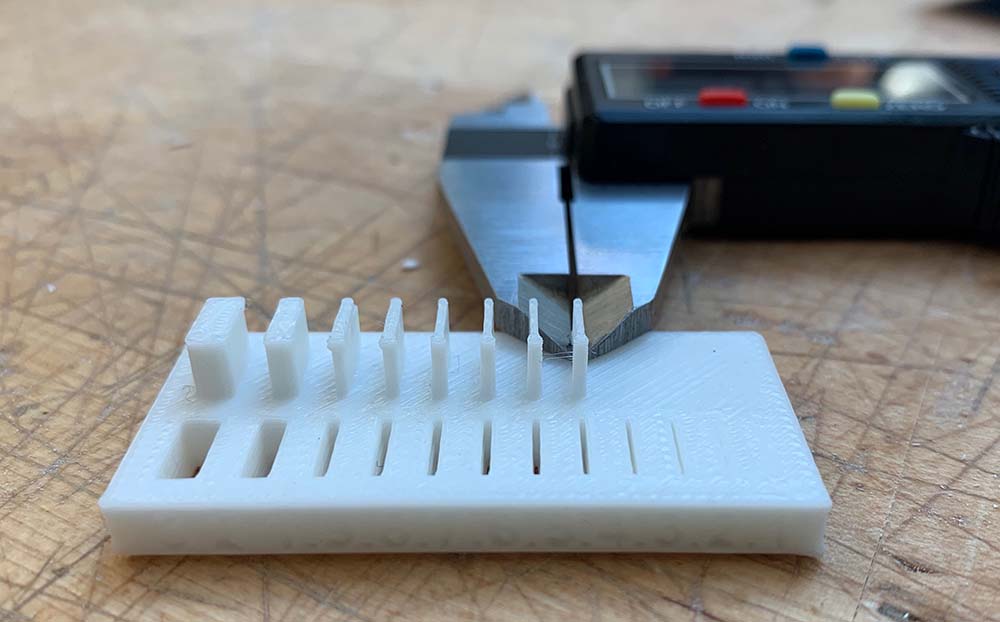
I was able to print off some of the test pieces successfully to better understand the design rules of this printer as it relates to wall and gap thinness. The minimum viable amount of print is .7 millimeters thick, however the printer will still print walls as thin as 0.5 mm thick in the g-code (but results in .7mm physical thickness. It will print a smaller gap--around .3 mm.

Printing a Non-Parametric Design
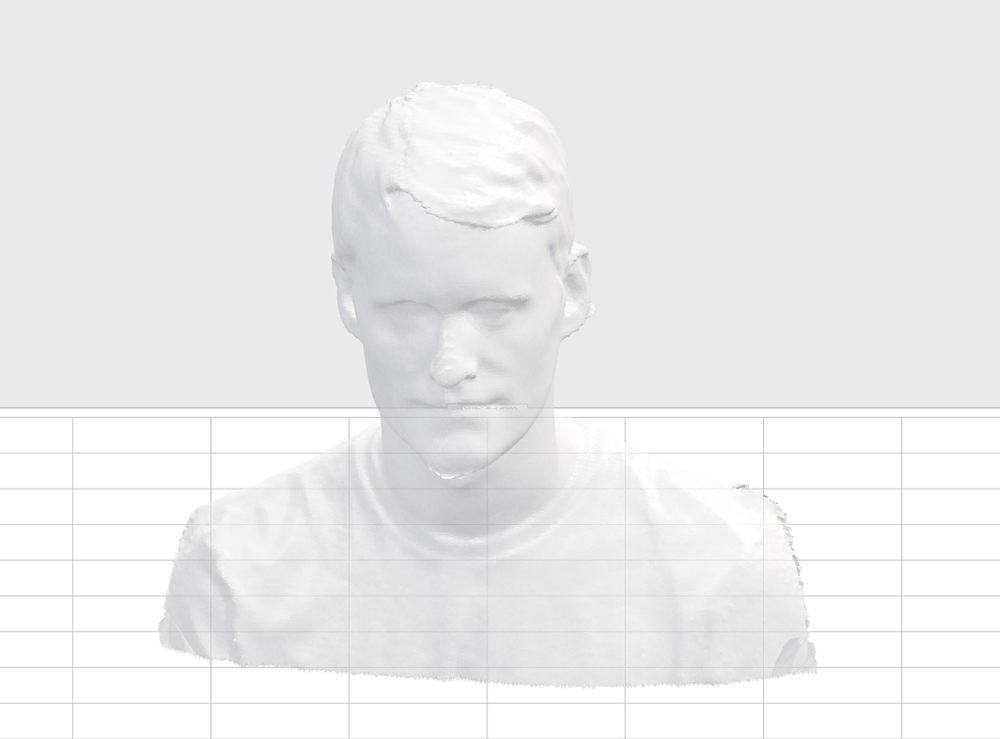
I decided to use the scanner to create a bust of my head. I partnered with a lab-mate, Morgan to exchange the scanning process.
When doing this scan, I definitely ended up in the uncanny valley. The scan had an easier time capturing my profile that the front of my face, likely because there the there is less differentiation un the depth of the scan on the sides.
However, when you take away the color, the bust looks less frightening and demonstrates the relatively-high accuracy of the scanner.
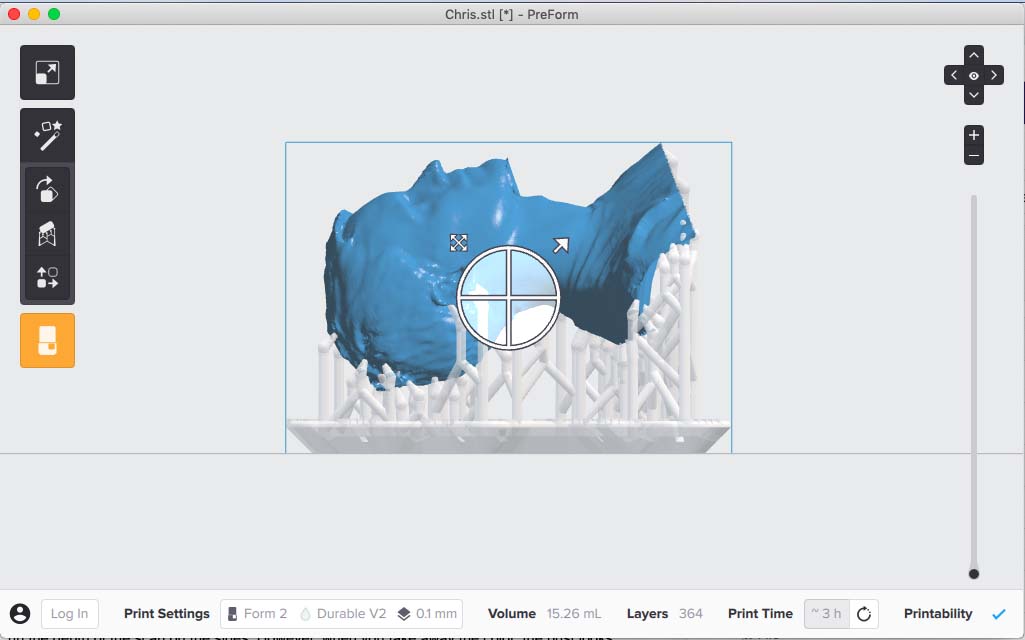
The next step will be to actually print the bust. I am interested in trying stereolithography (Formlabs 2) to increase the accuracy of the print. This will require creating supports, which Formlabs PreForm printer will create automatically. At several orientations, the support structures were on my face, so I had to think about the orientation of the bust to ensure that the supports wouldn't touch my face and potentially disfigure the design.
After having many issues with the Sindohs, I decided to focus on another print and used a