computer controlled cutting
-----------------------------------------------------------------------
vinyl cutting
this wasn't the first time that i had cut vinyl before, i have once experimented with a x-acto knife and sheet of vinyl to create some custom stickers for fun. i can for sure say that the vinyl cutter was a much easier and faster way to cut out a design.
i started in an iPad app called Procreate, which is similar to Windows Gimp software, where i set my resolution and size from the beginning of the sticker size i wanted to create, which made it easier when inputting the image into the mods. i drew the image in black leaving a transparent background and then exported the image as a .png.
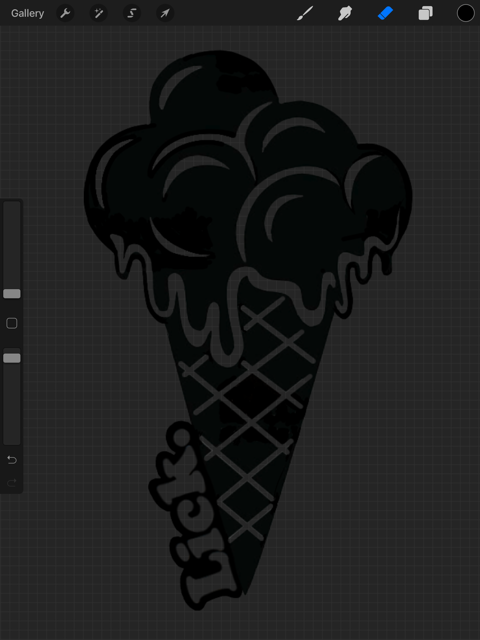
from there, i inputted the file into the Roland vinyl cutter PNG software, and toggled with the threshold, offset, and vector fit settings until i was happy with the image.
and voila!
my sticker was created!
my boyfriend and i love to make ice cream, so i post-mailed him a copy as well to enjoy (:

laser cutting
for this assignment, i decided to create a press fit kit of polygons that would be able to parametrically change the number of segments and the radius of the polygon as well as its corresponding angle dimensions of and cutout width and height within the connector pieces.


being completely new to Rhino and Grasshopper, this assignment was a mutually beneficial challenge to get accustomed to the parametric modeling software, since many of my classes are also using this software to design structural elements of buildings.
i'm still getting used to the software, so the process was a little bit more arduous and tedious for me, and could definitely use some fine tuning for efficiency, but eventually, i was able to create a file that was ready to print!
i also eventually decided on creating a 5-sided polygon with a connector piece angle of 116 degrees, since when the pieces are assembled in a certain fashion, they create a regular dodecahedron.

at the laser cutter now, i assured that the laser was in focus and the lens was clean. then, i did several test cuts (power/speed: 30/13, 30/15, 30/17, 30/19, 30/21, 30/23, 30/25, 30/27), from which i settled on 30/23 as creating the cleanest cut with no burning. the kerf was about .014 in, which i accounted for in the parametric grasshopper model before printing.
however, for some reason, i was having a lot of trouble with the setting when i opened my rhino file on the computer and tried to cut on the 30/23 power setting. these settings were simple etching into the cardboard rather than cutting through, so i had to create test rectangles on my rhino file itself and do several more test cuts (power/speed: 30/23 -- 30/55, in increments of 2 speed), of which 30/49 had the cleanest cut.
finally, i had my pieces cut! and assembled!
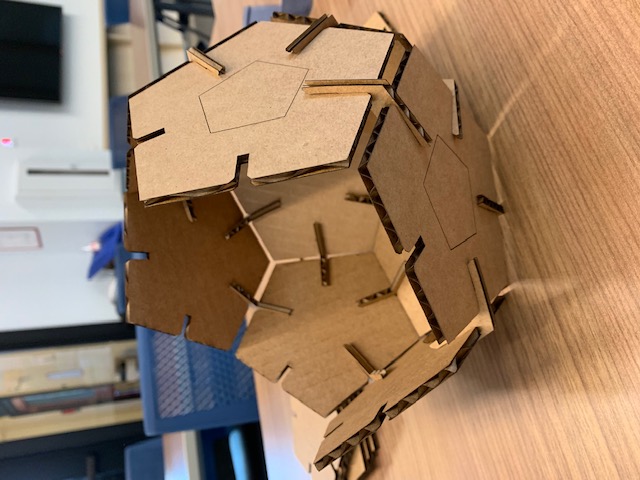

i initially i imagined this as just bookshelf decor, but now plan to put a (fake, battery operated) candle within and use it as a night light and create ambiance in the room. if i were to make it again, i would probably make more interesting geometric cutouts to create interesting patterns when the light is inserted.