embedded programming
-----------------------------------------------------------------------
milling the board
theoretically this should have been the easiest part of this week. we have milled several boards before, and i have never had any problems with the machines or the files or anything. this week, i decided to mill a new board from week 4 with some slight changes for some errors i was having. i followed the same protocol, but everything was going wrong.
some of the problems: 1) i would set the “home point” to start milling in the bottom right corner area of the machine, but regardless of what i did, when i hit “send file” the machine would mill at the “origin” point starting in the bottom left corner, 2) when the traces were being milled, only half the board was actually being cut, the rest was having a superficial layer removed that still had copper, 3) when the traces were finally milled, the 1/32 edge cut somehow went too deep and skewed my board out of the plane, 4) when the traces were done cutting, instead of picking up the mill to get it back to the origin, it dragged across the board creating a cut right across the freshly milled lines (ruined the board and traces).
example of a failed board:
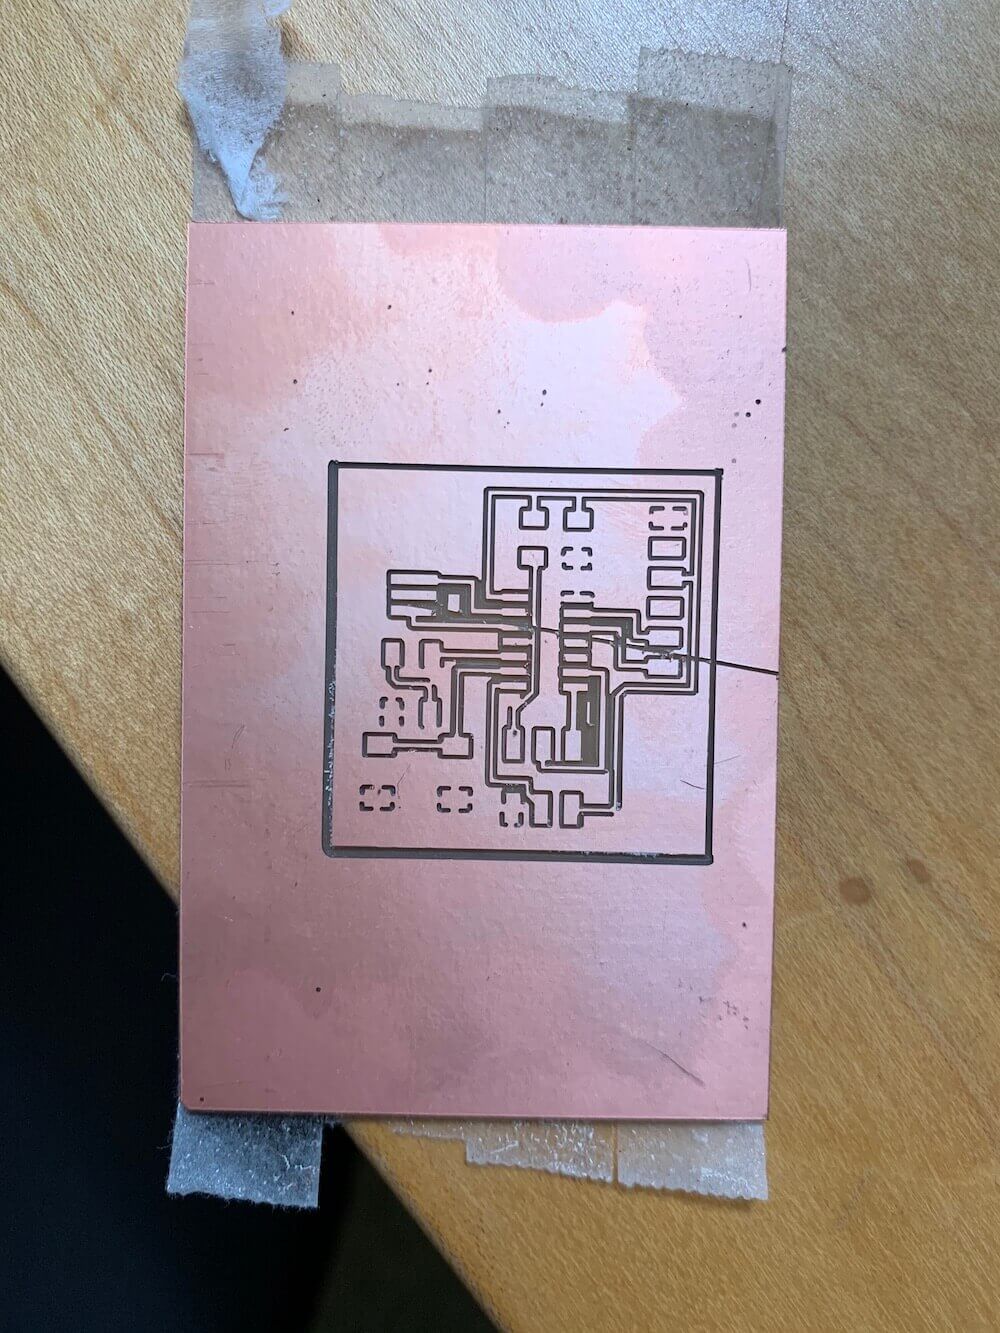
some possible solutions: 1) setting the “home” point and “origin” point as the same — i’ve never had to do that in previous milling processes, so it was weird that this had changed for me, 2) for uneven milling, ensure that the board is flat, the surface is clean of dust, and the mill bit is in tension on the surface, 3) for the skewed board, ensure that the board is very securely taped onto the surface — i’m still unsure about what exactly caused this problem though, 4) i have absolutely no idea why this happened.
for reference, all these problems occurred on the roland mdx-20 mill.
i troubleshooted these problems for many several hours with no luck, gave up, and just made a completely new eagle file (in exactly the same way), and then used the roland srm-20 mill. i was extra careful in the steps i was taking, and thankfully, it finally worked.
some random reminders for milling boards: export .png at 2000 dpi (on my computer), use line on the dimension layer to draw the board outline, use poly line to draw an outline to do a ratsnest, make sure both sides of the screws are tightened on the mdx-20 mill, do checks at each step (ex: in mods, when it gives the traces — do a sanity check that it is milling in actually the correct locations).
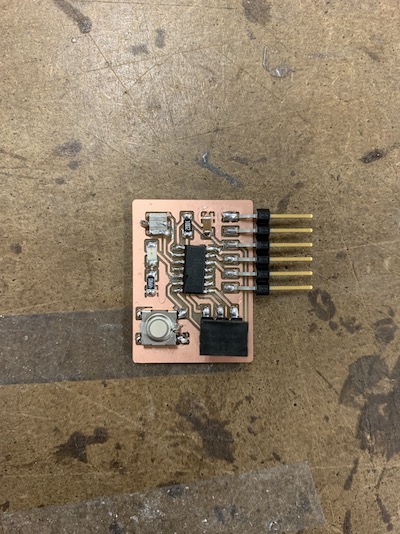
finally my board was done!
and i attached the components!
programming
i have also found that it is much harder for me to program anything in the arch shops due to their different capabilities, so for all the electronics weeks, i’ve been going to the eecs office hour sessions.
downloading necessary software steps:
- download arduino using this guide from high low tech (link)
- download the necessary drivers for the mac (link)
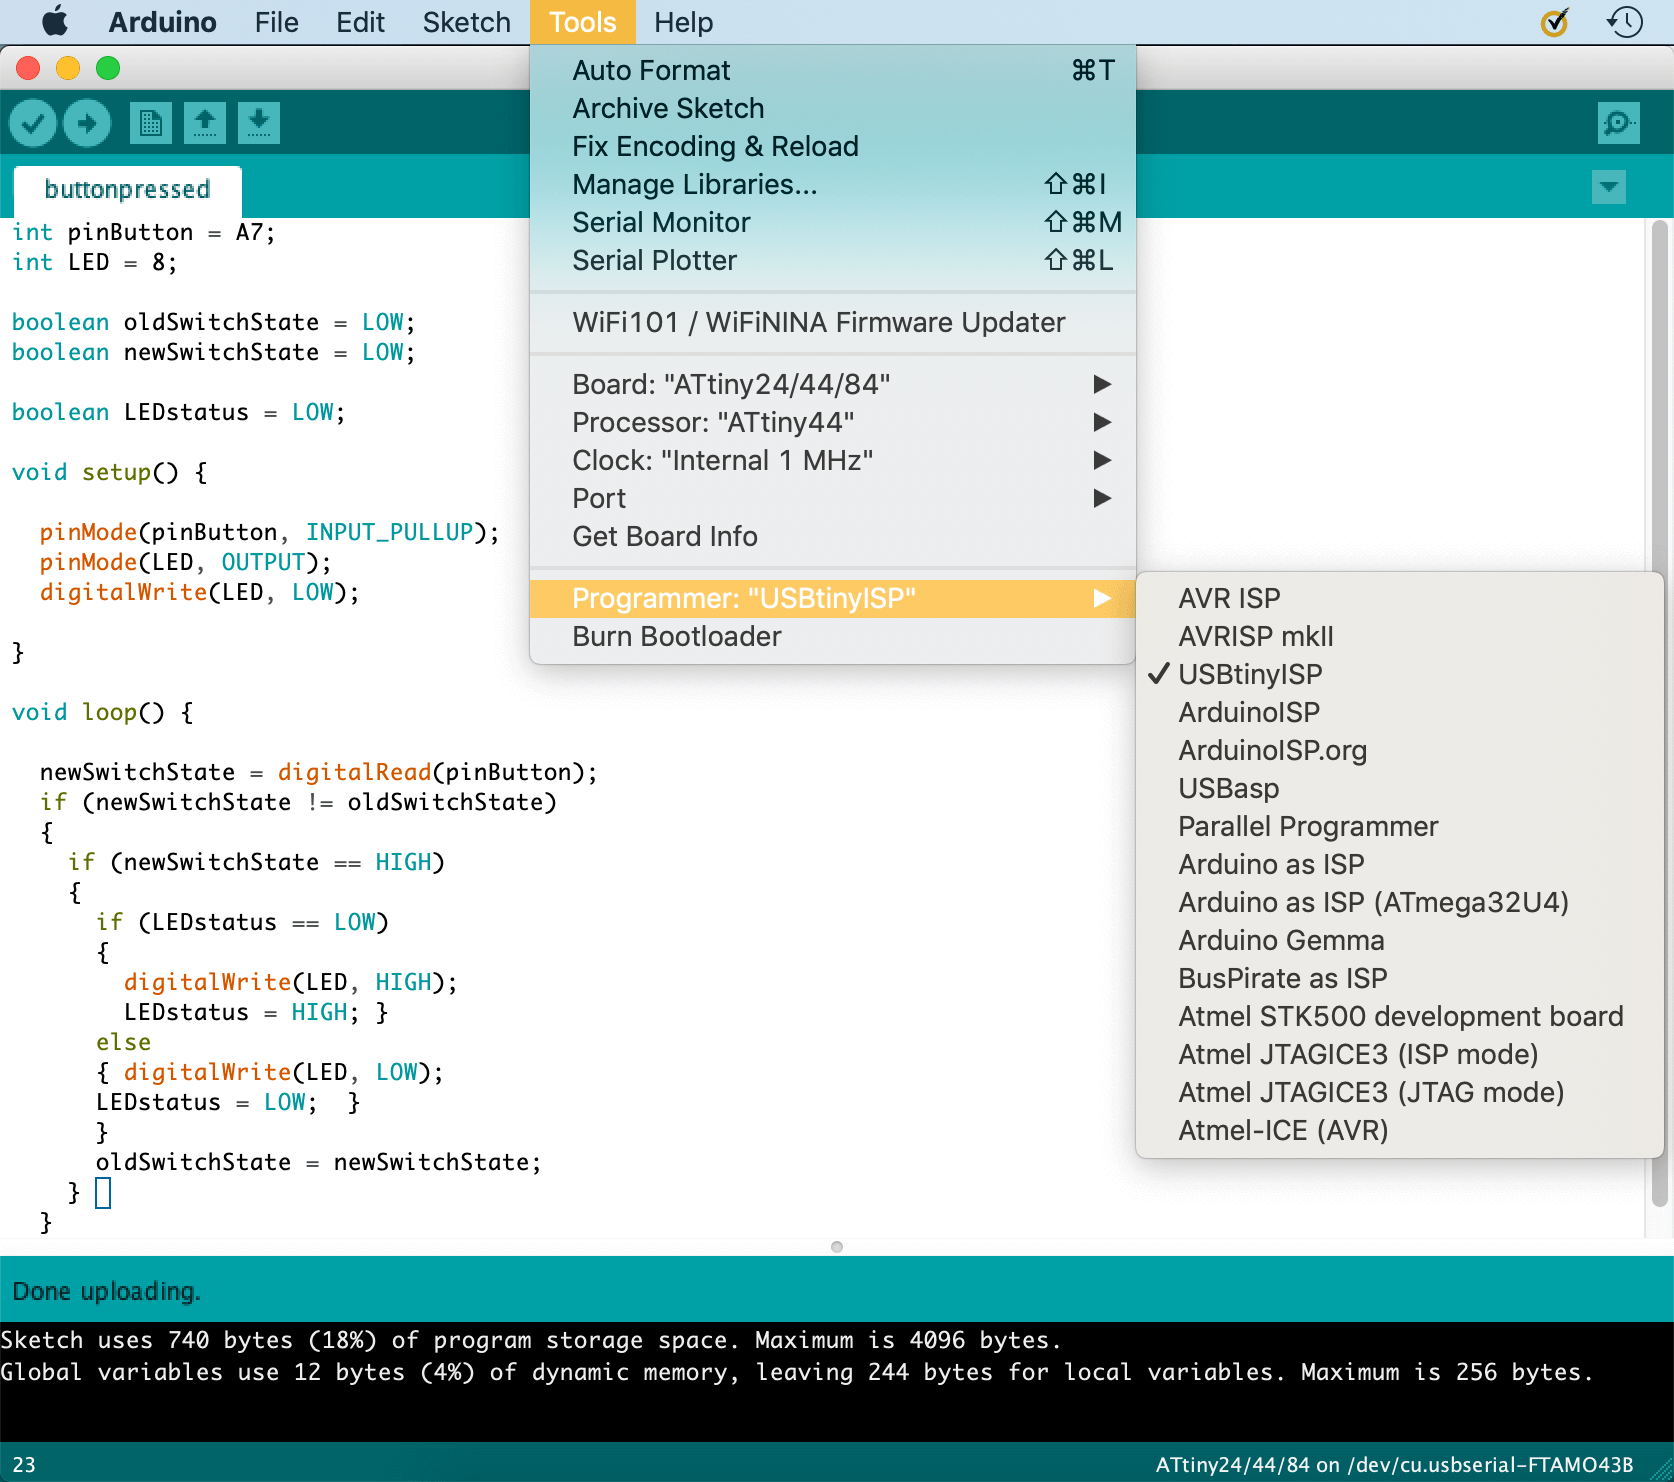
setting up arduino steps:
- set the board (ATTiny44 in this case) -- tools -> board -> ATTiny24/44/84
- the processor should be ATTiny44 -- tools -> board -> ATTiny44
- for now, we are using the internal clock -- tools -> clock -> Internal 1 MHz
- when the board is plugged in, an additional port should pop up (not pictured below) -- tools -> port -> /dev/....
- and for the programmer, i used USBTiny -- tools -> programmer -> USBTiny


arduino (very basic) how to:
- initialize pins
- set up pins
- code
- verify
- upload
to initialize the pins in arduino, i used the graphic below to see which traces connected to the objective pins. so for example, my button connected to the A7 arduino pin and my led connected to the 8 arduino pin.

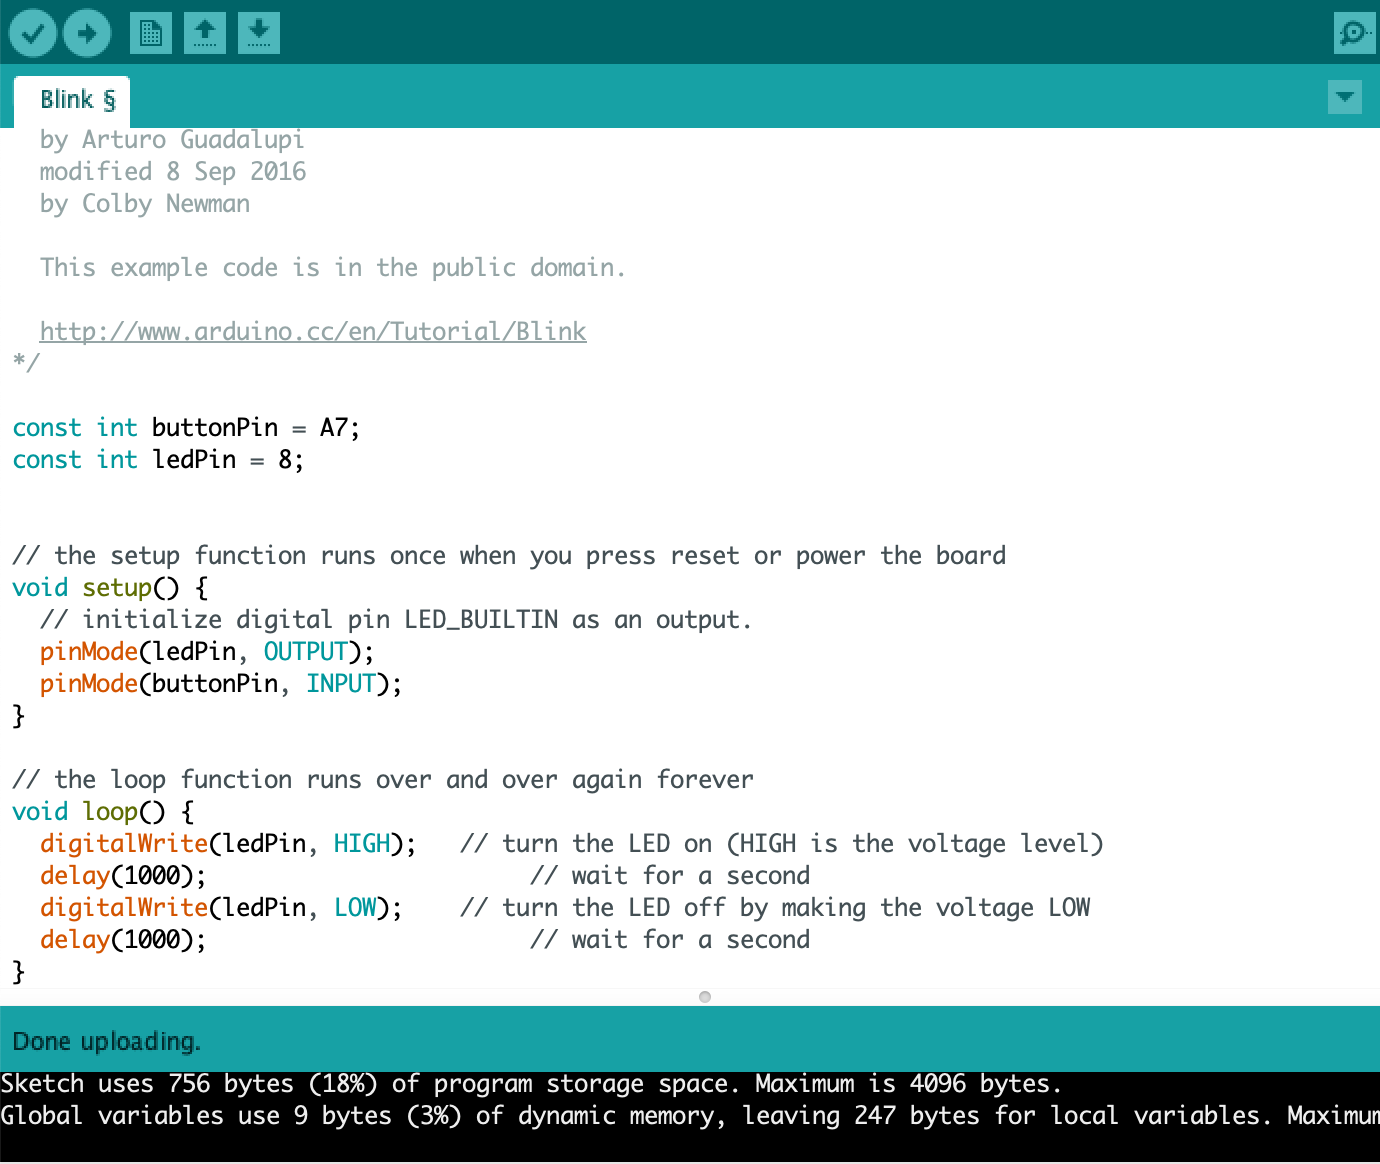
the first code i ran was the example Blink code that Arduino already had in its inventory. and it blinked every second!
the code:
blink video:
the next code I ran was an attempt at having the led turn on and off at the push of a button. i suceeded in getting the led to respond to the touch of the button, but it wasn't staying on or off. it would stay on as long as i was pressing the button, and then when released, the led went out.
the code:
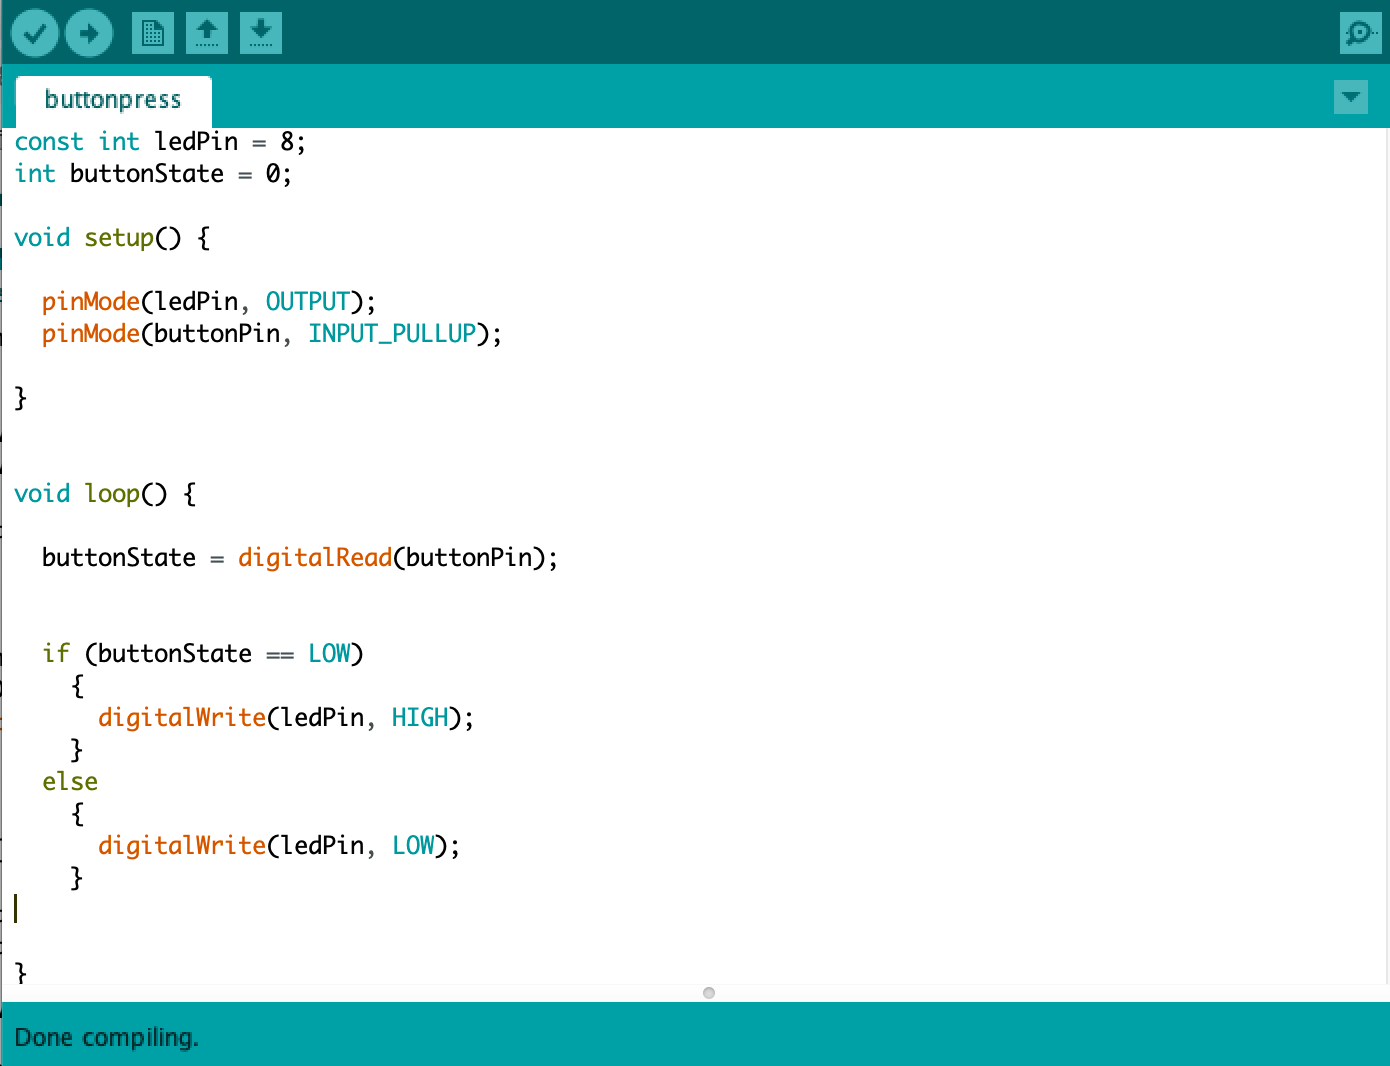
led on only when pressed video:
the last code that i ran this week was an attempt (and success!) at getting the button press to keep the led on or off.
the code:
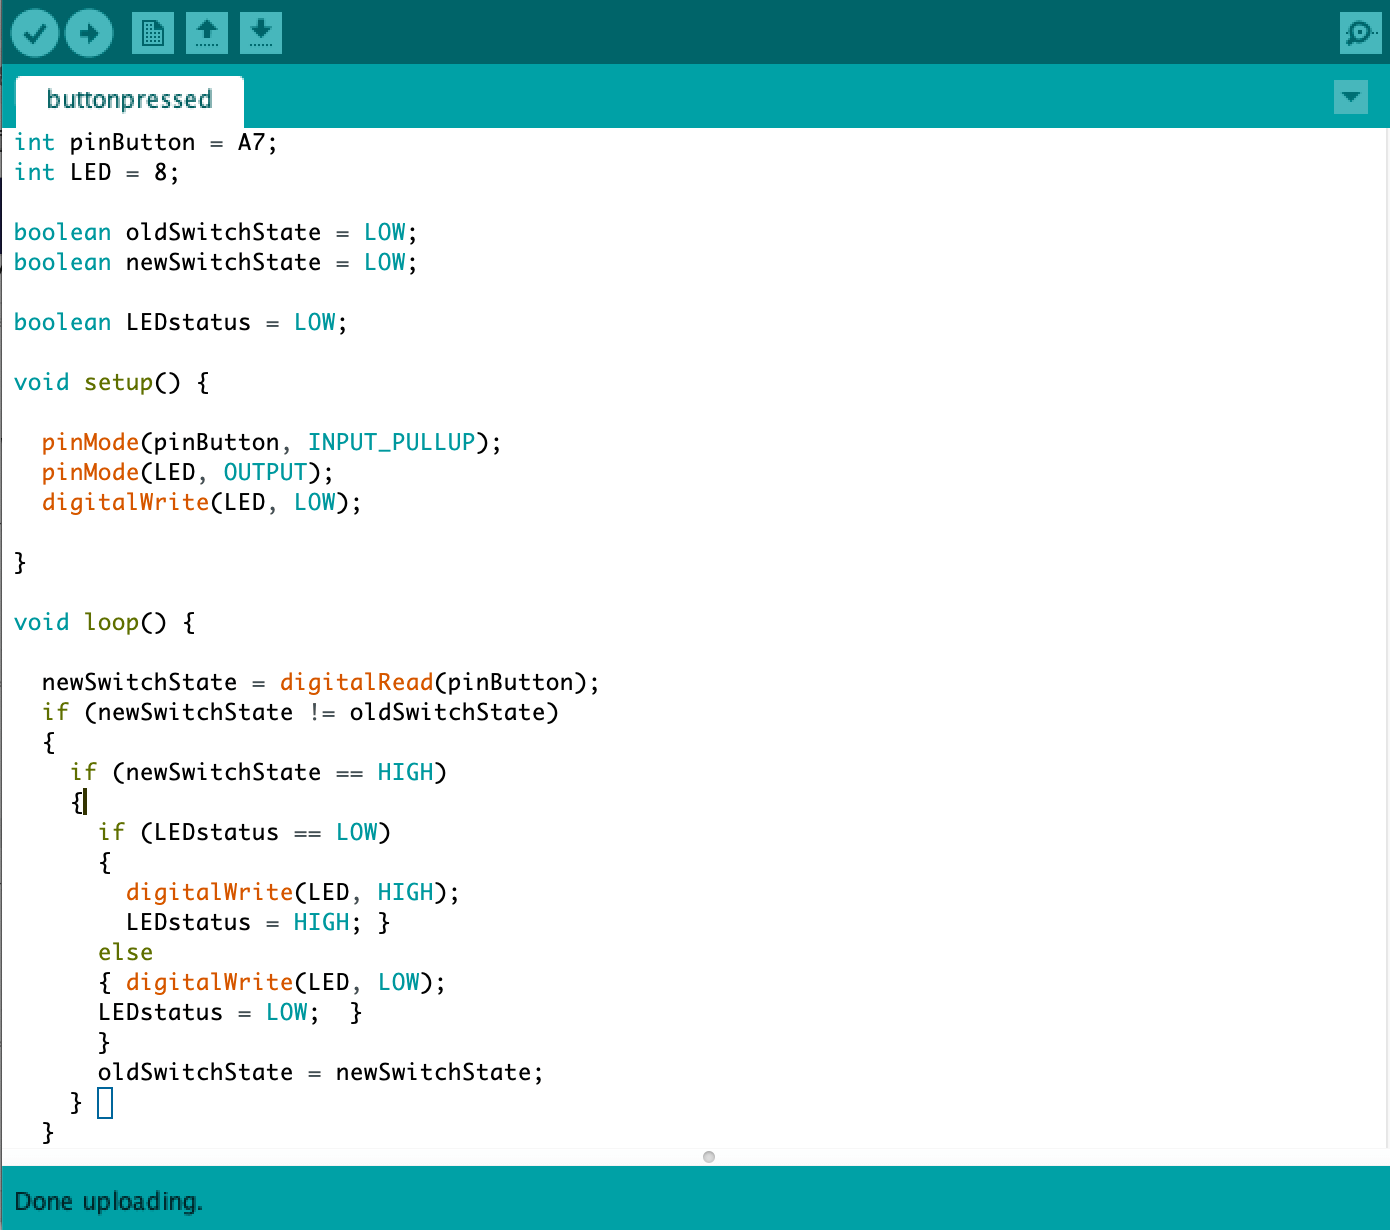
led on only when pressed video: