molding and casting
-----------------------------------------------------------------------
for this week’s assignment, we were tasked with molding and casting a small object. molding and casting is a multi-step process: 1) mill the wax mold, 2) create a negative of the mold with oomoo, 3) fill the mold with hydrostone for the final product.
1) mill the wax mold
milling the mold was the most difficult part of this process, not because it was hard, but because it was a little inaccessible if you haven’t used one of these machines before. i had my rhino file ready since thursday evening, but getting a good mastercam file and the assistance to use the mill took a lot of time.
for the rhino file, I tried to be conducive to the milling process — tried to create surfaces that could actually be milled rather than hard to reach angles and cuts, which were all my initial ideas. trying to overcomplicate, but limited by the machine’s abilities.
i will stand by the opinion that mastercam is an art, and before this project, i wouldn’t really have known how to use it, but Jung was really helpful at showing and explaining each part of the process, so that I’d be able to create my own file for a different project. I do think i’d still need someone to check over the file, but i definitely get most of the parts.
milling also took some time, most people were not familiar with the Intellitek, so it took a while for me to catch someone who was and could help a bit. the process was honestly pretty similar to milling the boards on the Modelas — set a tool, give it some code, make sure the tool is correct, hit go, and it mills, if needed, change tool, give it some more code, and repeat.
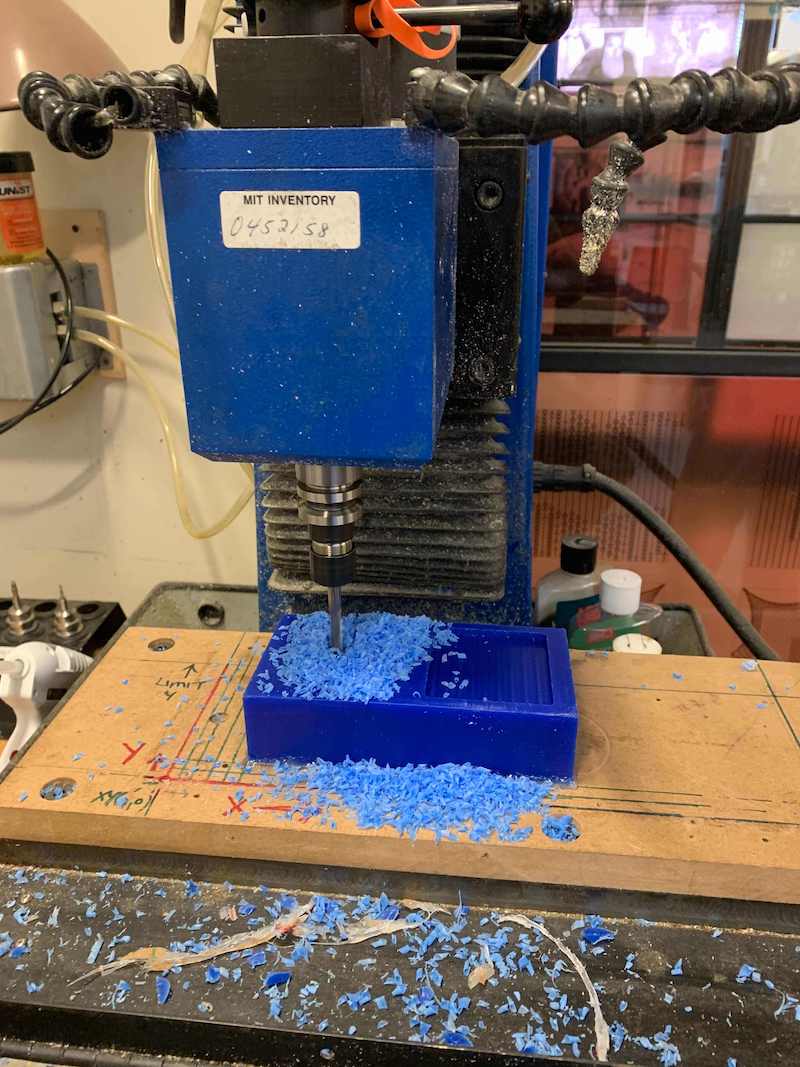
a mill bit broke in the job before mine, so i also got some first hand experience on all the ins and outs of the Intellitek — how you must set the home, how to set up a new tool, how to measure the tools correctly (the length, shoulder, cut length, etc), etc.
the progression of my mold:
rough cut (to remove the majority of the material with a larger mill bit):
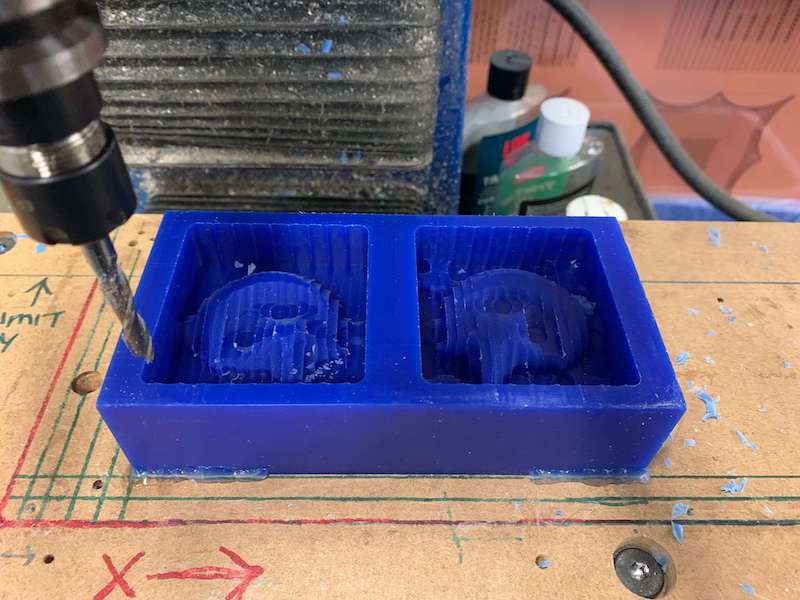
contour 1 (rectangle box to clean edges to cut down on mill time of the surface finish):
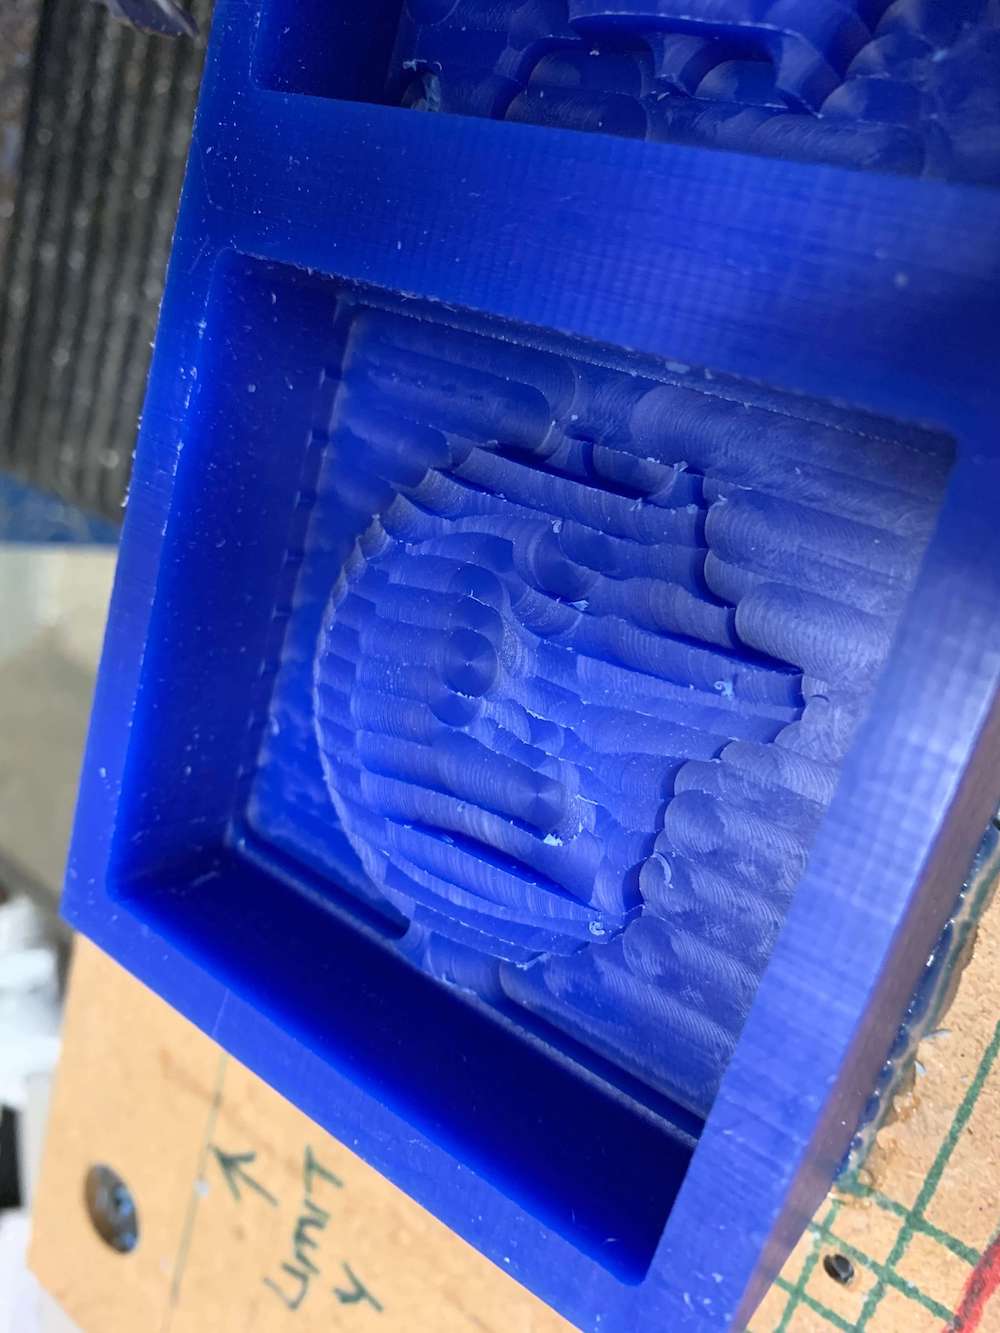
surface finish (more precise to get surface finish):
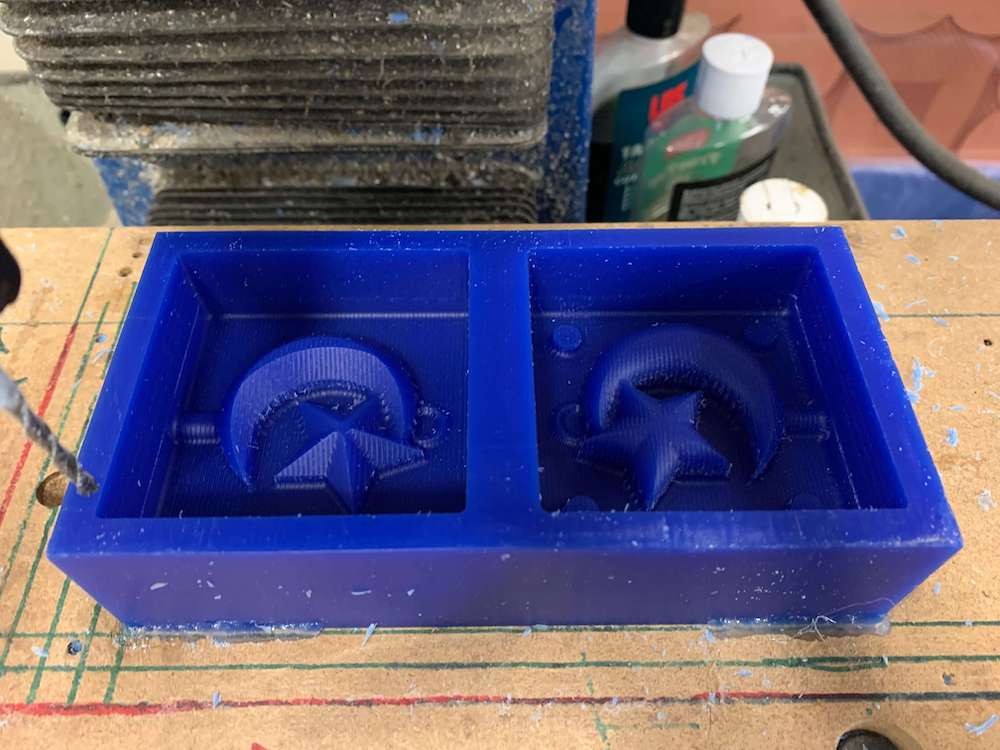
contour 2 (to clean up edges around curves at the base and make the registration holes going down):
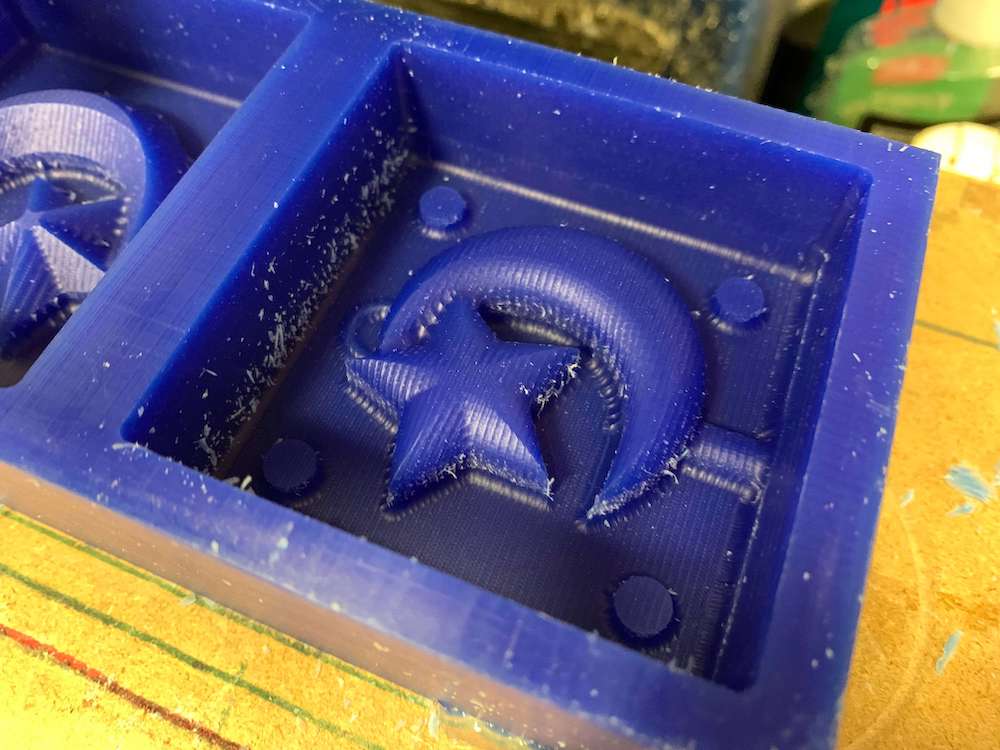
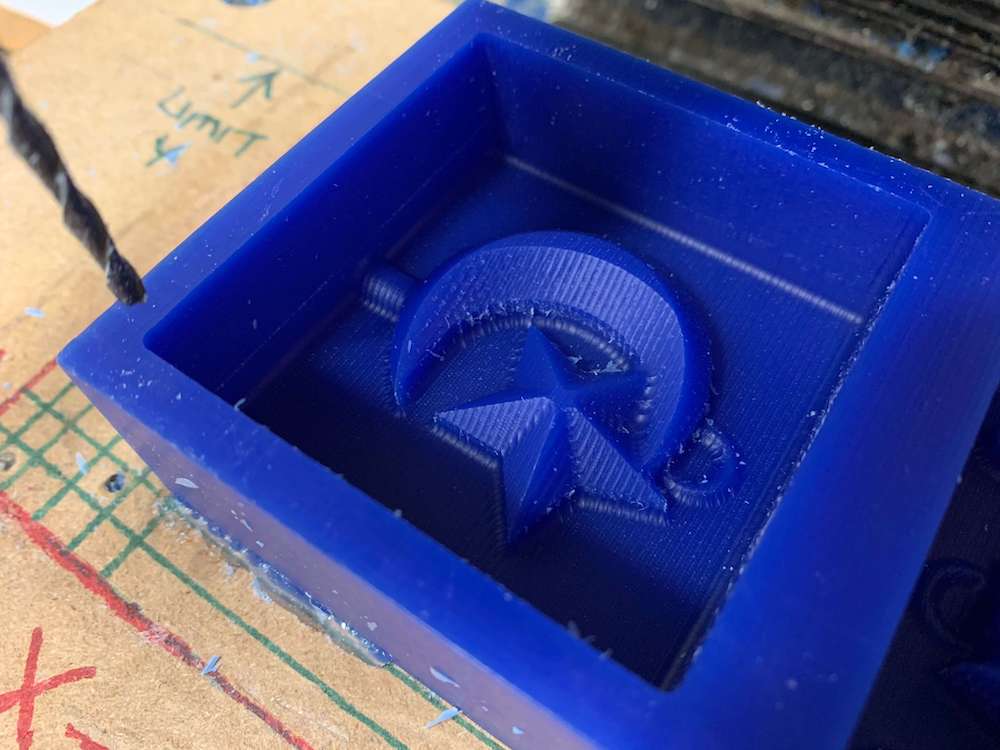
(my final mold!)

in my mold, i still have some ridges, which i could have used a smaller step over, but doing so also would have added a lot more time, and since my shape didn’t really require too smooth of a surface, I wasn’t too worried or bothered. for future projects, if a smooth surface is needed, I know how to achieve that.
i also encountered a problem at the end of my job in the contour 2 round of milling. on its first pass, the mill only cut halfway into the way as it was supposed to, which did not match up with the mastercam file, so i asked jen why that was, and it turns out that the mill bit’s zero was slightly off — even the smallest thing can cause errors in the milling process, so it is good to check everything! after rezero-ing the tool, the cut performed as expected.
2) oomoo
the next step is to create a negative of the mold using oomoo. this step was fairly simple, but it was all about being careful and conscious of the small movements of making the oomoo in the mold to be bubble free. the oomoo is a 1:1 ratio by volume. when mixing the oomoo i was careful to mix slowly and in a figure 8 configuration. I also used two cups for mixing to ensure an even mix. and when pouring, i used a thin, steady stream to try to kill the bubbles while pouring if there were any.
after pouring, I banged the mold on the table and under the vibration hood to try to get any more bubbles to rise up, and it looked good, so I let it sit!

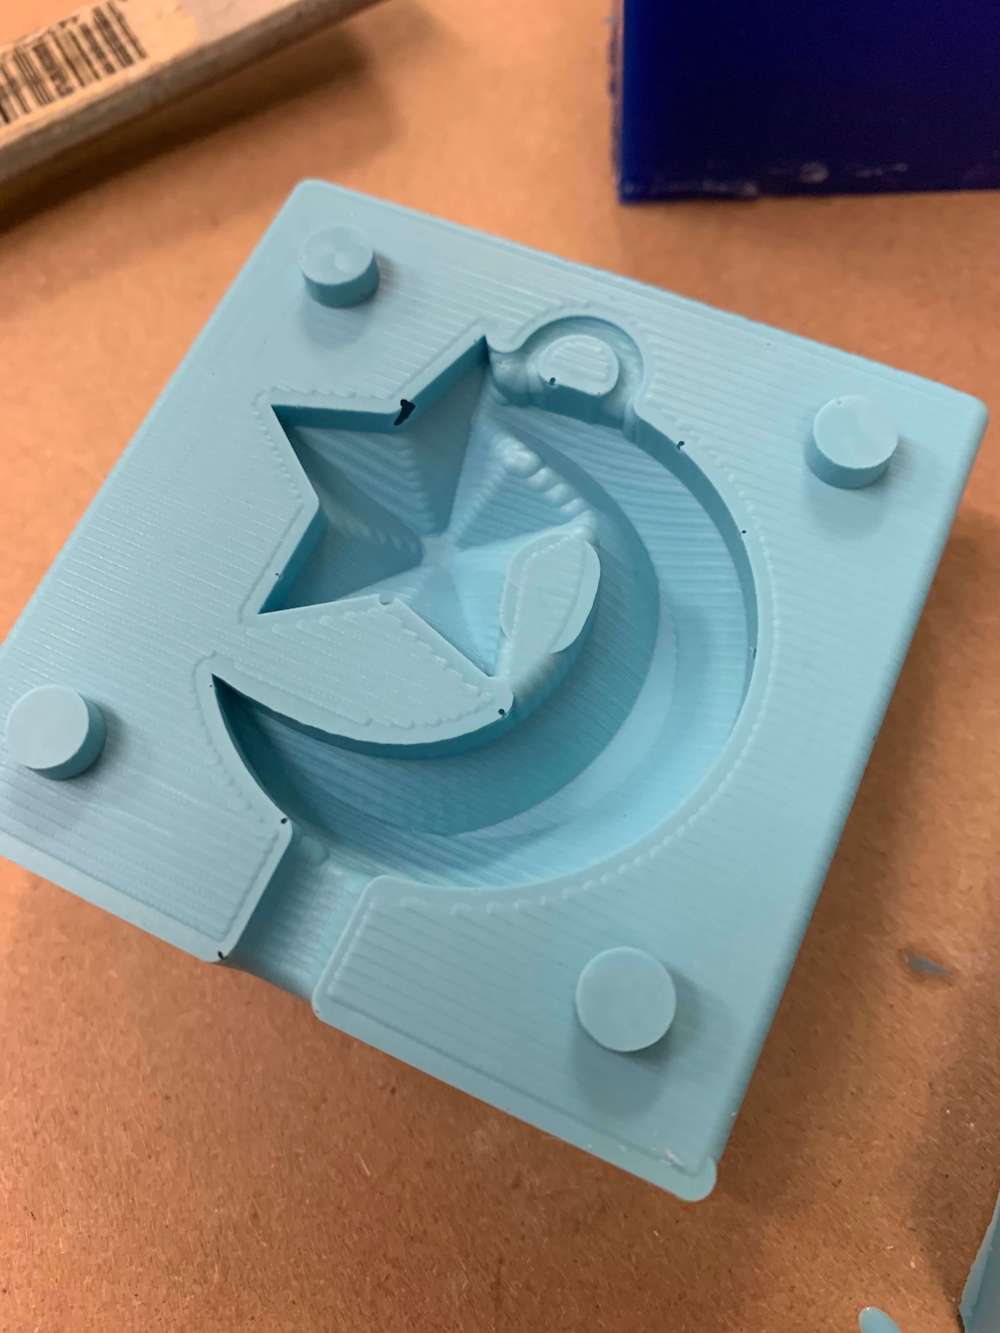
after a couple of hours (only needs 2-3!) i took out the mold, and it looked pretty good!! a couple of bubbles, which i am not too happy about, but in most of the surfaces it looked good.


3) hydrostone
the last step is mixing the hydro stone and pouring it into the oomoo mold pressed together. the hydro stone is 100 parts water: 32 parts powder. in order to get the mold to stay together, i took two scraps of thin wood from the laser cutter to create a flat surface on either end and used a clamp to keep them together. and then I started to pour the hydro stone.
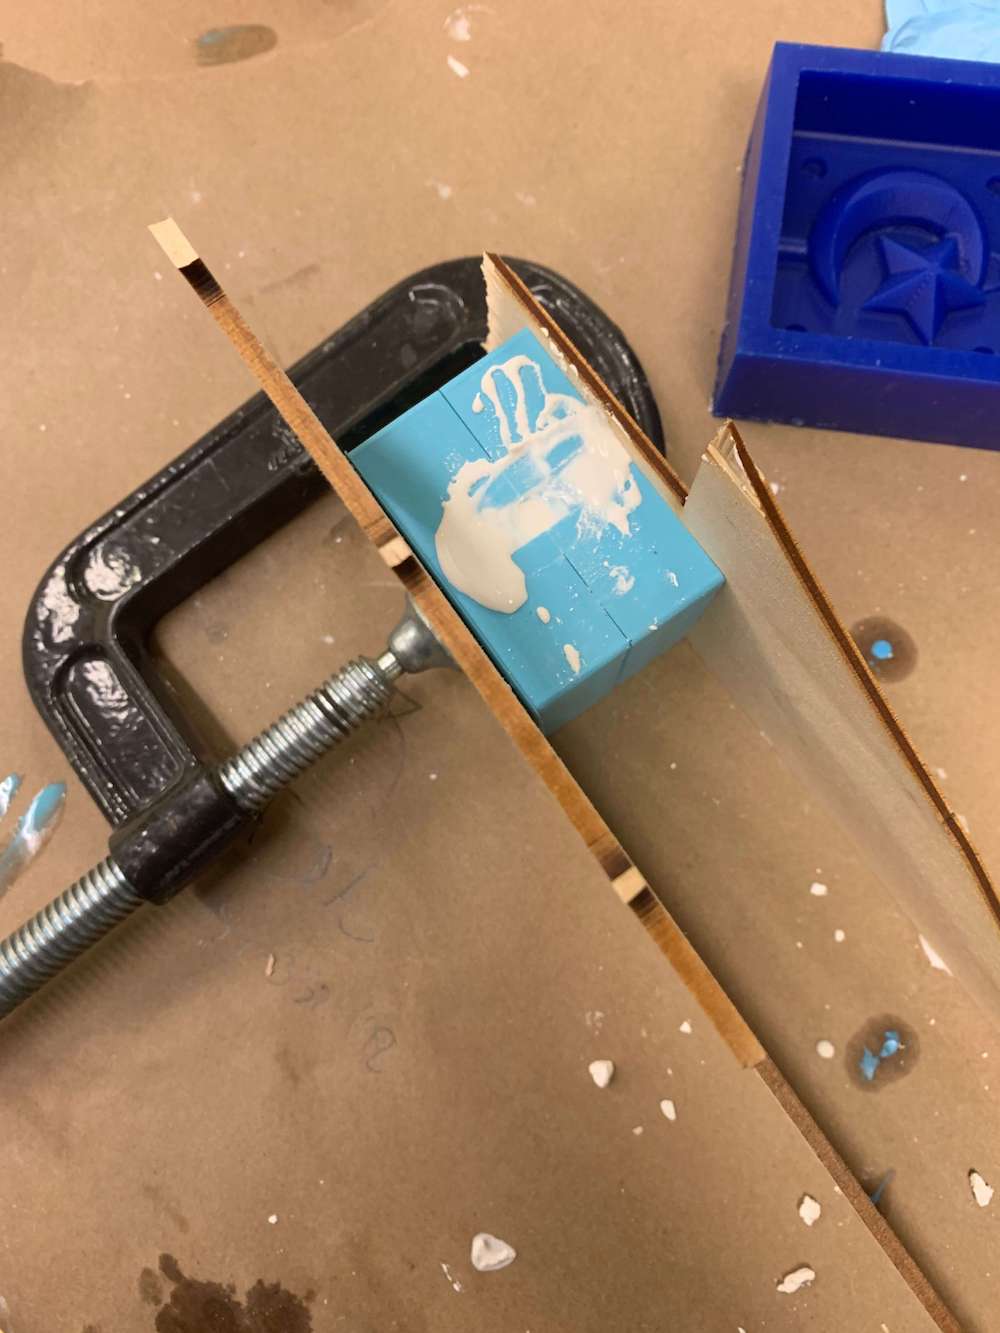
I soon realized that I made a rookie mistake, instead of having one hole, i should have made two!! to allow air to go out of the other. another one of my classmates had done that and it was working great for her, while I had to wait for the air to come out and then pour more. another source of error that i realized was that the configuration of my star and moon might have made it hard for the hydrostone to get into the star — it had to go all the way through the moon and then Up into the star. in order to account for that, I covered my pouring hole and tried to rotate my mold around and upside down to get all the nooks and crannies, we’ll see how it turns out.
final product!
