
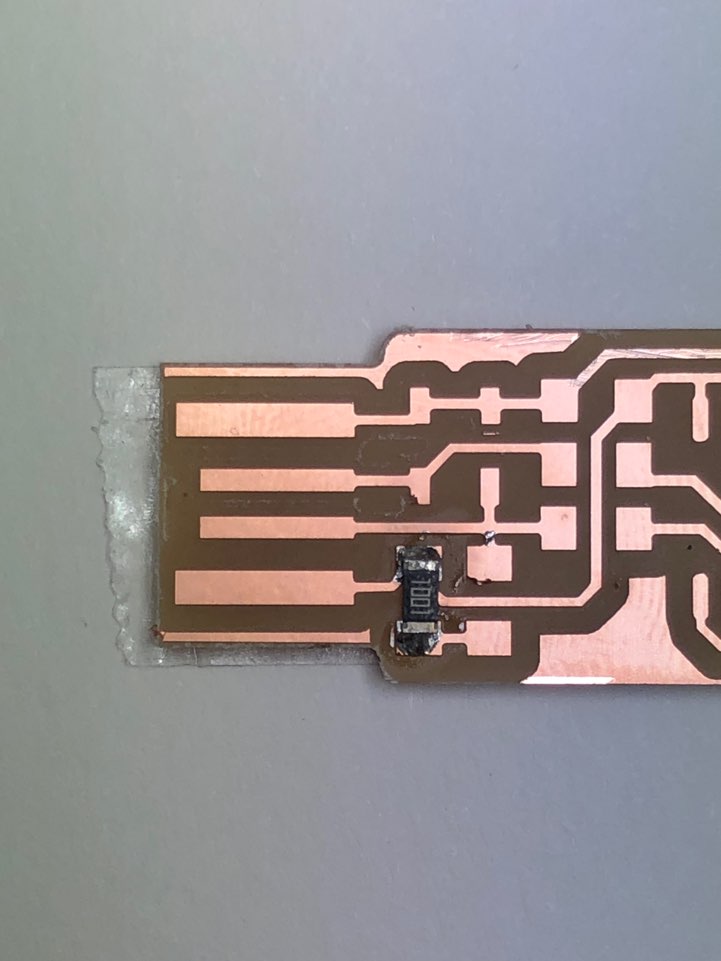
The very first trial went to failure. I attached only two strips of double sided tape under the board and at the very final step milling the cutout with 1/32 drill bit, the board detached from the sacrificial layer below. At the next trial, I made sure that the board is attached to the board firmly and securely, but there were partial leftover copper that were poorly milled at the lower right corner so I had to go over the process again.
Finally, I reached to a nice and clean board.
Now the next step is soldering.
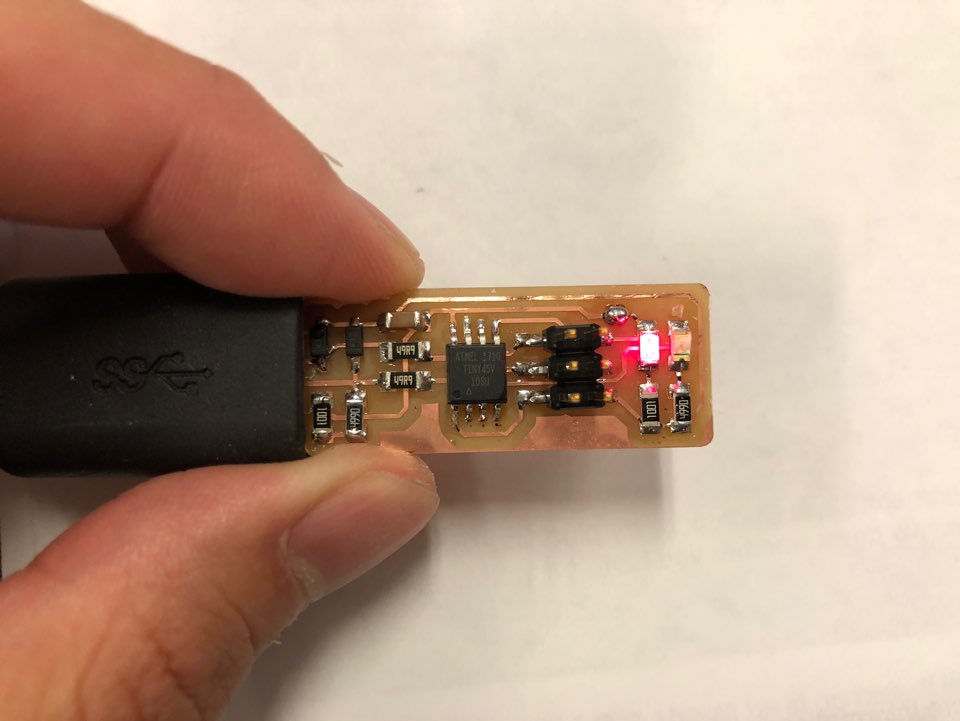
my very first step of soldering!
It took a while to get used to looking through the magnifying lens.
Although there were some minor mistakes in making smooth and round soldering,
the whole process went okay.

The red diode was working, so I assumed that everything will work fine, but I had
trouble on the very first make blink command.
I found out that shorts can happen where the traces run right underneath the connector,
according to
Brian.
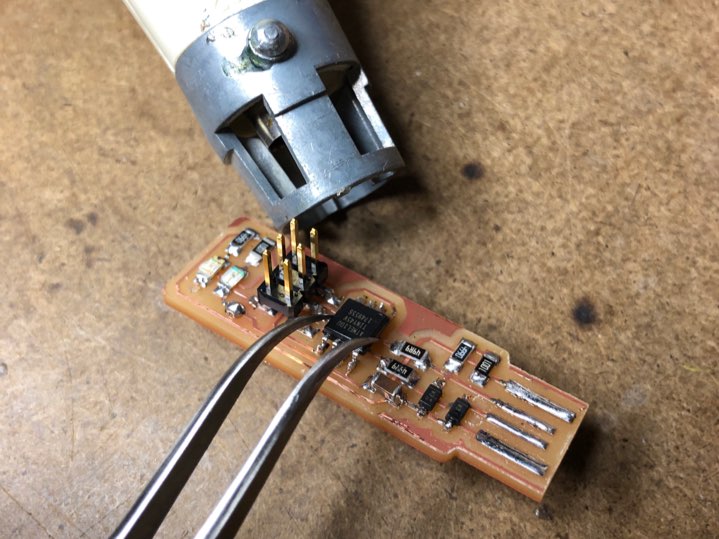
I had to desolder the Attiny component using the heat gun and a tweezer,
and apply more solder underneath the bridges.
And finally at last, it works!
