For this week, I wanted to use networking to recieve live stream video to my computer, which is also going to be included in my final project.
First, I wanted to use ESP-WROOM and OV7670 rather than ESP32-CAM, because I wanted to seperate the processor with the camera itself.
I found a nice tutorial
and an example that uses both boards.
I found a esp32 library from a git page
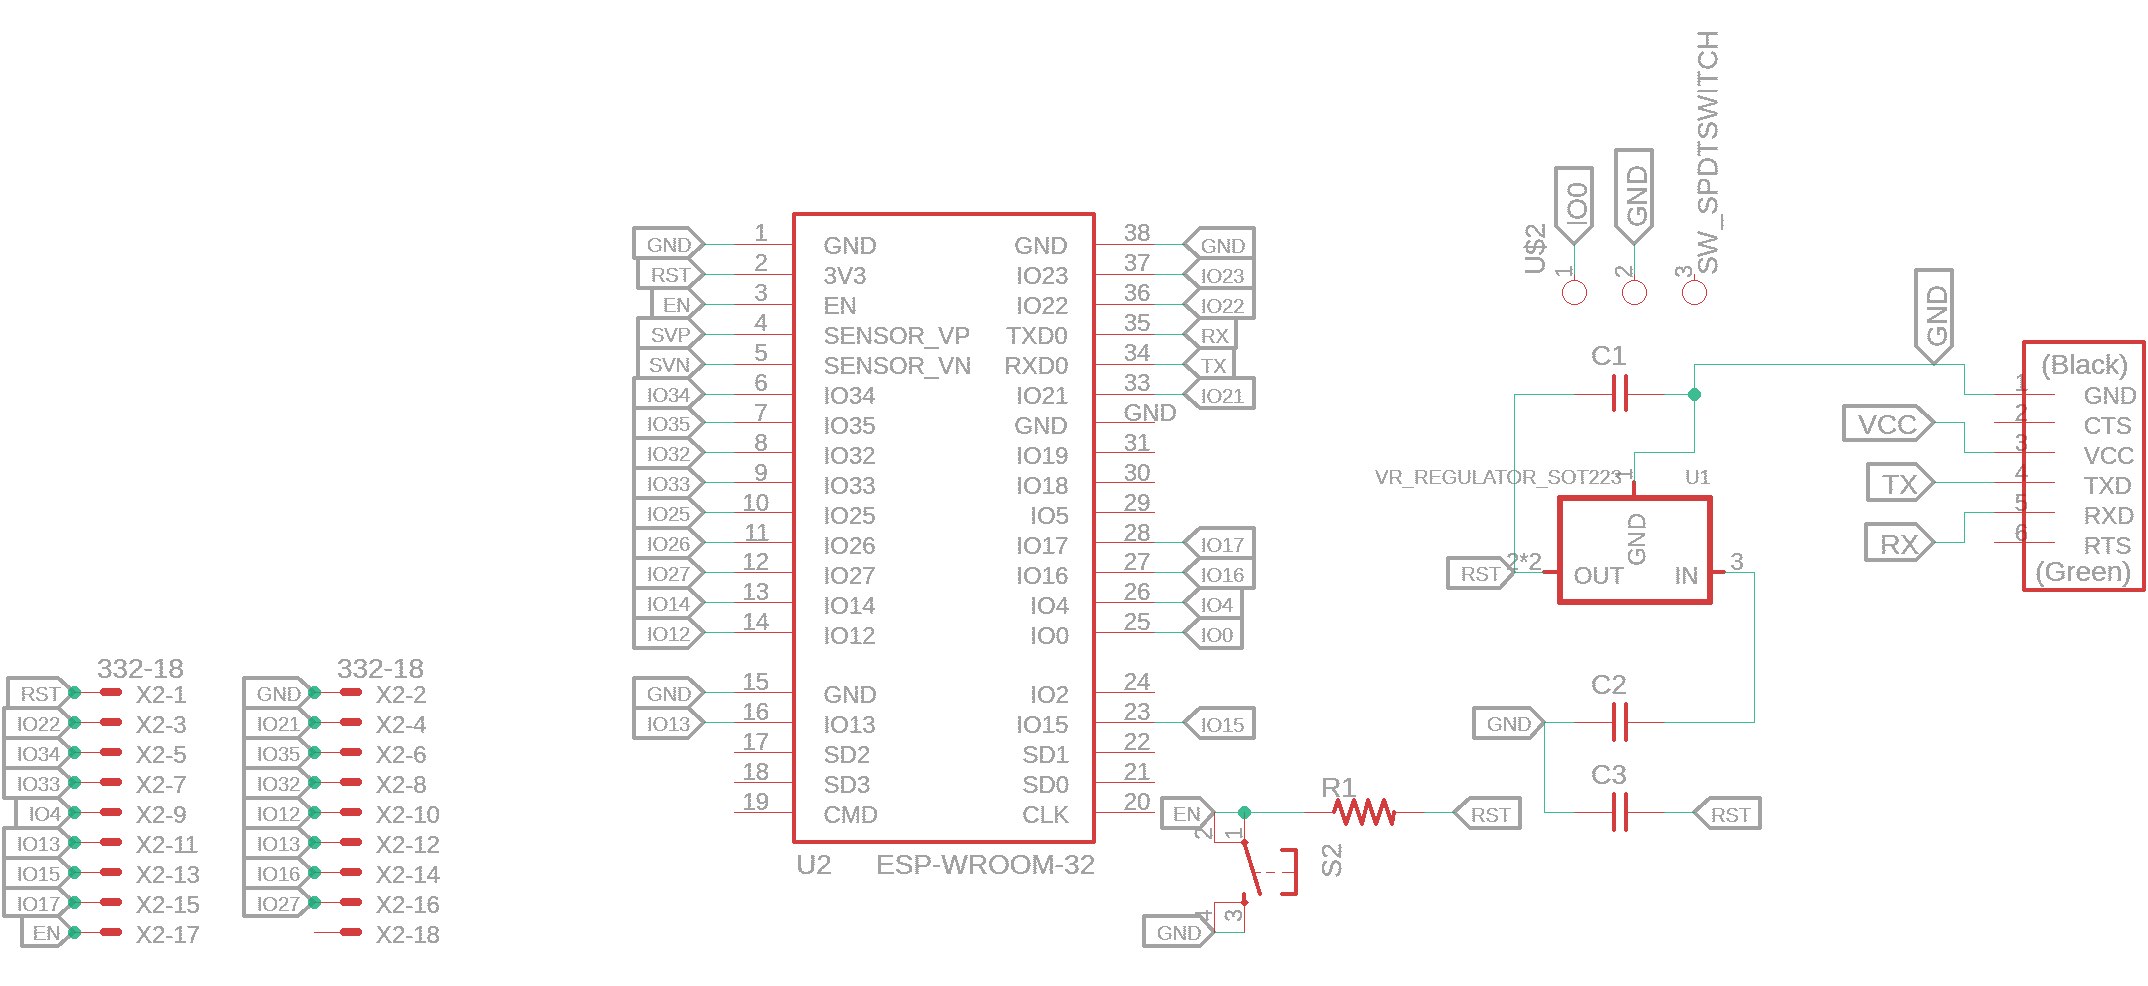
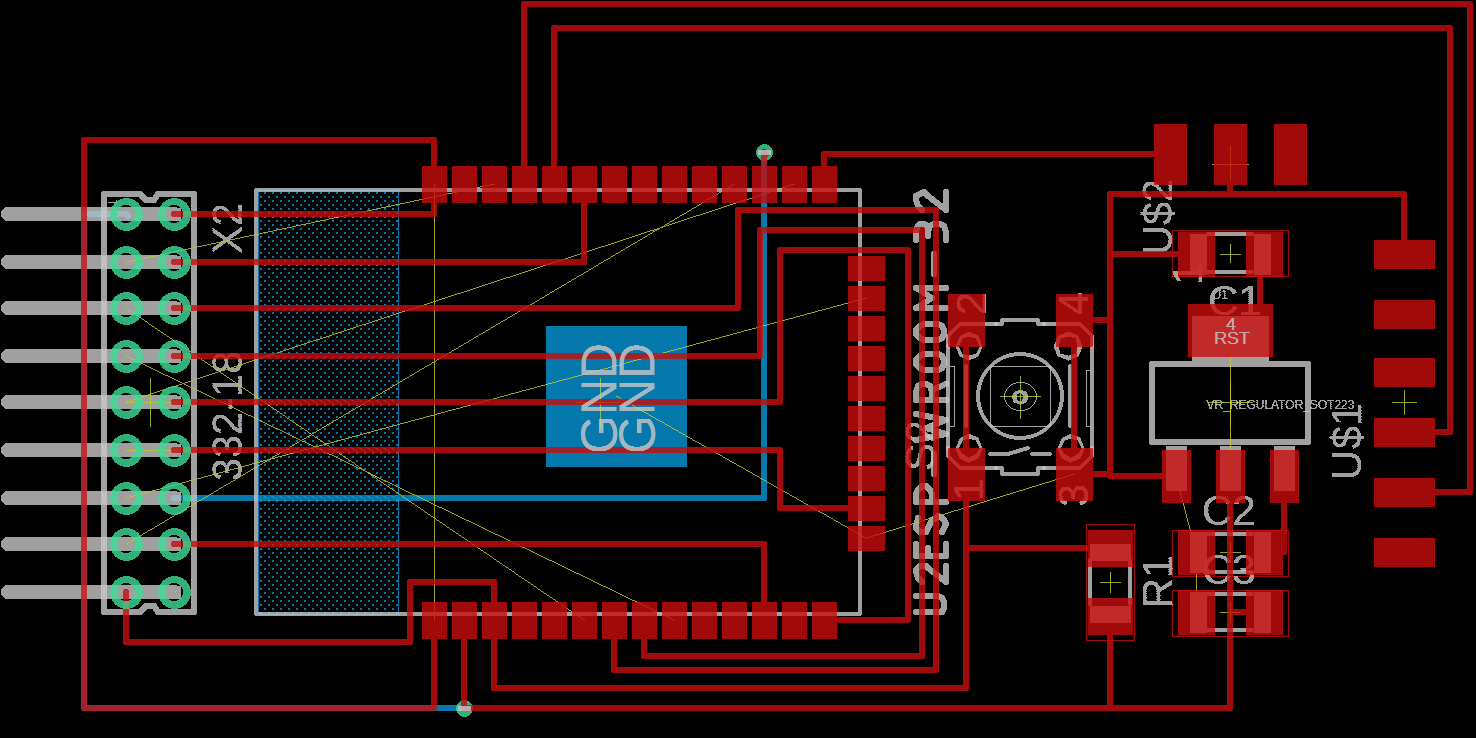
I created a schematics, but I couldn't figure how to unravel all the wires. Also, I figured that the rectangular zone on the left is the antenna,
which should not be interfered with other wires.
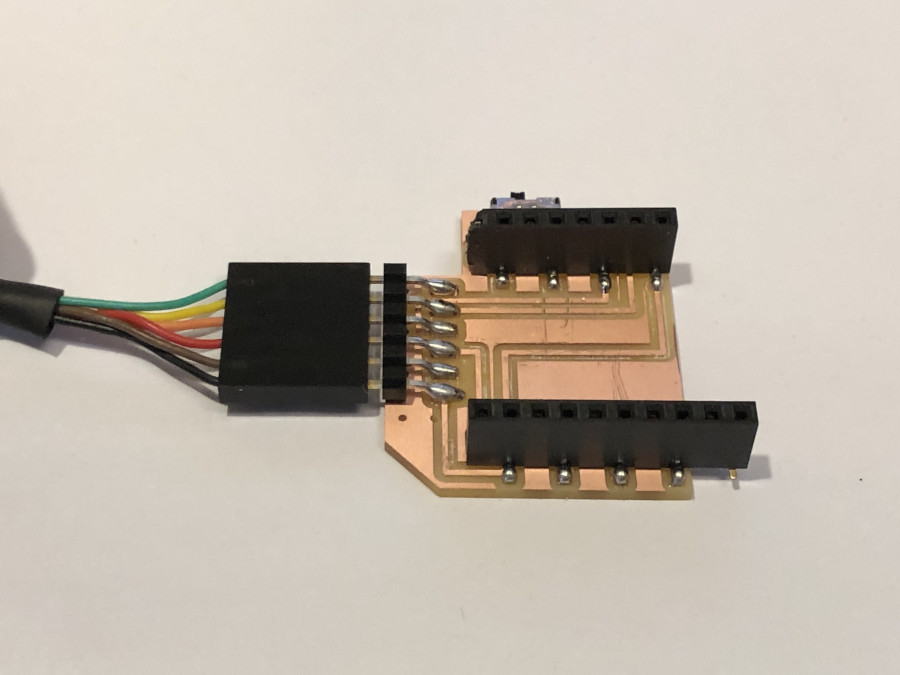
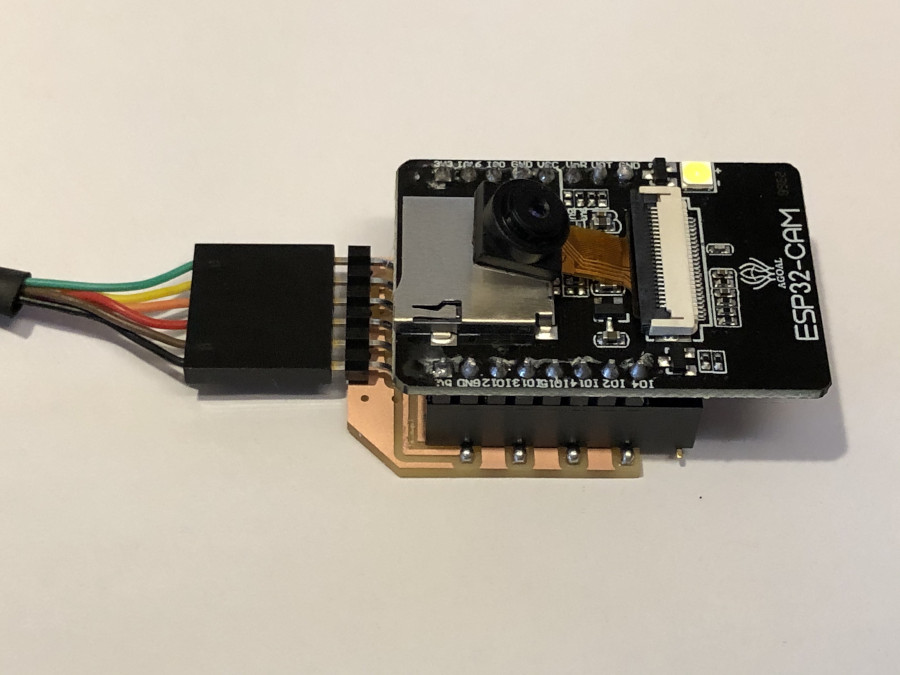
Then I decided to make a simple ESP32-CAM for this week, to get the general idea of it.
I couldn't find a single row 8 pin female header, so I just used 10 pin for one side and used only 8 pins among the pins.
Other than that, milling and soldering was very simple and straightforward.

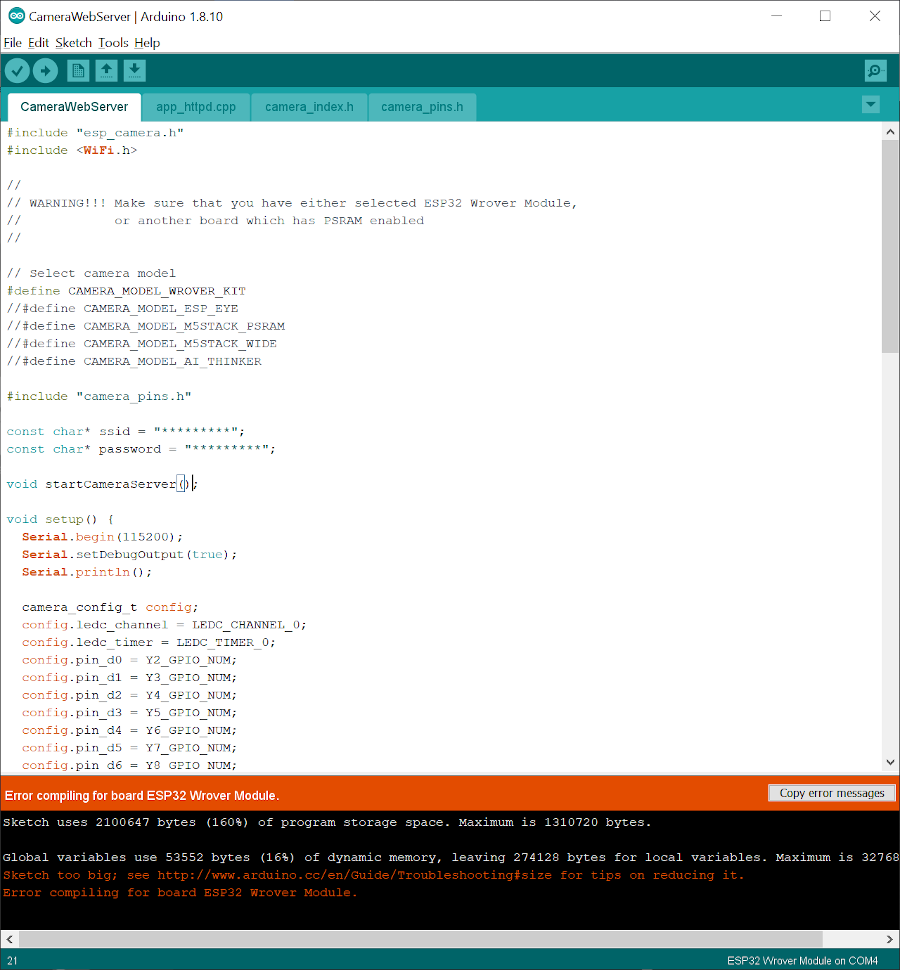
While programming the board through Arduino, I encountered a few errors.
I found a nice website
that covers pretty much every troubleshooting for ESP32-CAM in particular.
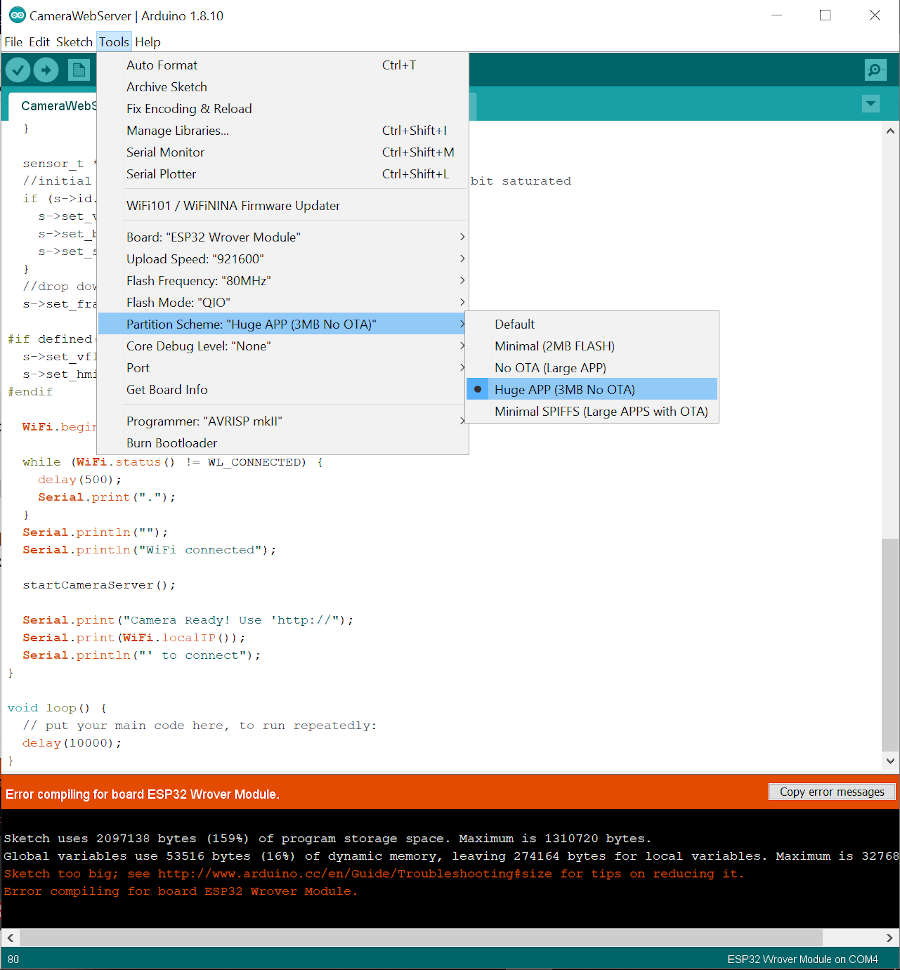
First if you get an error that says something like "Sketch too big", make sure you set the Partition Scheme from default to Huge APP.
Even after changing the partition scheme, I got an error that says "Failed to connect to ESP32: Timed out waiting for packet header".
I couldn't figure to program it on my computer, so I moved on to a Linux PC at the shop.
As I changed the port to the right one, I was able to write a program!
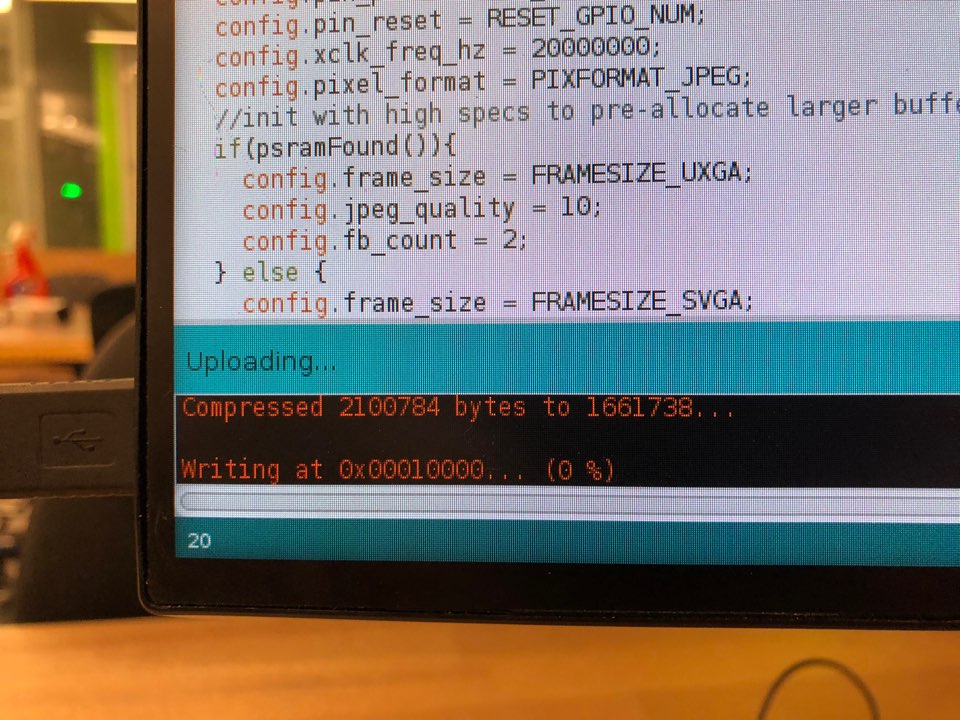
My windows PC just doesn't recognizes my boards all the time. So I used my 7 years old macbook pro and it worked fine.
As I pushed the reset button, the serial window gave me a bunch of glyphs.
When this happens, make sure to set your baud rate to 115200.

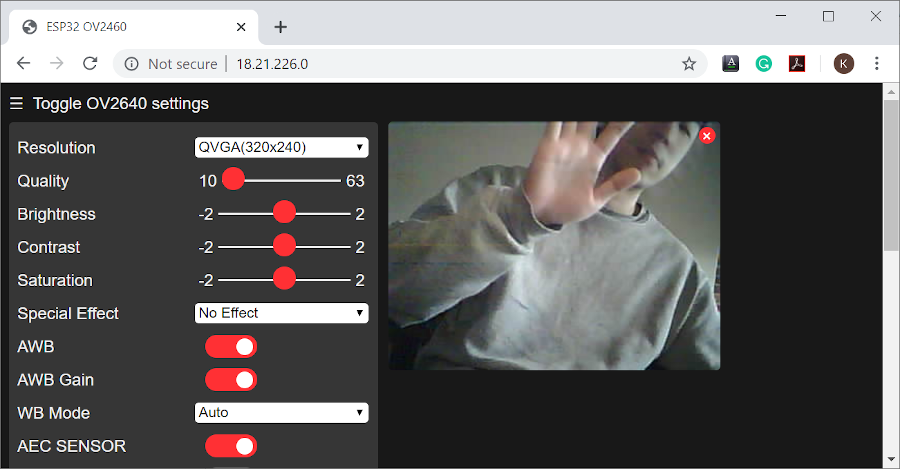
Now it says "Camera Ready! Use 'http://18.21.226.0' to connect", which seems happy.