
It sounds maybe silly, but one of the things I learned in this class was
not to be afraid of electronics and machines, and try to do things on my own.
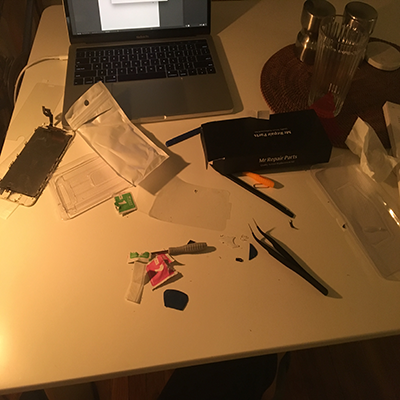
so since my iphone was broken for such a long time, I decided to fix it by my self.
I found a kit for iphone 6s screen at amazon in 16 dollars (it costs 150 dollars to fix the screen in the apple store)
and I watched this tutorial
Although it's a 6 minutes video, it took me three hours to do that.
The hardest part was to keep all the parts together from not breaking, because it's not a new iphone.
The other thing was to place the touch botton right (the first time the touch id didnt work and I needed to open
it again to fix it). I lost some of the tiny screws, but it seems all is working anyway.

Another thing I was doing this week is taking advantage of the fact that we could do inflatables,
to try do something for another project I'm working on in tha lab I'm working in.
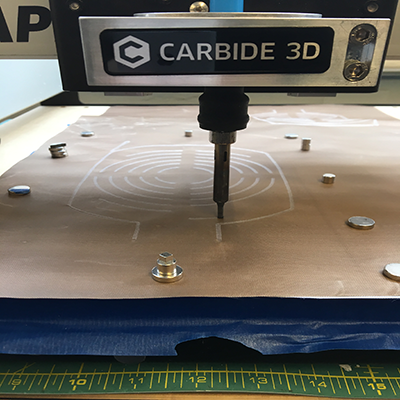
for this prject, I wanted to make inflatables that are controlled by a cnc machine.
I took the desktop carbide 3d we had in the shop and changed the end factor to be a soldering machine
this way i could solder something i designed, and that way to melt fabric on top of another fabric and seal them
together. this will creat much more accurate shape.
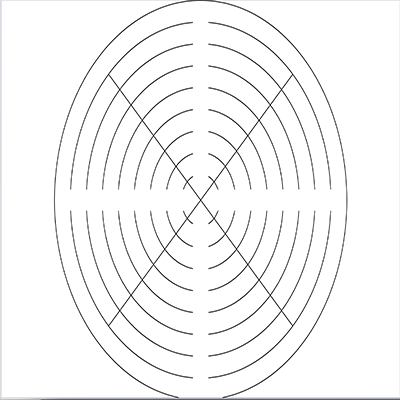
to do that I designed a shape in Illustrator, and export it to the software that
comes with the 3d carbide - which is super simple to operate (carbide create and carbide make)
the hardest part was to level the fabrics. I used a metal board under the textile, and than put the two pieces
together, and on top of them i have put a piece of cooking textile so it won't burn the textile.
above all I put magnets to keep it all together.
It took few hours but eveantually I managed to make two of them, to stick together when they inflate.