this week's focus was on electronics design. after learning how to use the pcb milling machine in week 2, this week we learned how to use electronic design tools to create out own circuit board.
out of all the options to create a circuit design, i chose eagle because it's in the autodesk family and i already use autocad and fusion 360. i downloaded the labs parts library and imported into my workspace. using the schematic, i first layed out the parts i would use and connected them without worrying about how it would be laid out physically.
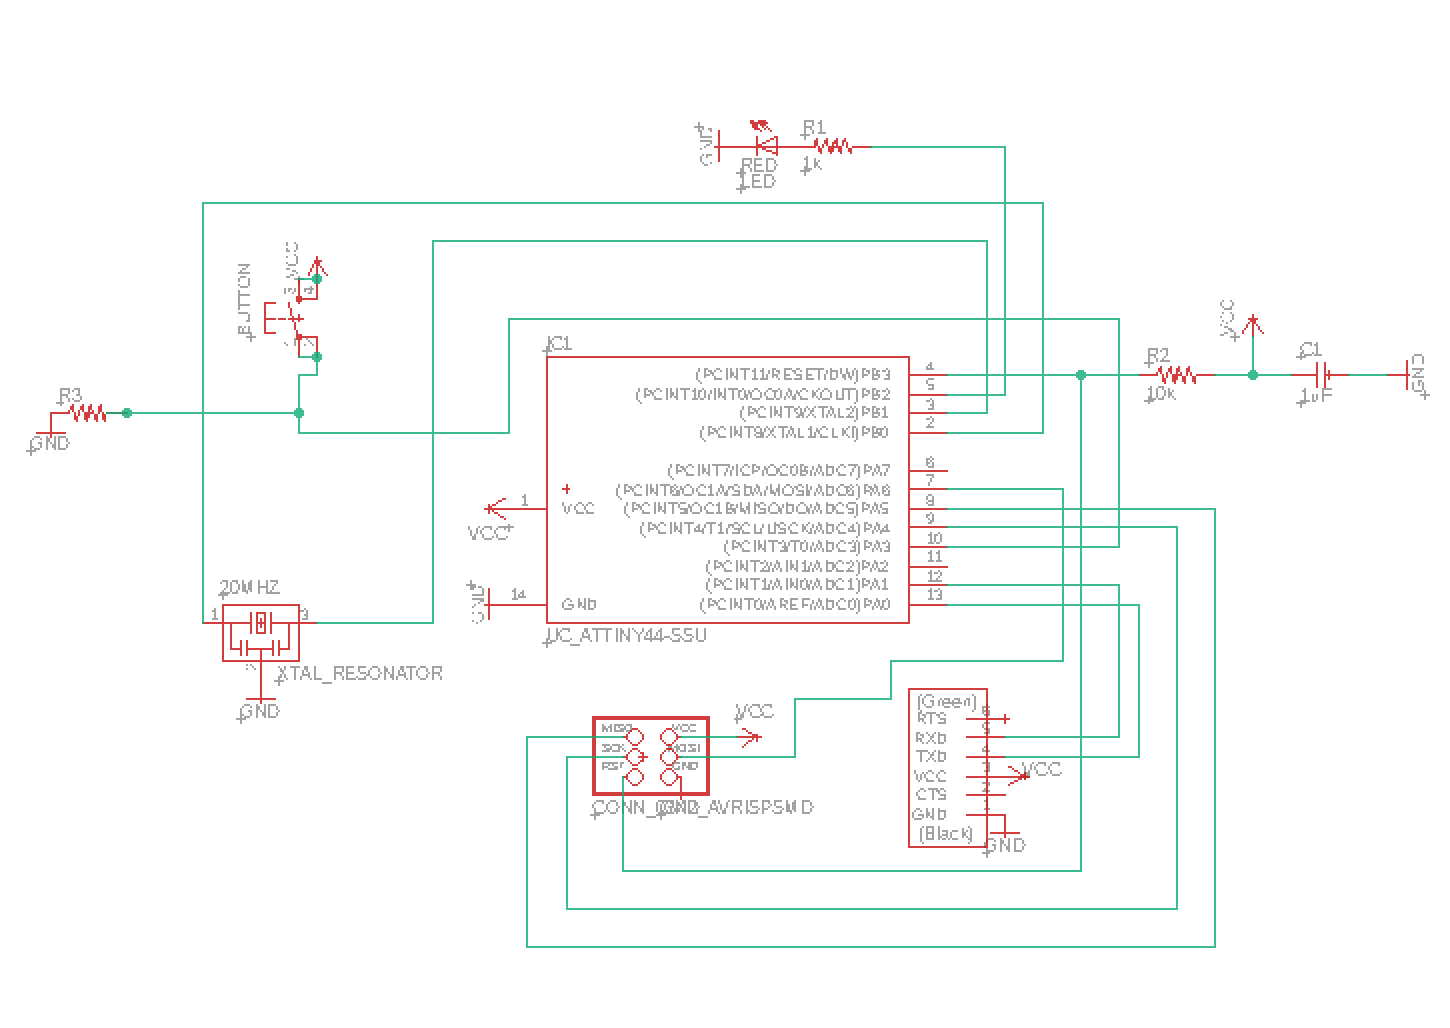
i then arranged the components physically making sure that there's enough space for the lines and soldering points.

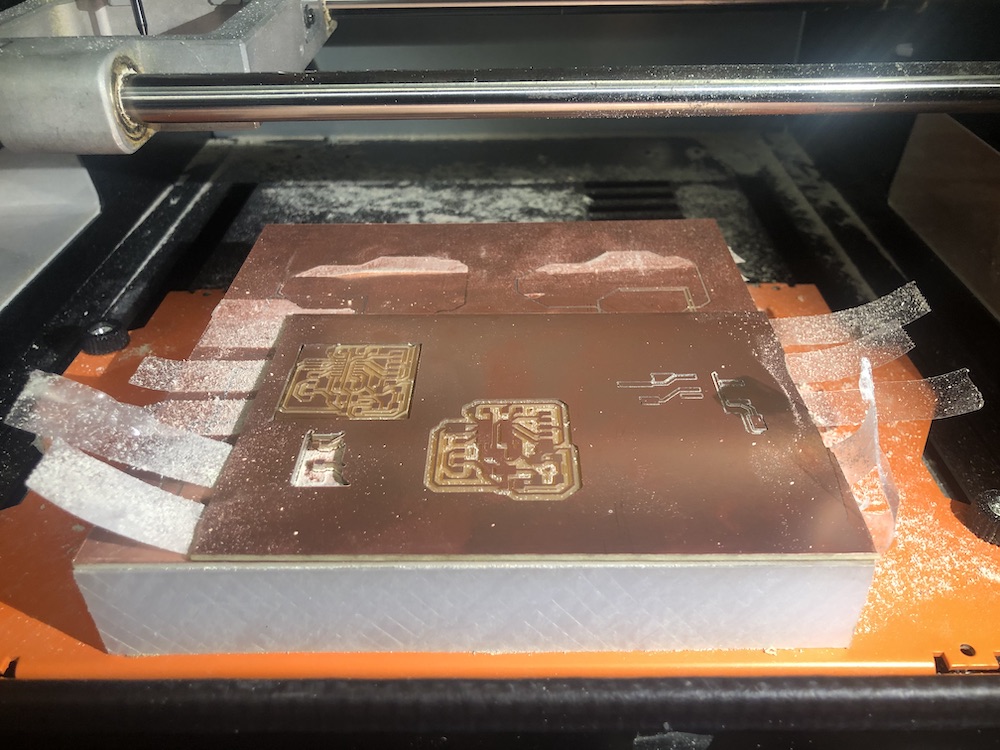
following the same instructions from week two, i milled out the board that i created on eagle.
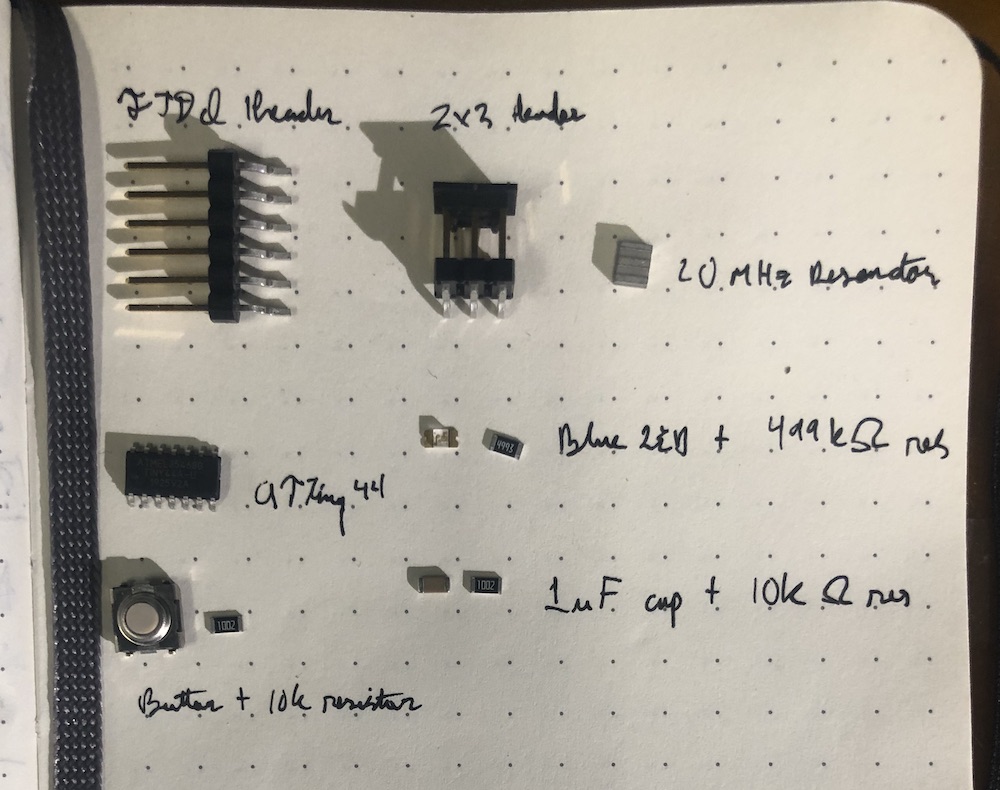
i then gathered the parts that i needed:
unfortunately it tuned out that a line that went underneath the attiny 44 was to close to its soldering points and i had to re-do the lines and re-mill.
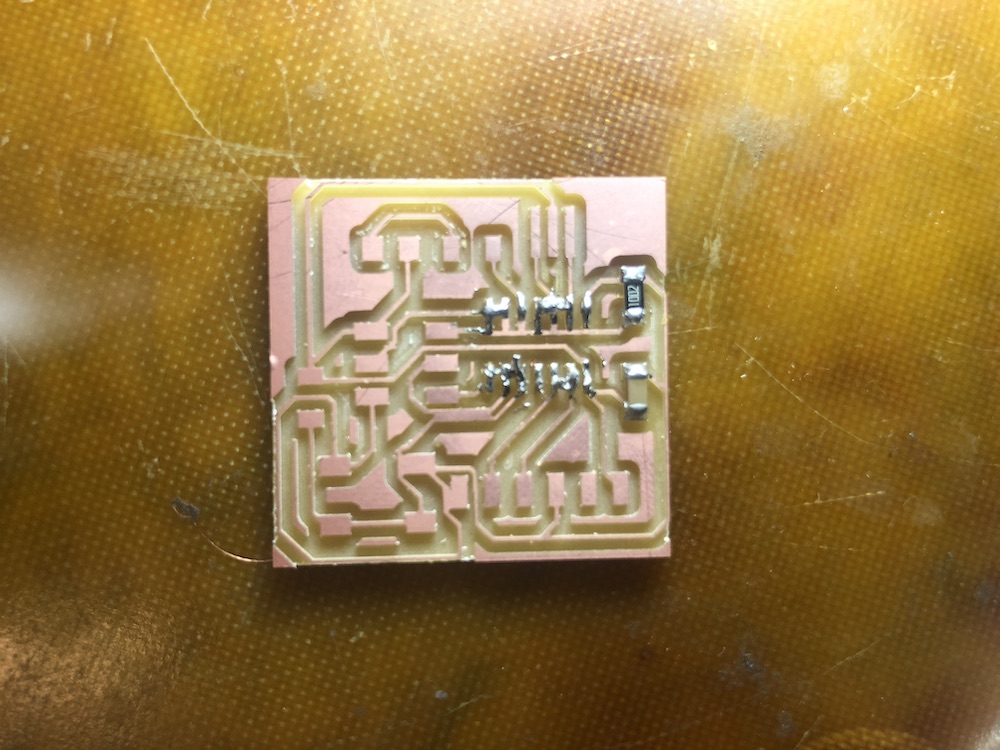
after re-arrenging the line (i had forgotten to apply the design rules) and re-milling, the issue was fixed.

after soldering, the board was done
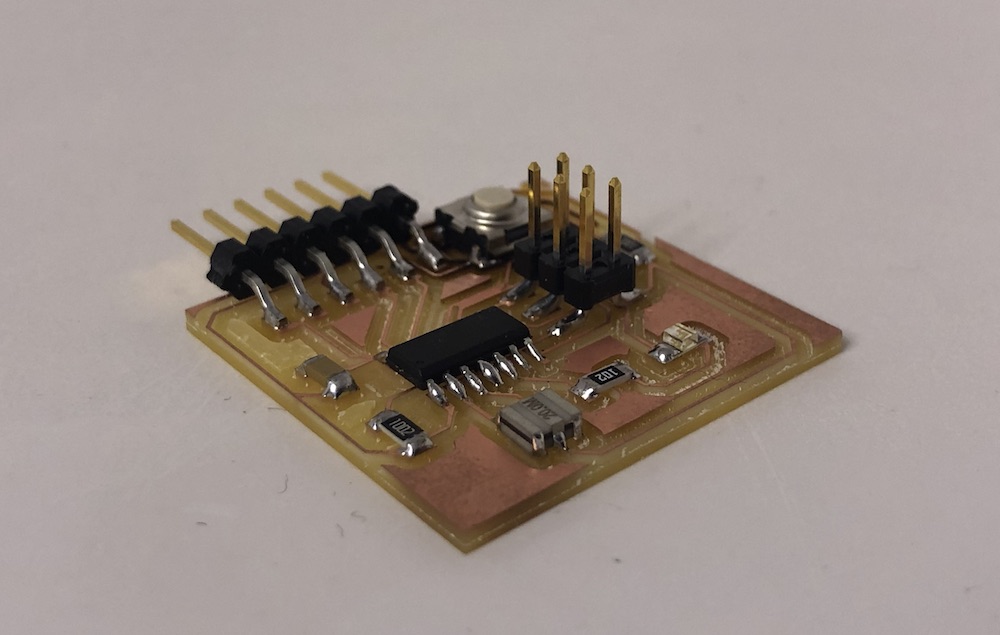
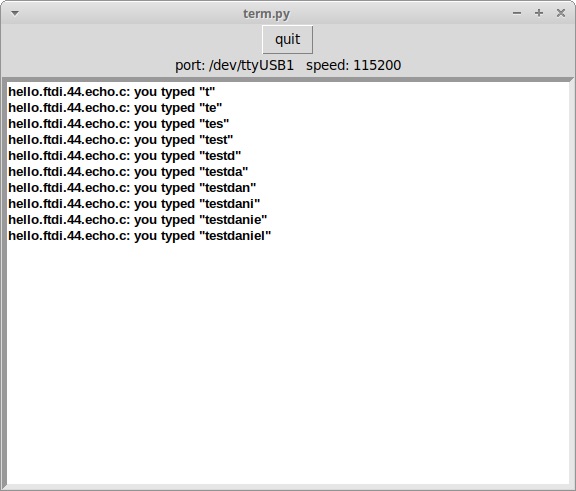
i was then able to program it and test it.