this week's focus was on molding and casting. i used fusion 360, the cnc mill, machineable wax, silicone and clear epoxy to start working on a button for my final project.
designing the button
i used fusion 360 to create the design of a button i'll be using for my final project.
the button consisted of three objects:
a cylinder with a height of 15mm and a width of 50mm
a cylinder with a height of 5mm and a width of 60mm
a negative extrusion of the word "DAO" into the first cylinder
creating the wax mold
i then exported the final body as a .stl file and started the milling process.
fortunately for me, and everyone else in the class, there is a very detailed guide on how to take the .stl file, a block of machineable wax
and turn it into a wax mold
here
to summarize:
secure the wax block onton a piece of wood using hot glue
drill the wood onto the shopbot's sacrificial layer
load the .stl file on partworks3d
orient the size of the model
set the material size and margins
set the roughing toolpath
set the finishing toolpath
PREVIEW THE TOOL PATHS (i didn't and didn't notice the word "DAO" wouldn't mill)
save the roughing toolpath
save the finishing toolpath
open shopbot3
insert the mill bit
zero the shopbot
load the roughing toolpath file
start the mill
load the finishing toolpath file
start the mill
vacuum wax
remove wood and wax block from the shopbot's sacrificial layer
separate the wax block from the wood
creating the silicone mold
after i finished milling, i noticed that the top of the button was flush with the top of the walls.
before i could start mixing the silicone, i first used masking tape to increase the wall height so that i could pour over the button.
after applying the masking tape wall, i put on my gloves and gathered:
two plastic cups
a popsicle stick
a scale
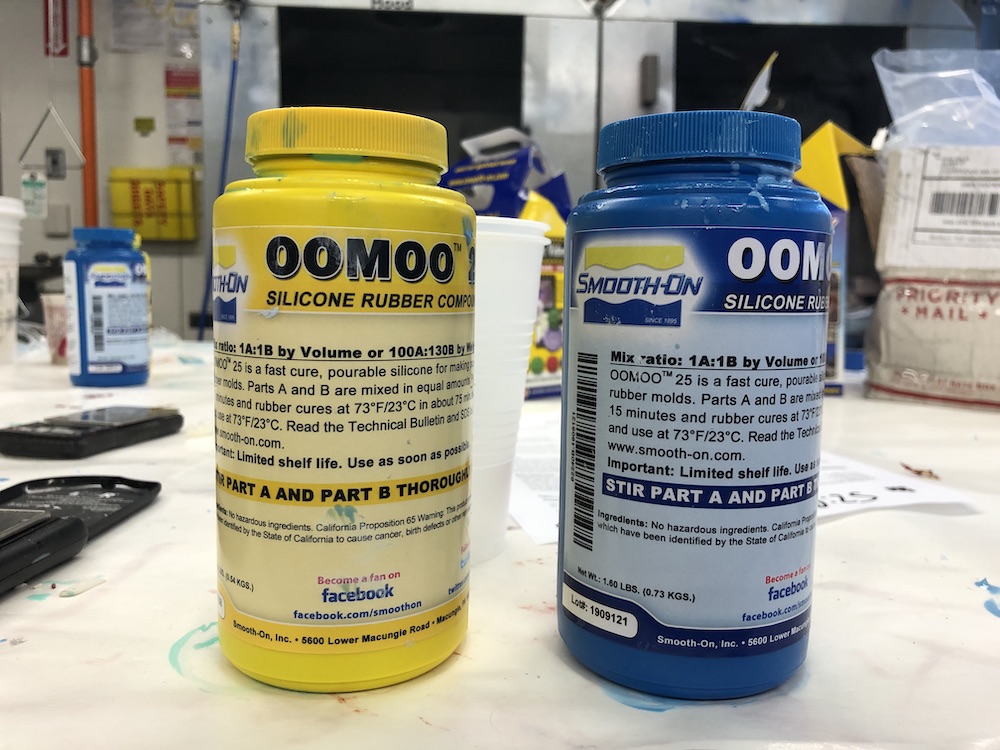
oomoo 25 silicone mold rubber mix
to create the silcone mold with the 1:1 part a to part b silicone mix:
place a cup on the sacle and tare it
pour 2 grams of part a and remove the cup from the scale
place the second empty cup on the scale and tare it
pour 2 grams of part b and remove the cup from the scale
pour the contents of the second cup into the first cup
mix the two vigorously until it is mixed well
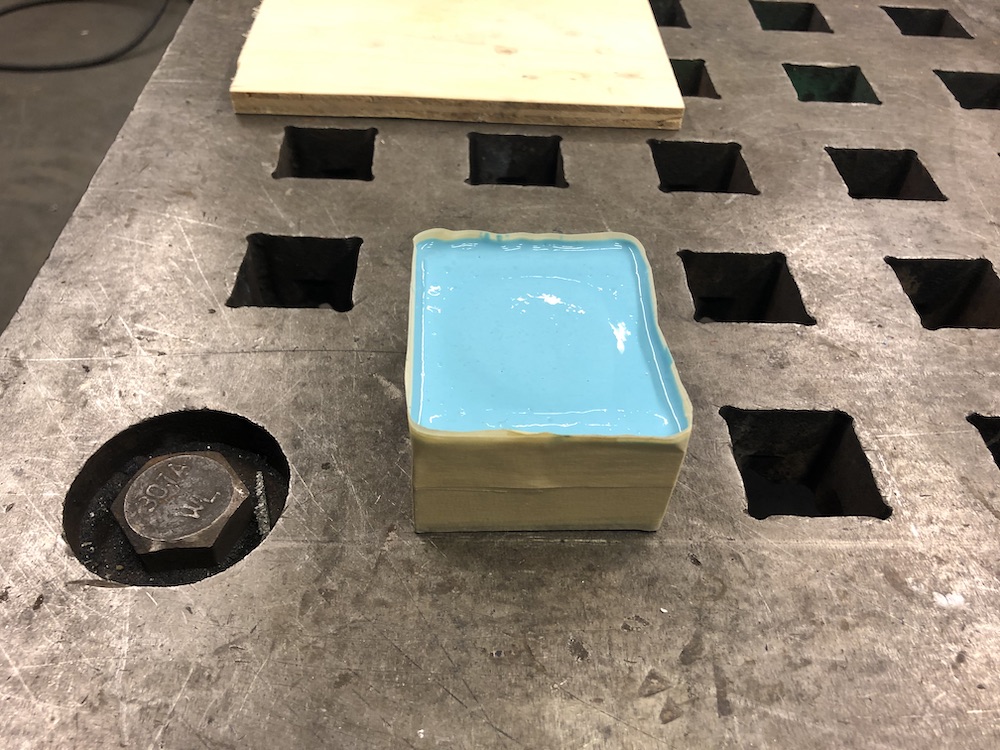
pour the mix into the wax mold
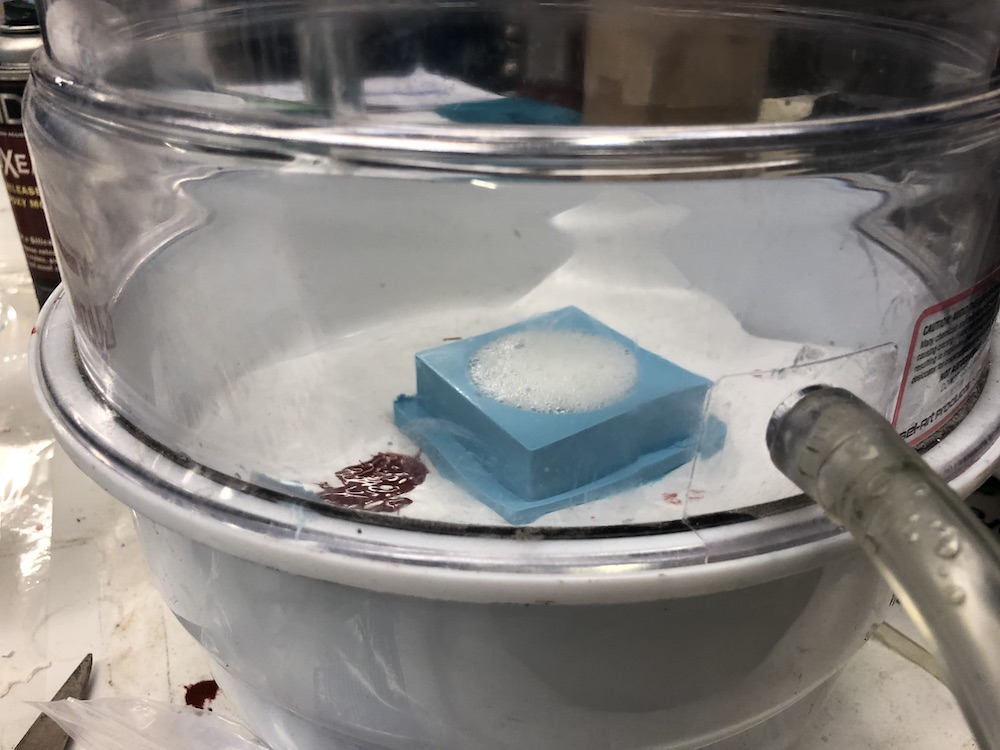
place the mold into the vacuum to remove internal bubbles
per the package instructions, let set for 15 minutes
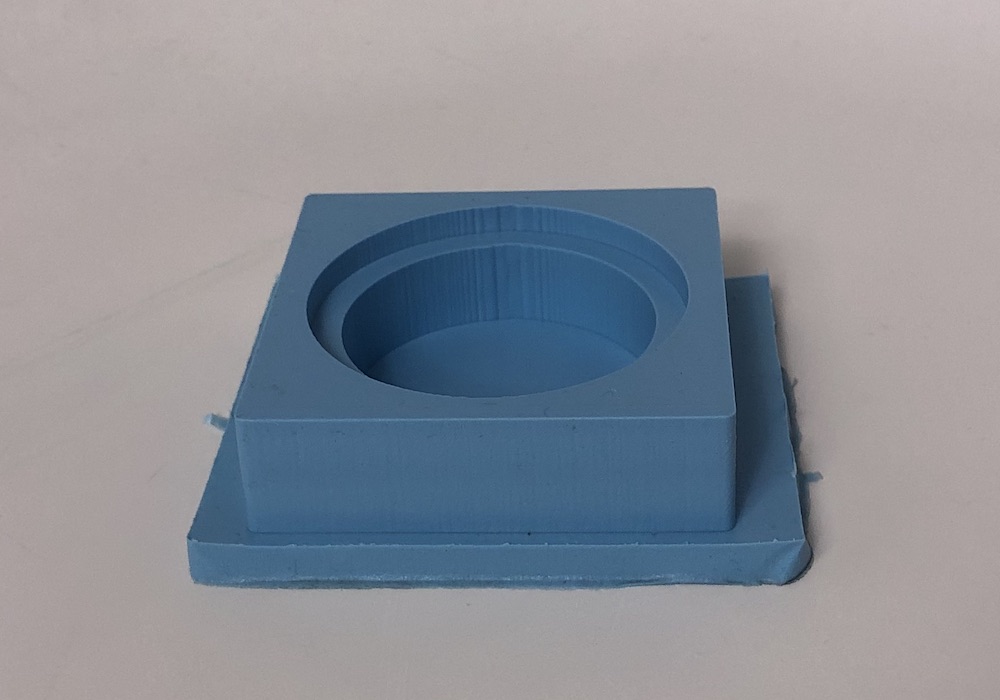
after 15 minutes, remove the silicone mold from the wax mold
creating the epoxy button
with the silicone mold finished, i put on some gloves and gathered:
two plastic cups
a popsicle stick
a scale
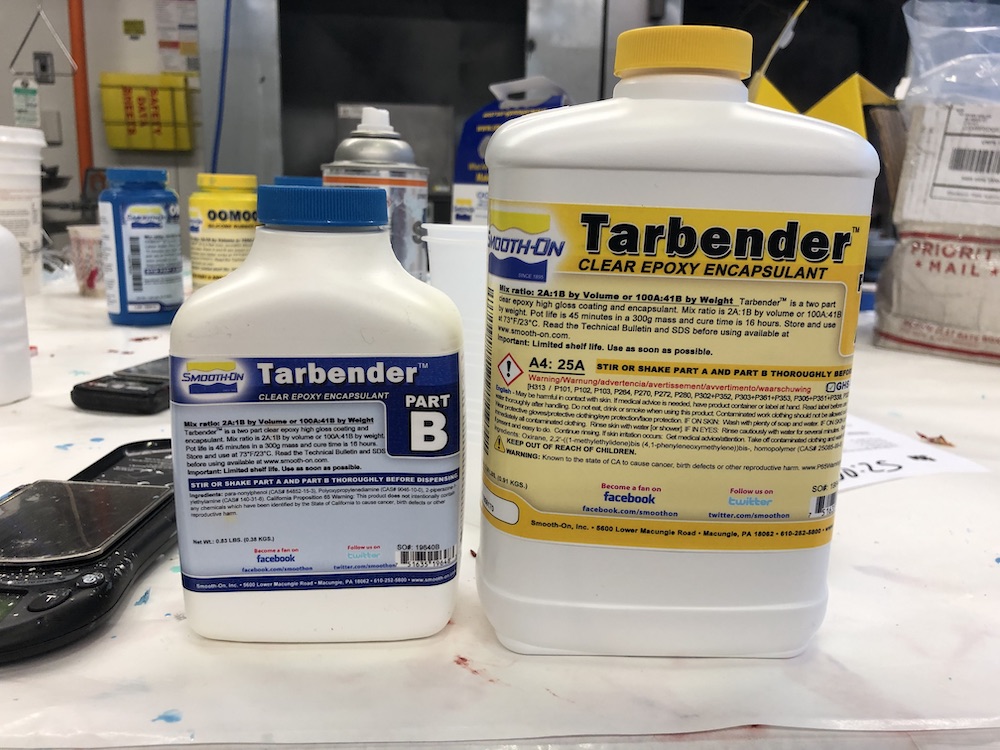
tarbender clear epoxy encapsulant
to create the final epoxy button with the 2:1 part a to part b epoxy mix:
place a cup on the sacle and tare it
pour 2 grams of part a and remove the cup from the scale
place the second empty cup on the scale and tare it
pour 1 gram of part b and remove the cup from the scale
pour the contents of the second cup into the first cup
mix the two vigorously until it is mixed well
pour the mix into the silicone mold
place the mold into the vacuum to remove internal bubbles
per the package instructions, let set for 16 hours
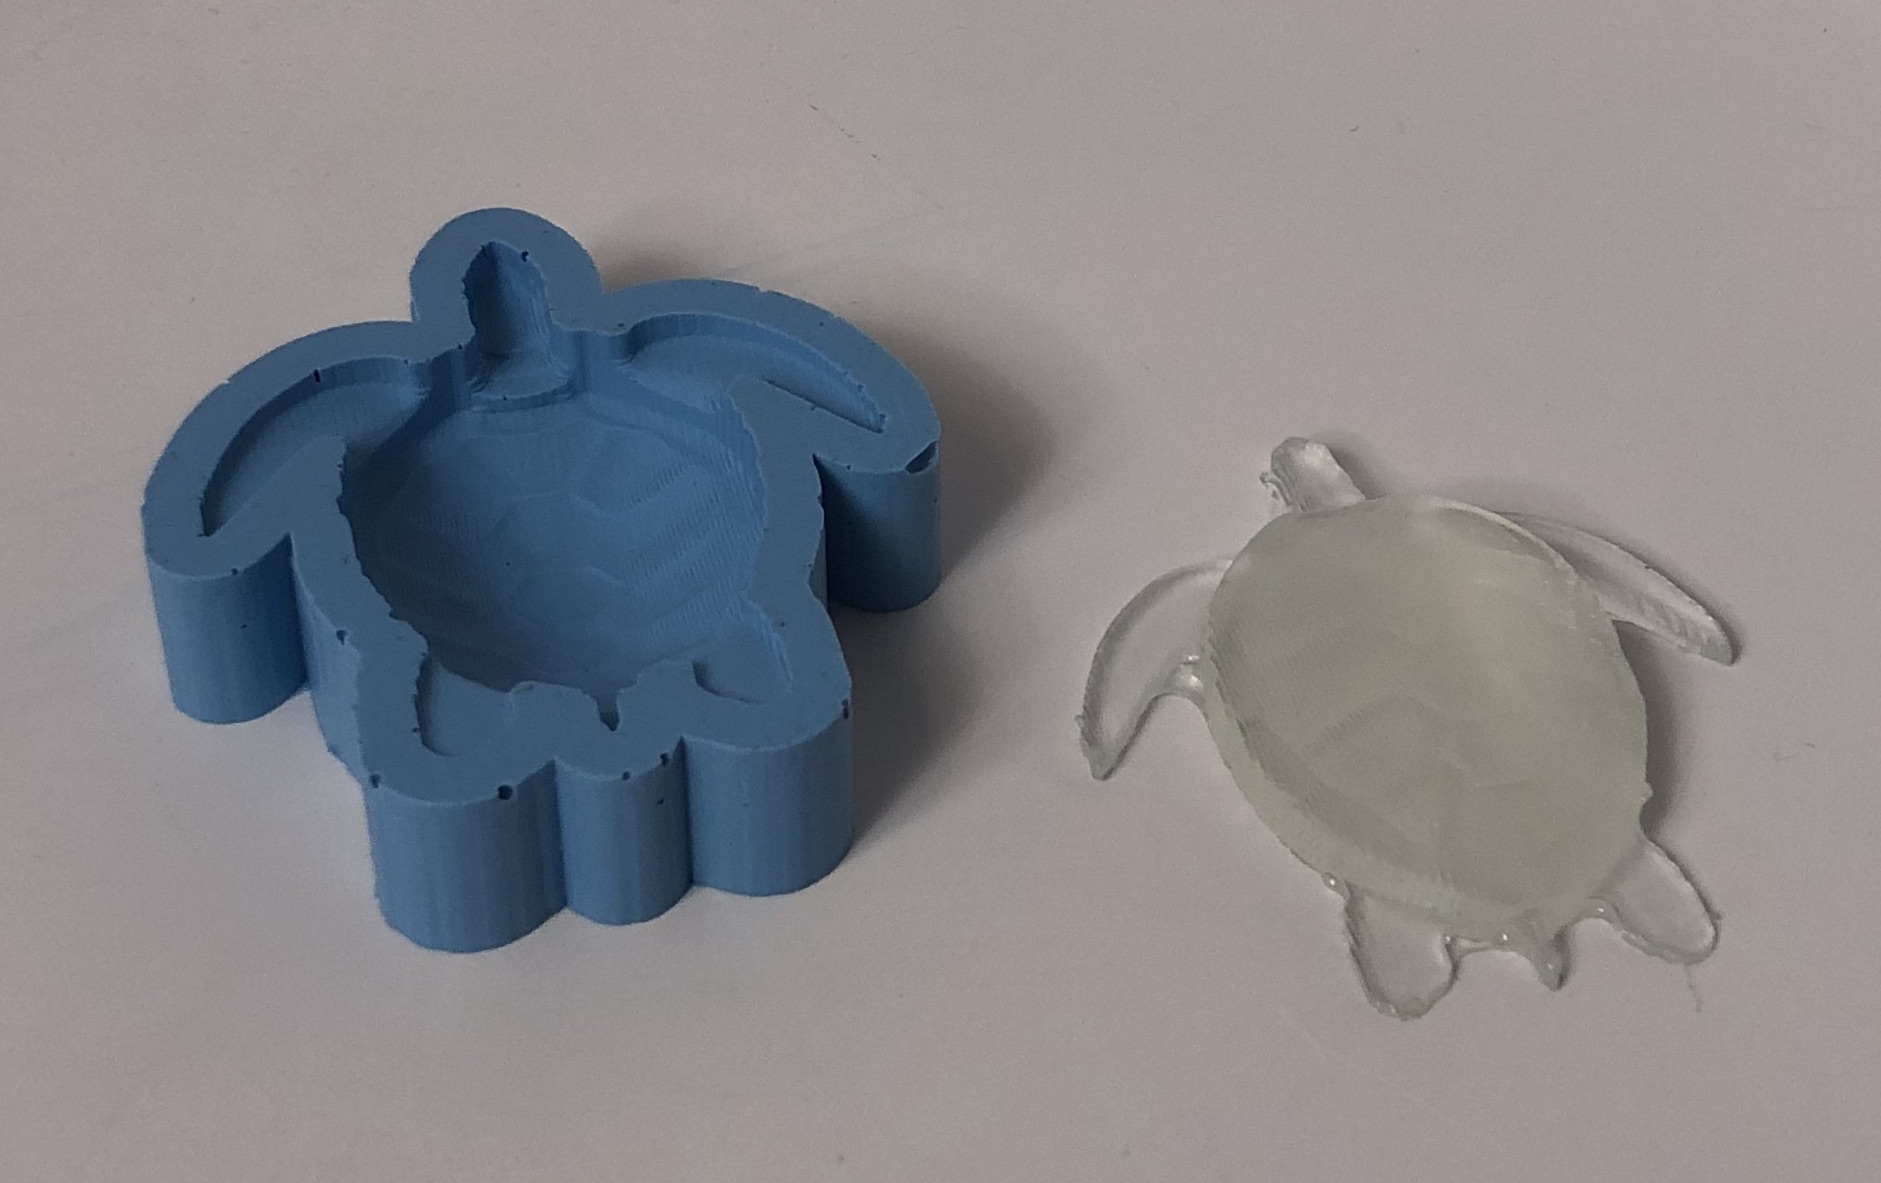
i had more epoxy mix than the button needed, so i took the turtle mold and poured the rest in there
after 16 hours, remove the epoxy button from the silicone mold
future work
for my final project, i'd like to add some coloring to the epoxy so that i can have color-coded buttons.
i also need to make sure to make the words i use large enough for the mill bit to cut into the wax mold.