Week 2 - project management, computer-controlled cutting
Project Management & git
This week began with at quick intro to project management and git, which I am pretty comfortable with already, but there's always something more to improve on and learn there.
One piece of advice Neil shared that I've gotten a lot of mileage out of has been "document as you work". & maybe an extension of that -- do tasks immediately, or get them down on a calendar/task manager, instead of just taking mental notes on them. To that end, I've been getting a first pass on the projects pages in so I have a place to put notes and images in real-time.
Computer Controlled Cutting
This week we're mostly taking our digital 2D vector/raster lessons from the previous week and converting them to physical creations!
Fabrication and cutting previously felt very abstract and inaccessible, so it's interesting to have a clearer mental model of how 2D things can be made.
Fab Lab Shop Demonstrations
This week was the first time visiting the CBA Fab Lab on the first floor of the Media Lab. It is an impressive shop!
Learning the Laser Cutter
John showed us how to use the laser cutter, printing Corel Draw on a computer next to the machine (and Rhino to convert images if needed).
Two types of cuts are possible, vector (all the way through, designated by "fine line" size on the drawing) and raster, which doesn't cut all the way through, but can be used to etch designs.
It was really interesting watching the laser cutter in action. Vector cuts produced tiny flames. Raster impressions looked like a printer head sweeping by, but with a series of tiny laser flashes leaving brown spots on the cardboard.
Learning the Vinyl Cutter
Tom showed us how to use the the vinyl cutter (a Roland DS24), which uses a tiny blade and rollers to cut shapes on vinyl stickers etc.

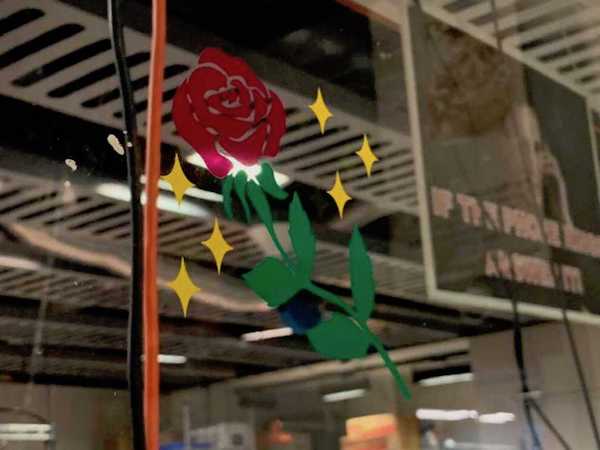
Tom demonstrated how to apply tri-color vinyl cuts, with a flower he had pre-prepared onto 3 pieces of transfer material:
Round 1 of playing with the Laser Cutter
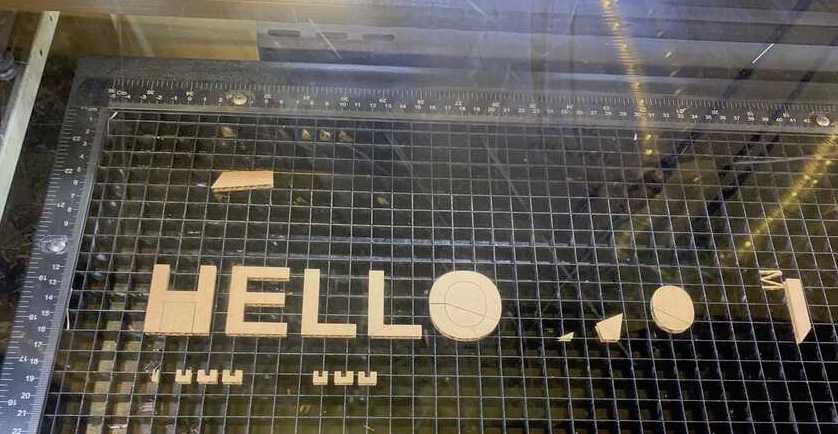
My first time trying the laser cutter, I decided to play with some simple text outlines and drawing some vector shapes.
Interestingly we encountered a pretty rare and interesting issue with something around the laser machine or cutter, where the laser would still be firing during transition between letters. This resulted in an interesting-looking letter cuts.
For my first shot, I converted some "HELLO WORLD" text to curves in CorelDraw using `ctrl-Q`, but later learned that is unnecessary, since the text is vector-based already and only needed to be set to no fill + hairline outline.

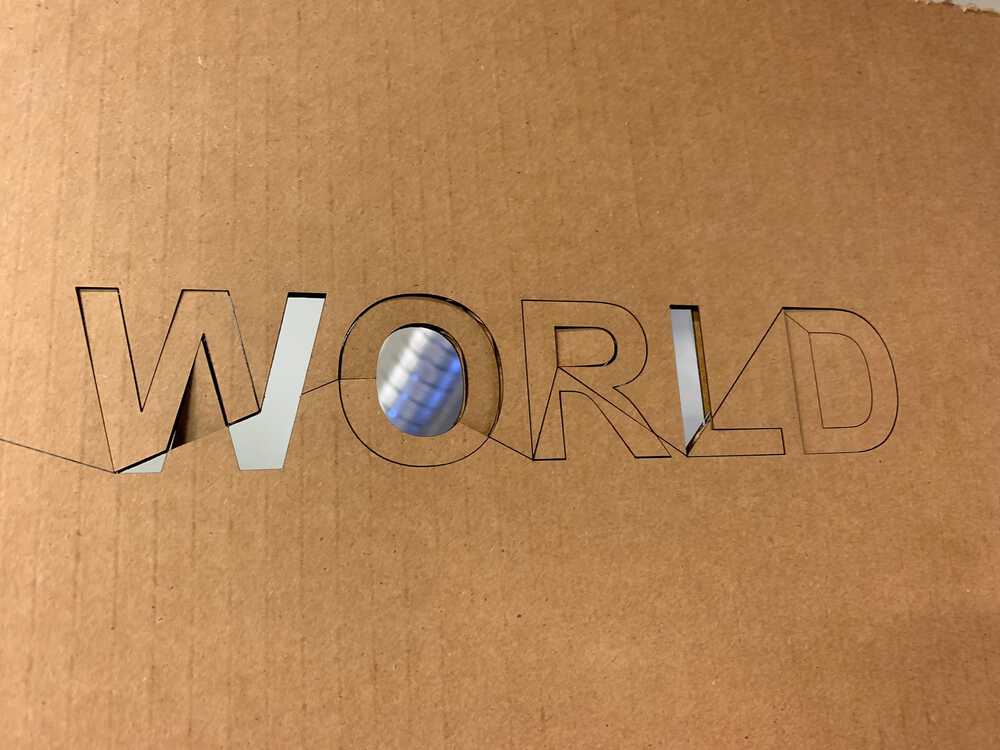

That didn't end up being the problem, since using the outline method produced the same result, and Tom tried it with a fresh document and his preferred method of text outlining and the same cross-cuts occurred.
If we had more time while it was continuing to happen, the next things I would try to rule out machine/computer state would have been to power-cycle the cutter and log out / log back in on the Windows computer.
At the end, I had a bunch of letters, and my quickly drawn vector car. Awesome!
When I walked back to the lab, someone asked what the burning smell was. Laser'd cardboard!
Vinyl Cutter Round 1 - A rectangle!
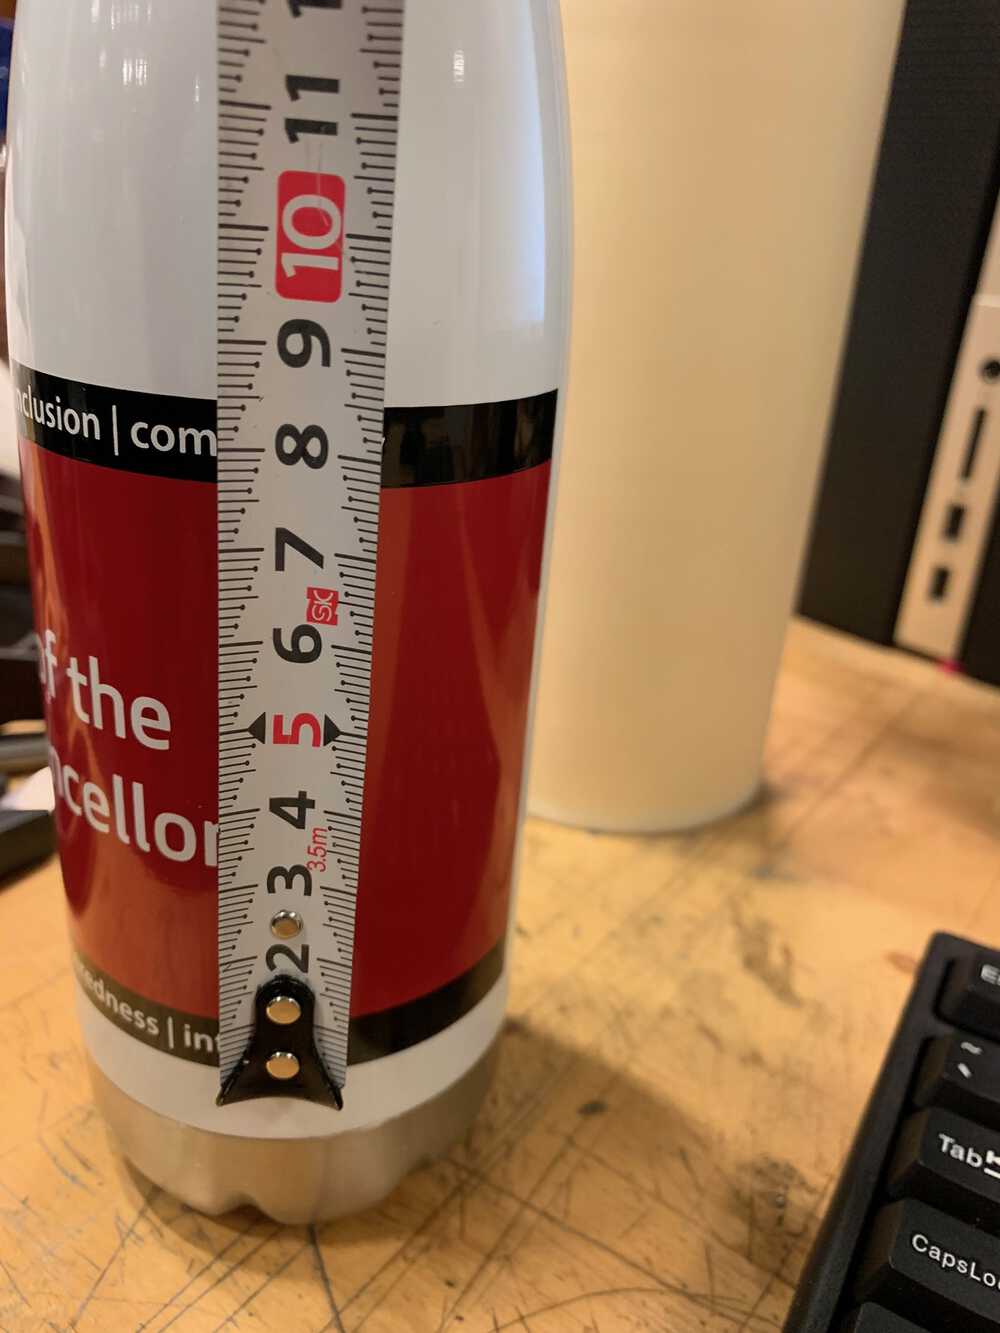
I wanted to do a quick exercise to go through the motions of using the vinyl cutter, so I decided to retrofit a shiny metal water bottle I picked up at the grad student orientation fair to be a canvas for some playing with the vinyl cutter play.
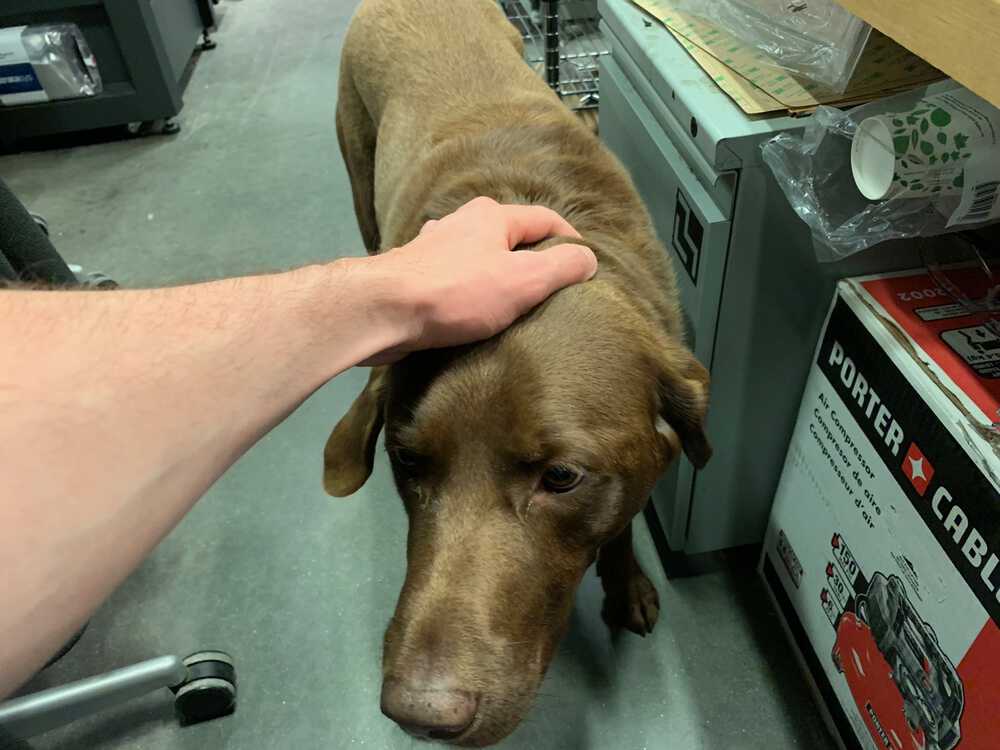
I also met Lola and gave her some pets.
I measured out the width of my water bottle's branding section and used Corel Draw to create a rectangle.

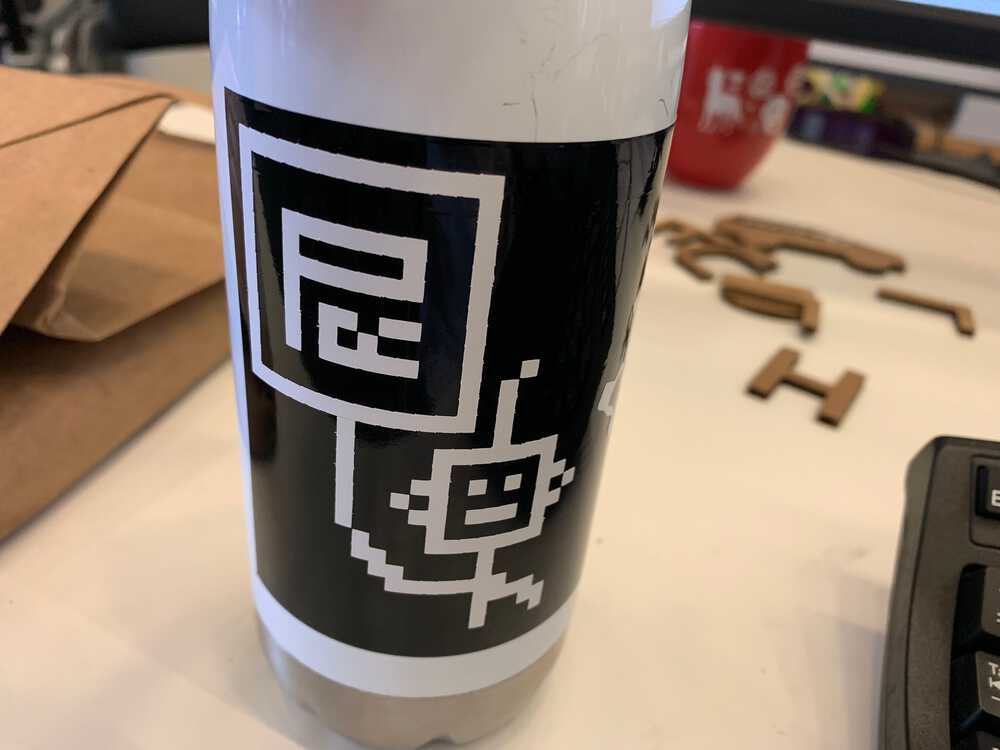
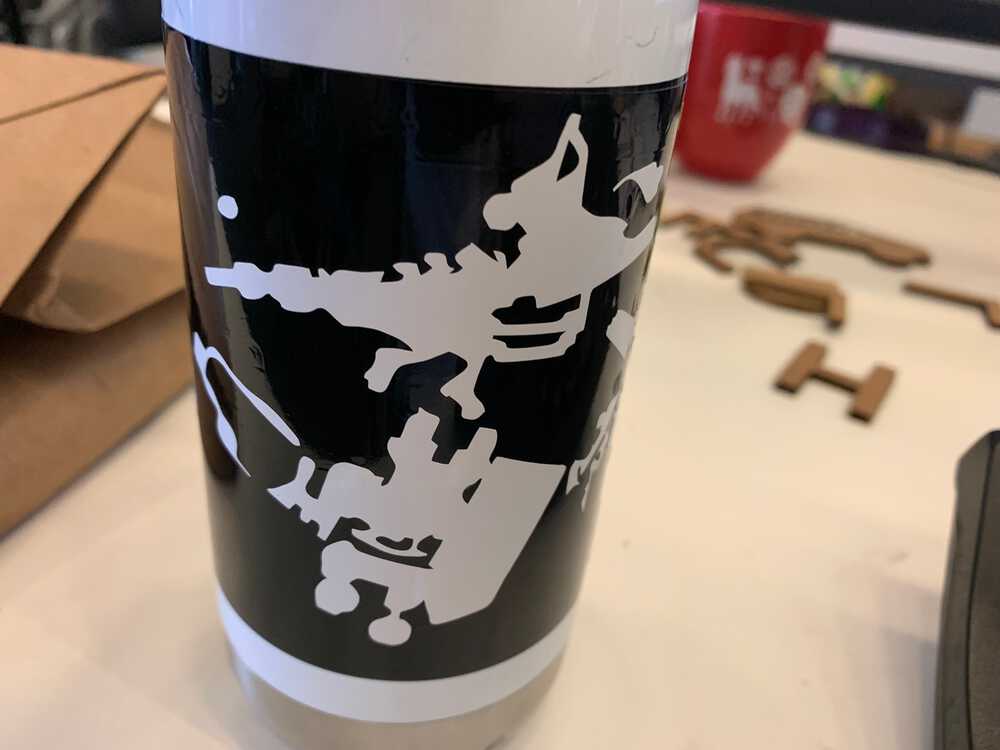
Vinyl Cutter: Round 2 - Pixel Art Cut-out!
Pen and Paper Protoyping: Laser-Cut
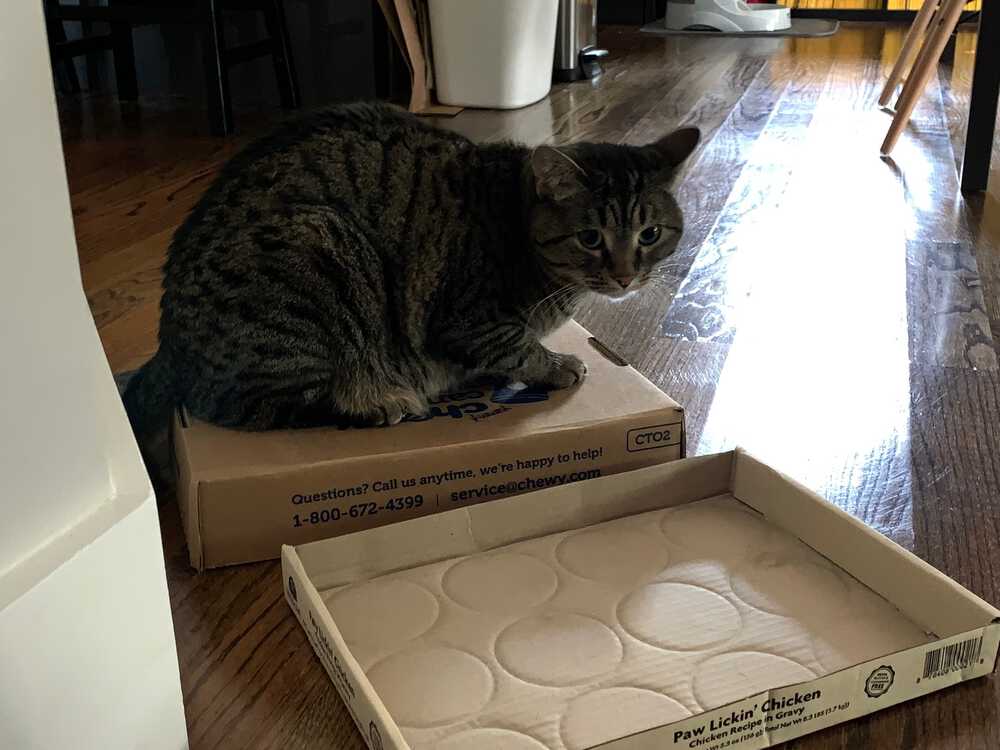

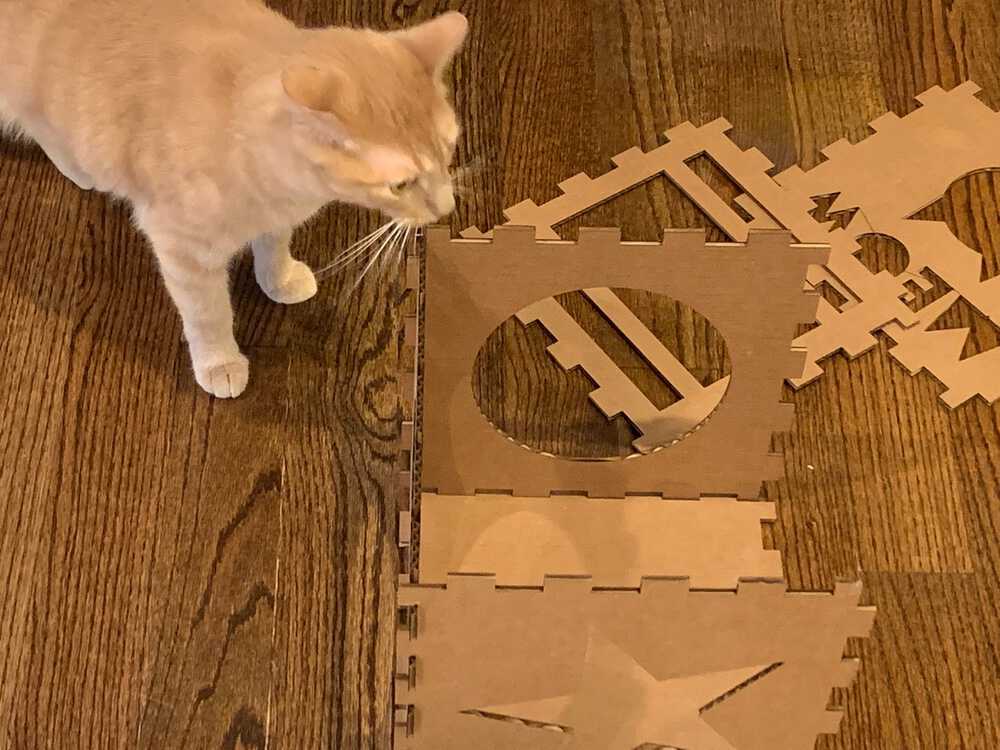
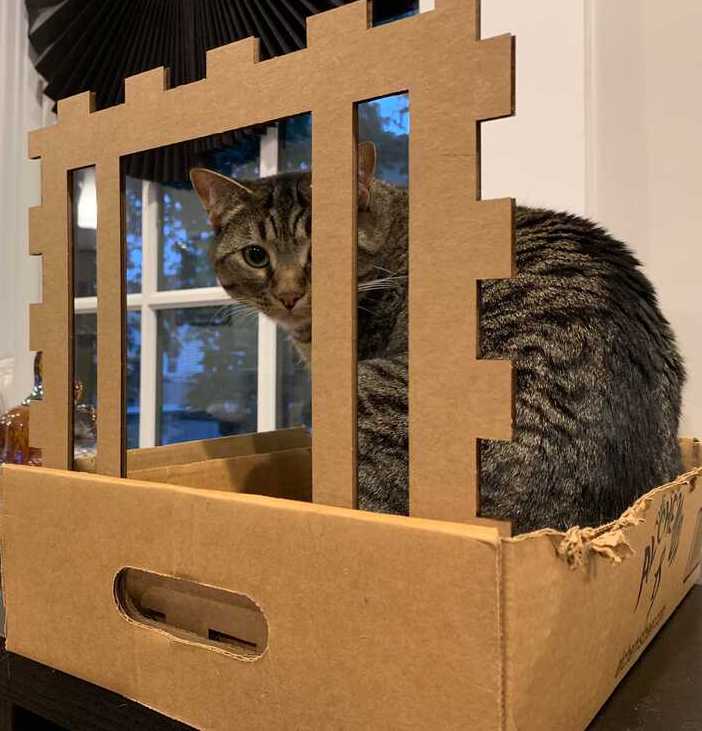
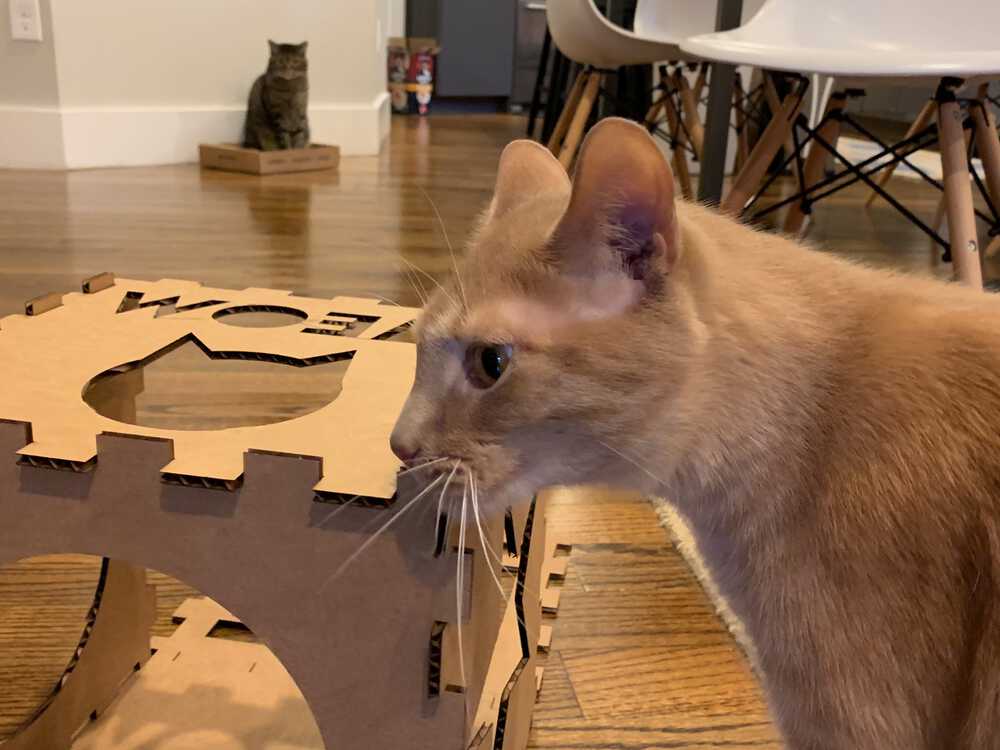
Playtesting: Laser-Cut Modular Cat Boxes