Week 3: Electronics Production
Group Work: Characterize the design rules for your PCB production process
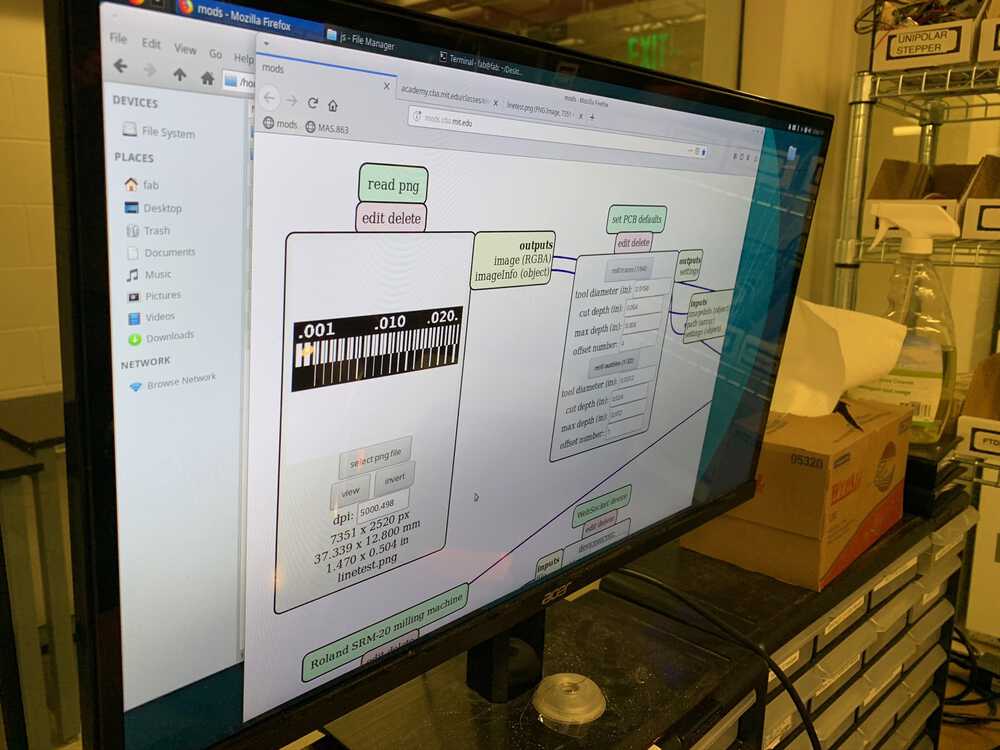
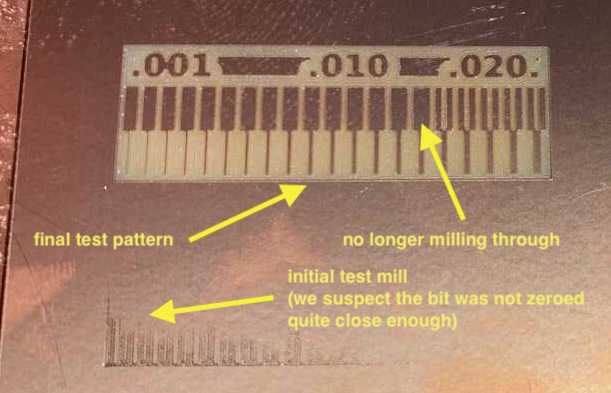
For the group work, once we had a demo of how to mill the PCB, we used the traces line test pattern to test the width tolerance of the milling machine.
The group documenting the process:
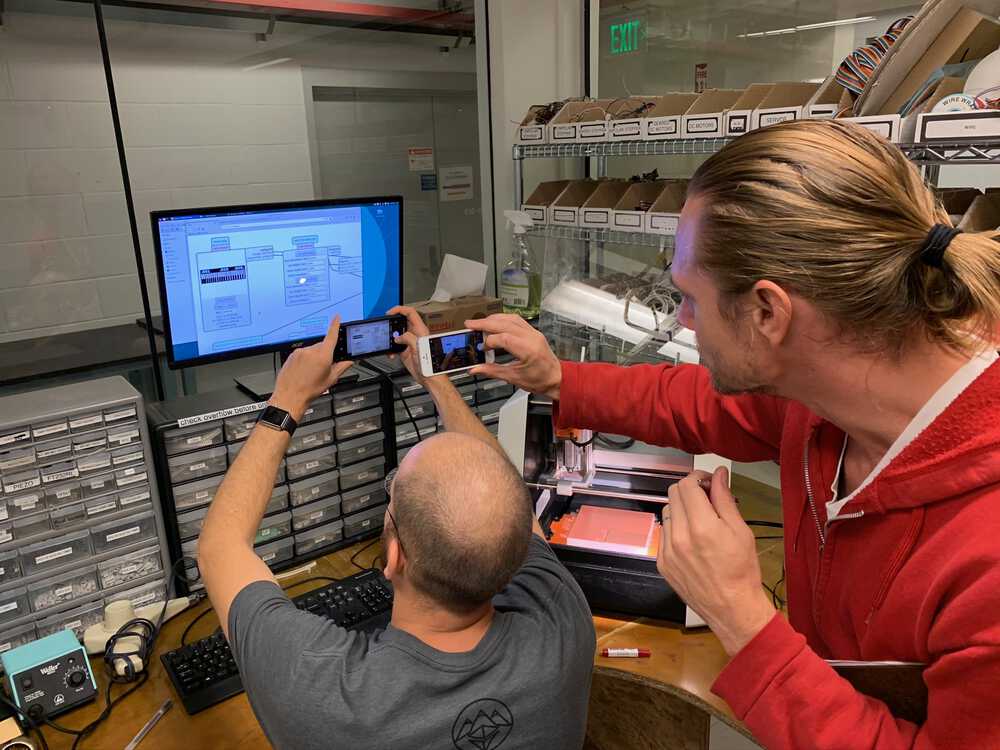
Milling in progress:

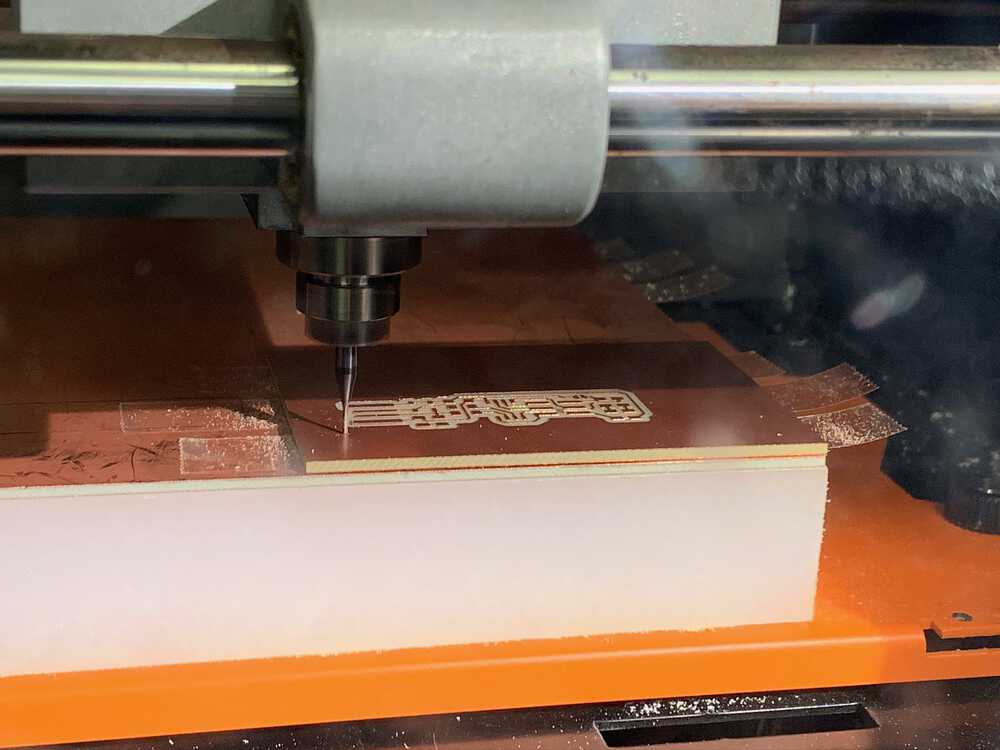
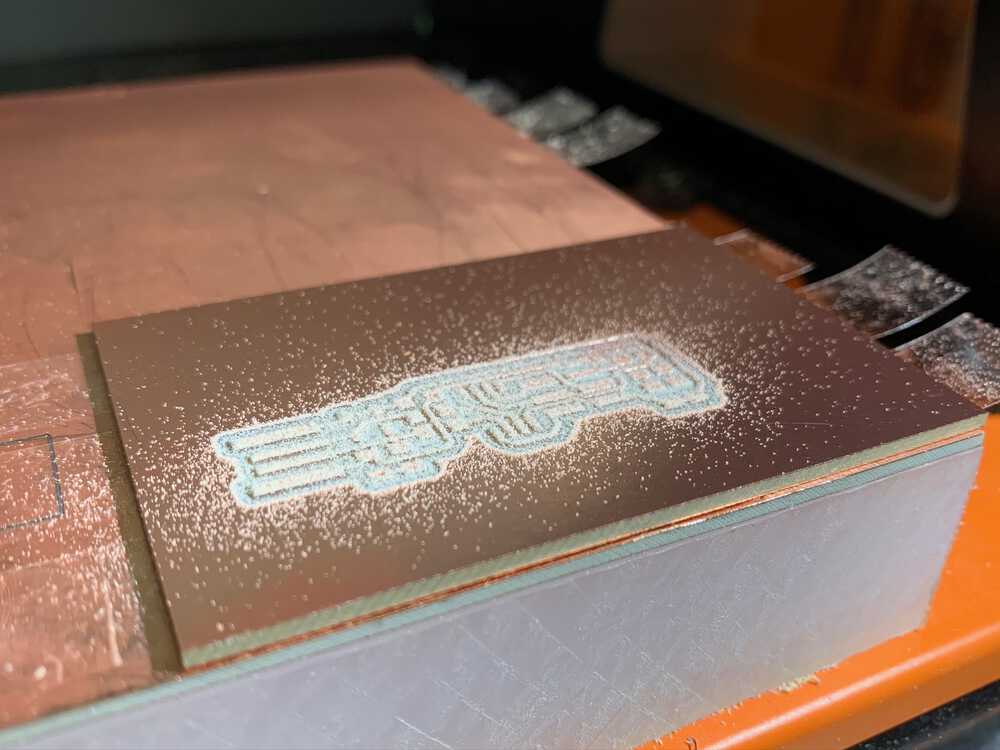
Milling the Programmer
Milling was one of the more time consuming portions of this. My initial etching was too shallow on the right side of the board, possibly due to crud on the drill bit (I now know we should tap it down a few times just before zeroing), otherwise not properly zeroing the drill tip, or due to the slope of the base plate / sacrificial layer. Using the same origin, I increased the depth a bit for second and third passes and salvaged the board.

I did a second board as well, positioned further up on the mill bed. That time it worked perfectly.
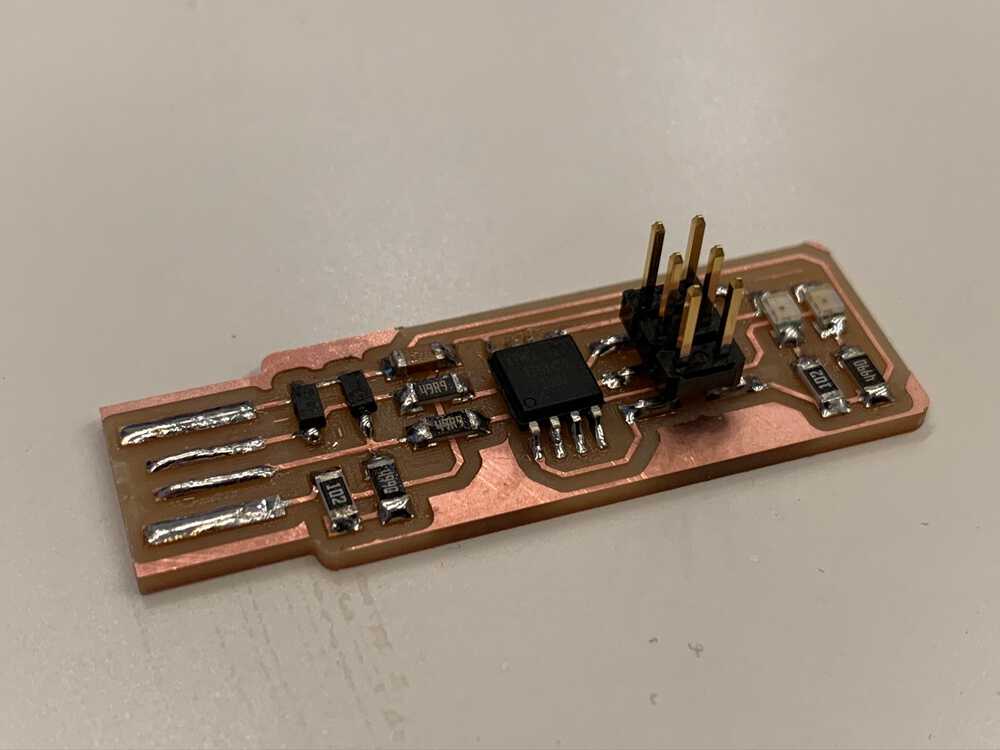
Soldering the Programmer
I had done only a tiny bit of soldering in the past, and with no instruction, so I wanted to learn better habits. Someone mentioned Jiri was amazing at soldering, so I joined him for a soldering training session.

Some concepts that were new to me were (1) the use of flux and (2) how to approach soldering components (heating both sides of the connection, starting with a dot in order to stick the component in place. I loved how flux could be use to salvage oxidized solder, and tried to get clean, smooth solder for each joint, and (3) how to read on-resistor resistance values (multiply by 10^N where the last number is N, unless it's proceeded by an R in which case that's the decimal point)..

Programming the Programmer
Programming the programmer was relatively straightforward, surprisingly all of the soldered components worked first-shot! I used a programmer we had available in our lab, hooked it up the header pins I had soldered in, and ran avrdude to program it.
I then de-soldered the connection at the top of the board using a desoldering braid. This took a while, I later learned that applying some extra solder / flux and heating the braid itself rather than the solder can be helpful for a clean de-solder.
Success! The board now shows up on my computer's device list and can be used for programming other boards.