Week 8: Molding and Casting
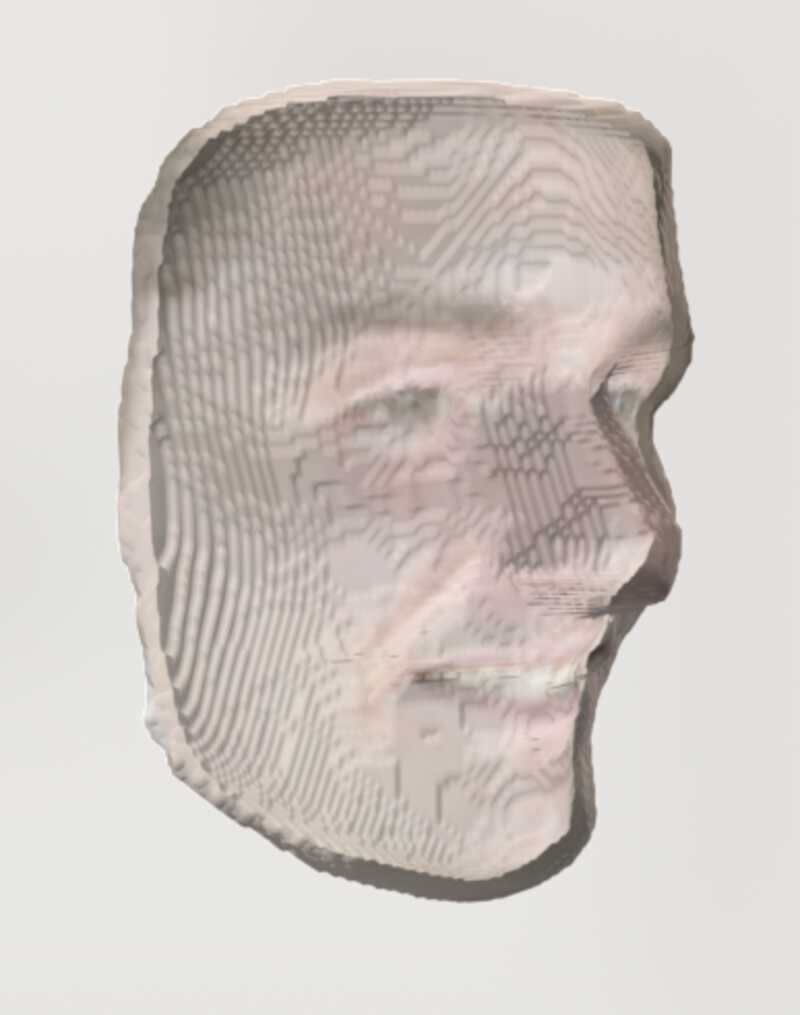
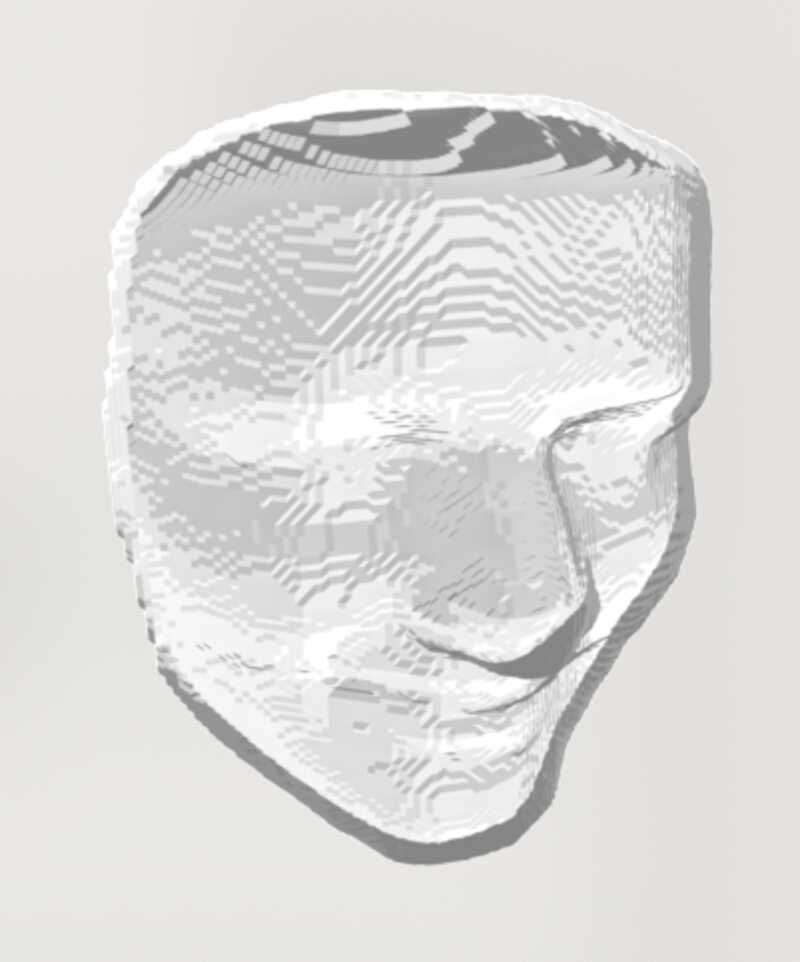
I began by playing with "Large Pose 3D Face Reconstruction from a Single Image via Direct Volumetric Regression", as I wanted to mold something using a variety of faces for Han Solo style carbonite, coins, or a chocolate/ice mold.
The paper's website had an issue I reported, so I went ahead with trying to get it up and running on a separate machine.
Notes from attempting to troubleshoot getting the paper's example code up and running:
# Setting up vrn
git clone https://github.com/AaronJackson/vrn
cd vrn/docker
docker build -t 'vrn' .
docker run -it vrn bash

# Attempt to fix issue in docker image
# https://github.com/AaronJackson/vrn/issues/136
git clone --recursive https://github.com/hughperkins/distro -b distro-cl ~/torch-cl
cd ~/torch-cl
bash install-deps
./install.sh
source ~/.bashrc

# Try installing torch
exit
docker run -it vrn bash

git clone https://github.com/torch/distro.git ~/torch --recursive
cd ~/torch; bash install-deps;
./install.sh
source ~/.bashrc

# Various other package-related issues ensued!
I finally got face transfer working after finding a Keras/IPython version of the model.
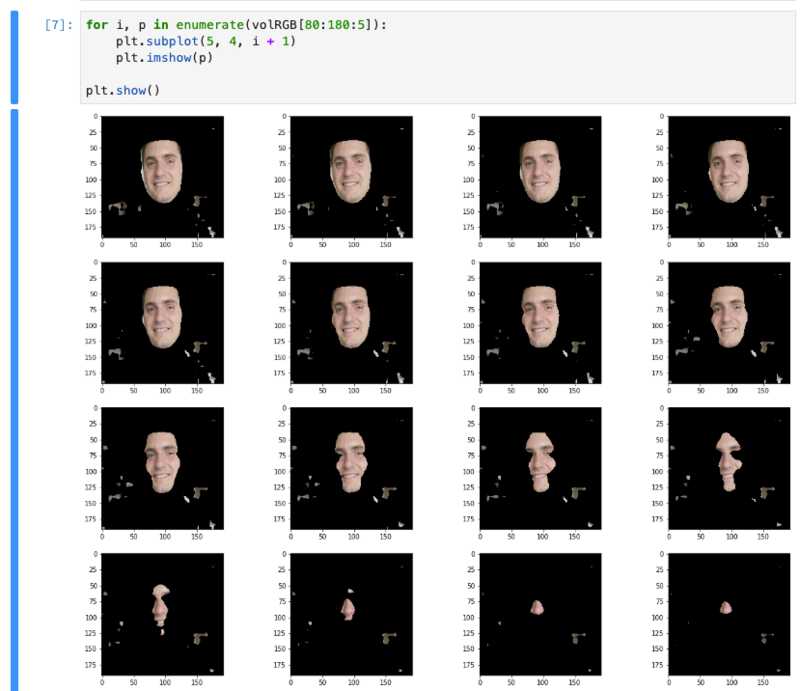
Once the paper's website was fixed, that gave a good result as well (and I could convert from the full-color obj to an STL):
As my milling time was approaching, I decided to create a simpler model altogether.
Attempt #2!
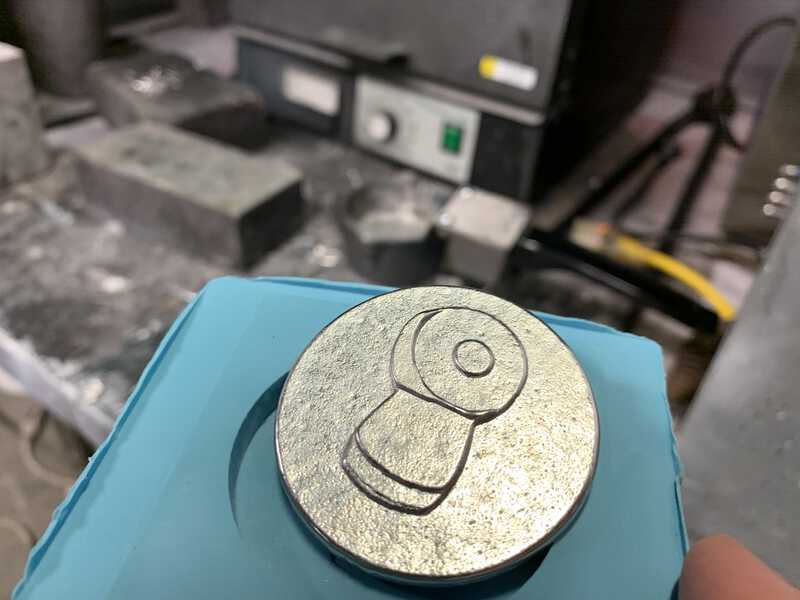
Our lab periodically runs robot co-design studies, and uses tokens as a physical board-game-like item in the process of designing things. I thought it would be interesting to create a physical token version of these!
In talking with Anastasia who runs these studies, she said what would be really neat would be some unique tokens to give participants after the studies.
I took a vector version of the robot icon in Illustrator and imported it into Fusion 360 as a sketch.
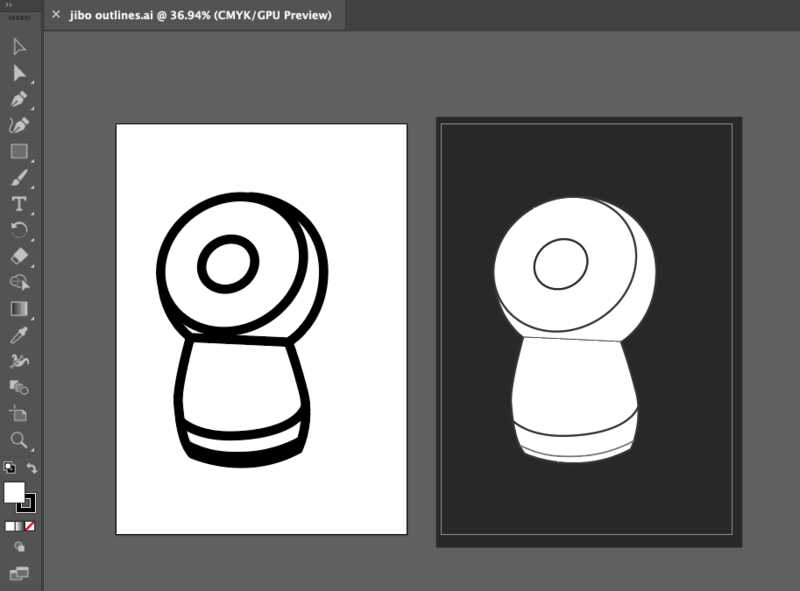
Somewhere between exporting from Illustrator to SVG, to importing in Fusion 360, some of the constituent shapes were not continuous, so wouldn't be conducive to extrusion.
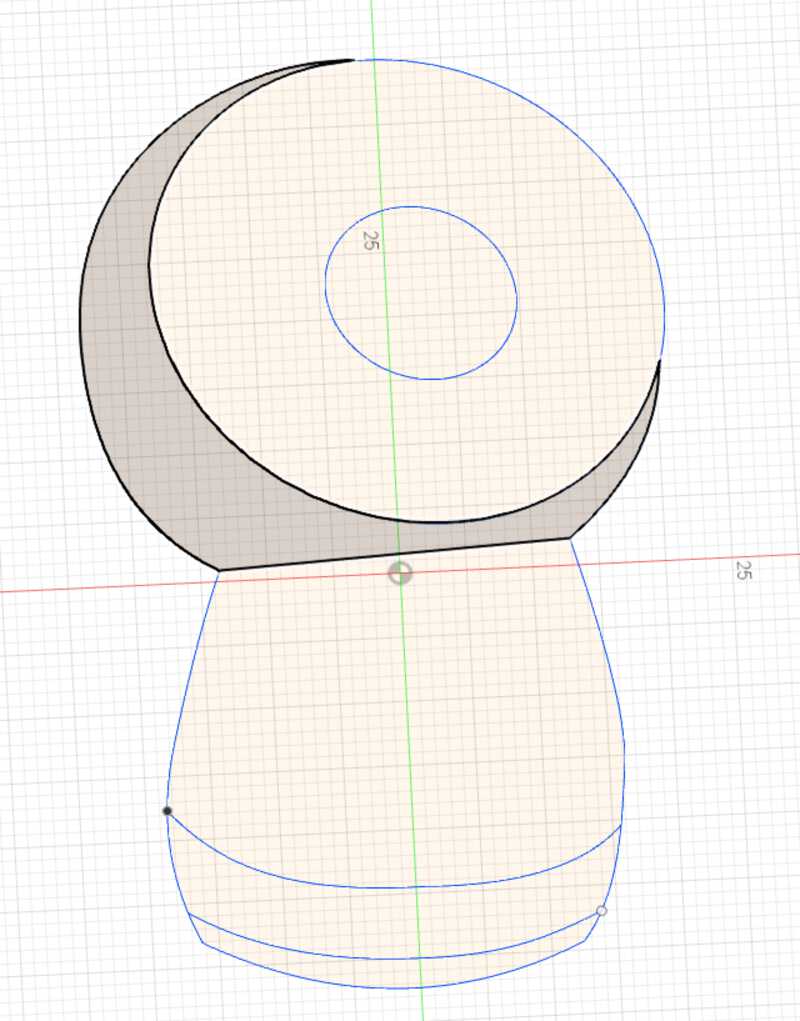
I added a few connecting lines and then pushed/pulled the pieces to give a depth effect.
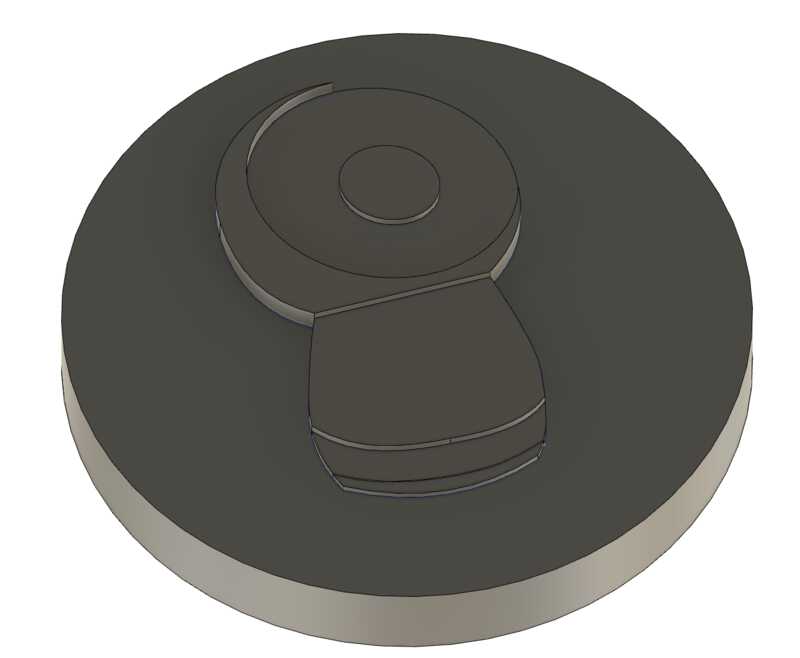
The shapes I ended up with weren't amenable to any sort of global filleting, I believe due to some of the tight corners.
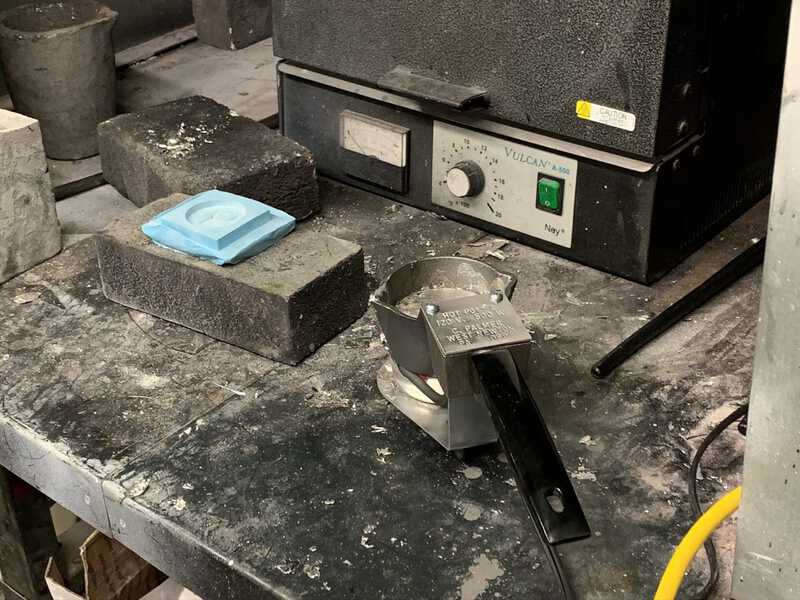
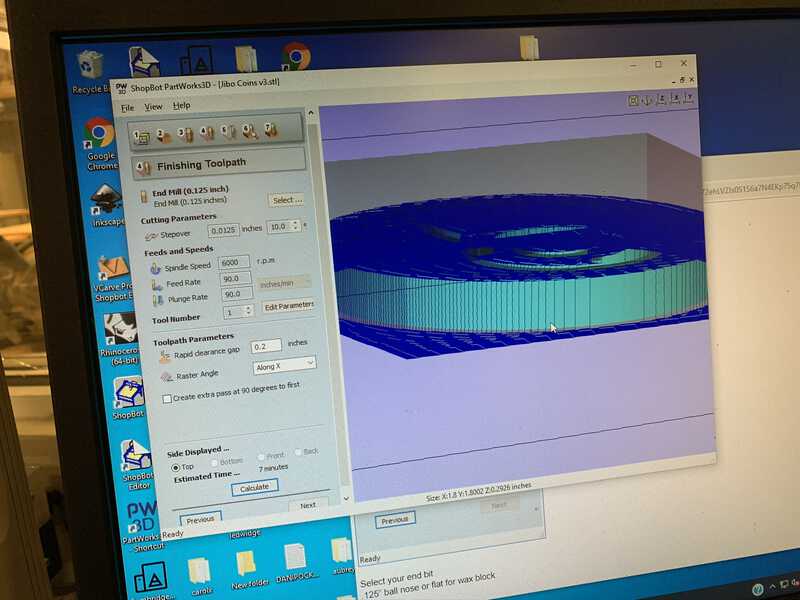
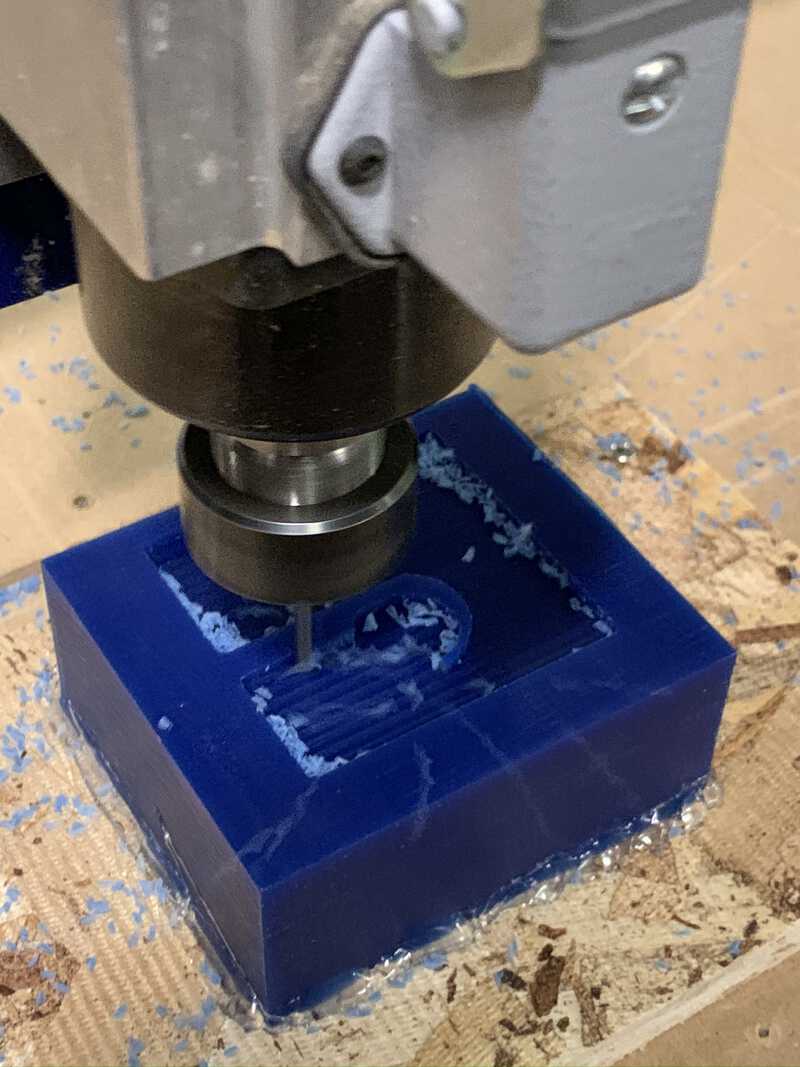
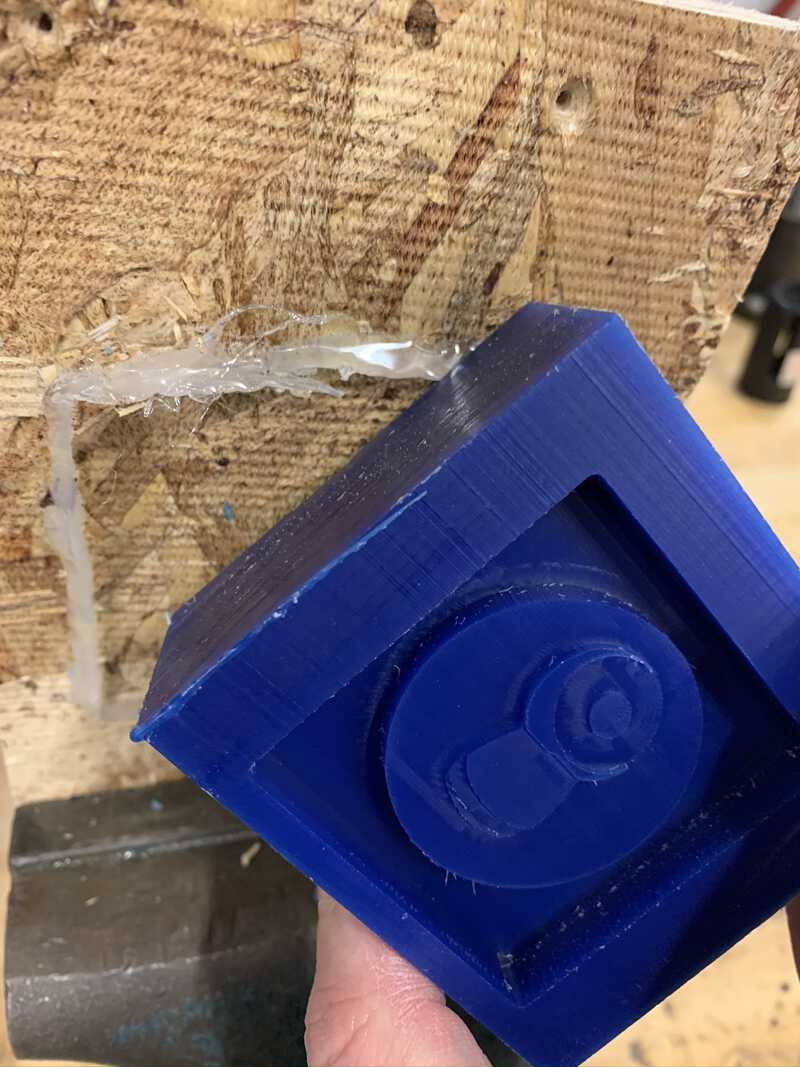
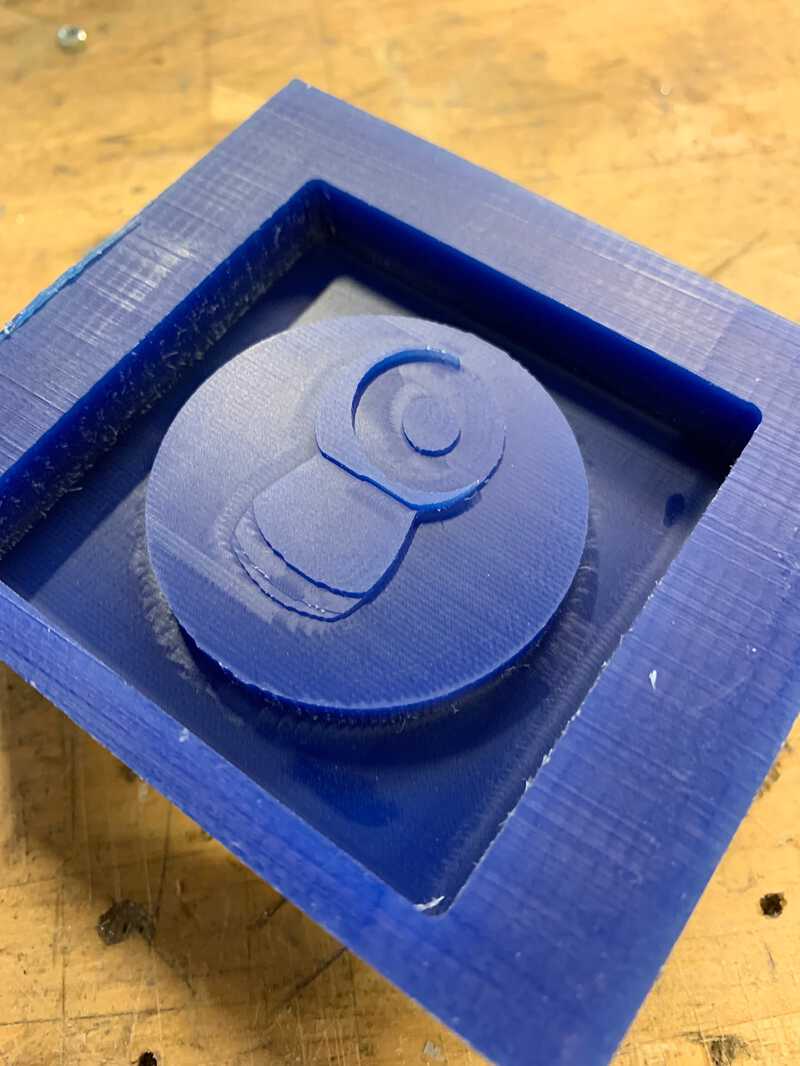
Milling the mold mold!


Casting the casting mold!
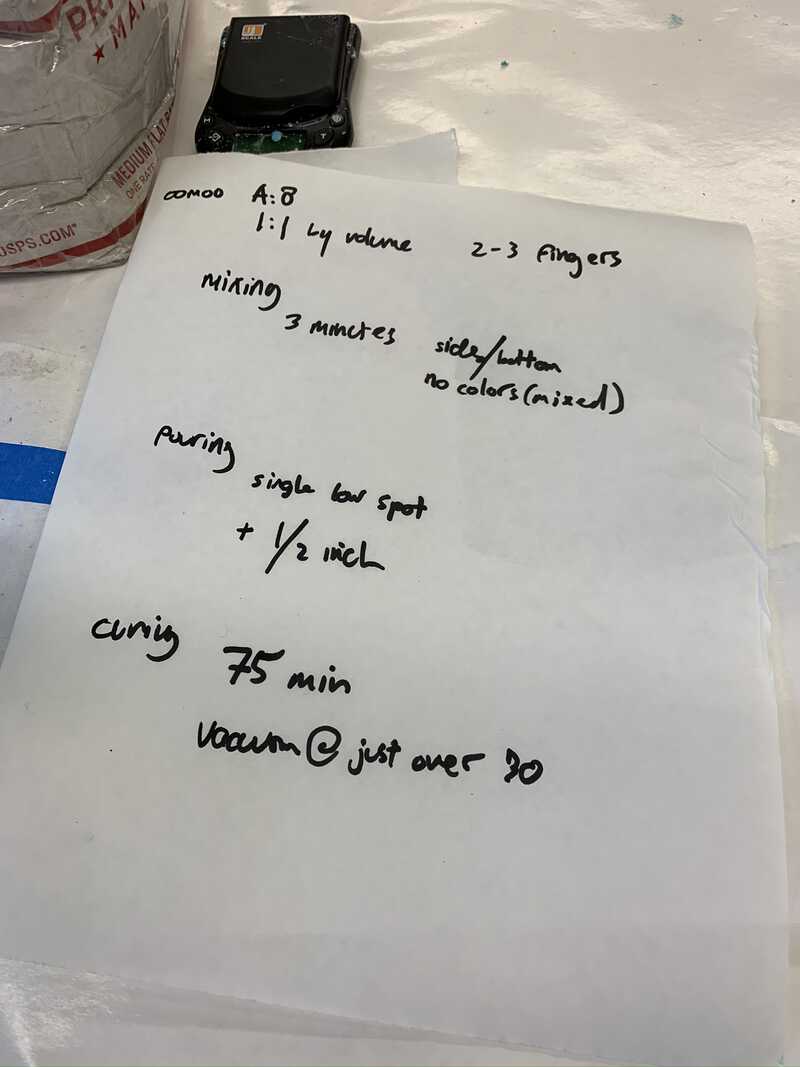
I wrote up my notes from the oomoo info sheet before starting.
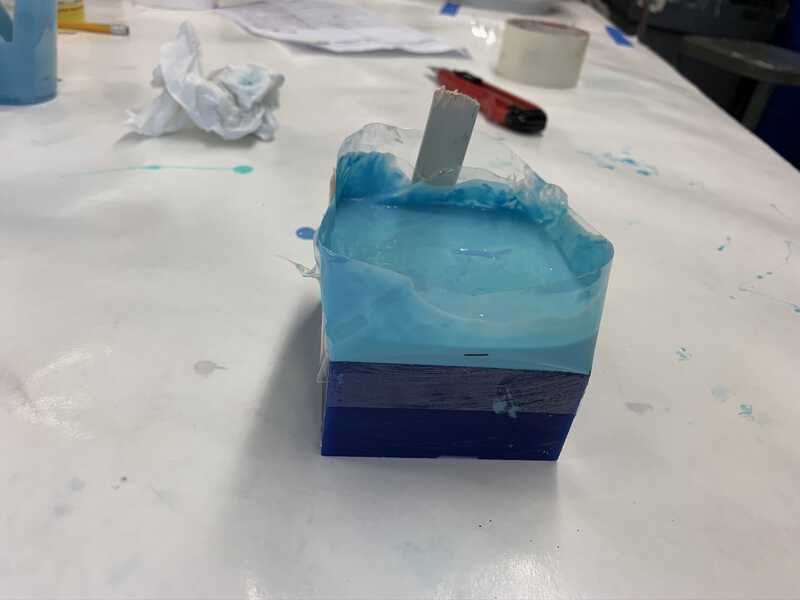
I realized there most likely wasn't quite enough clearance between the coin top and the top of the wax brick, so I used tape to create an outer wall.
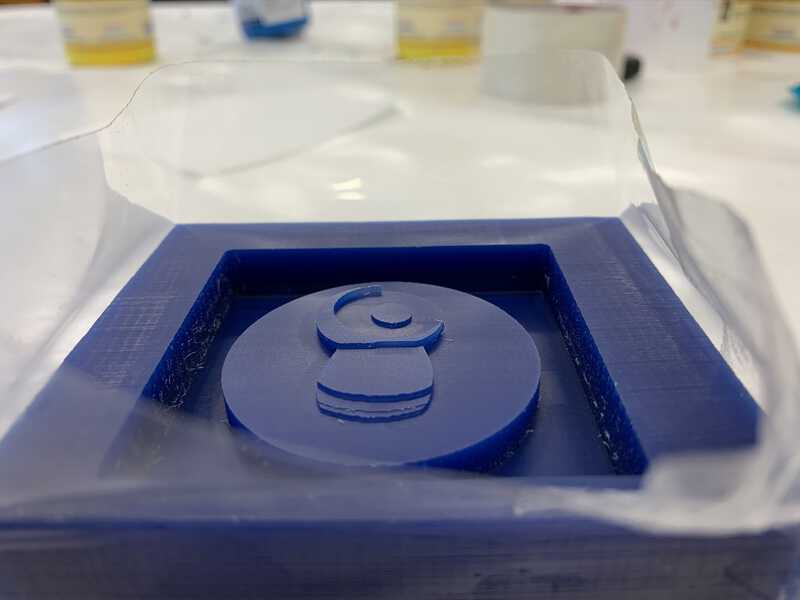
I poured the oomoo into the mold, and waited 75 minutes.
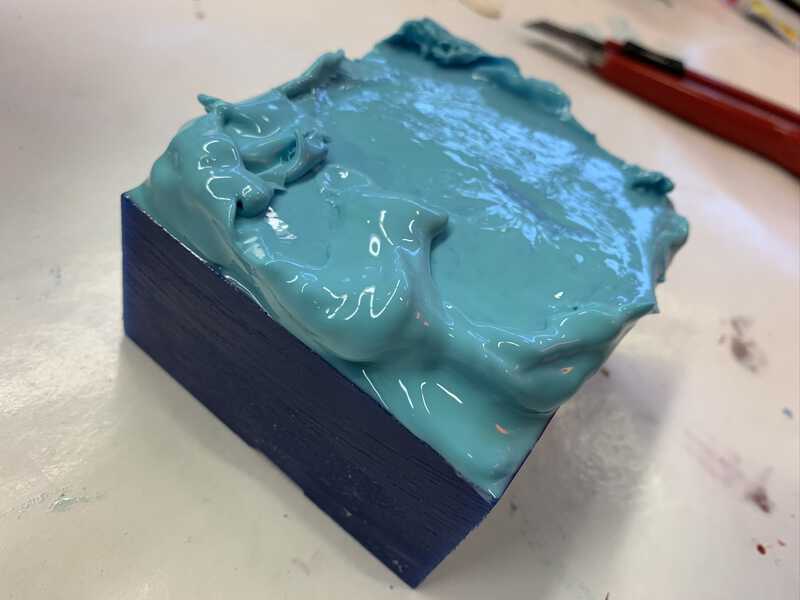
Bad news oomoo
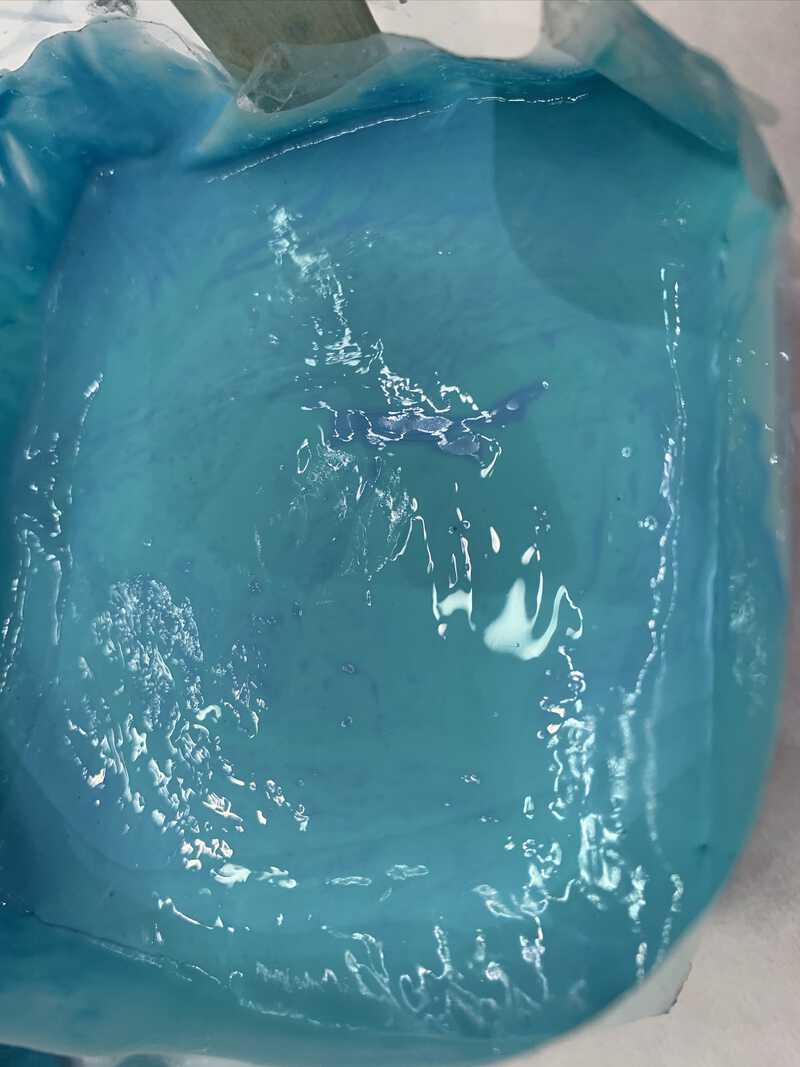
Turns out I most likely didn't mix the oomoo thoroughly enough (I believe since I used one of the smaller cups, the more complex plastic shape of the bottom of the cup resulted in under-mixing of the bottom material.
Sadly, I had to remove the half-liquid, half-solid oomoo from my mold.
And then I spent a good bit of time wiping off all of the oomoo from the nooks and crannies of my mold in preparation for round two.
And then I spent a good bit of time wiping off all of the oomoo from the nooks and crannies of my mold in preparation for round two.
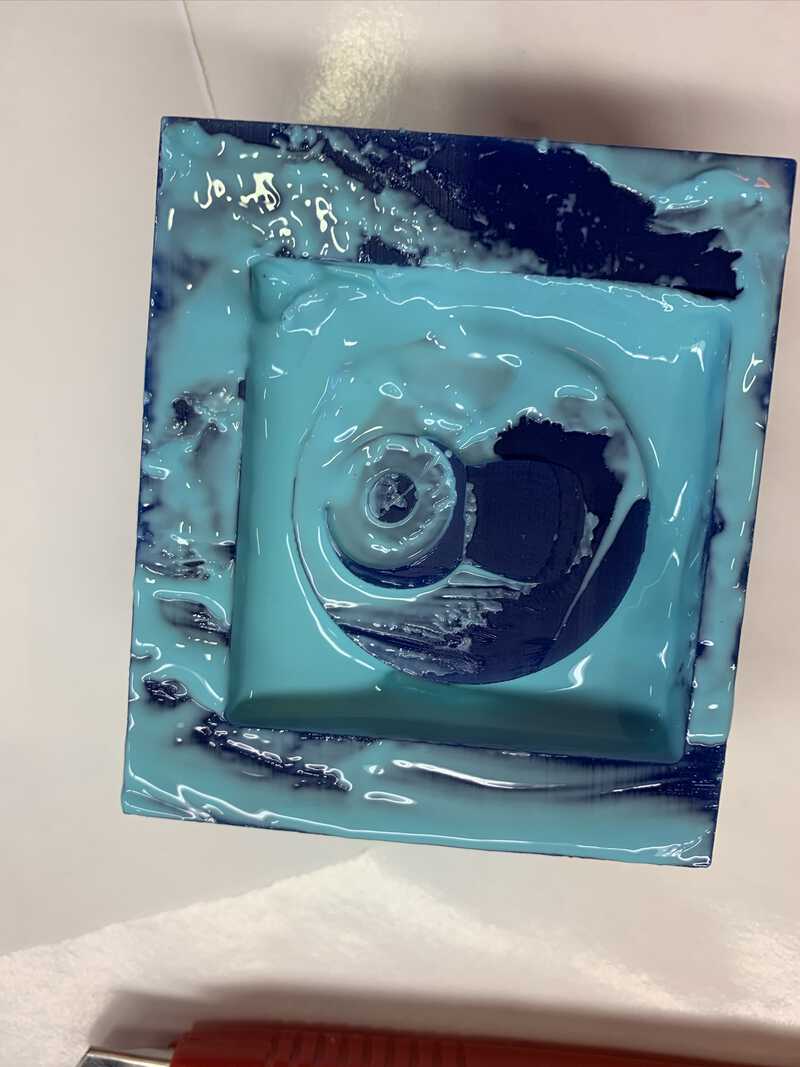
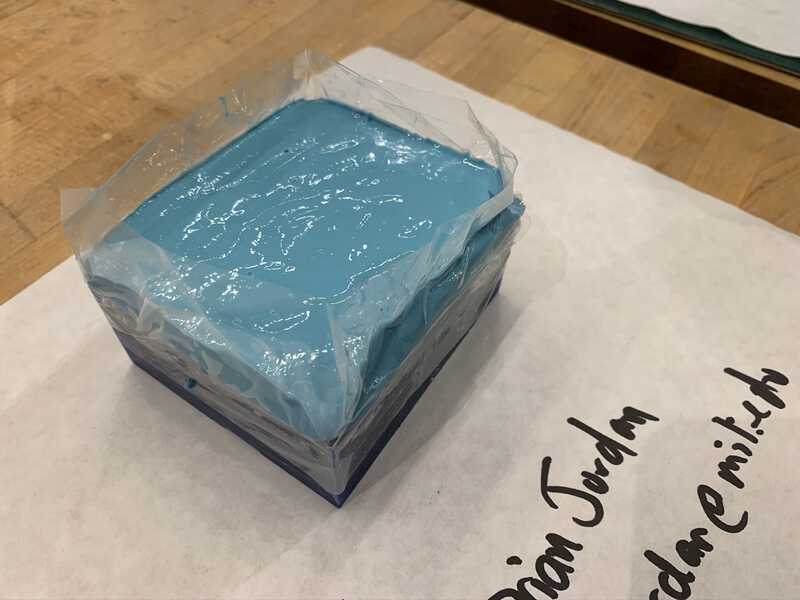
Casting the casting mold (again!)
I did another mix and pour, and this time it came out a very consistent color with no multi-color lines.
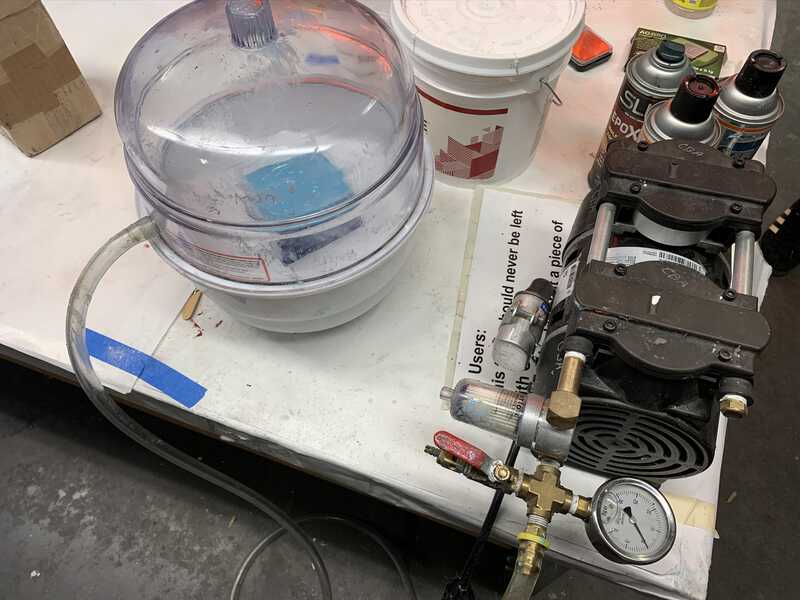
Both times I did a bit of vacuuming of the oomoo material, going to just over the 30 mark.
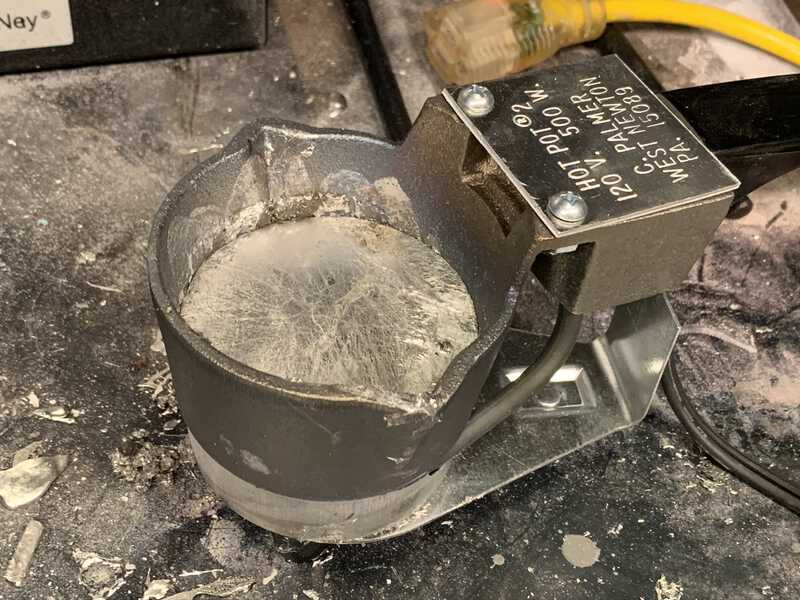
Casting with the casted casting mold!