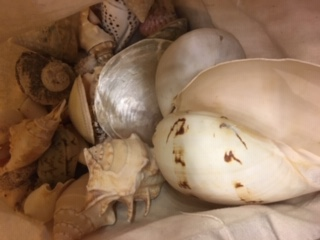
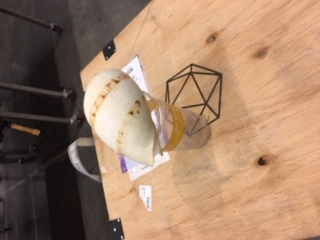
My final project involves sculptures of seashells so I started this week by creating a small-scale seashell mold that fit inside the wax block we were given. First, I purchased a pack of seashells ranging in size and shape from the craft store.
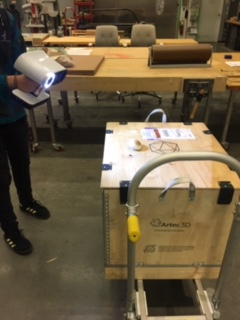
I decided to 3D scan the shell. The first scanner I tried was the new Artec 3D Scanner. This very state-of-the-art device is great at getting detail on very large objects. It turned out not to be ideal for my smaller-sized seashells. To use the scanner, you hold down the scan button while moving around the object. The Artec display reading shows what it's scanning — in green if the scan is good quality (good distance away) and red otherwise. We figured out with some testing that putting the object on a clear pedestal (improvised here by an empty plastic cup) allowed a cleaner scan of the bottom edges.
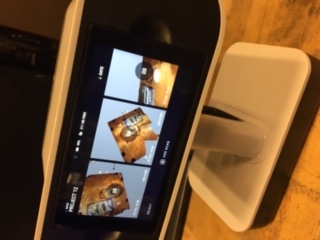
Once the seashell was scanned, we loaded it into the Artec software and cleaned out non-seashell objects. However we were not able to progress further with the Artec due to software issues — the editing tools would not work even when we tried several different scans.
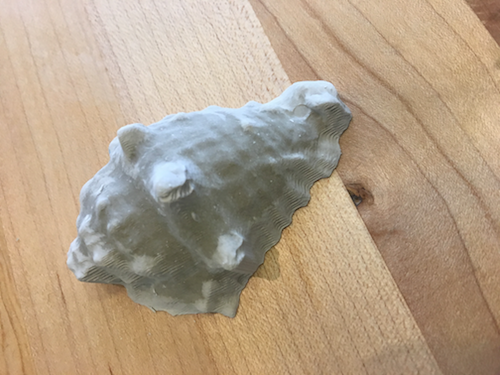
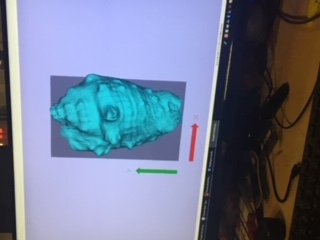
I then moved on and used the NextGen scanner which is more optimized for a smaller object like a seashell. The resulting scan was successful and looked like this:

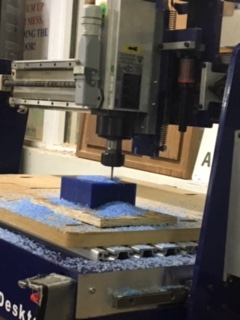
I then cleaned the scan, exported an STL and opened that STL in Partworks. I used partworks to create the Roughing and Finishing toolpaths for the Shopbot tool.
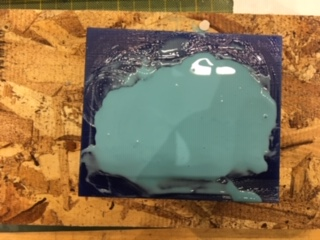
Milling I used the Shopbot tool to mill the model out on our block of wax screwed into a piece of wood.
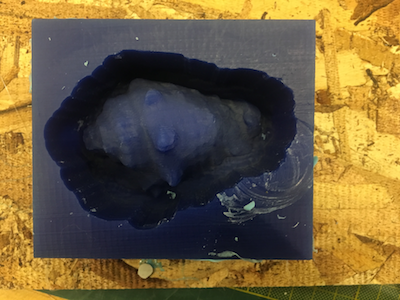
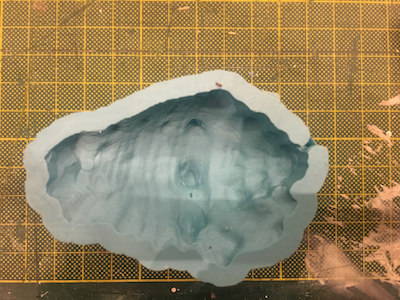
Casting I created a silicon rubber mold by filling our milled wax block with OOMOO.
I poured plaster into the mold and let it dry for half a day.
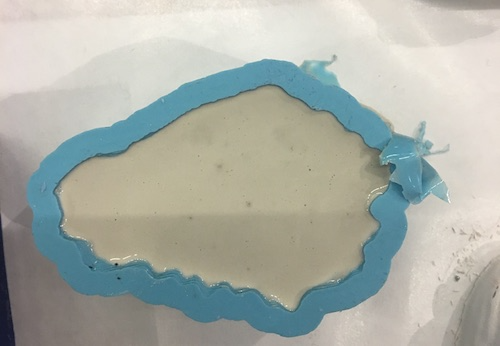
This was the final result.