We started on Wednesday night. It was raining.
Our first brainstorming meeting went through a bunch of ideas and options.

We spent some time discussing player piano ideas, and various ideas for extruding food. In the end, we decided we wanted something -- in Camron's phrase -- "annoyingly specific". When the idea of "Apple Lathe" came up, we reached consensus. I was impressed with how quickly the group went from brainstorming mode to committed action.

After Jake's recitation, we broke into a set of working groups. I teamed up with Alfonso -- one of the real heroes of the week -- and Patricia and Sabrina on the mechanical side as I wanted to get more hands on experience with several of the fabrication processes.
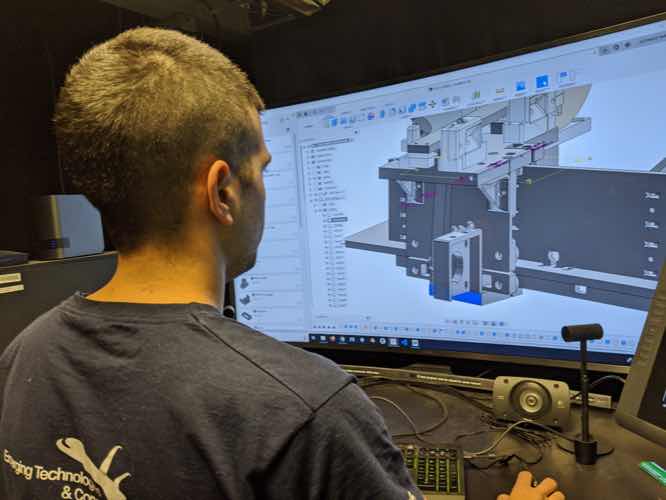
Alfonso put together a first prototype, based on parameterized design from squidworks. I cut this first in cardboard to make sure we were on the right track.

I then cut the same parts out of plywood, which was the same thickness as the acrylic we were using, to make sure everything checked out and we had a good sense of the constraints. The 1/4 inch plywood took several test cuts to get right. I ended up needing 12 passes to get a good cut without flaming.

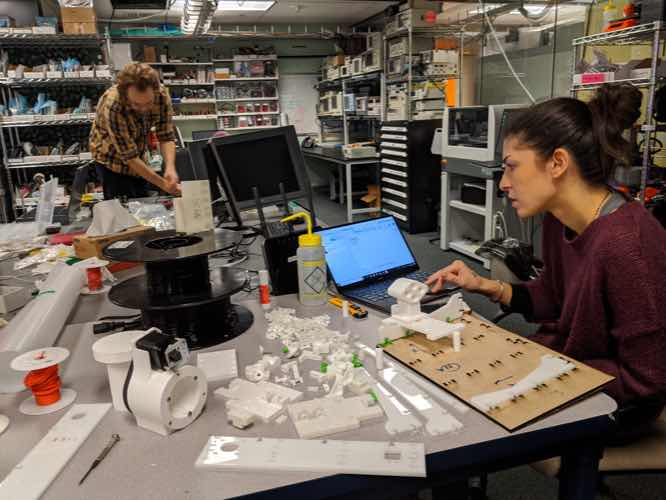
I then worked with Patricia and Sabrina to do a first assembly, using plywood.

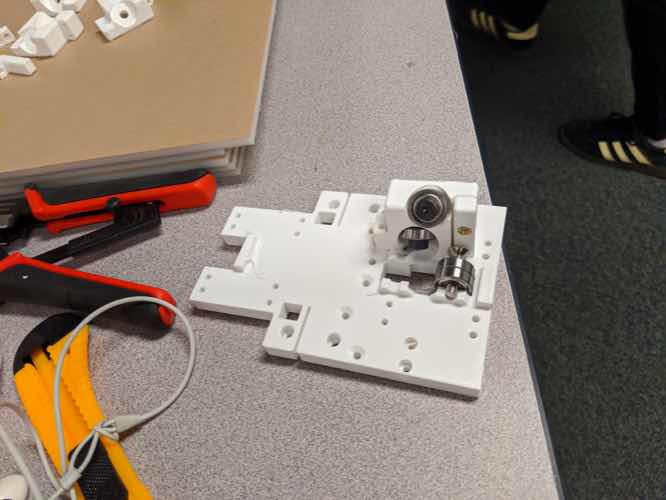
We then started assembling the 3D-printed parts. Some of our designs hadn't taken into account the dimensions of the hardware, especially the tops of bolts, so we worked around by replacing flat head or countersinked bolts in several places. (Overall, though, I'd say the thing that was really remarkable was how few design issues there were.)

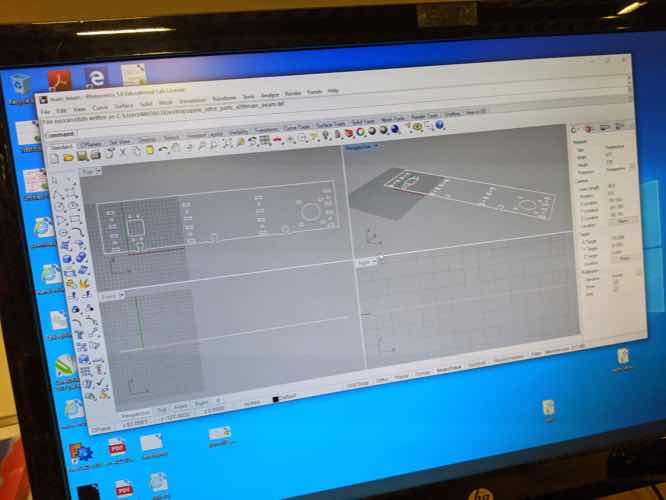
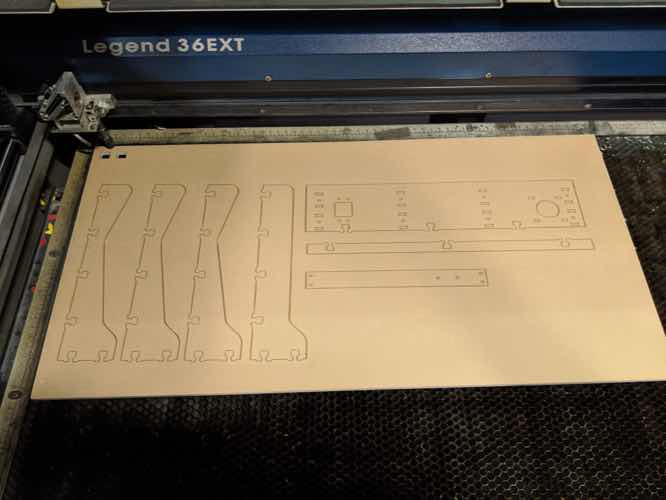
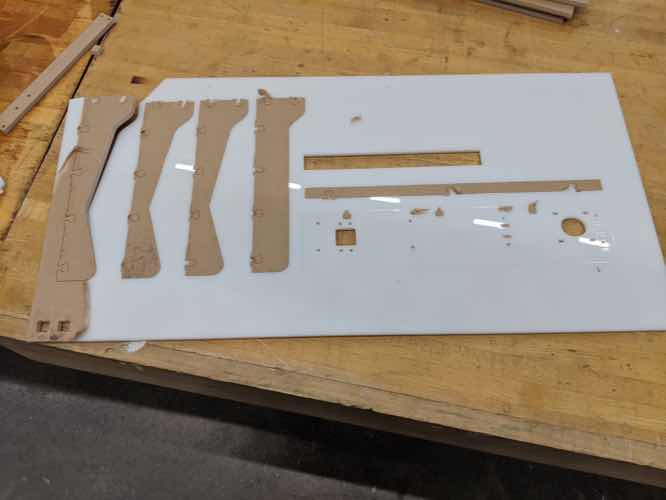
Cutting the final pieces in acrylic was best done on the Epilog in several passes. Saving each piece as a .dxf from Fusion 360 worked well, but CorelDraw broke some lines. This was fixed by first opening in Rhino and re-saving from there.
Desipite test cuts, the first try on the Epilog didn't cut all the way through for all parts. This seemed to be a problem especially for curves -- I'm guessing that the laser moved both X and Y directions at the same velocity independently, so the effective speed of moving in both dimensions simultaneously was larger than just moving in a straight X or straight Y cut. This effectively reduced the power for curved cuts, which wasn't apparent in the small box tests.
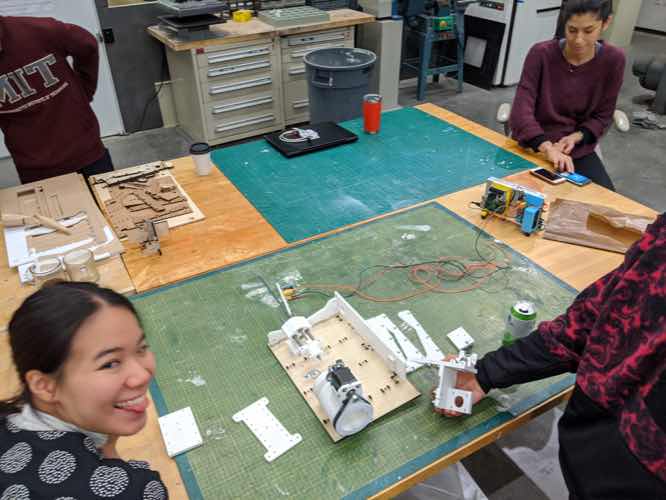
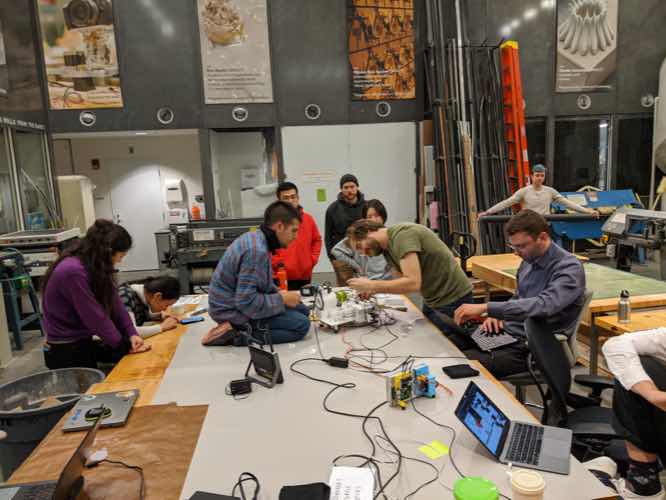
We then spent a lot of time assembling.
I really liked the heat-set inserts. They look beautiful and hold well.

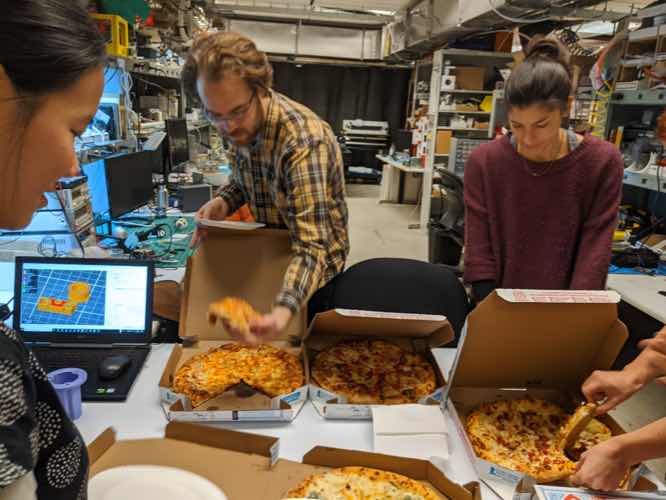
Sunday night pizza helped assembly proceed well.
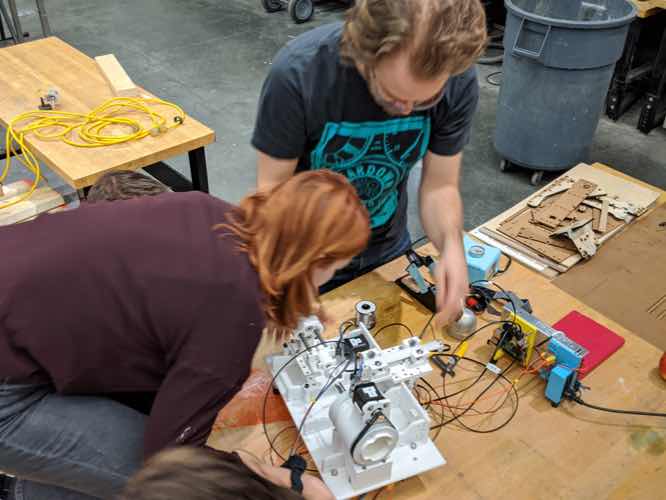
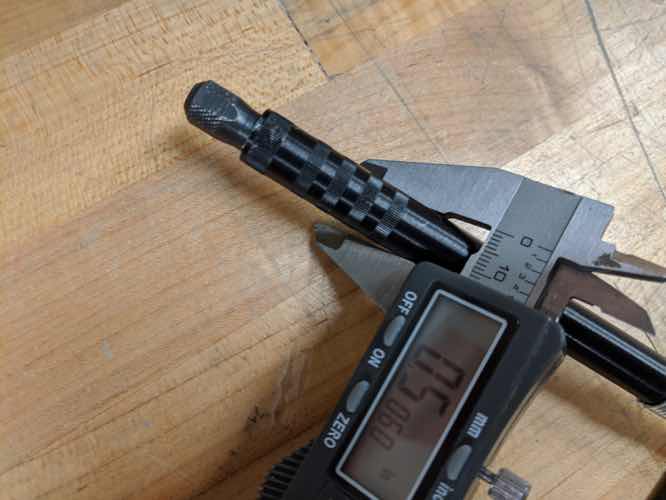
First manual cuts with one of Zach's EDM'd end mills on Monday morning.
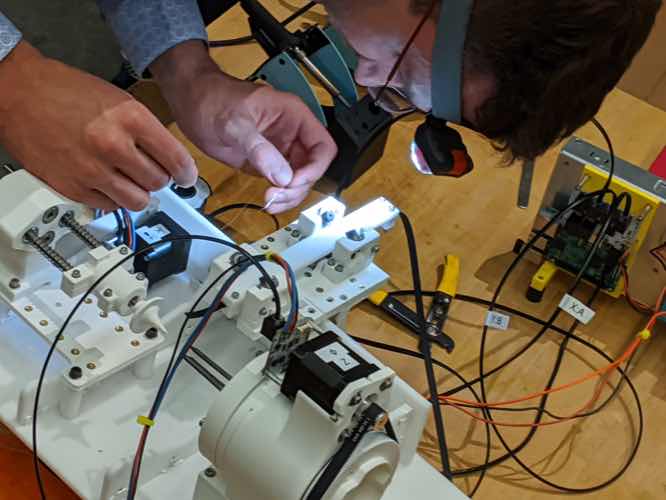
Jiri, Camron, and Zach spent a ton of time debugging Ponyo issues.

And then re-soldering connections when we moved things upstairs
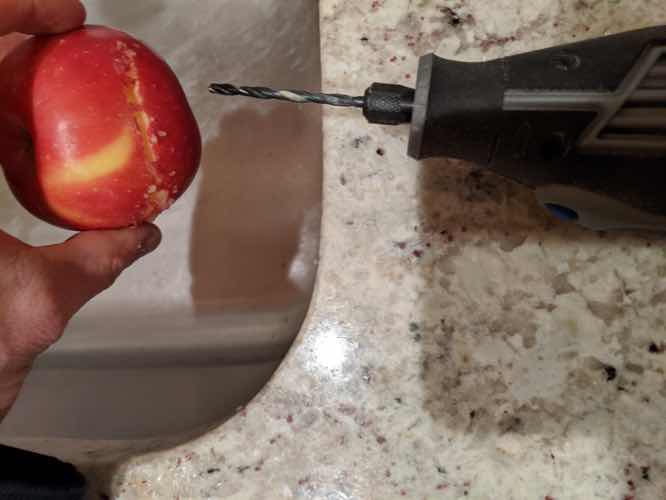
I was also interestred in creating a milling end effector, and looked at using a dremel. This cut apples beautifully, even using a drill bit as a mill. Plan was to use a flexible extender on a Dremel.
I was all set to work on one on Tuesday morning.
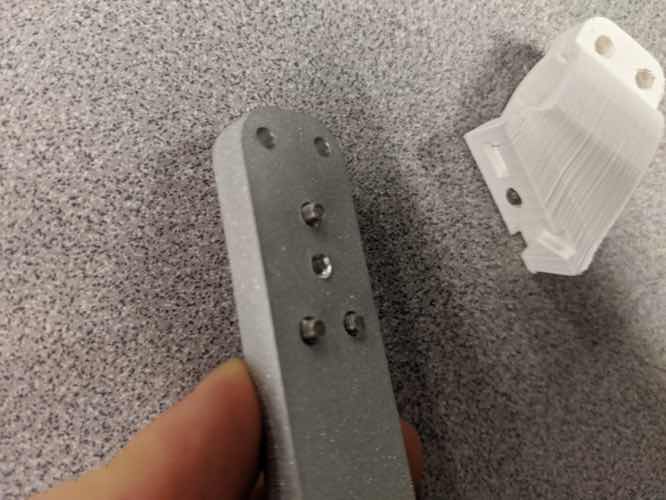
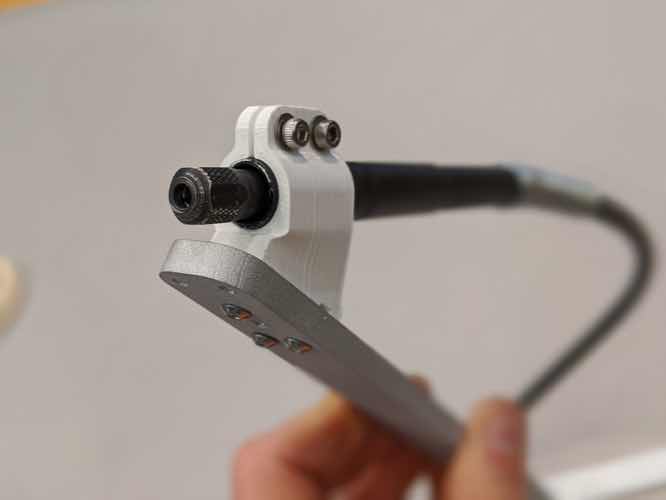
But then found that Zach already had it solved with a nice little collar for the Dremel extender.
Tuesday night saw final tweaking.

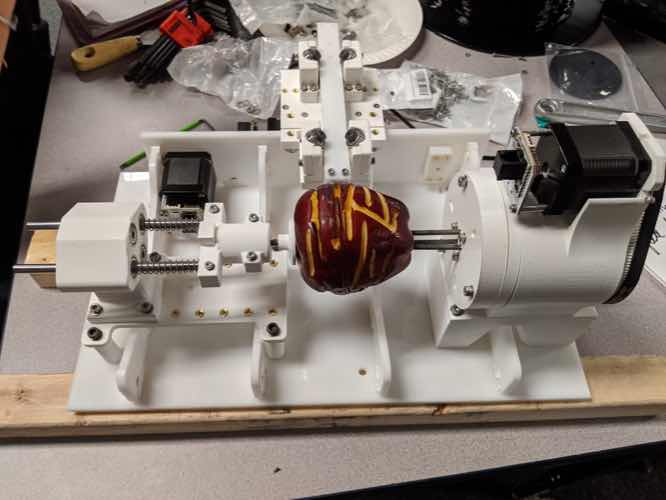
And some truly glorious first cuts.
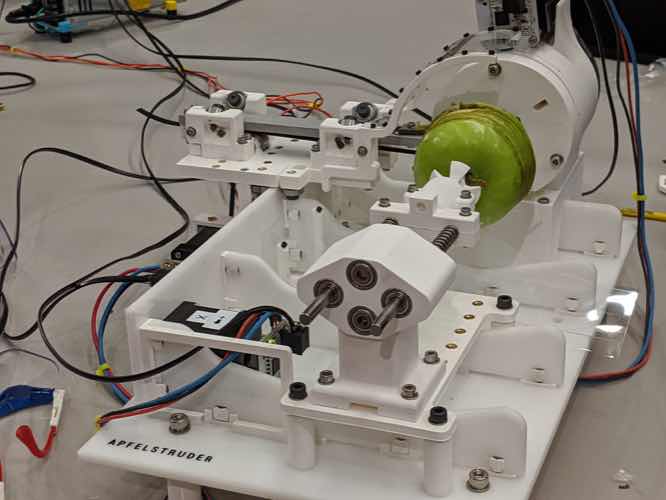
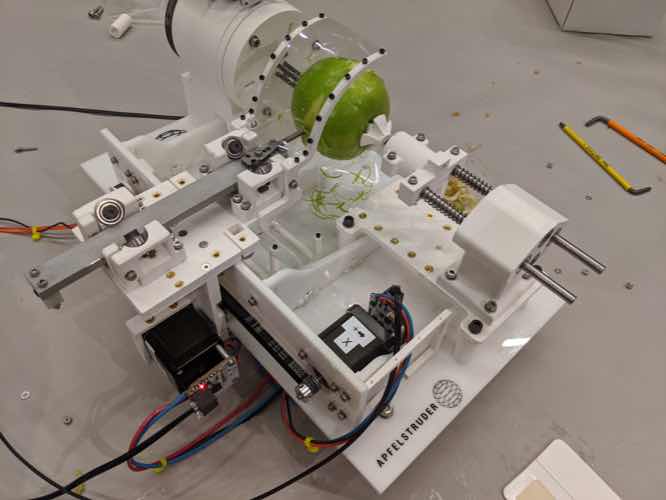
The first really successful cut was completed when Zach, Camron, Brian, and Eyal figured out how to hack Squidworks's understanding of the Z-axis rotation, and trick it into thinking it was moving along a very long linear Z.

Apple sculpture!
