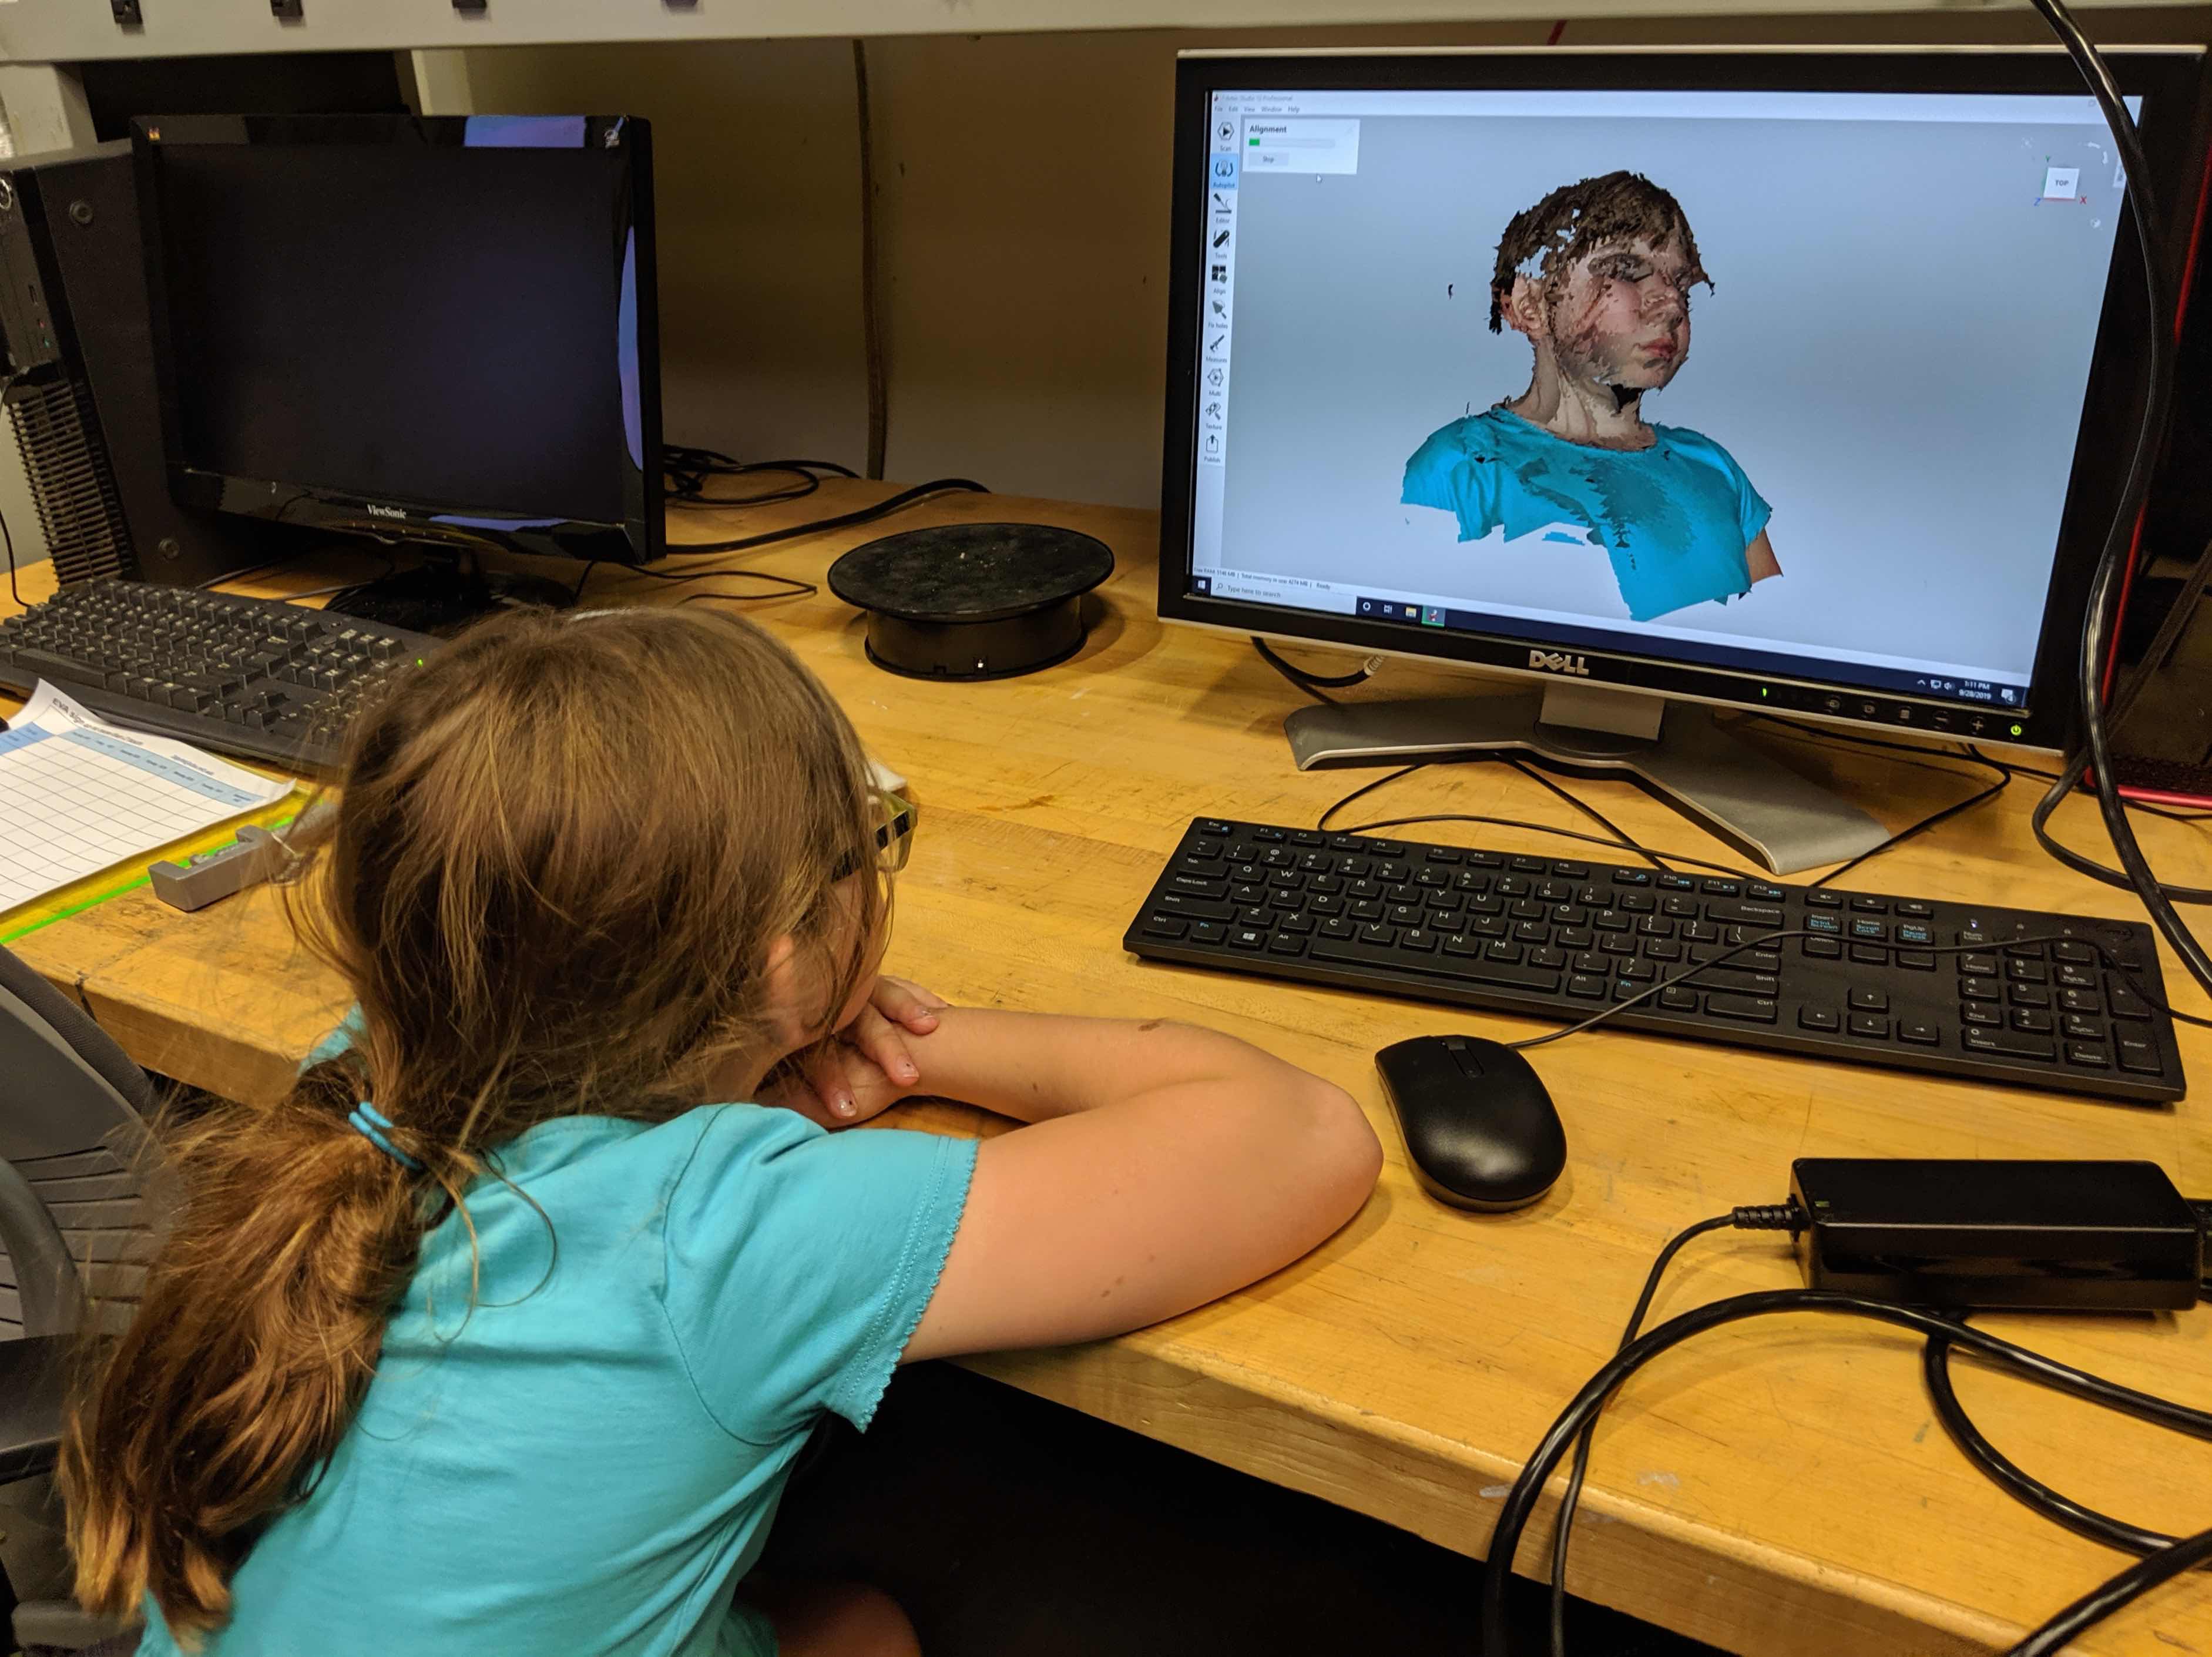
For the 3D Scan, I decided to scan my daughter. This turned out to be a nice Saturday afternoon activity.
I tried three scans. In the first one she wore her glasses and had trouble keeping still, which hurt the scan quality. However, seeing her face all garbled proved to be good motivation for the second scan, which came out nicely.
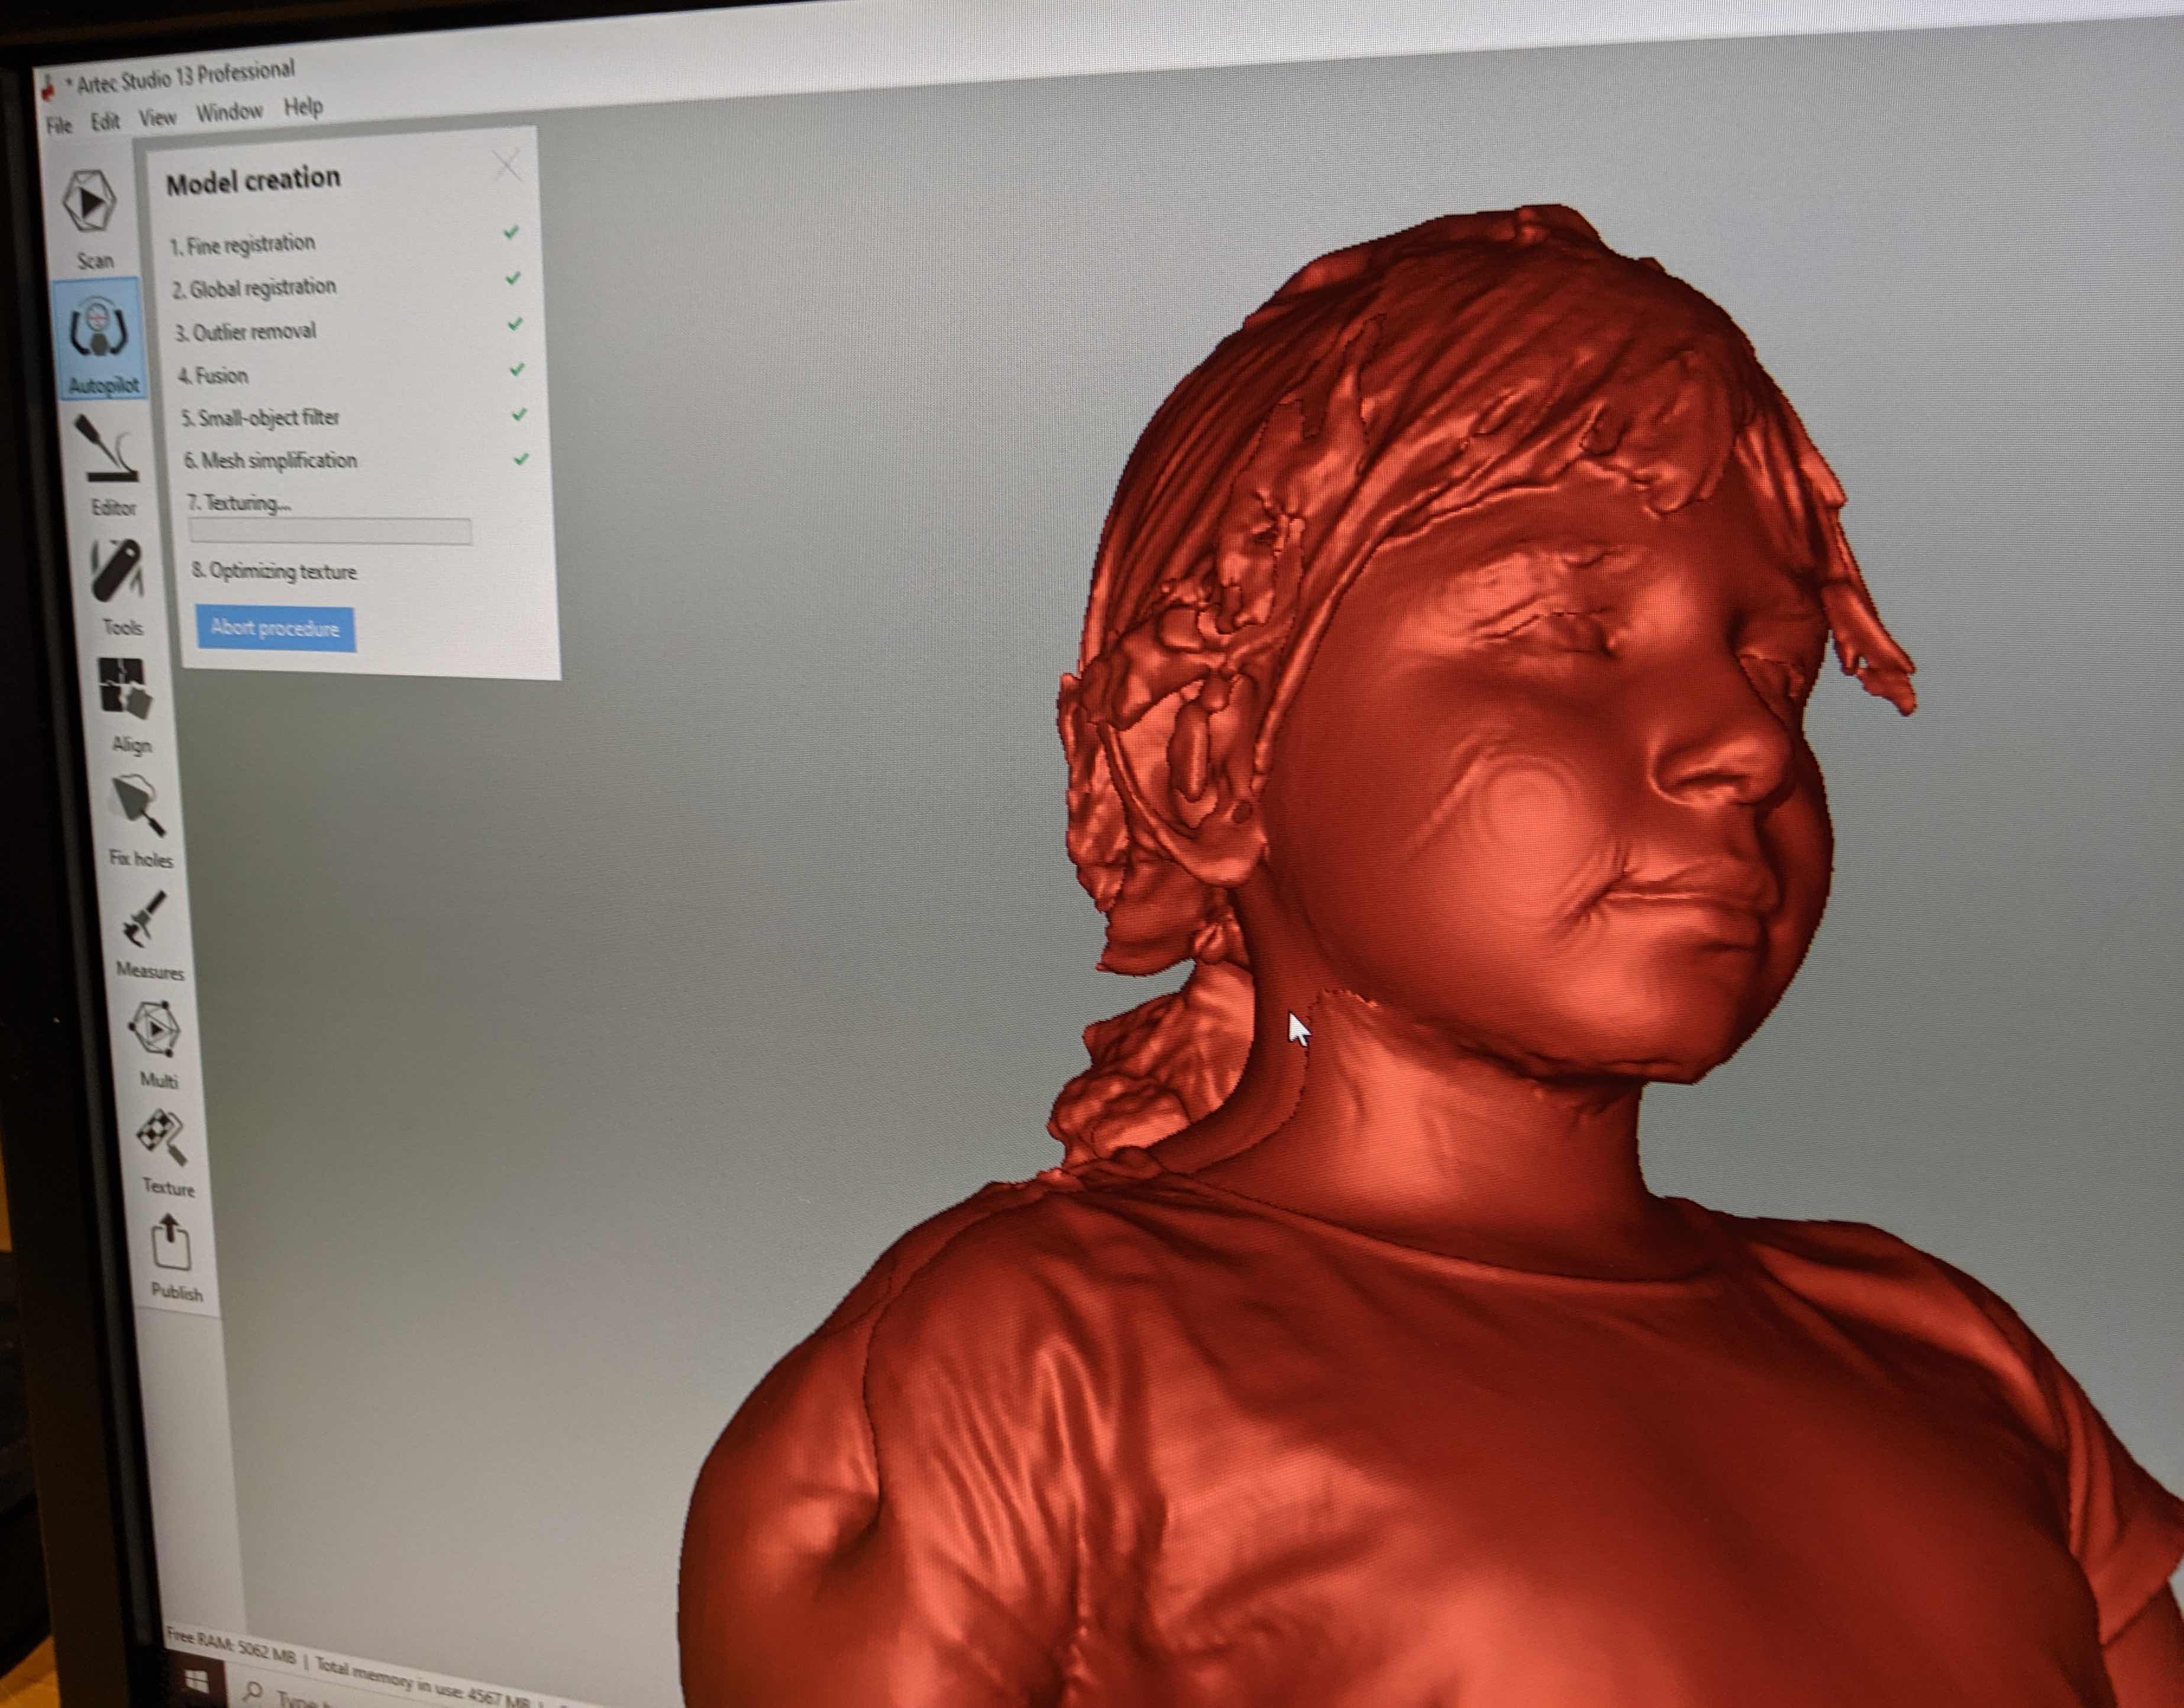
I then used the arctect software to fix holes, scale, remove some artifacts, and cut out the bottom areas to make it into a little bust. Printing on the Prusa went reasonably smoothly. I failed at first by not having a brim, but after fixing this things went smoothly.

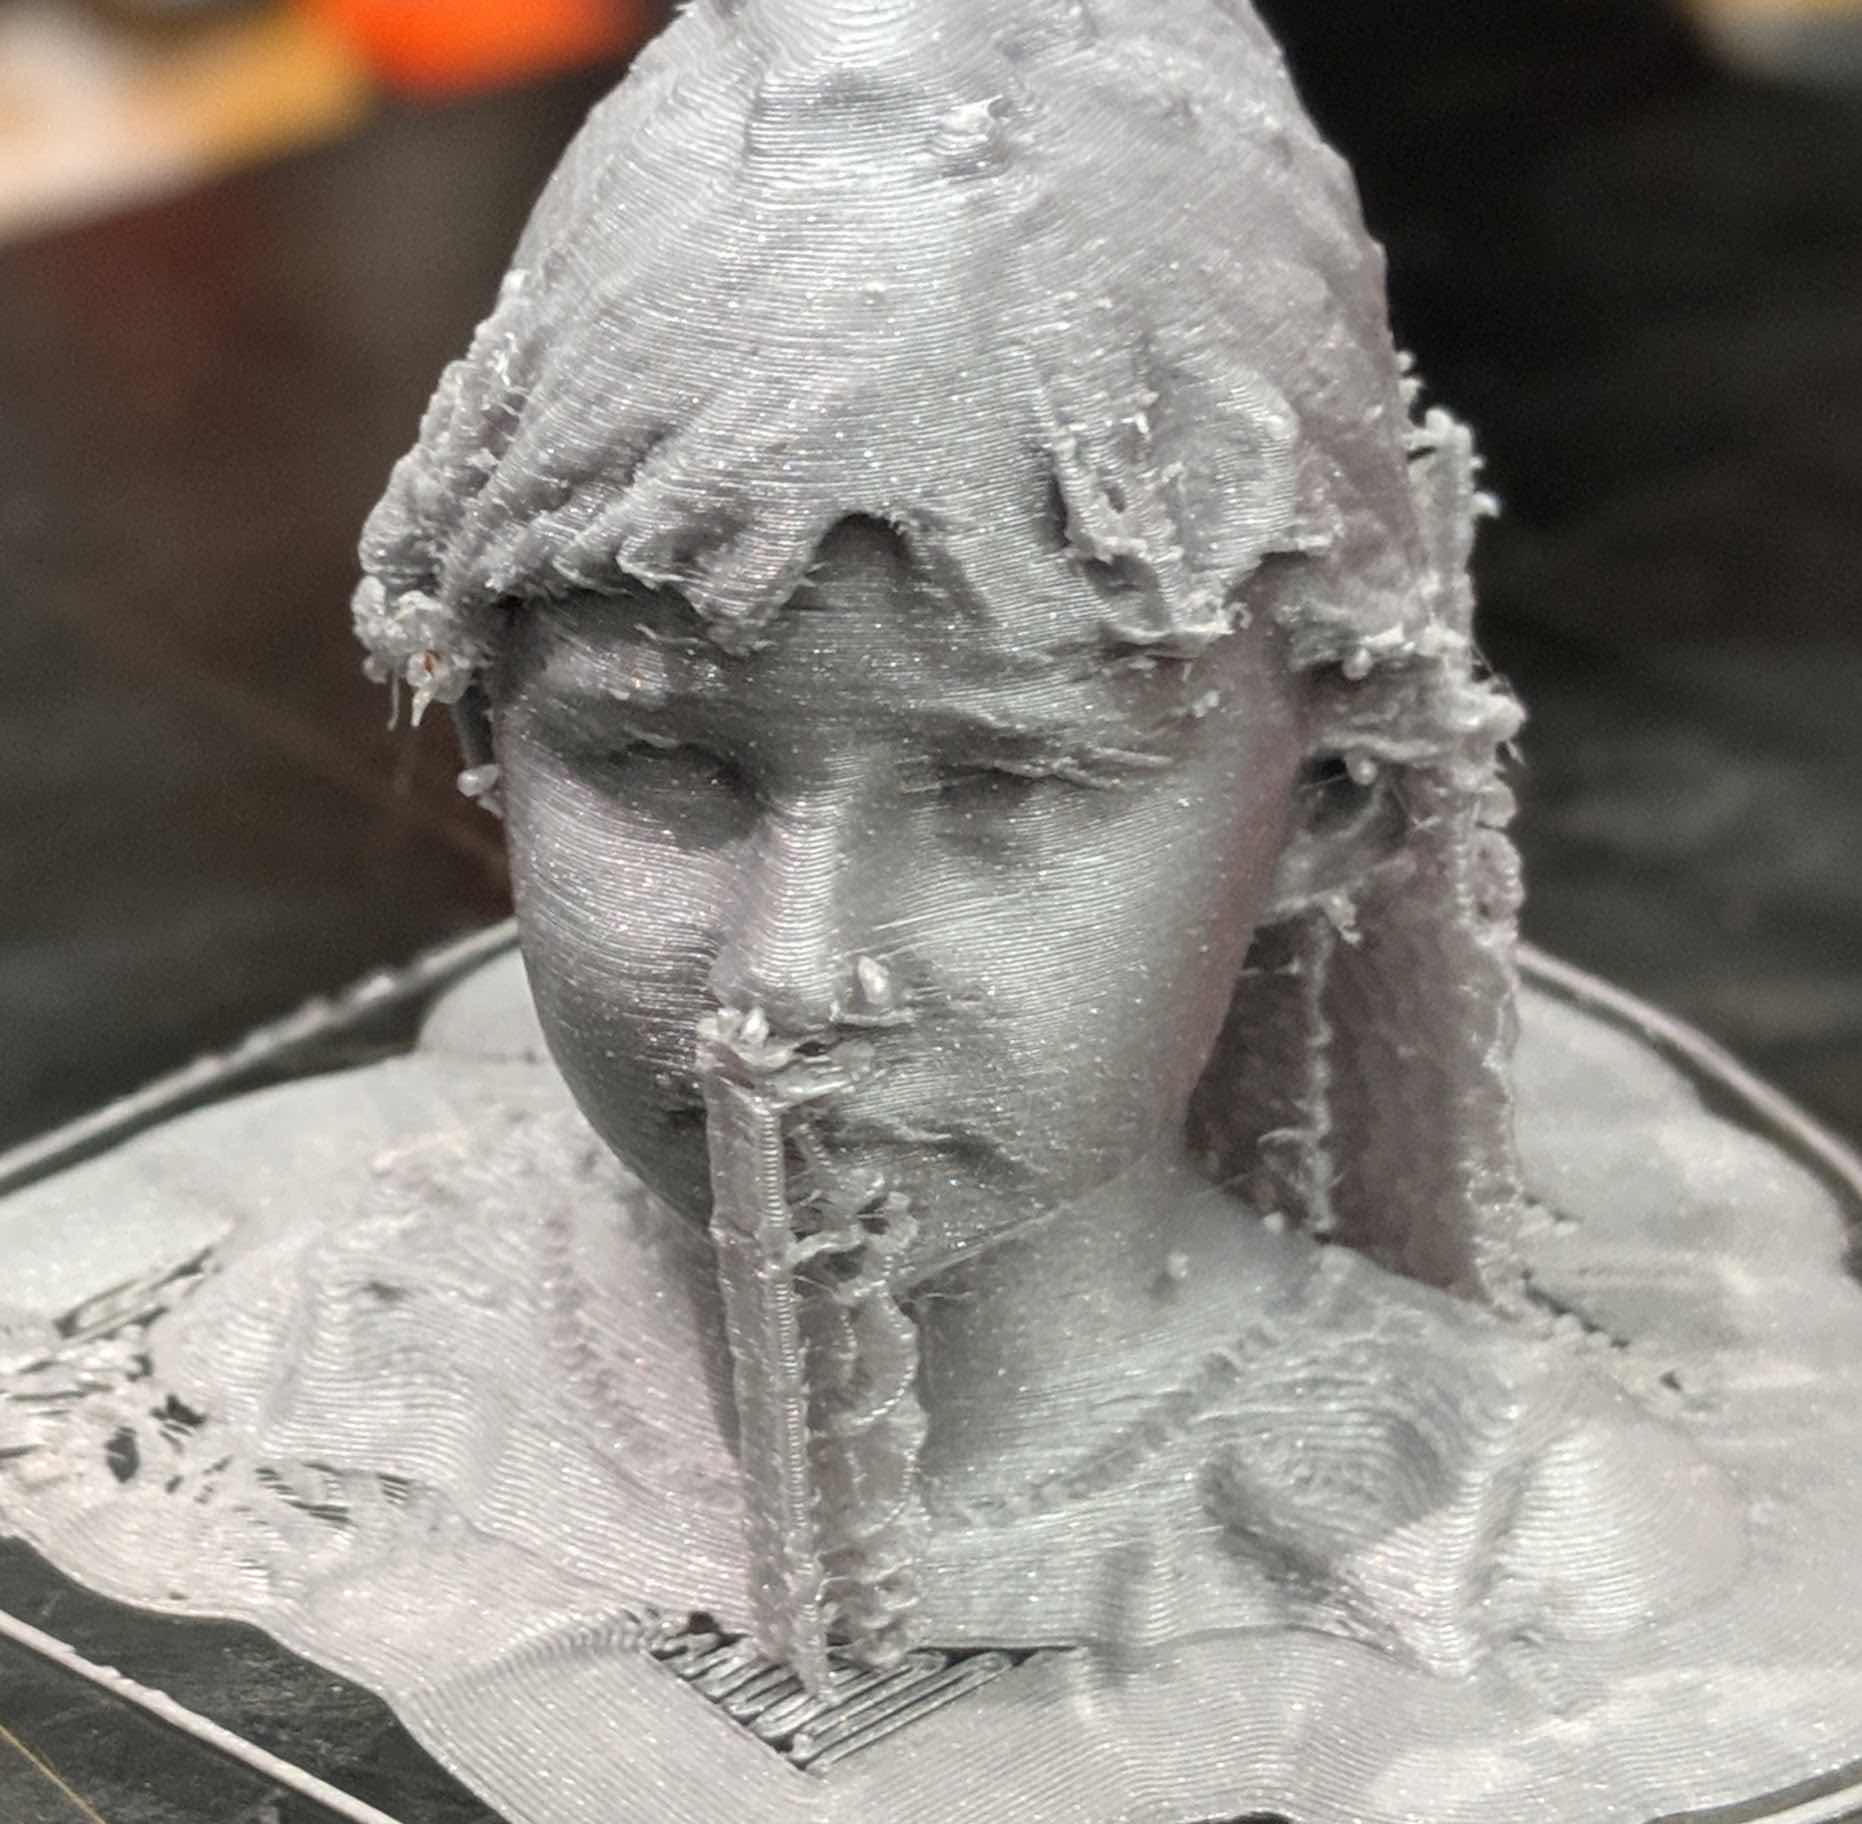
Tom recommended using needle-nose pliers to remove most of the supports, which worked well. There's still some additional post-processing to do to smooth out burrs and such, but overall I'm happy with how this came out.

However, Sofia says it still looked a little creepy. Oh well.
My goal here was to make a ballpoint-pen-like end-effector that was large enough to handle paint or significant amounts of ink, with the idea that it could be attached as an end effector in the ShopBot and used to make large scale paintings.
Overall design ideas were inspired both by ballpoint pens and also by roll-on deoderant containers, which have a nice little ball and socket joint hooked up to a reservoir.
First attempt was designed rather quickly in FreeCAD, and is shown in roller_pen_001_dsculley.stl. (I'm definitely getting more comfortable with this, although still far to go.) I was going off of the results of the characterizations from the bolt print to suggest that 0.4mm was enough gap between the ball and the chamber holding it to make sure that it wouldn't all fuse together.
This 0.4mm gap turned out not to be sufficient. The ball was fused to the interior. I also thought that the little bit of brim and support was a problem, and tried to find ways to remove this, but in later trials I think I found that this was a red herring.
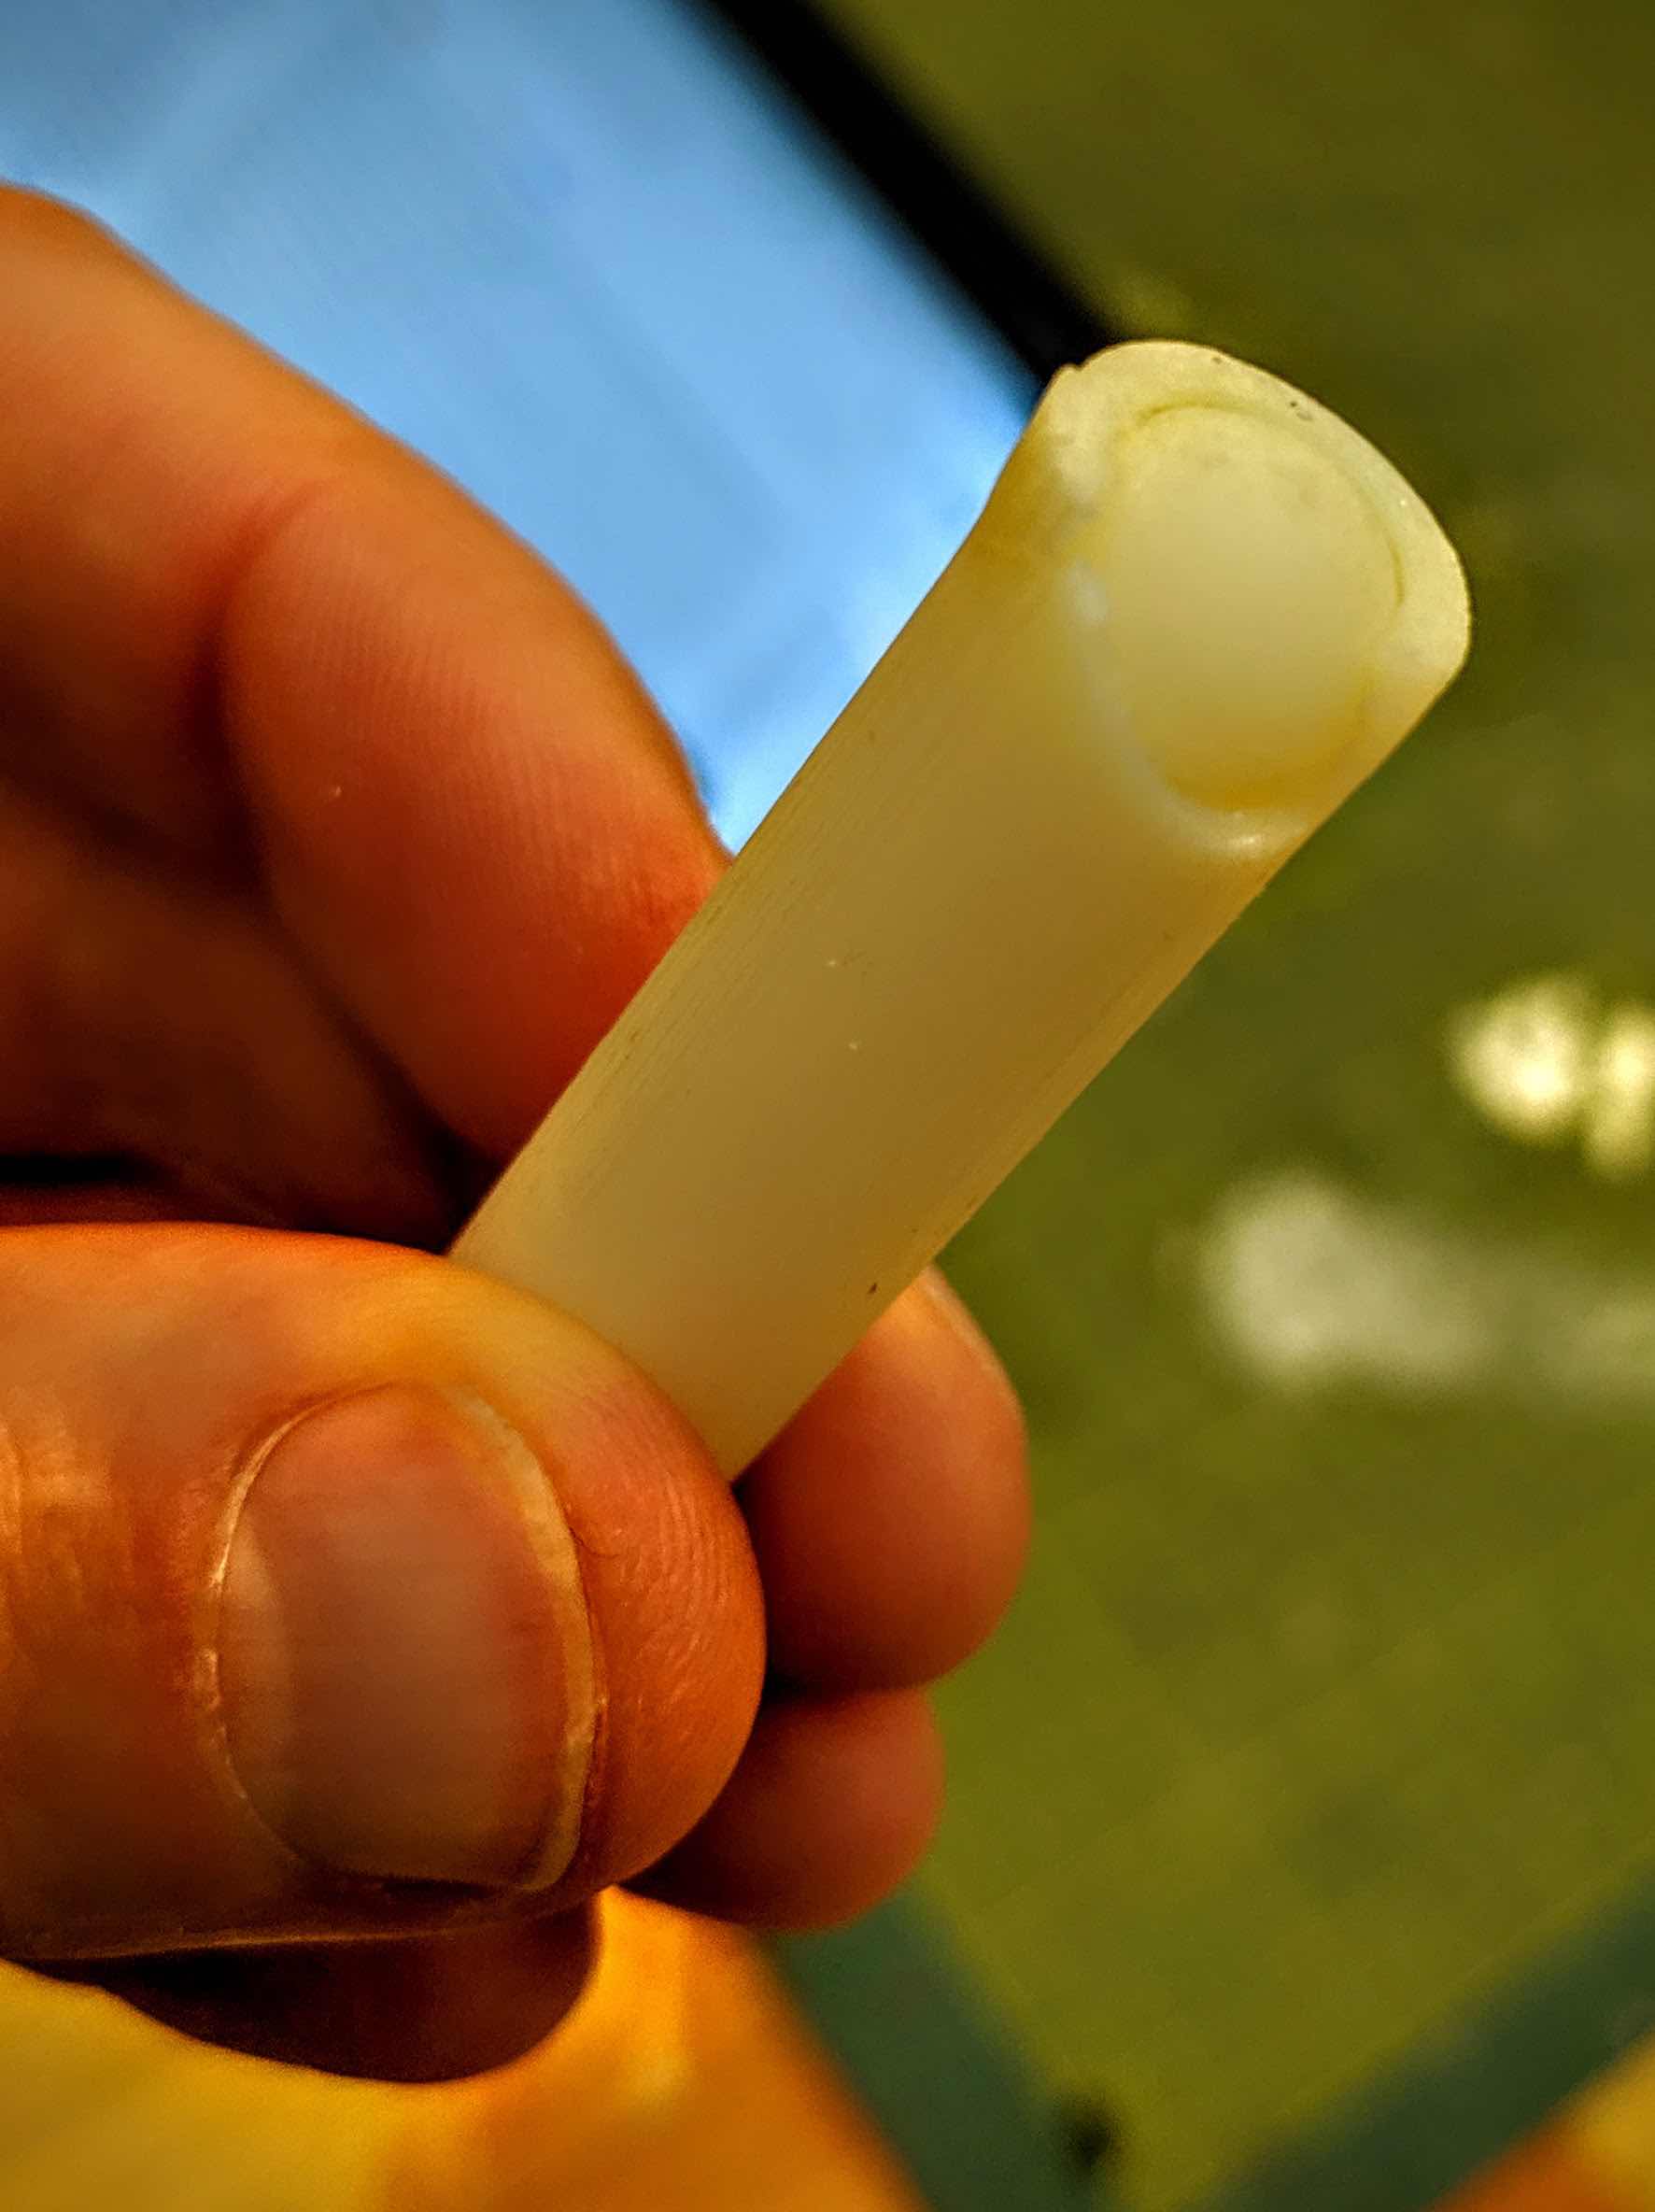
I then tried a 0.6mm gap between the ball and its interior chamber, in roller_pen_001_dsculley.stl This I thought was a failure, but it turned out that I just hadn't really accounted for the need for post-processing. After a bit of work with an x-acto knife, this looked actually okay in some ways. The ball rotates freely -- but is marred by a flat spot that I can't find a way to post-process away (because the ball keeps spinning). It also failed a test I ran in the sink to see if it can hold something like water (before testing with ink) because the gap was too large. Or, the ball is too irregular or not heavy enough.

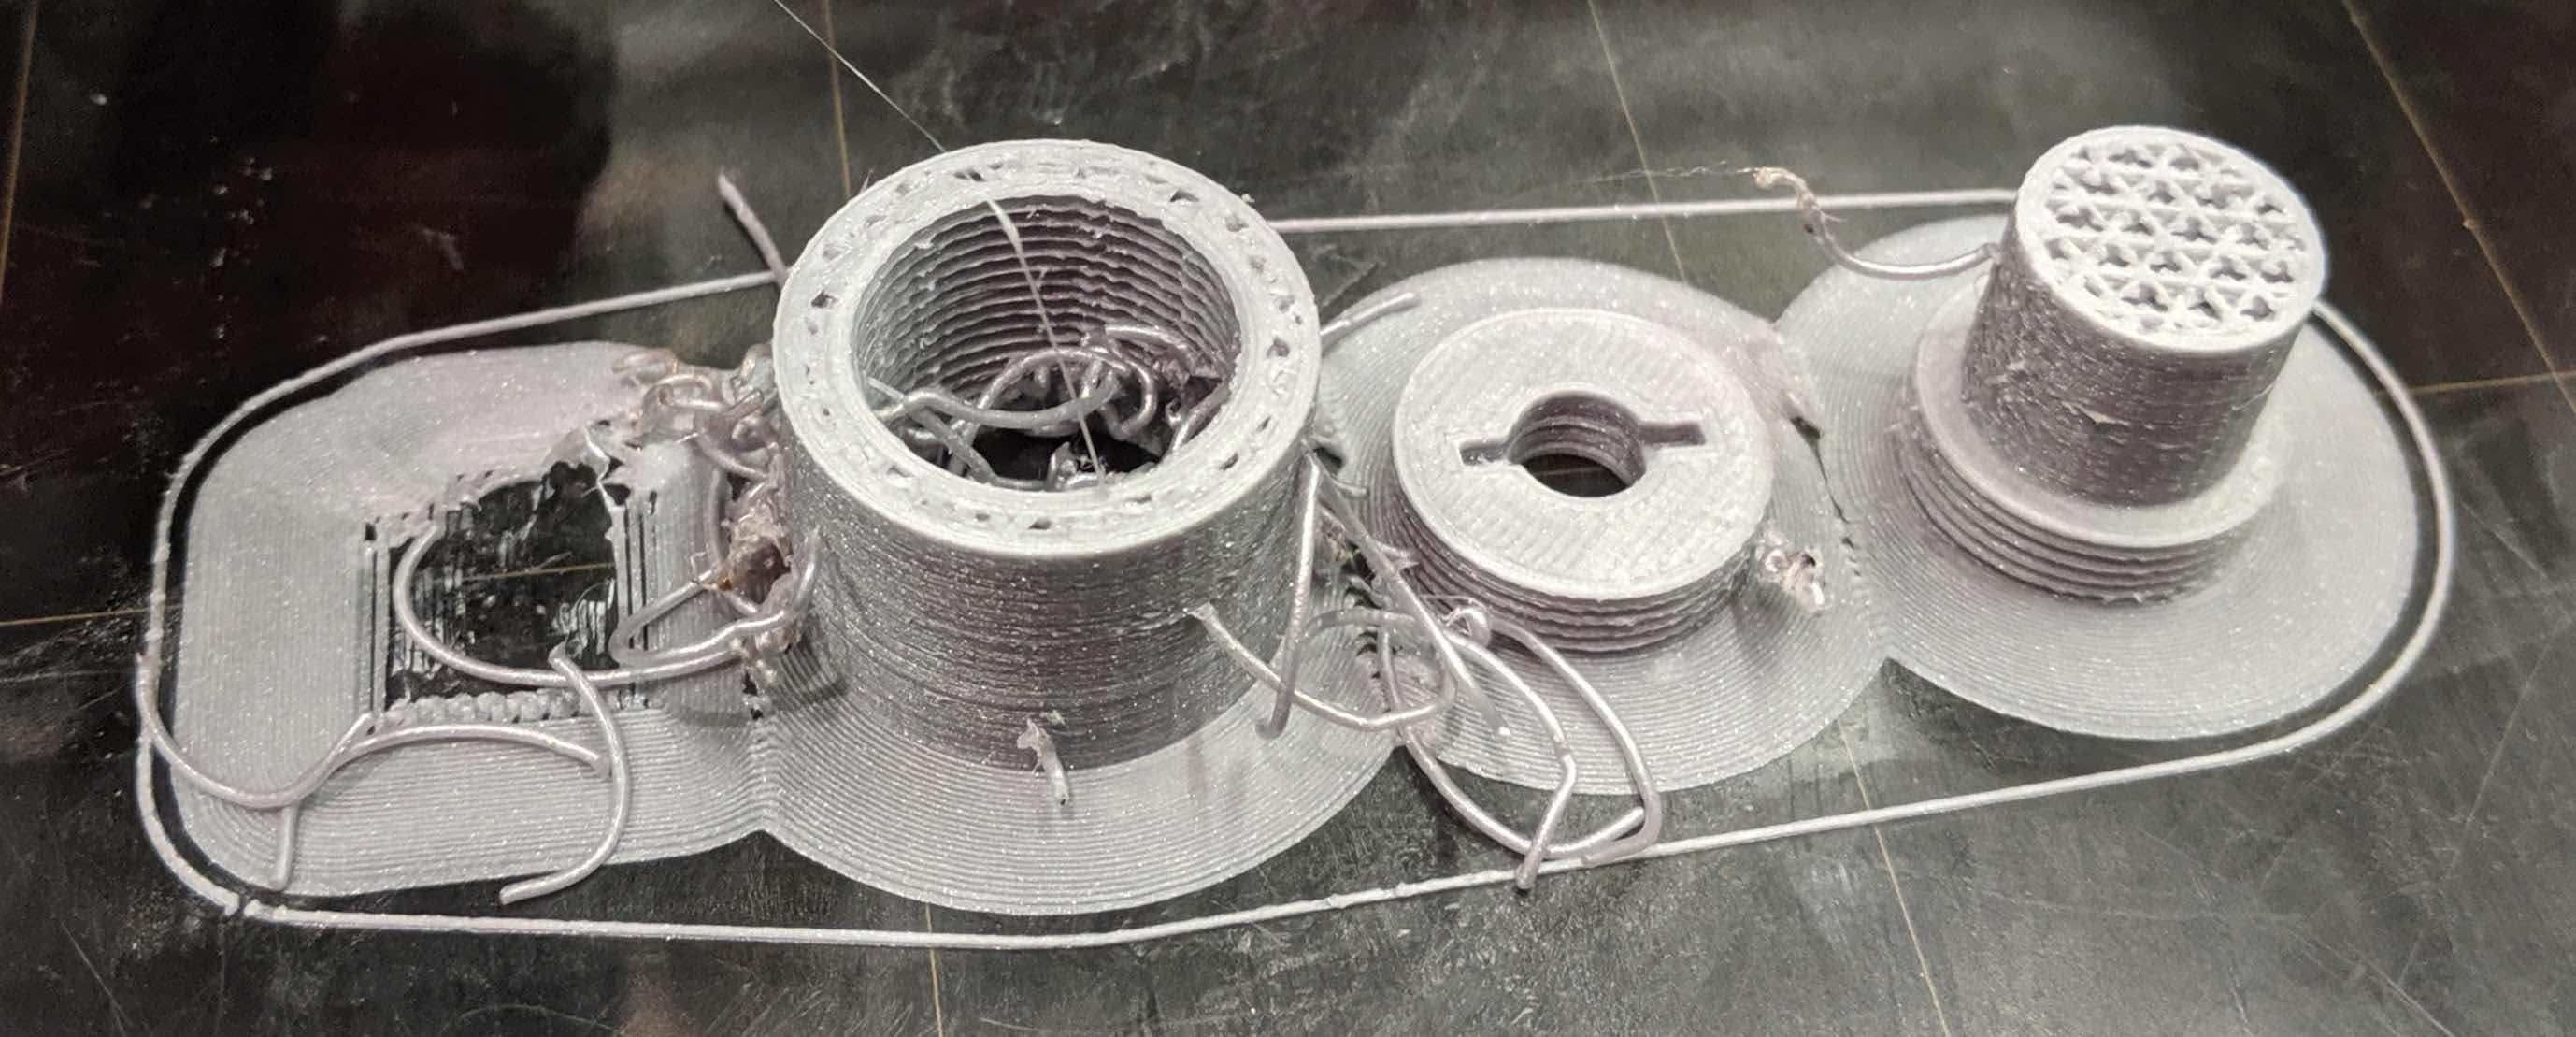
Meanwhile, Tom was kind enough to run a test on the StrataSys. I thought this had failed when I saw it printing on its side, not realizing what a good job the dissolving interior supports do.
When I first got the print, it seemed that everything was fused together. I tried applying pressure to the area to see if that would loosen anything, and it did -- but the shell wall broke. I think that in retrospect maybe just some lighter post-processing on the end might have done the trick, given how smoothly the ball rotated in the (broken) socket.
I thought both of these might be solved by a larger ball, so I made a larger, more open design open_ball_pen_1.stl. However, PrusaControl showed this as estimating 24 hours or so to print, which seemed like maybe an abuse of the shared printers for this week.
I then re-thought a bit and wondered about designs where the ball was put into the tube post-hoc, the way that it happens in regular ballpoint pens (and roll-on deoderant containers.) One design was roller_pen_006_dsculley.stl, which has cute little flaps to keep the ball in place. But I chickened out when I noticed how brittle some of the test pieces were from the characterization prints, not wanting them to snap off.
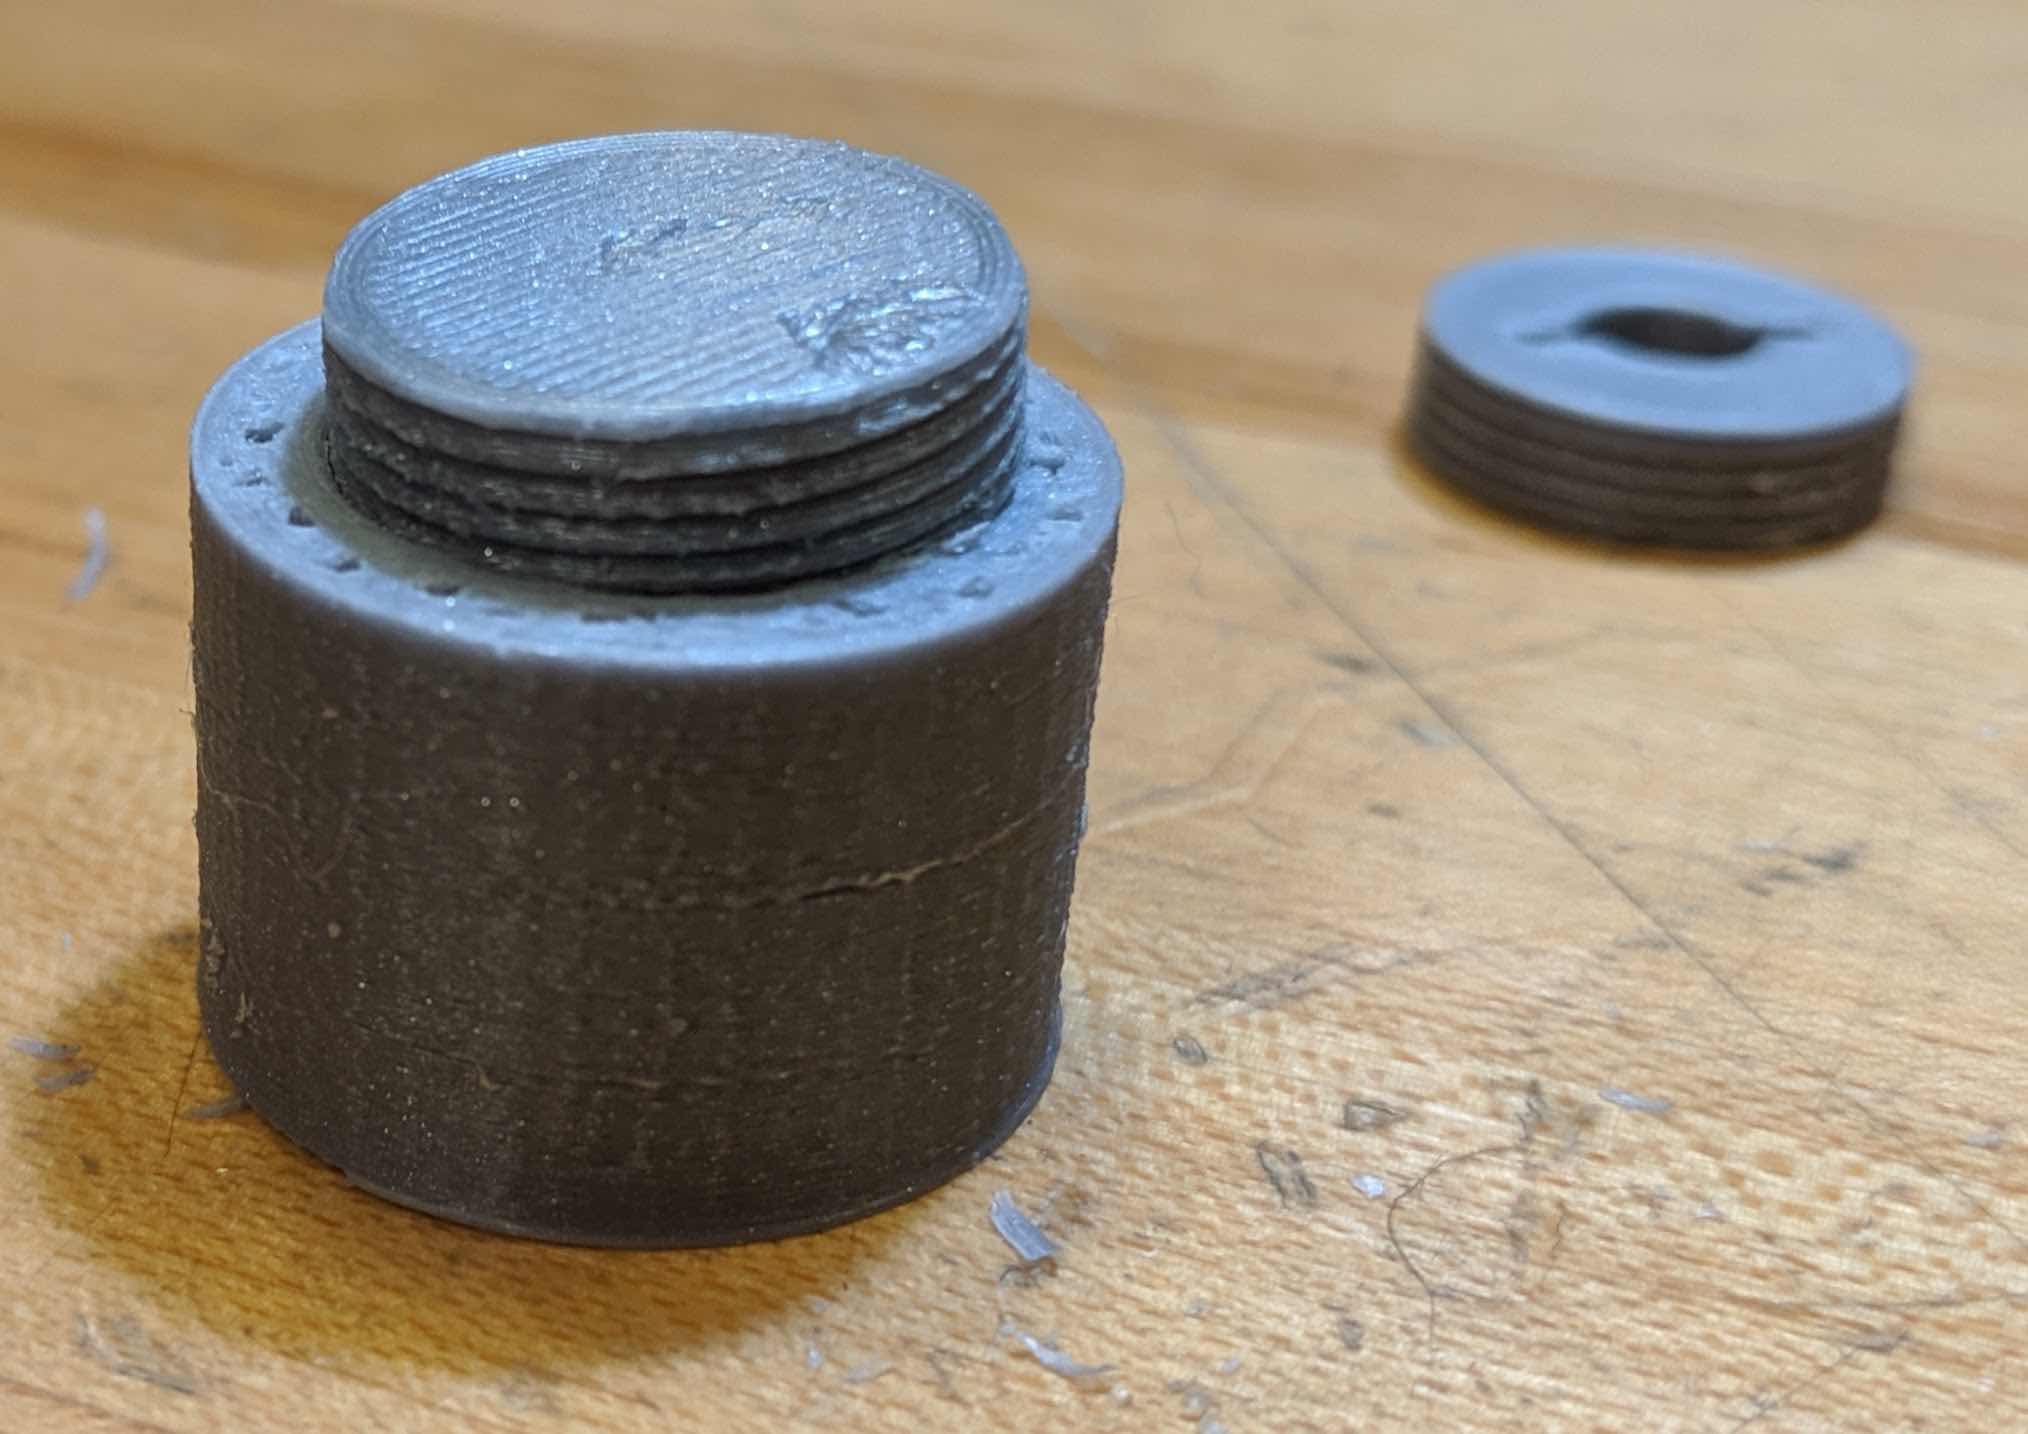
My next thought was to put in a threaded piece that would apply downward pressure to the ball, which seems perfect and very much in the spirit still of the assignment. My design for this is screw_cap_ball_pen.stl, which I was very pleased with since it allowed me to play with creating a sweep along a helix to make the threading. However, the resulting print failed for the ball, despite supports and a brim.
After post-processing, the threading was just a hair too large -- if I try again, I'll need to use a wider radius on the helix for the cut-out thread inside the tube as opposed to just a wider radius on the circle for its sweep.
That said, I think I still need to get used to just how much post-processing is needed and can help. And Tom is kindly printing a version of this screw-top mechanism on the StrataSys tonight, so we can see in the morning if this has panned out.