Day 1: Brainstorming and agreeing on an idea.
Wednesday, 11/22/19
After class on Wednesday, we (the CBA section) got together and tossed some ideas around. There were a lot of food-themed ideas, as well as some others like a piano-playing machine or a tattoo (henna) machine. We decided on making an apple lathe, which would be able to use a toolpath to cut an apple into a specific shape, then spiral it into a slinky.
Day 2: Going to recitation, splitting into groups, and starting to build.
Thursday, 11/21/19
After a really informative recitation about Squidworks (thanks Jake!), we met again to split into groups. I decided to join the mechanical team because I wanted to get some hands-on experience, was curious about the whole "design-make-assemble" workflow, and was concerned about being able to contribute meaningfully in the other groups (since they involve lots of coding or electronics work, both of which I've proven myself to be quite bad at). After the meeting, I went down to the CBA lab with D, Jack, and Alfonso, where we discussed mechanisms for actually spinning the apple. Alfonso showed us a super cool rotary axis design from Jake, so we decided to design our axis off of that.
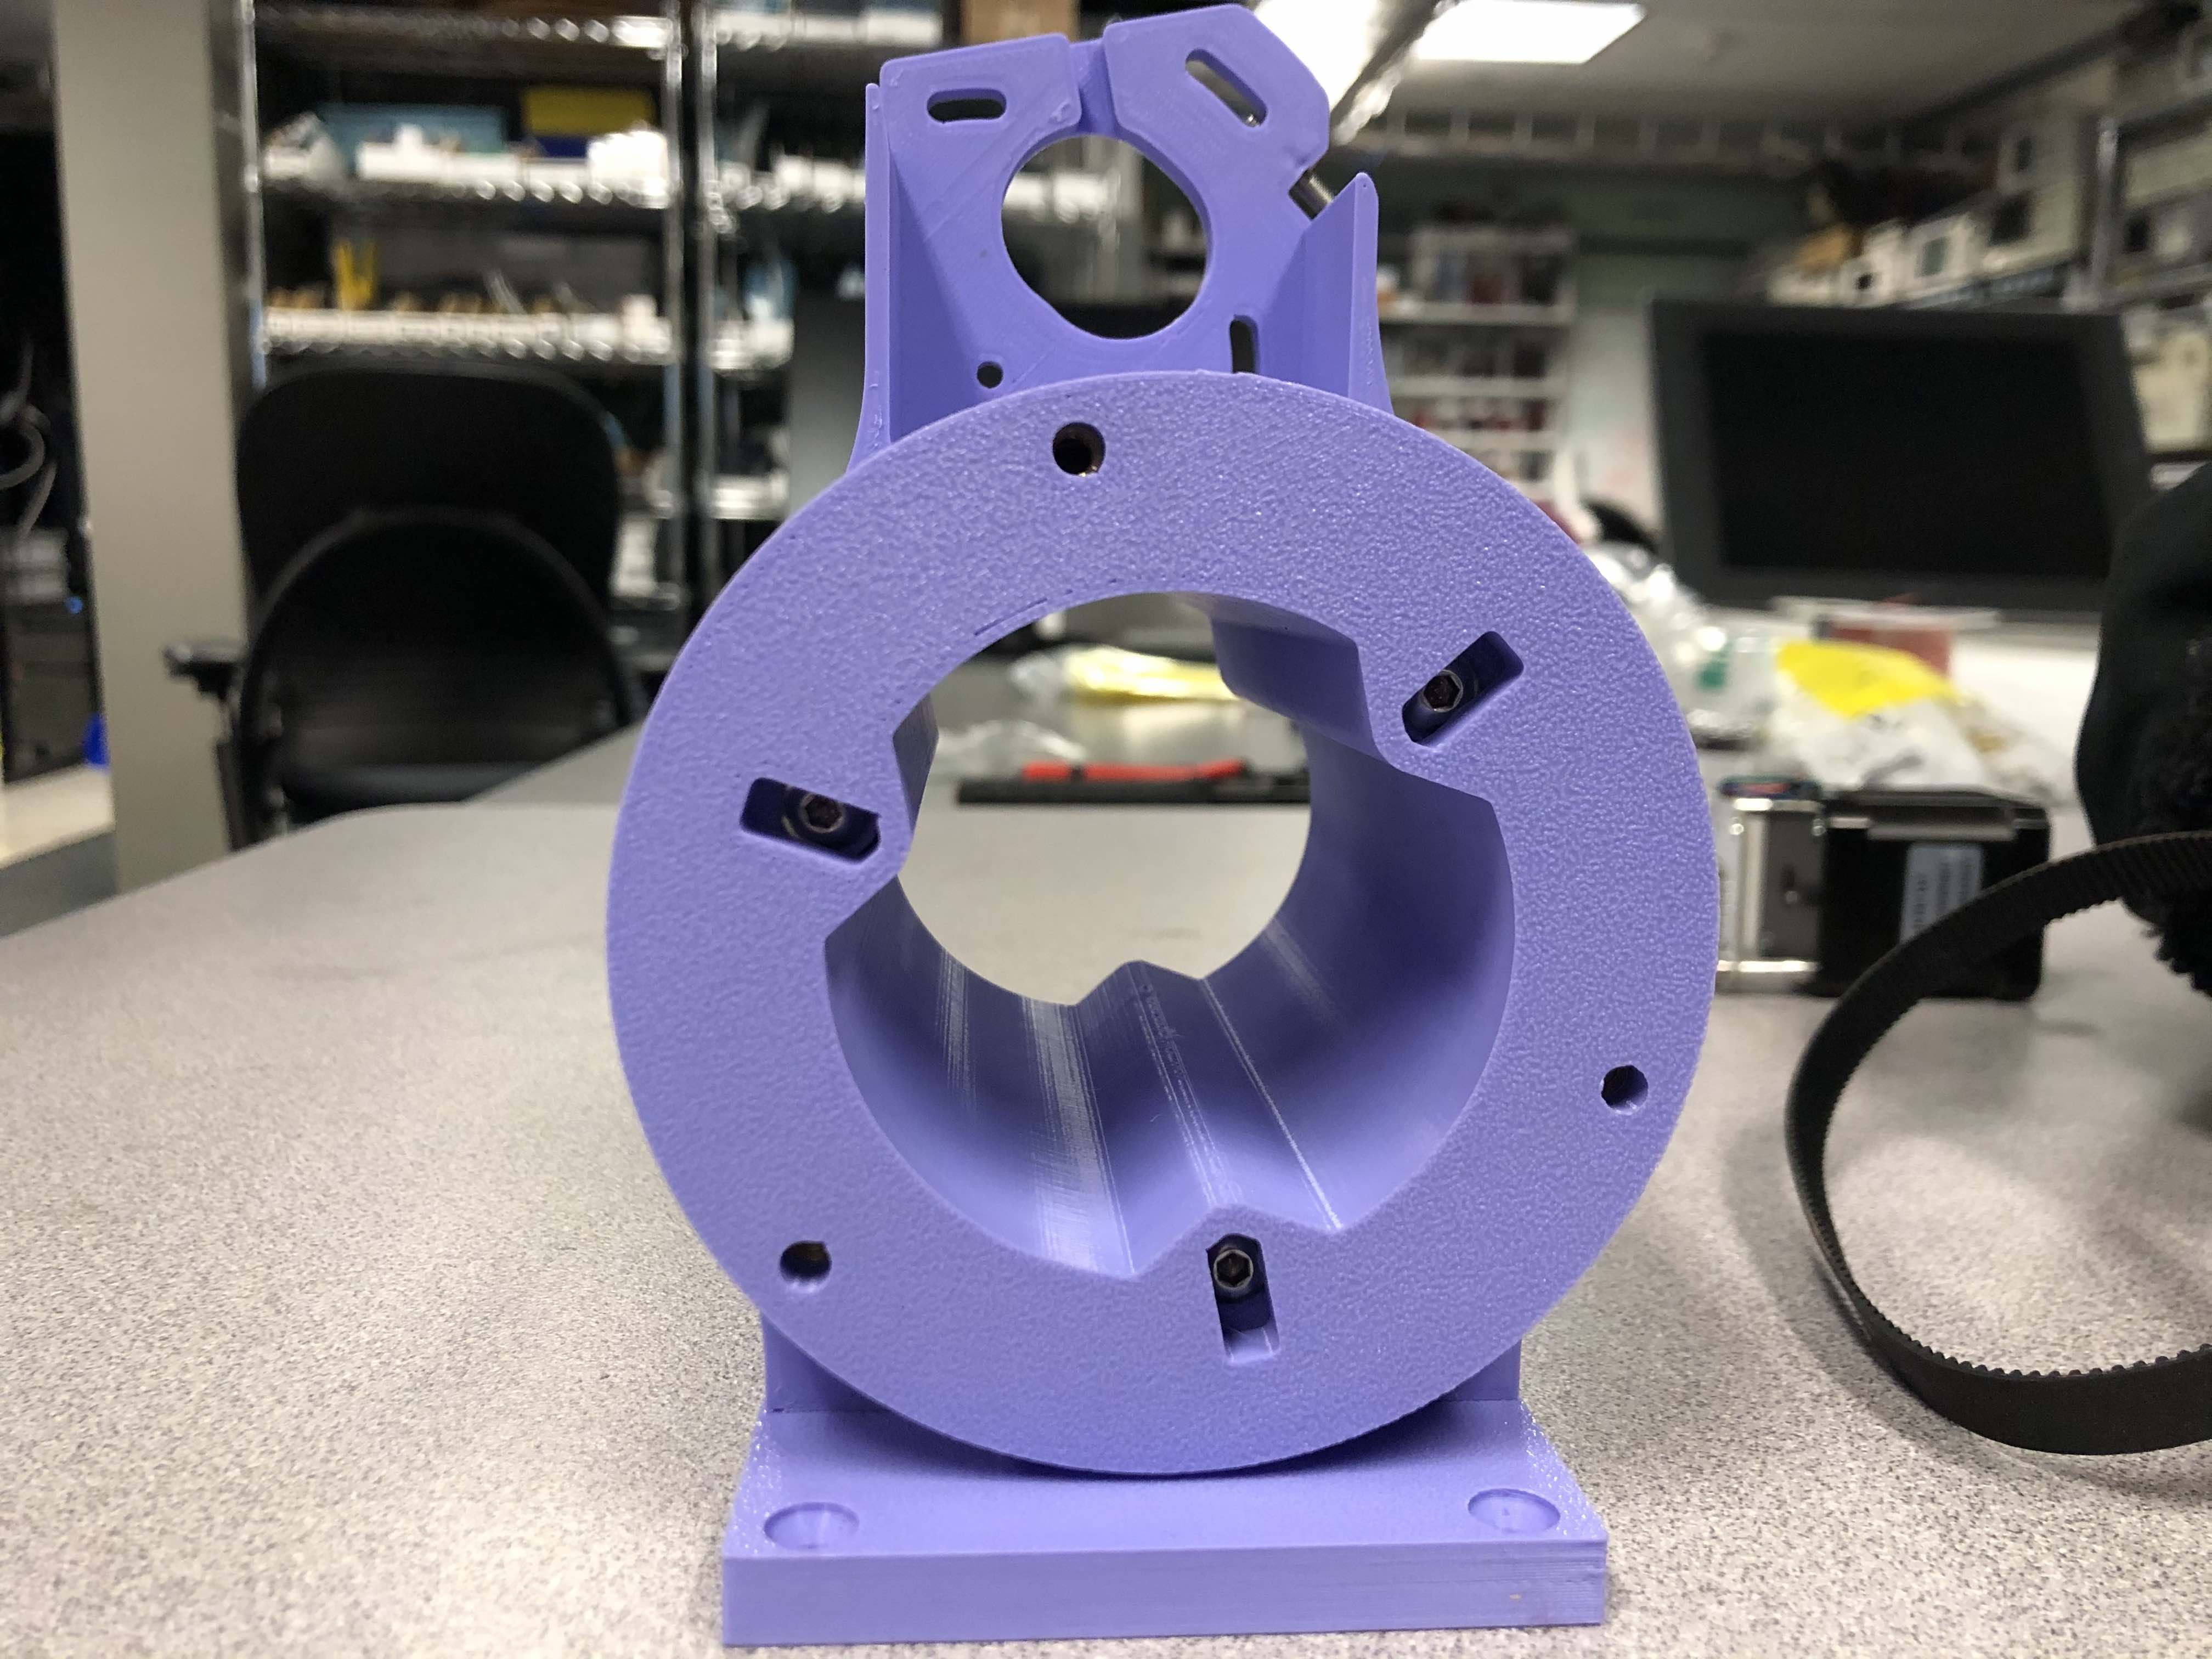 An existing Jake-axis.
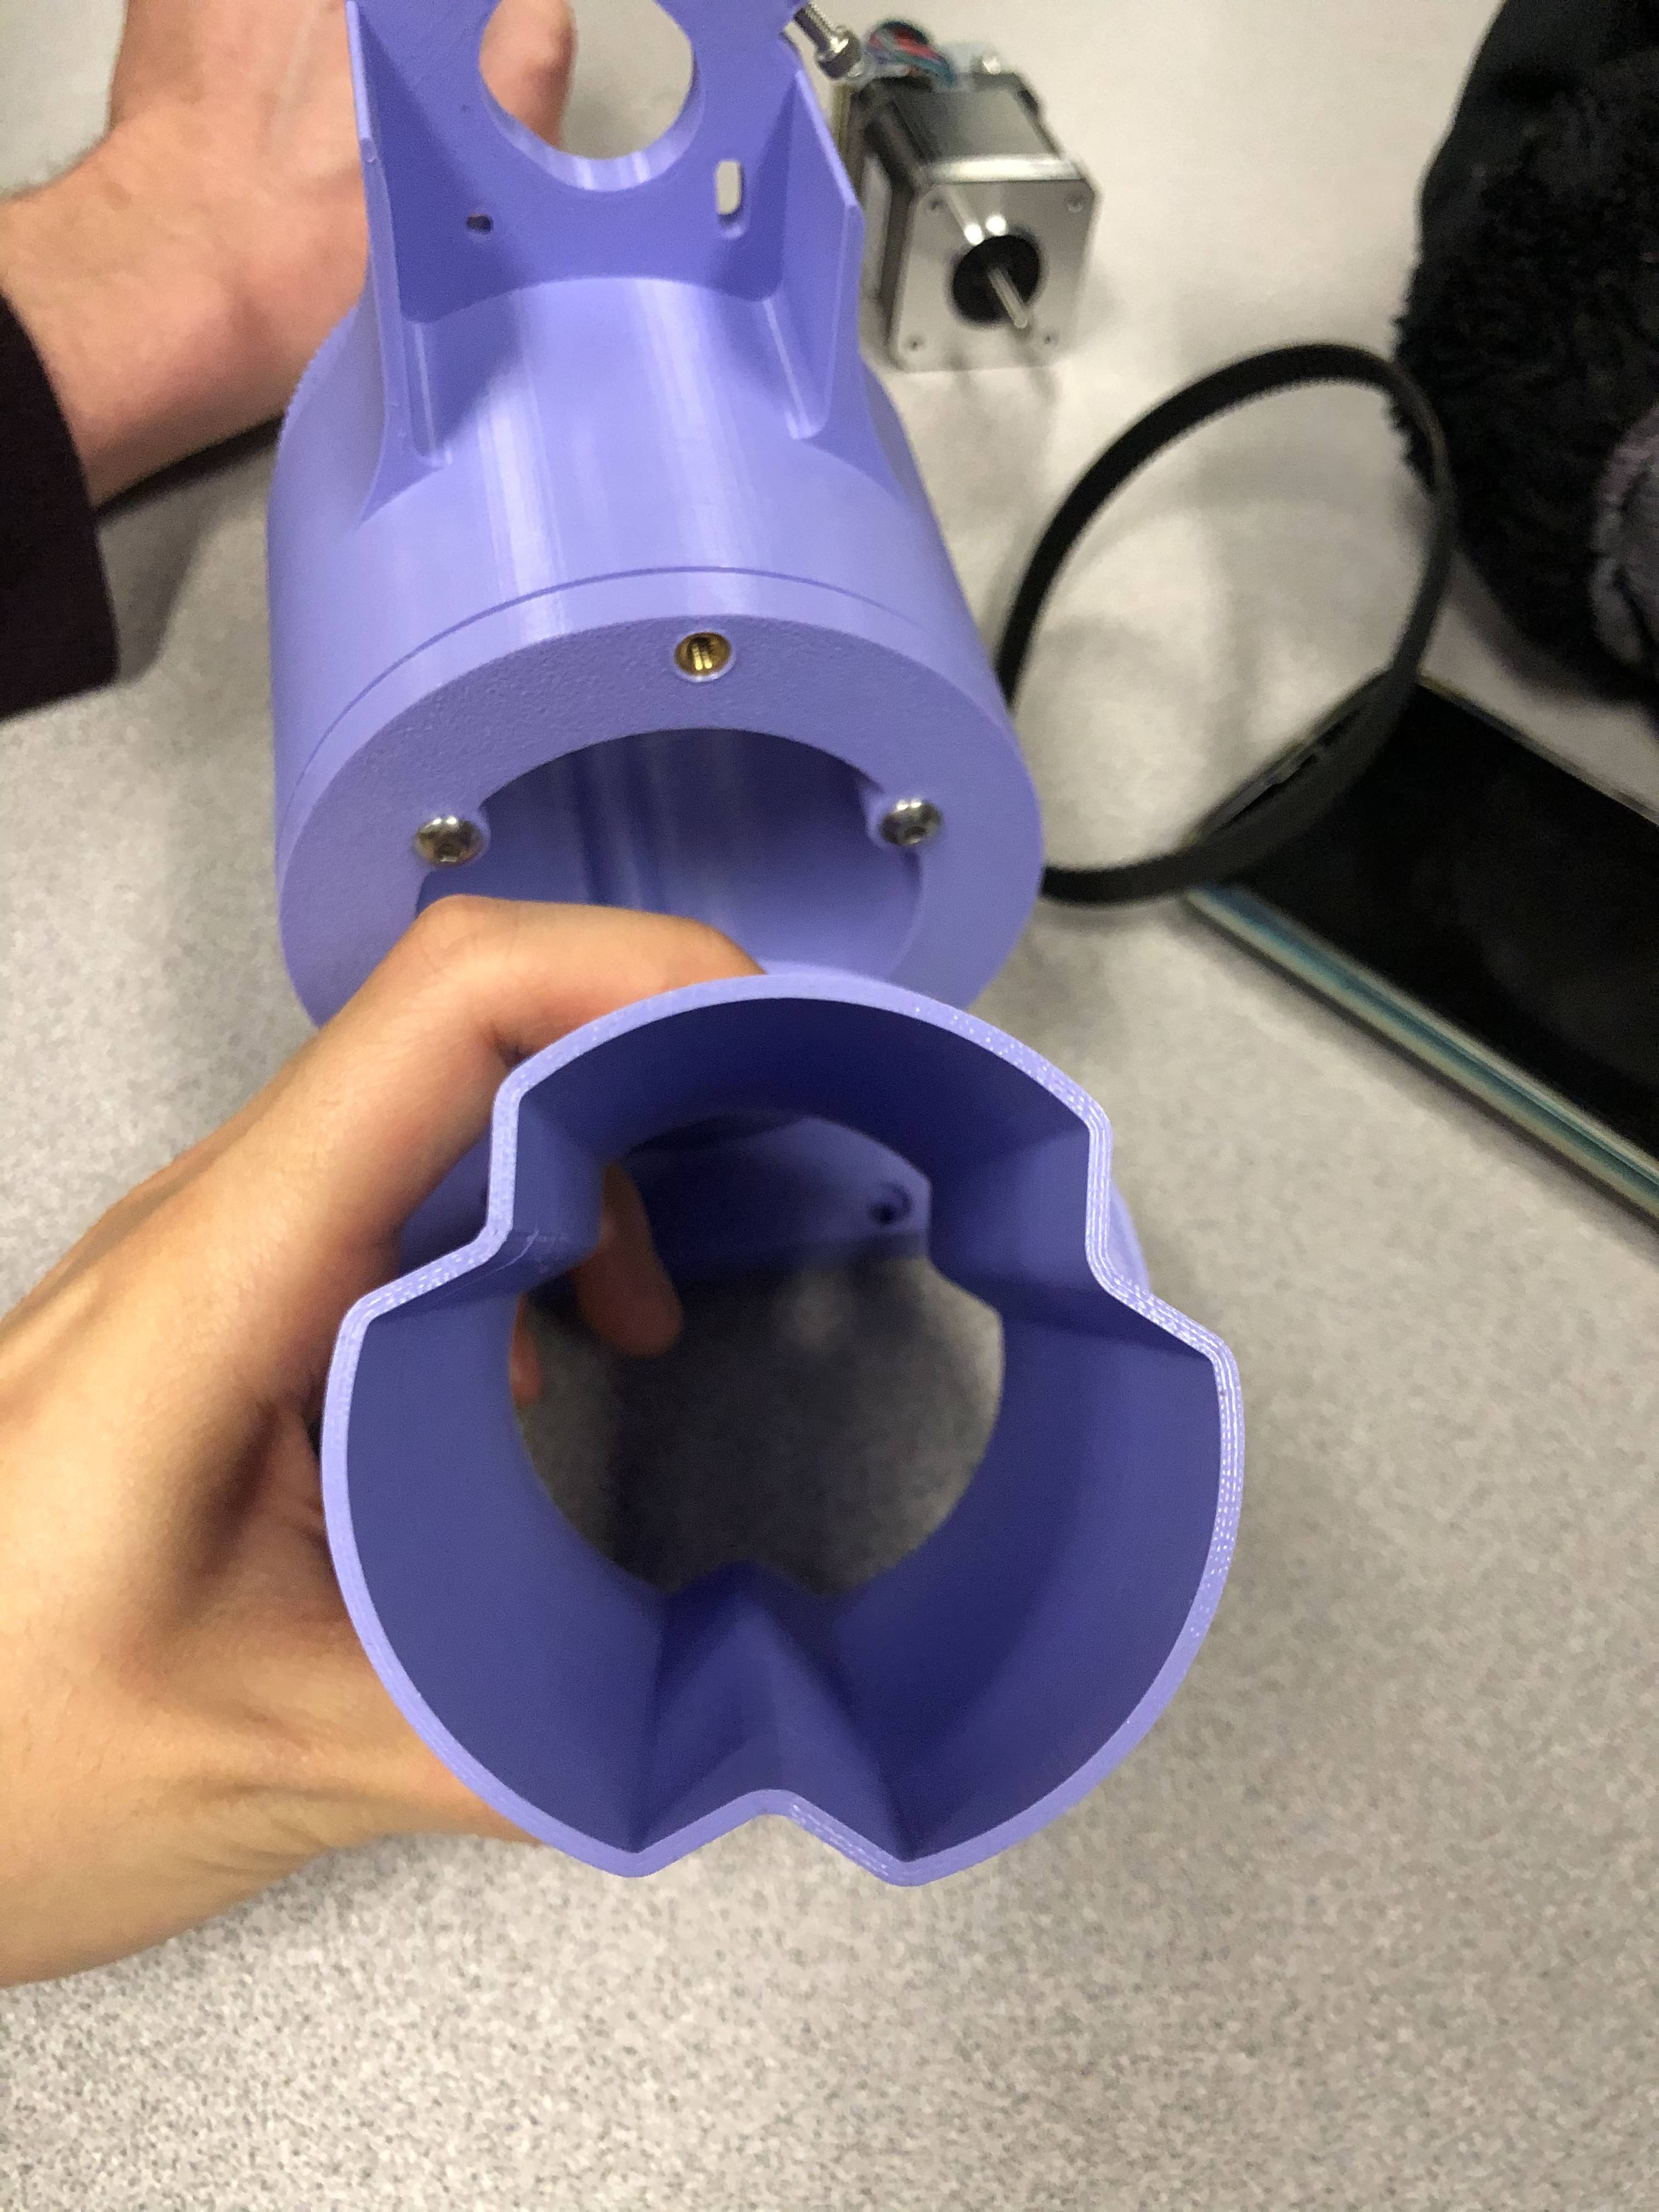
After re-designing the rotary axis, Jack and I set out to find nails. We wanted nails and not screws because these would be stabbing into the apple, and we worried that any threads would destroy the flesh of the apple. Of all the steps of the night, we didn't expect that finding nails would be the rate-limiting step, but it took us an inordinate amount of time, and three different lab spaces (CBA lab, CBA shop, and Tangible Media Lab) to find three nails.
After finding nails and measuring their diameters, we put the measurements into the design (which was, conveniently, parametric) and printed it on one of the Prusas.
Printing the first layer of the rotary axis insert.Day 3: Prototyping the machine
Friday, 11/22/19
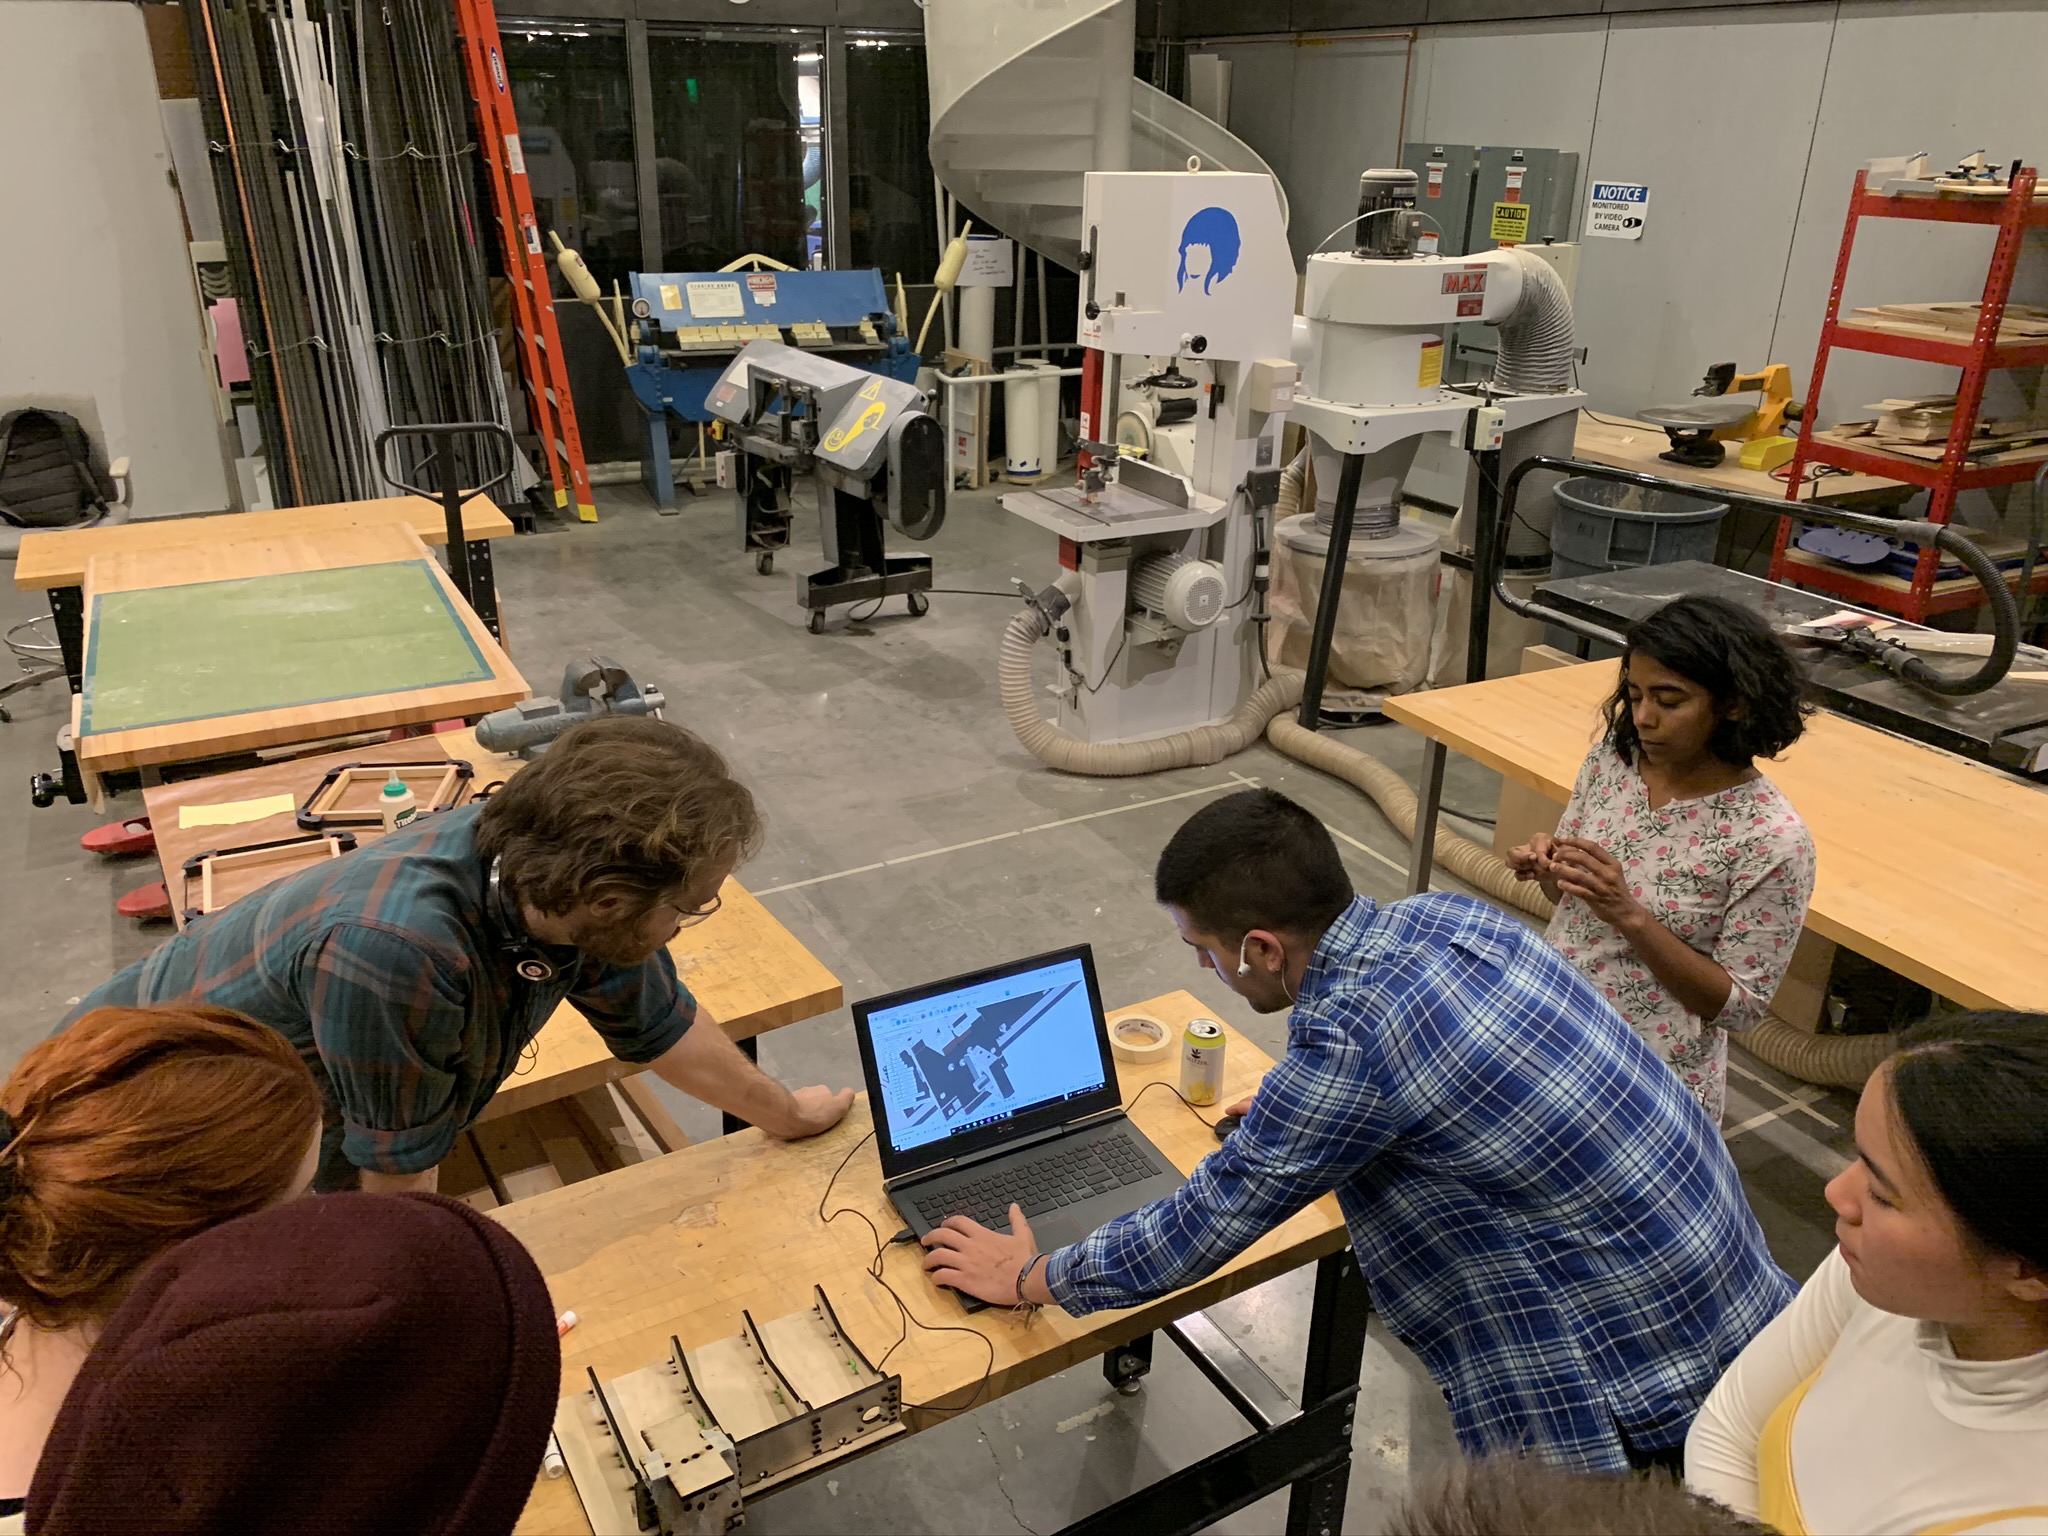
The night before, we'd decided to make a prototype of the machine out of laser cut cardboard, to see if things fit together and to find out if there were any fatal design errors. D helpfully did this in the morning, and by the time I got to the shop in the afternoon (after my Wellesley classes), the gang had decided to move on to a more substantial material, plywood. The plywood, helpfully, was the same thickness as the acrylic that we'd eventually be using, so it was a good way to test clearances and to get a sturdy model that could be looked at and passed around at the team meeting. D and I cut pieces on the epilog and the GCC laser cutters, and Chucho helped manually cut out a stubborn piece (that didn't cut through) on the band saw. During this time, I'd started a few Prusa prints of the joints that would hold the pieces together. Unfortunately, I had a pretty low success rate with this- many of my prints kept failing. I eventually ended up with some usable pieces, but not as many as I'd needed or hoped to have. Luckily, I had enough to secure the important parts of the prototype, and we were able to hold the rest together using some painter's tape.
3D printing on a ladder... I found it hilarious that I couldn't actually reach the printers from the ground... Photo by Emma. Assembly! Photo by Emma.
 The prototype at the group meeting.
Photo by Brian.
The prototype at the group meeting.
Photo by Brian.
 Closeup of the prototype.
Photo by Zach.
Closeup of the prototype.
Photo by Zach.

Day 4: Switching to acrylic, building the passive end
Saturday, 11/23/19
I didn't actually work on the project today, since I had a number of things to do back at Wellesley. The rest of the group got a lot of stuff done today- to my understanding, plywood started getting replaced with acrylic, and the passive stabilizer part (to hold the apple from the other side) came together.
The passive end is spring-loaded to help stablize the apple and relieve force on it from the fast rotary axis.Day 5: Lots of assembly!
Sunday, 11/24/19
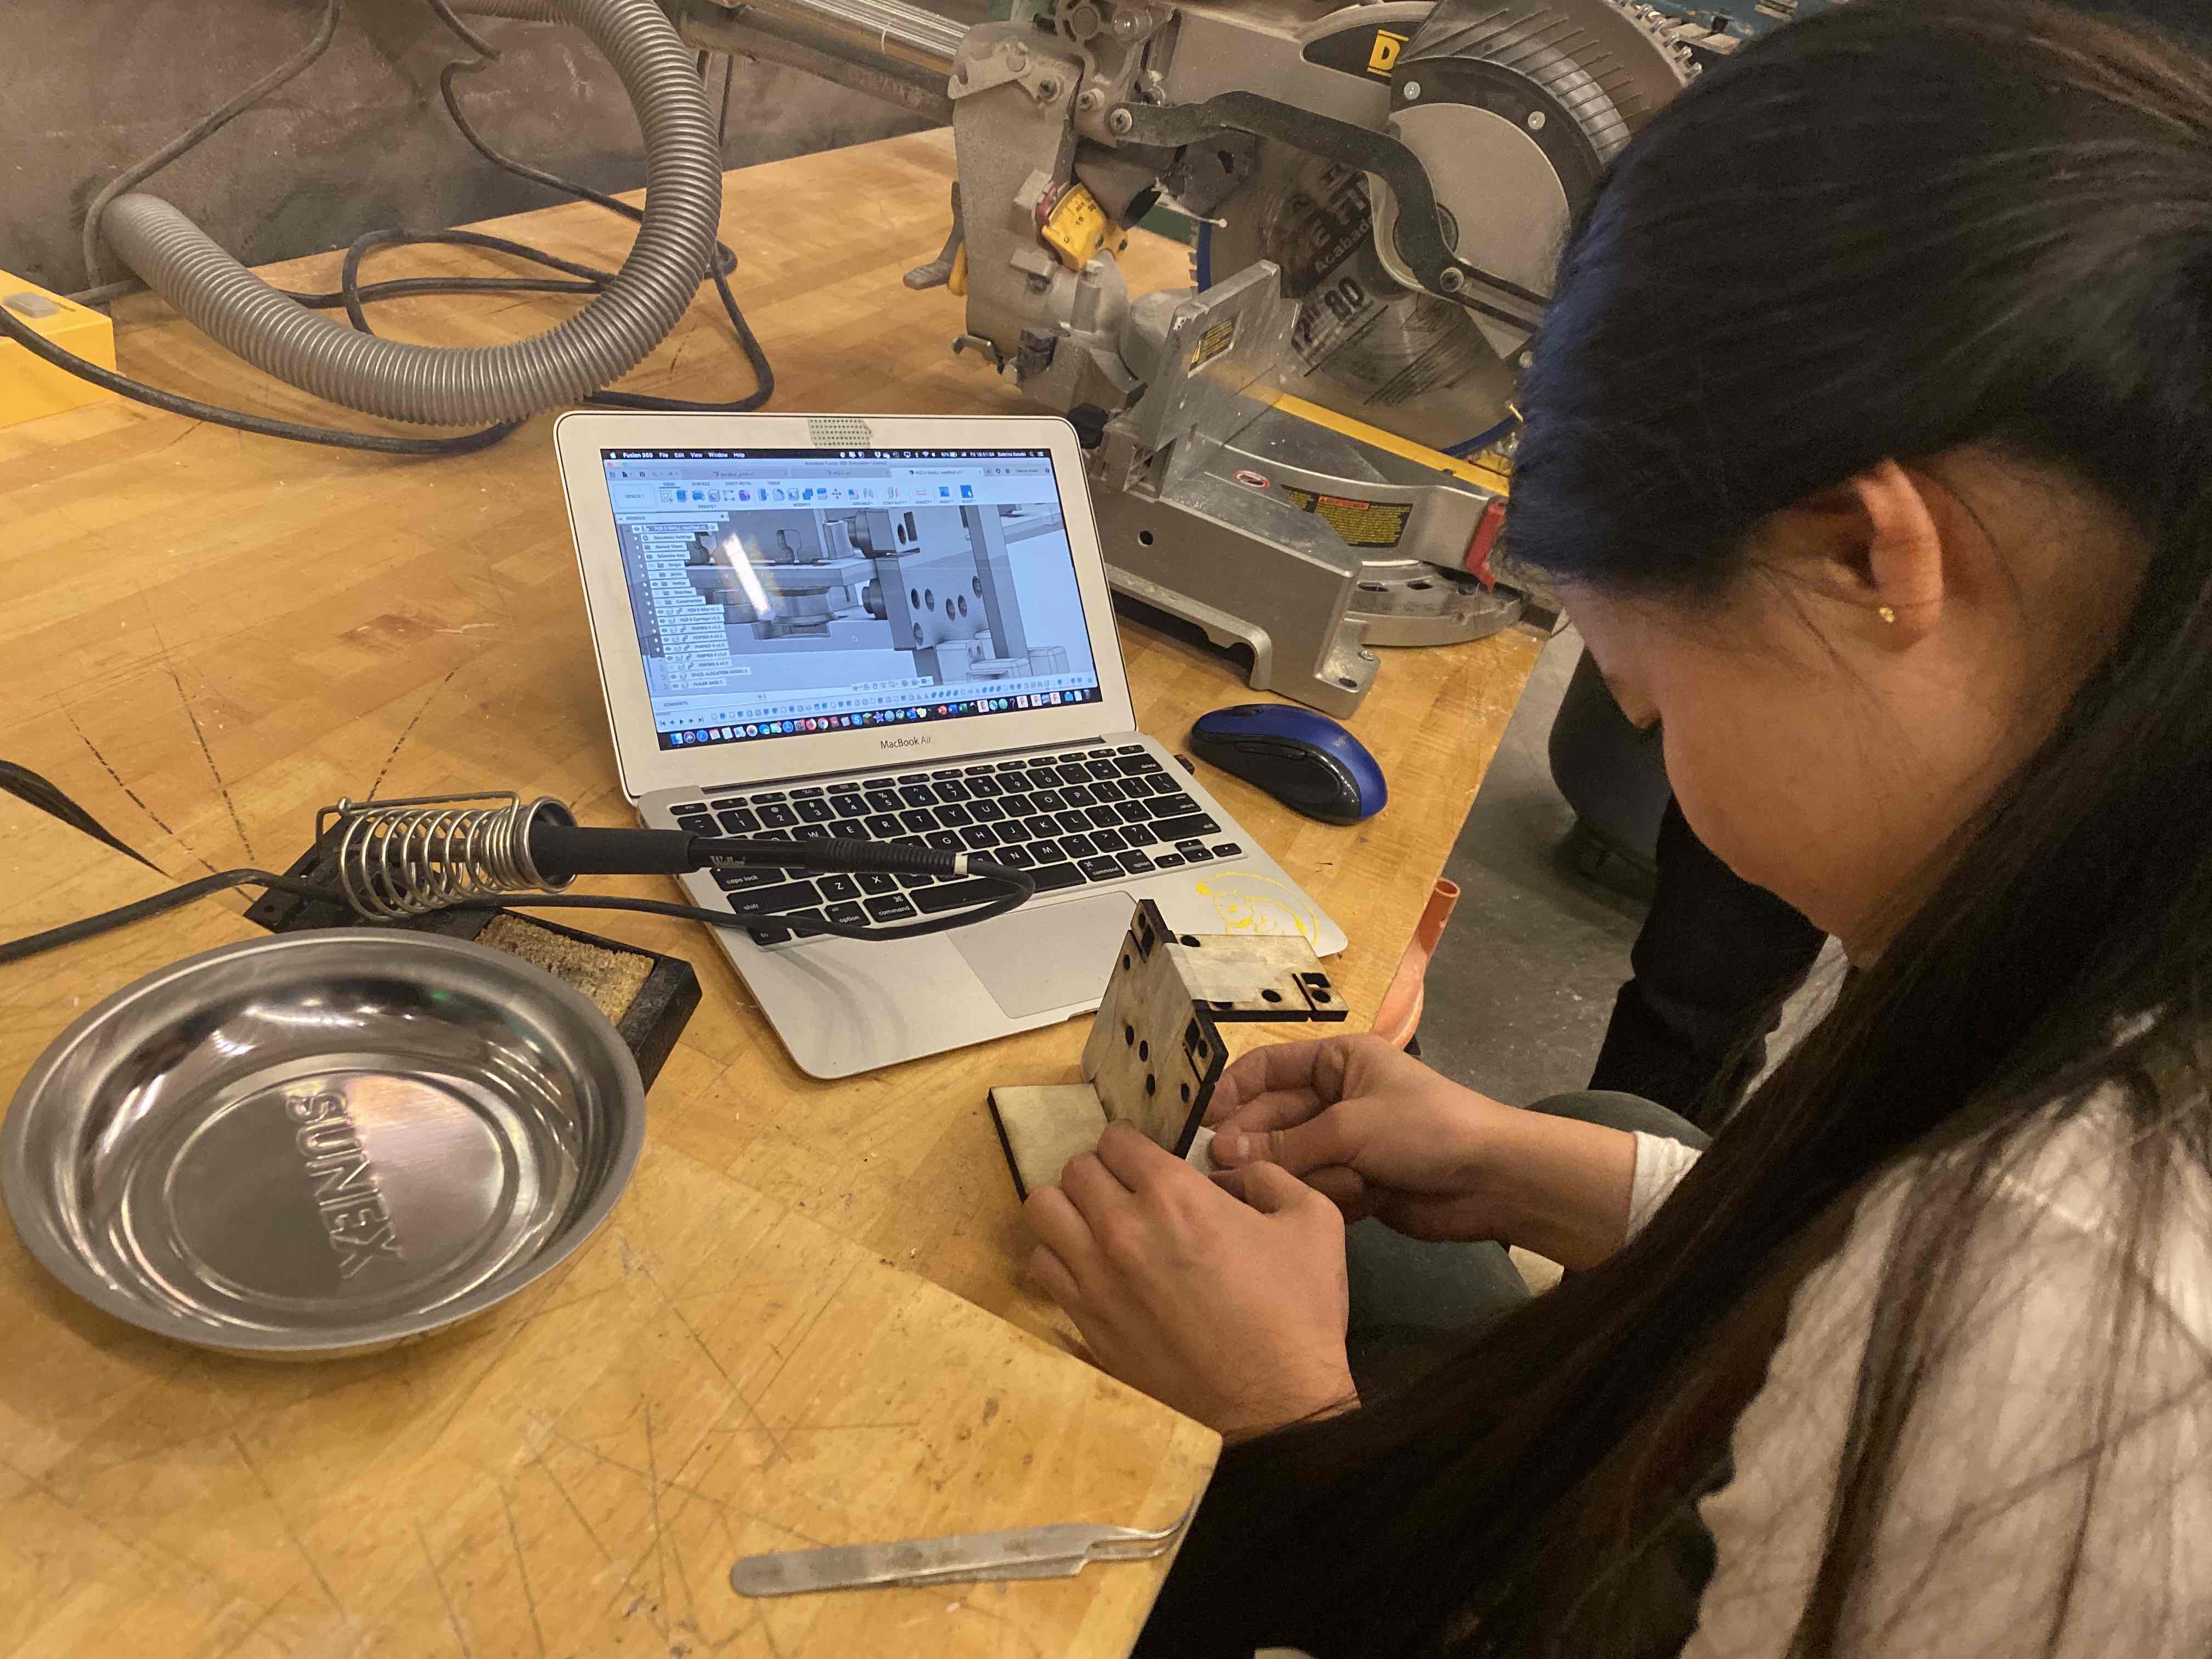
Today was assembly day: most of the parts we needed were done being 3D printed, so we started putting it all together. This part is pretty self-explanatory; we referred to the CAD model to figure out how things fit together, and the rest was just execution. Here are a few of the things I learned from the process, though: About heat sink inserts: these are super easy to use and very effective! Basically, the 3D printed, PLA part can be melted enough with a soldering iron to fit a threaded insert into an existing hole. Here are some tips for using them:
- When pushing the insert into the PLA, try to keep it as straight as possible. This is done by keeping the soldering iron perpendicular to the PLA surface.
- Straightness of the insert can be checked by actually putting a screw in it and seeing how perpendicular it is to the surface.
- It's also important to keep the insert flush with the surface of the PLA. This can be done by flattening the insert down (while it's still hot) with something flat and preferably insulating enough so that there's no burn risk. I used a small aluminum plate, which was not that insulating but did the trick.
Day 6: Miscellaneous work
Monday, 11/25/19
Things seemed to be mostly done on the mechanical end, so I helped with documentation of some progress. I also got to peek at what some other groups had been doing - the UI was super exciting see, and the process video by the ACT group was coming together!
Day 7/8: A long, long night.
Tuesday, 11/26/19
Finally, it was the day before class. Aubrey, Patricia, Graham, and I worked on vinyl cutting and weeding the Apfelstruder logo, which turned out to be a pretty difficult task because it was so delicate. It was super satisfying to weed, though, and we ended up with enough stickers to go around. Quick story: I had a 7am flight to go home on Wednesday, so I figured that it wouldn't be worth taking the midnight bus back to Wellesley only to wake up 4 hours later to go to the airport. So, I ended up staying in the E14 shop overnight, mostly working on documentation and providing food (healthy options, like Pop-tarts) to people! I also got to star in Jack's awesome product video, and was super amazed at everyone's acting skills (and Brian's juggling ability). At 4am on Wednesday, I decided to call it a night (morning?) and took some time to relax before heading home.
Reflections; also, Happy Thanksgiving
Thoughts on machine mayhem 2019
What a week it has been! In the true Thanksgiving spirit, I'm so thankful to have been surrounded by the talented and supportive people that make up the CBA section. This week, I especially loved getting to see the complete workflow of a project, from meeting and brainstorming all the way to product packaging and documentation. This was something that I missed in previous weeks, where the projects were individual. As somebody who has never done this stuff before, I was kind of "figuring it out" or "winging it" all week, without really thinking about what a proper workflow (design-build-test-repeat) really looked like, and it was very helpful to be able to observe Alfonso as he CADded and re-CADded, D as he (super skillfully) moved meetings forward/delegated tasks/generally kept us all on track, and Camron as she troubleshooted. I'm also thankful to the rest of the CBA section: Zach, Aubrey, Patricia, Tom, Jack, Chucho, Aarti, Emma, Graham, Po-Hao, Brian, Daniel, Eyal, Joao, Jiri, Cynthia, Faruk, and Fangzheng. This week was so fun and it was a joy to work together.