Vinyl cutting
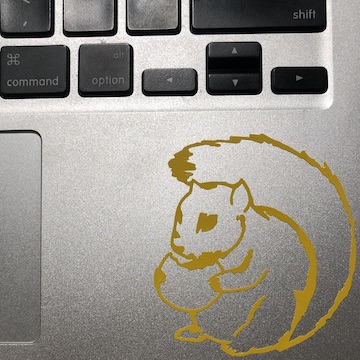
I made a sticker of the climbing club mascot!
I'm one of the leaders of the Babson-Olin-Wellesley Climbing club, so I decided to make a sticker of our mascot,
the cookie squirrel. As context, Wellesley students tend to feed the squirrels junk food, and it's not
unusual to see a squirrel munching on sugary dining hall desserts. This squirrel was spotted near my dorm building,
and it was eating an entire Hershey's chocolate bar:
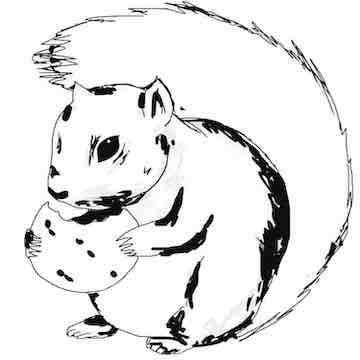
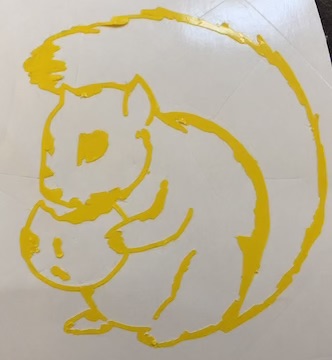
I used a drawing that another club member had previously made of a cookie squirrel, and tried to vectorize it.
However, because it was originally hand-drawn and shaded, many of the lines came out messily:
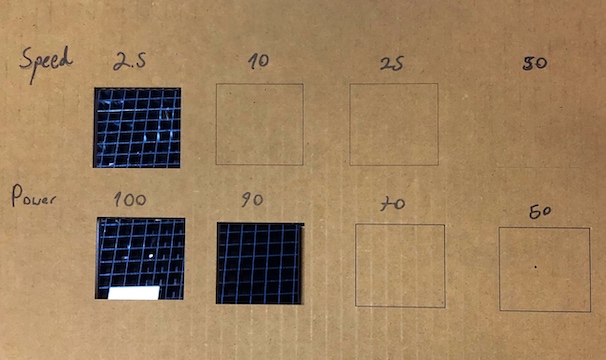
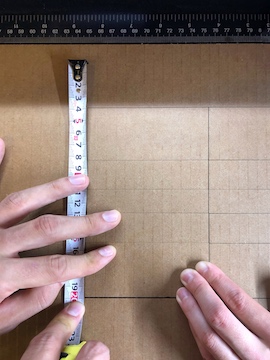
The ideal way to spend a Friday evening! After cutting out the squirrel sticker, Eyal and I did some test cuts to get an idea of the
focus, power, speed, rate, kerf, and joint clearance of the Spirit GLS laser cutter.
We decided to start simple, and drew 8 squares in CorelDraw. We used different colors to correspond
to different laser settings. For the top row, we kept all of the settings except for the speed as the recommended values
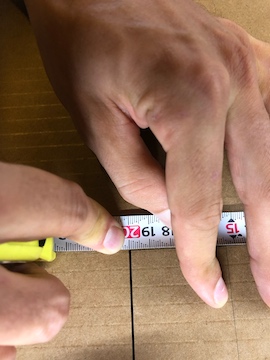
(power 100, pulses per inch 200) and varied the speed; for the second row, we kept speed and ppi constant and varied the power. We also measured the kerf by cutting a grid and measuring how much space we could create by pushing the rectangles in the
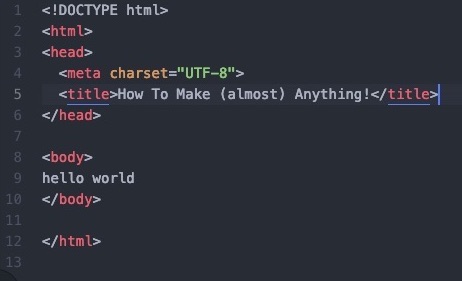
grid together, then dividng by six. We got a total of 1mm of space, which meant that the kerf is 0.167mm. I opened a terminal for the first time. Opening my terminal for the first time during recitation was certainly a nerve-wracking experience.
After reading through many online articles and consulting some friends who had used git before,
I created a SSH key, cloned the repo, and learned a few commands. Also downloaded Atom and wrote my first
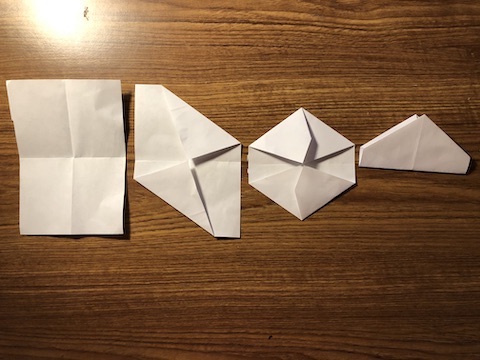
lines of html! I also found my favorite command on the terminal: "git --help". Had some trouble with file types. When I was younger, I was very excited about modular origami, and one of the designs that I still
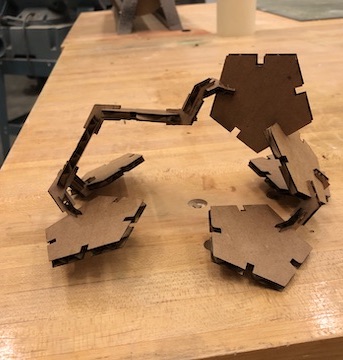
remember is the dodecahedron. I started by making a messy "first draft" of the dodecahedron using some
scrap paper I had on hand.
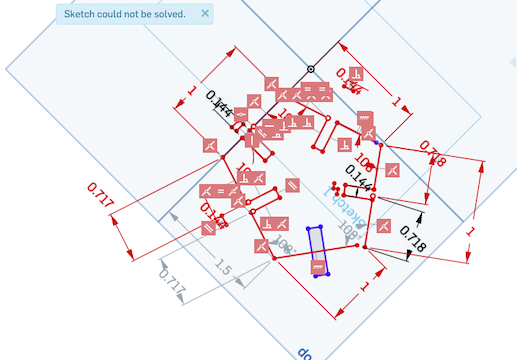
It took a while to get the file to print correctly - I had a number of problems with dimensions not staying constant,
and, at one point, forgot to uncheck the "raster" option on CorelDraw. Most frustrating, was when the jpg file I
had exported from OnShape had some unseen layer in it, which caused the laser to cut the pentagon into odd triangles.
Luckily, I got some advice from both Alfonso and Zach; Alfonso recommended that I try Fusion360, which seemed
to get along better with CorelDraw. Zach pointed out that I had been exporting in png format, which is rasterized.
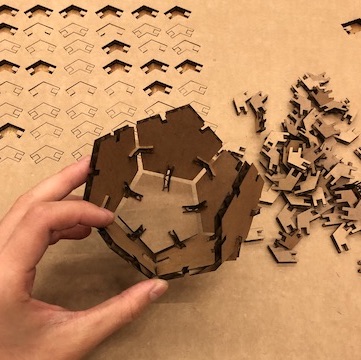
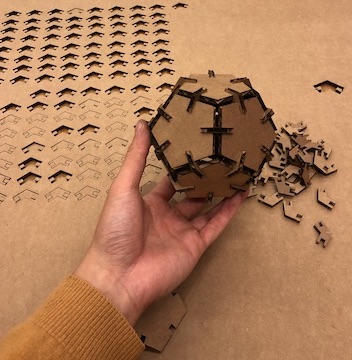
After exporting in dxf, which is a vector format, the pieces printed perfectly! I then put the pieces together, which
was pretty straightforward and easy to do. I also played with connecting the extra pieces I'd cut in different, non- Platonic
solid ways.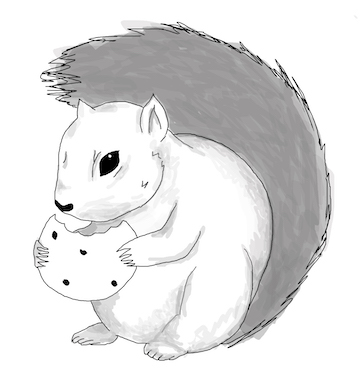
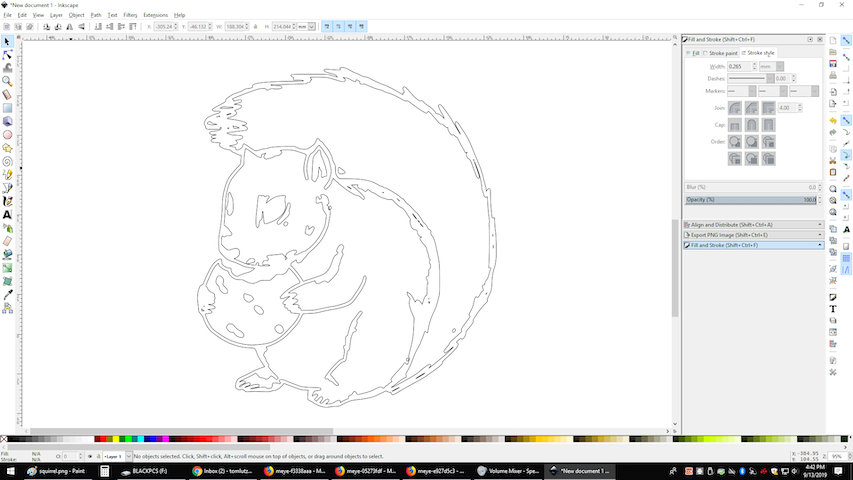
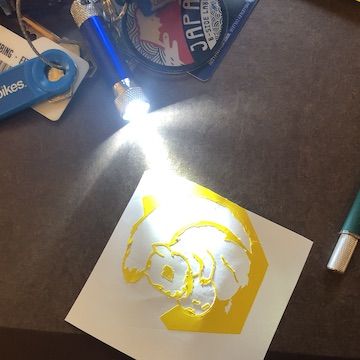
 With a lot of help from Eyal and Tom, I ended up using Inkscape to make a very bold bitmap of the squirrel,
and then made a second bitmap of the bitmap to get a path for the vinyl cutter. After that, the cutting, weeding,
and transfer process was pretty straightforward. I found that using my flashlight on my keychain to see the squirrel
in raking light really helped.
With a lot of help from Eyal and Tom, I ended up using Inkscape to make a very bold bitmap of the squirrel,
and then made a second bitmap of the bitmap to get a path for the vinyl cutter. After that, the cutting, weeding,
and transfer process was pretty straightforward. I found that using my flashlight on my keychain to see the squirrel
in raking light really helped.
Characterizing the Laser Cutter
Learning git

Laser cutting
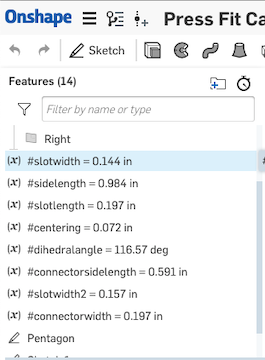
 I then cadded the parts I would need for the dodecahedron: pentagonal panels
and a connector. Using OnShape, I set all of the dimensions as variables, so that I could change them easily
if needed. This took a couple tries (I found that late- night CADding is not productive for me), but I got it to work after a night of sleep.
I then cadded the parts I would need for the dodecahedron: pentagonal panels
and a connector. Using OnShape, I set all of the dimensions as variables, so that I could change them easily
if needed. This took a couple tries (I found that late- night CADding is not productive for me), but I got it to work after a night of sleep.