Learning to use the Prusa
Testing the printer
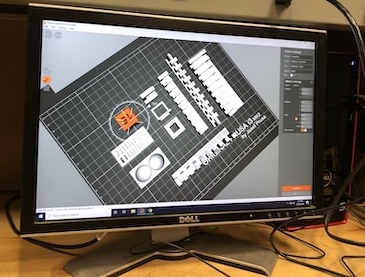
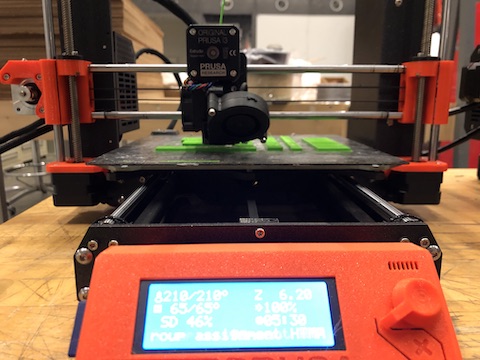
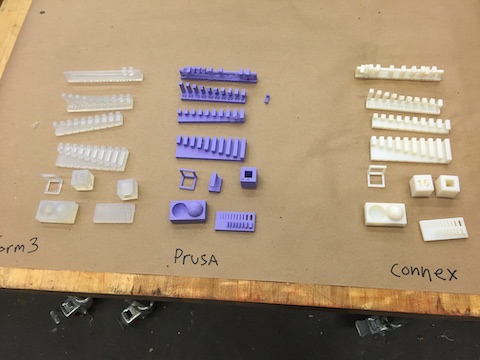
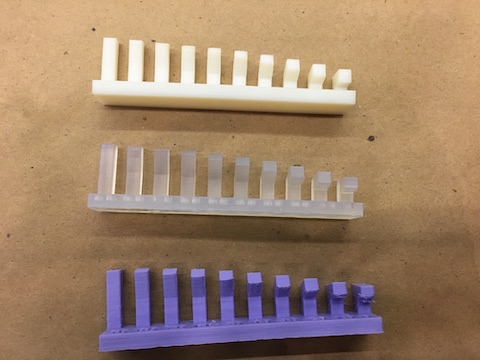
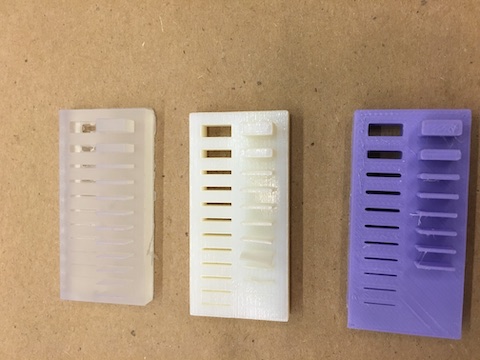
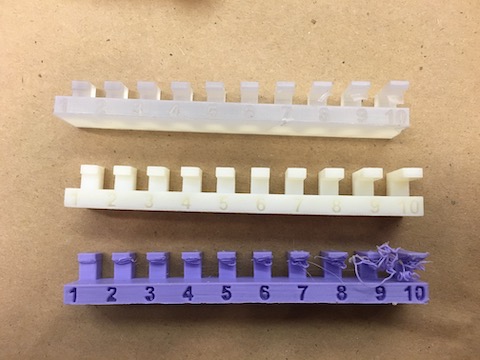
After being trained on the scanners and the printers by John and Tom, we (Patricia, Jiri, Aubrey, and I) decided to do our group project. We used a software called PrusaControl to load testing files onto the SD card for one of the printers, and let it get to work. It was predicted to take 8 hours and 45 minutes, so we decided to check in the next day. Unfortunately, when I came back later that night, I saw that the printer had stopped extruding PLA, so I unloaded the filament, reloaded, and started the job over, hoping that it would be printed by the morning. Unfortunately, that also stopped around 10:45 pm, when Alfonso was in the shop, so he was super nice and loaded the job onto a different printer. (Thanks Alfonso!) As a class, we ended up with three sets of the test prints, comparing the Form3, the Prusa, and the Connex. Based on the results, the Connex seemed to perform the best in all of the tests, followed by the Form3. There were a lot of test prints, so I linked only the ones that had significant differences between the printers below:


Scanning Aubrey's Face
Scanning people is hard, but way cooler than taking a photo.
After we had our group project printing, Aubrey and I returned to the Artec Eva scanner, where I helped him scan his head / face. It was challenging because I'd never scanned anything before, but Aubrey knew a lot about it and was able to give me the following tips: 1. Standing up while scanning a taller object (like a person in a chair) is very helpful. 2. Sometimes, an irregularly shaped object (like a person) will become closer or farther away from the scanner as it spins. In this case, it is good to subtly adjust the position of the scanner to keep the relative distance constant. 3. It is possible to overlay several scans together to create one that is more complete, using the "overlay" tool. Many thanks to Aubrey for teaching me a lot of stuff! (Scan images are on his site)
More scanning
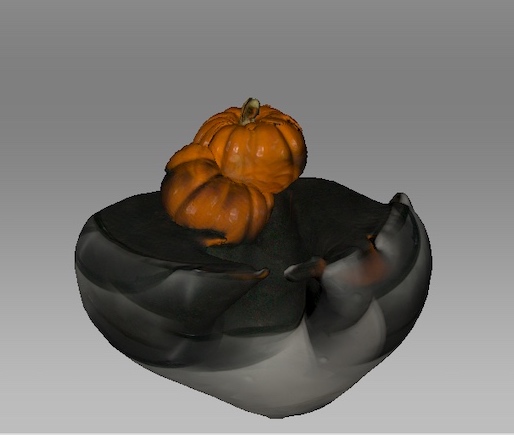
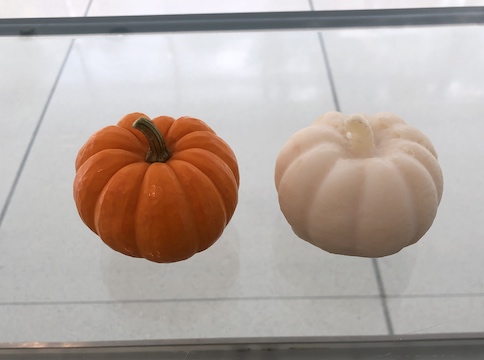
Scanning a pumpkin
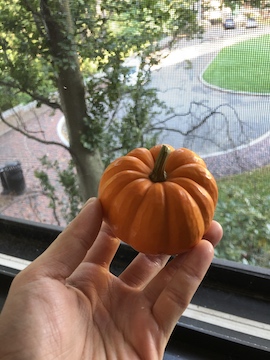
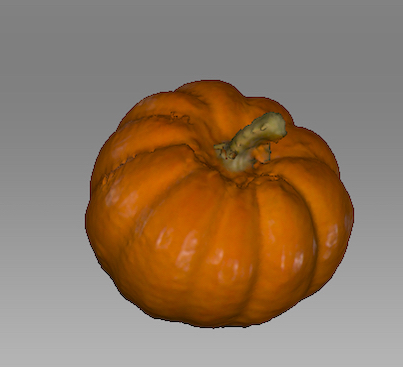
A bit of backstory: my boyfriend gave me a small pumpkin recently, so I thought it would be funny to scan it (again, with the Artec Eva), print it, and give him a printed version. After scanning a real live person, I thought a small pumpkin would be very easy, but I was wrong: it took a stool, a bucket, and a lot of help from Tom to get a decent scan. I took the best- looking one and sent it to the 3D printing email, and Tom put it on the Connex for it to print overnight. Some of the messed- up scans look pretty cool, though, so I might also print those in a later week, when the printers aren't as in-demand.
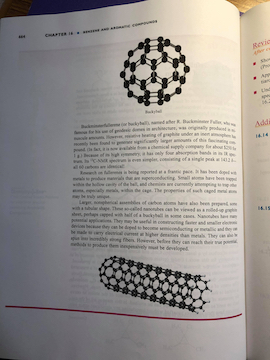
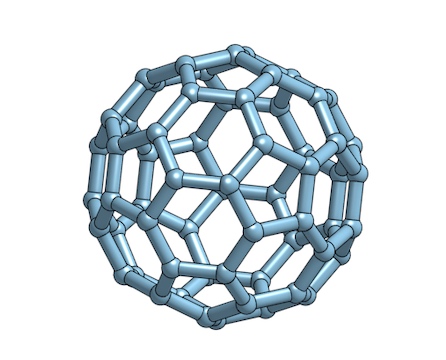
Buckminsterfullerene
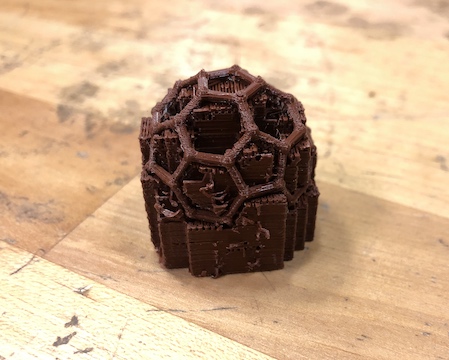
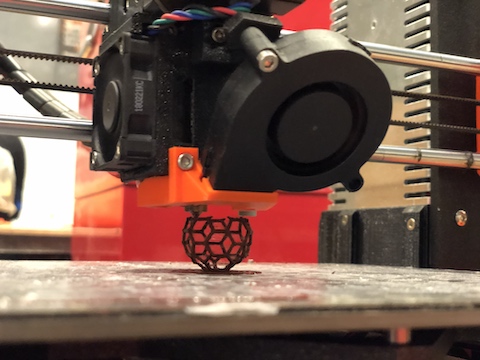
Printing an organic compound out of a different organic compound!
I recently read about Buckminsterfullerene in my organic chemistry textbook, and wanted to make a 3d printed model of it. Cadding it was a bit difficult, but I found the export process pretty straightforward. I then transferred it to one of the shop computers, loaded it onto PrusaControl, and printed it out on one of the Prusas. I was worried that it would have structural issues, though, so I chose to support it "everywhere". Unfortunately, this turned the actual molecule into more of a solid block of PLA with some Buckminsterfullerene structure sticking out. I then tried it without supports and only with the disc on the bottom to help it adhere to the printing surface, and it was structurally fine. I guess this should have been obvious, as the name for Buckminsterfullerene came from R. Buckminster Fuller, who built a geodesic dome out of mixed pentagonal and hexagonal panels in 1967 for the World's Fair in Montreal. When scientists uncovered the structure of Carbon- 60 in 1985, they realized it was the same structure as the geodesic dome built almost 20 years prior, and named it Buckminsterfullerene. That is to say, it makes sense that the structure would be able to hold itself up. Bolstered by this success, I tried to print a molecule without the coaster on the bottom, but this proved to be too ambitious, as the print would just not stick without the extra surface area provided by the coaster. (Jake told me a pretty easy way to remove the coaster after printing using an Exacto knife, thanks Jake!)