Choosing a thing
The format of this week's class was perhaps my favorite of all the weeks; instead of a regular lecture, Neil had a bunch of different instructors, alums, and current grad students give elevator pitches for each of their different fabrication methods. It was also my least favorite week because at the end of all of it, we had to pick a method. I'm very indecisive and get easily excited about anything new, so choosing was quite difficult for me. I ended up making a spur-of-the-moment decision to learn to EDM with Zach, mostly because the EDM sounded super cool but also because I would be the only "student" in that group, so we could be super flexible about training time/ cutting time.
Designing/Cadding
I decided to use the EDM to make a part of my final project, which would be a
wearable (like a wristwatch). It seemed like it would be cool to make a metal watch
band like one finds on fancy watches, so I set about designing some pieces to make it.
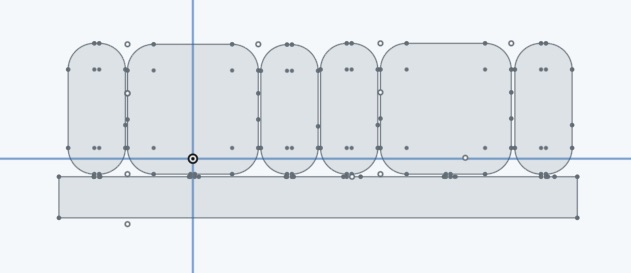
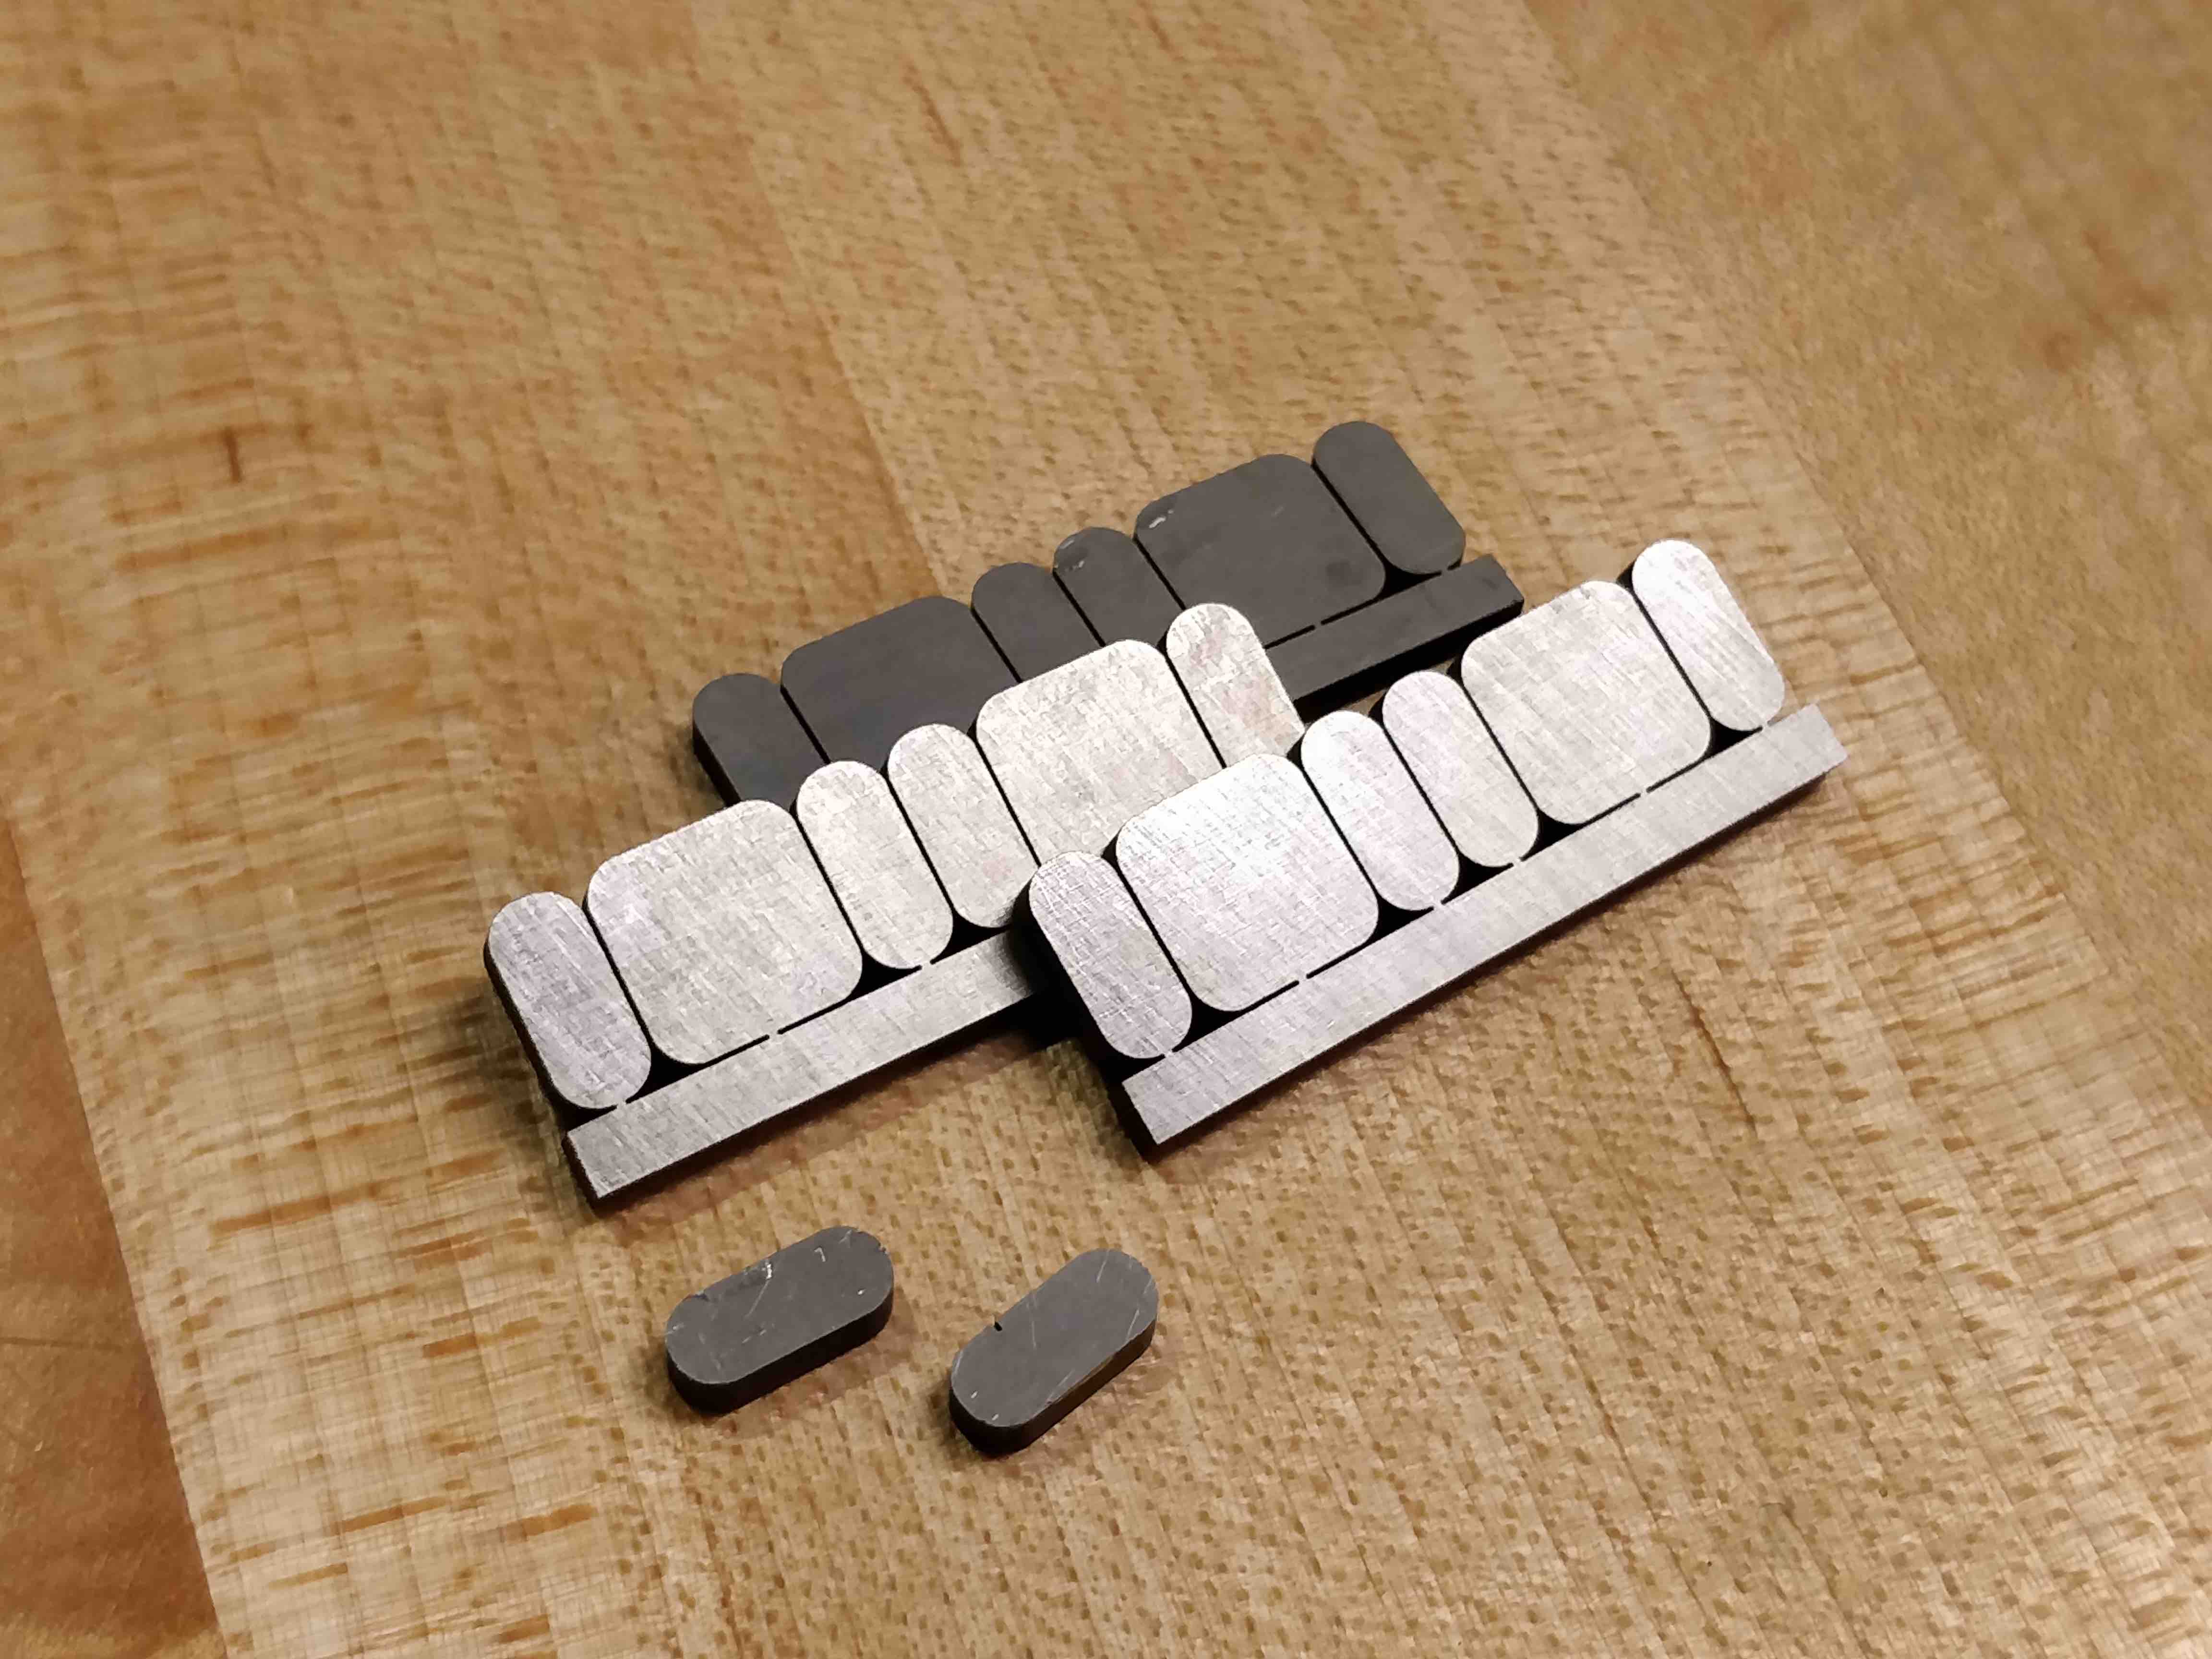
Zach showed me some examples from Sam, a CBA alum, who made many small parts on the EDM;
instead of cutting the parts individually (which would be a hassle and would also cause
a lot of little parts to fall into the water bath), he would cut them and leave small tabs
so they would come out as one piece, and be manually snapped apart later. With that in
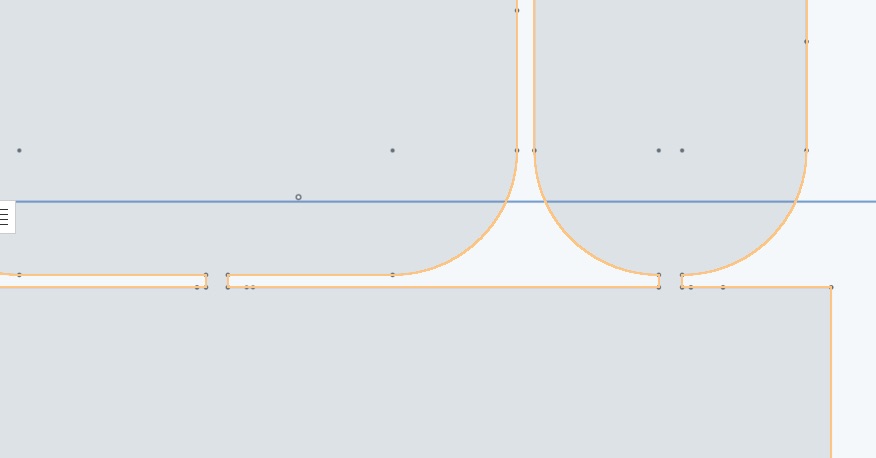
mind, I connected my pieces to a larger rectangle using very thin (0.2mm) tabs. I decided
to use OnShape again, since that's what I'm comfortable with, and because I was a bit tired
of Fusion360 after machine week.
watch_part_2.dxf
C-EDM: Cranky Electrical Discharge Machining
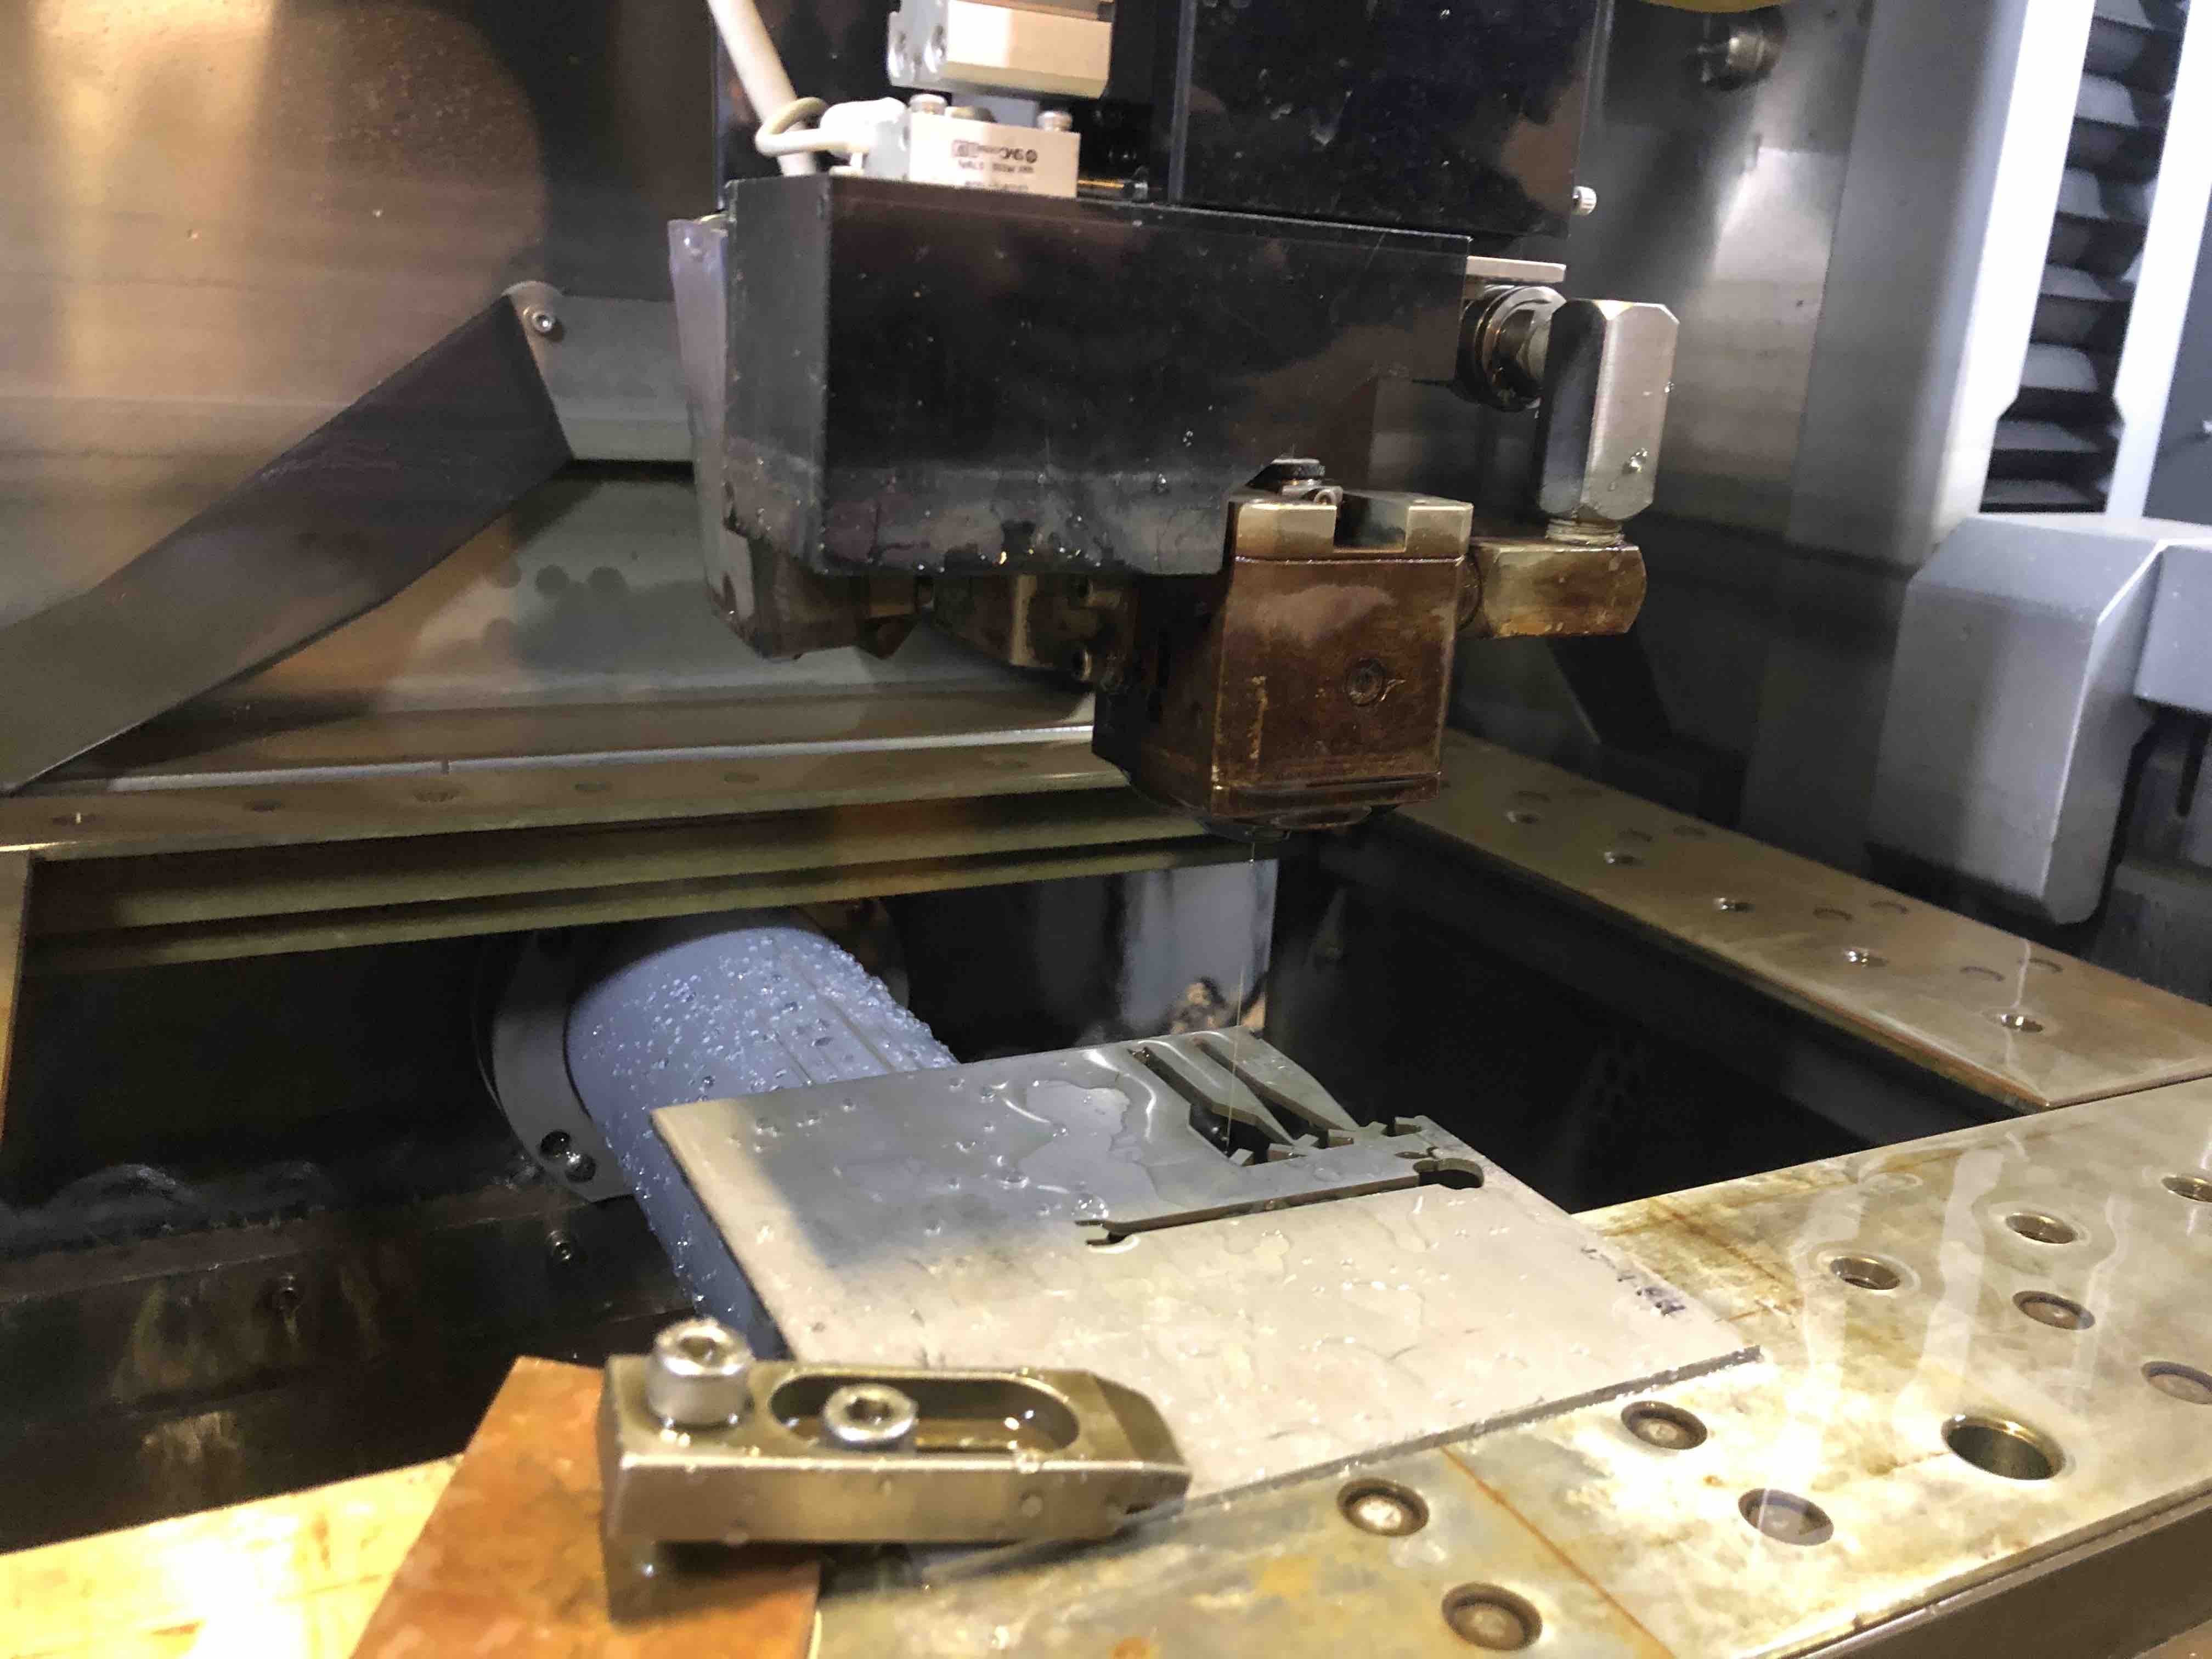
Zach, Anthony, and I met up on Friday afternoon to learn a bit about the machine.
Zach talked
a bit about how the machine works, and I learned some interesting things about it, like that
it doesn't apply a lot of force as it's machining, which allows it to cut delicate parts without
stressing them too much.
Zach also showed us a start of a test cut and we learned a bit about
the setup and how to load files.
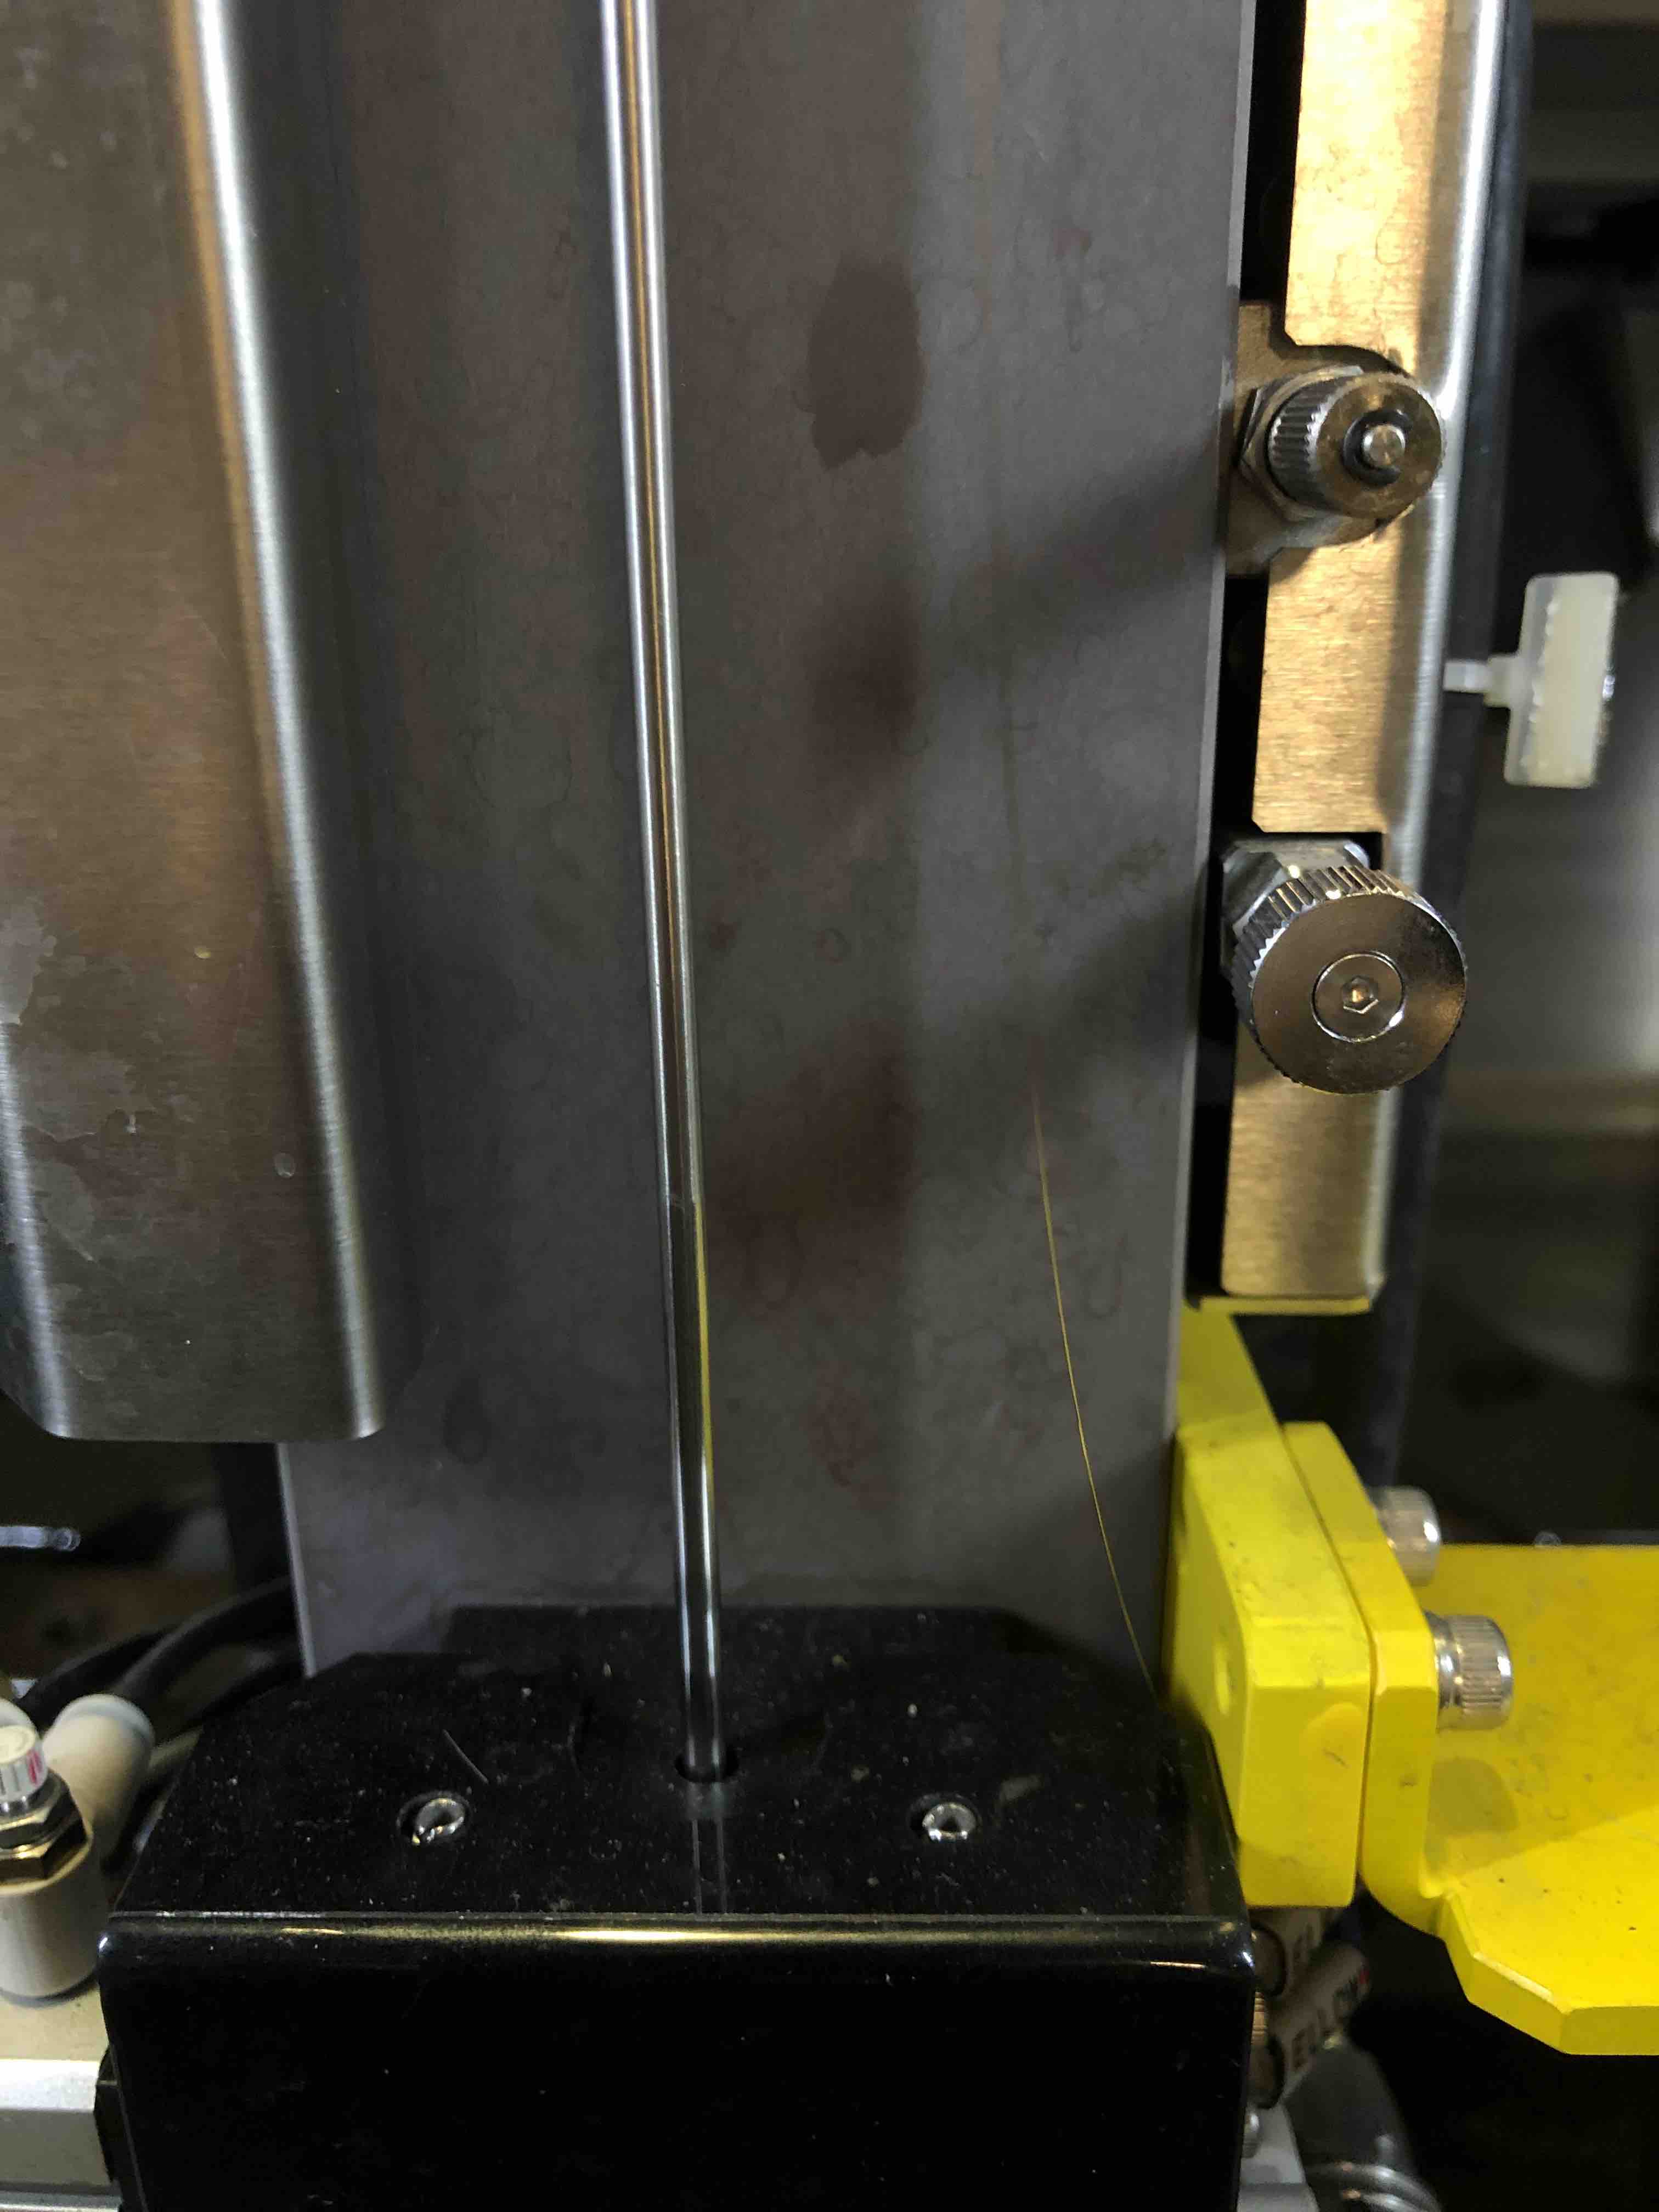
 Unfortunately, the EDM was being a bit cranky, and we kept getting wire breaks near the start
of the test cut.
Unfortunately, the EDM was being a bit cranky, and we kept getting wire breaks near the start
of the test cut.
C-EDM Part 2!
We reconvened on Saturday to cut some of our own parts! I brought in my watch parts, and
Anthony brought a snowflake. Unfortunately, the EDM was still acting up and we didn't manage
to cut stuff that day. I did get some very good advice from Zach on optimizing my CAD file,
though, and also got a bunch of feedback on the design! Onward.
EDM working!
Zach is amazing (but we all knew that already)
Sometime in the beginning of the week, Zach got the EDM to work by replacing the ion
exchange resin. Unfortunately, I missed the occasion because I had a piano jury at Wellesley,
but Zach got a few copies of my watch band parts cut out! Thanks Zach!
Next steps
How to drill holes in 17-4
The material we used for the watch links was 17-4 stainless steel, which is beautiful, but quite difficult to drill holes in, which I would need to do in order to connect the watch parts. Zach recommended that we figure out a way to clamp each part very accurately / securely, and just EDM holes on the sides. This might end up being a project for another day, though, as the week is nearly over and final projects are making us all stressed. In the meantime, I cadded a version of the watch band that can be 3d printed, so I might do that in case we don't get back to the EDM.