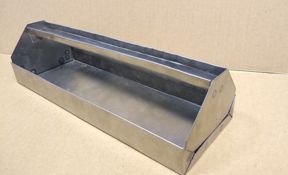
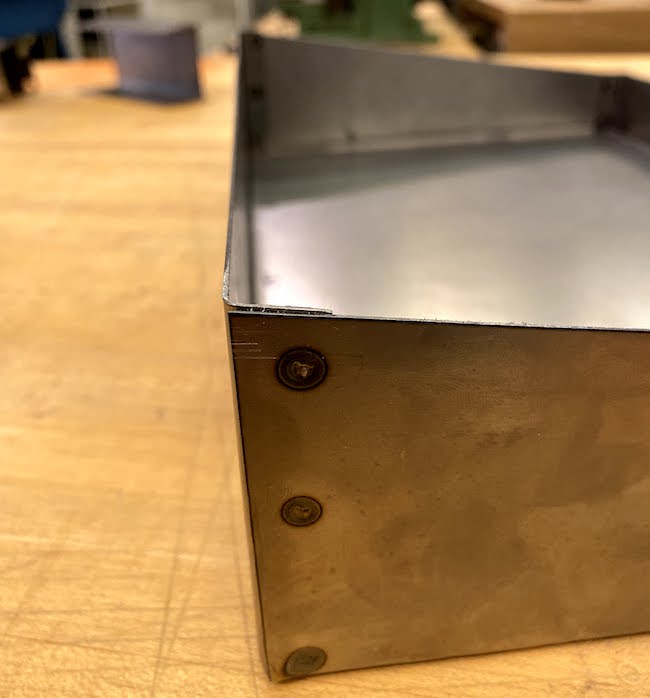
This week we had the option to choose from many new skills and materials to work with. I have always been interested in working with metals, since they are a very strong and versatile material that is often used in projects. So I decided to work with sheet metals. I worked with John and Tom in the CBA shop. Our introductory project was a metal toolbox. The progress of the toolbox can be seen below.

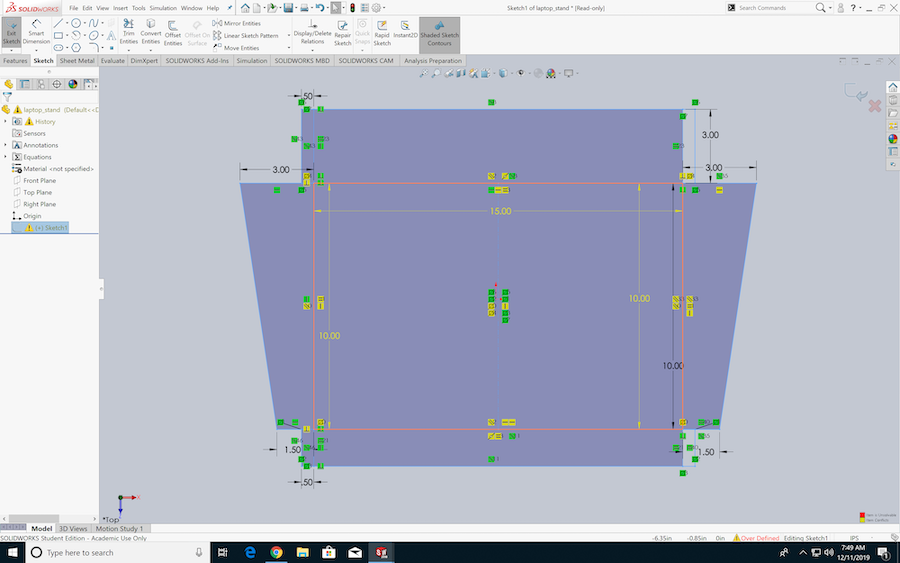
I decided to make a laptop stand for this week. I began by using the Solidworks sheet metal feature and creating my design. From the design I made the DXF with the parameters to fit my Mac.
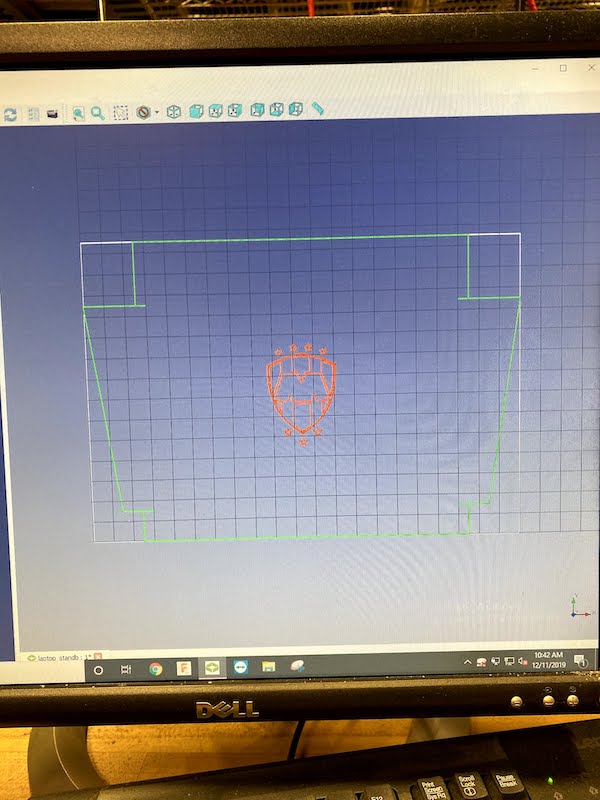
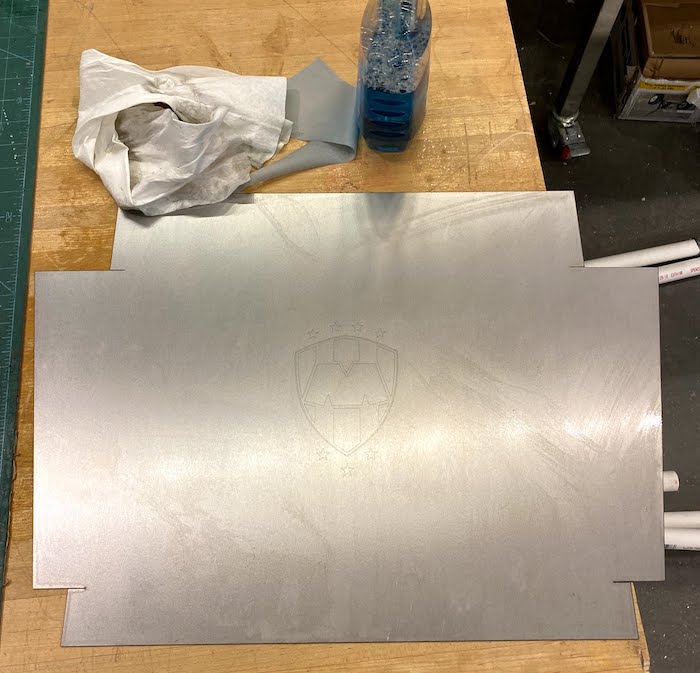
I also wanted to add a logo to my laptop stand. I used a png image and converted it to a DXF. Then with Tom and John's help, used Rhino to combine the DXF's. Some editing had to be done so that the correct lines were to be cut and engraved as designed. After, I went to the lab laptop and creted the fablight file for the machine.
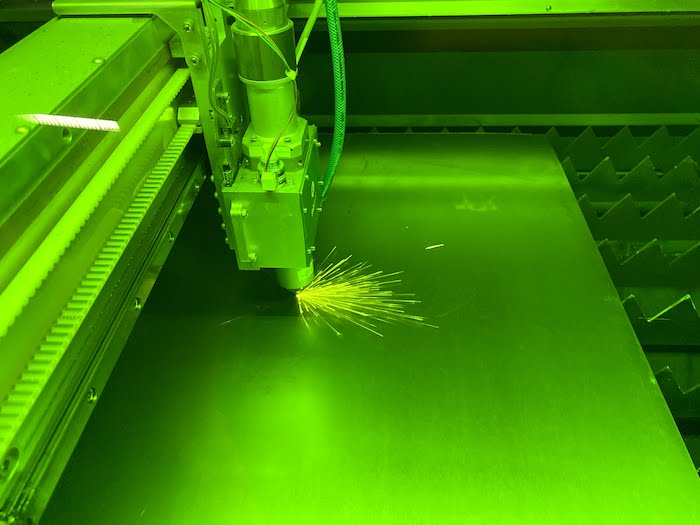
I placed the sheet metal into the fablight and zeroed the machine. Then began engrving the logo (red lines) and cuttiny (green lines). The machine took less than 10 minutes to complete the engraving and cuts and the results were pretty good. We were given a 24"x24" sheet of metal. The overall design just fit with some room for error, but not for remaking.
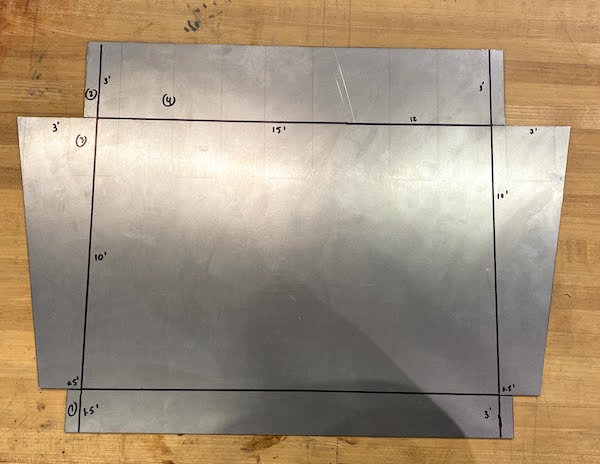
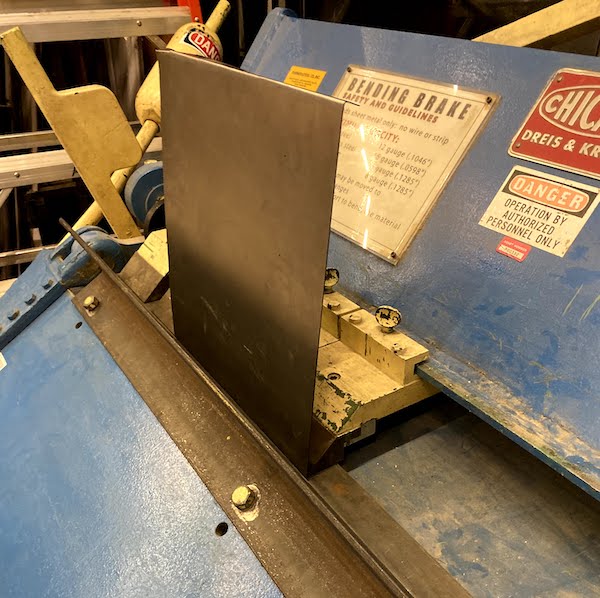
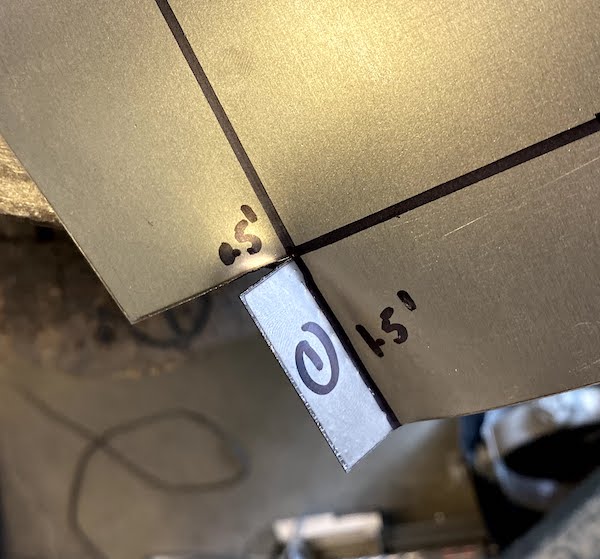
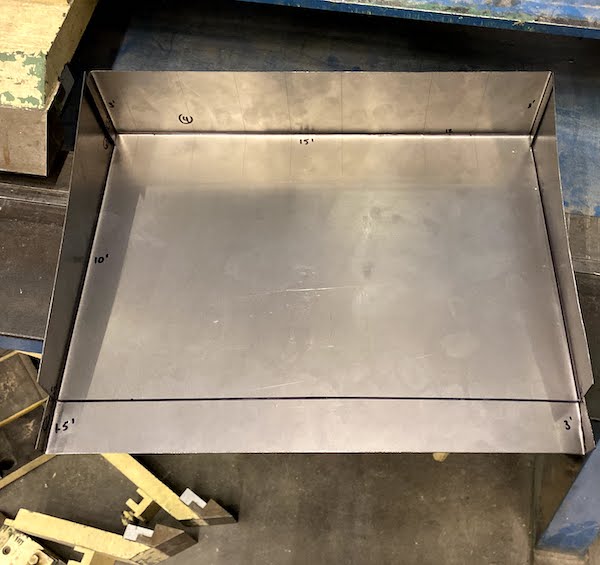
I cleaned the metal with windex and towels. Then I added the measurements from my design to make the necessary folds. I also ordered the folds, thinking ahead of what steps had to be sequential so that you do not mess up the intended design.
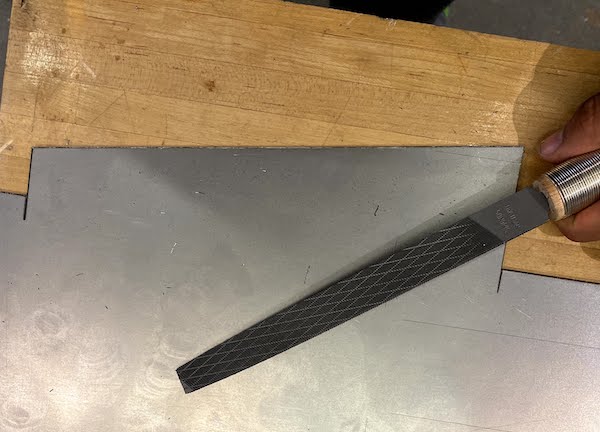
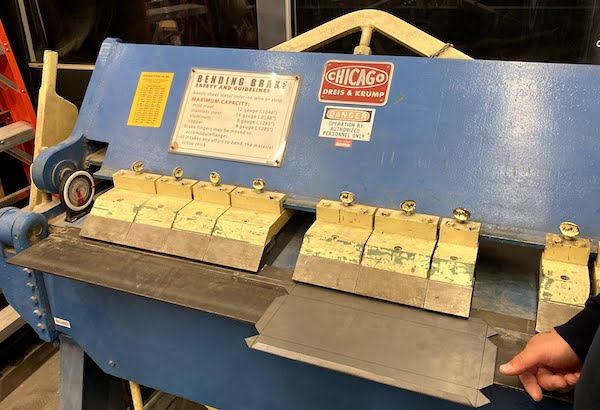
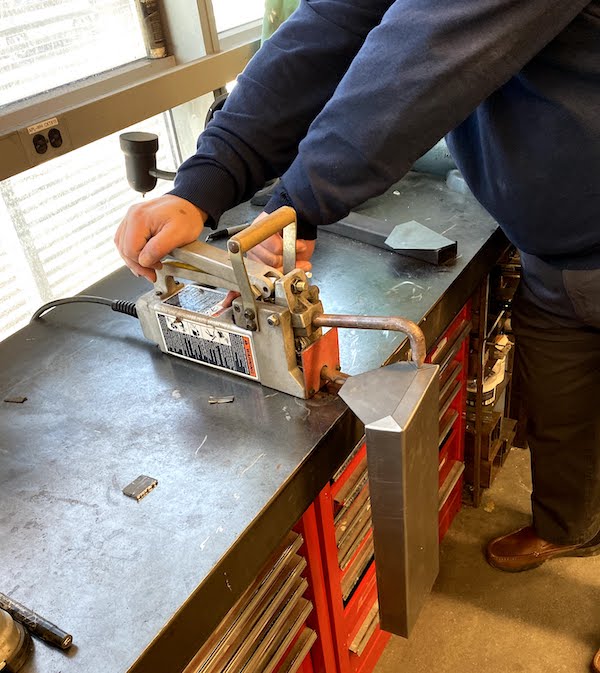
The machine used was very big. It could fold very easily to 45 degree angles, but I needed some 90 degree angles. I had to eyeball some of the folds and go a bit past 90, to then come back and unfold if necessart. As you can see I messed up one fold because I tried to do it without the machine and just using a clamp. I was able to hammer out the piece. Also, before I folded I had to clean up the edges so that they were smooth and not rough so that I would not be cut.
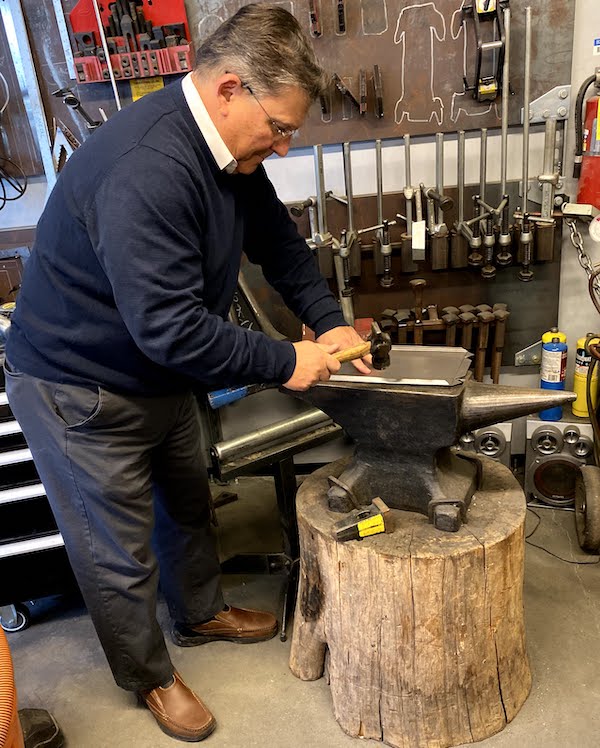
I did not need to do much hammering. I just had to straighten some edges to have an easier time welding. However, if I need to make the stand smaller, I can fold in and hammer down the edges.
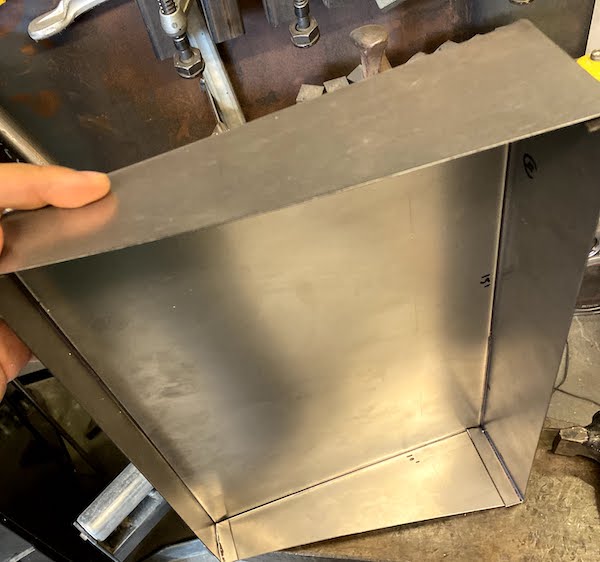
After folding and hammering to get the sides in the right place, I went on to use the spot welder. Turning the switch for about 2 seconds will get you good results. I did a total of 10 welds for the laptop stand to reinforce it well.
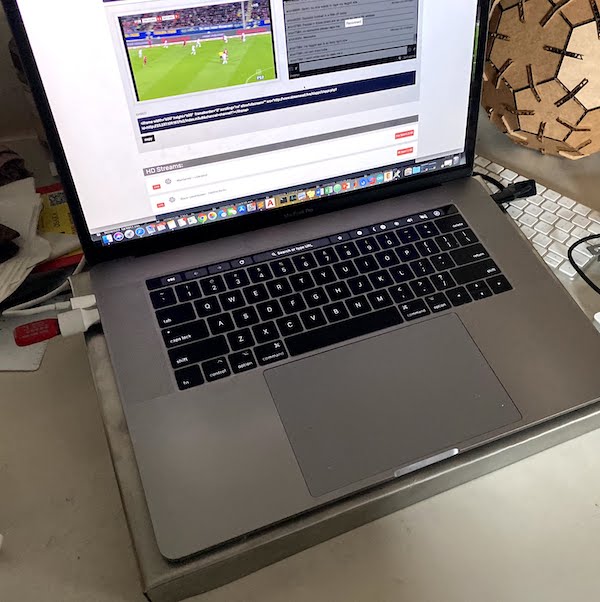
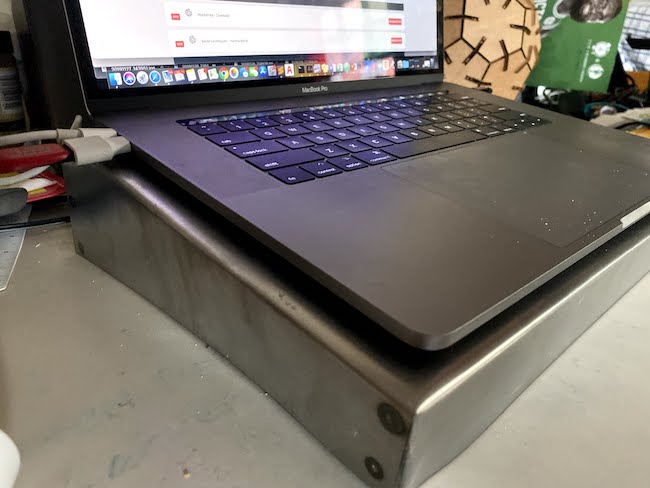
The stand works! It raises my laptop up 3 inches from the front and is at a good angle on my desk. I am thinking about spray painting it to have it blend in with my desk a little better.