This week we had to charachterize the setting and features of the laser cutter.
The closest material to carboard we found was balsa wood, but it did not cut all the way through. The presets for balsa wood are
So we decided to change up the settings to cut fully throught. For the cardboard in the workshop we found best. Cutting with these settings allowed for ideal joint clearance as the cut was as wide as the cardboard was deep.
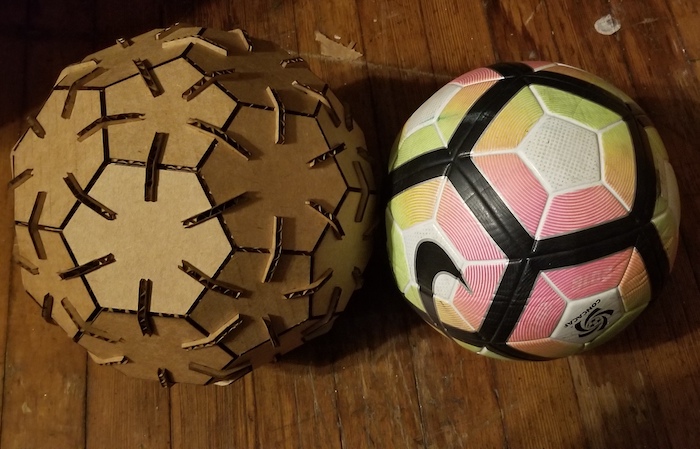
I began by designing the two fundamental shapes of the ball. These were the hexagon and equilateral pentagon as shown below. But I had to connect them, so I also created a connector.

These shapes were designed and printed from a solidworks file. I decidede to create all three on the same file since it is relatively easy to print because the shapes are simple.
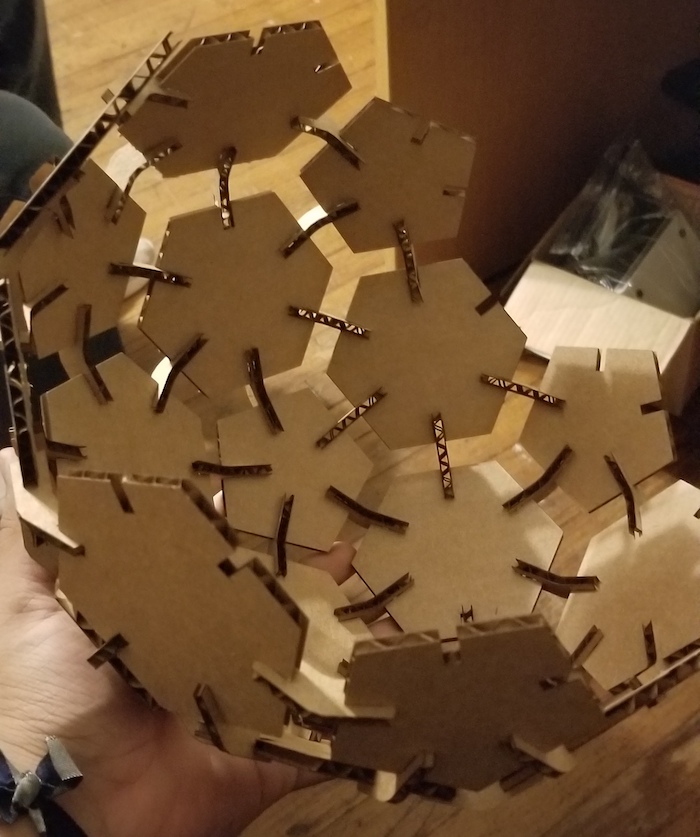
Then I began building the ball. Since I began with the basic connector shape, the "press fit", then there was a bit of a struggle. As you can see' I began without putting the connectors in all the way through. This was so I had some wiggle room whenever I needed to add a shape to a space that had more than one shape to connect to at a time. Below you can see the progress.
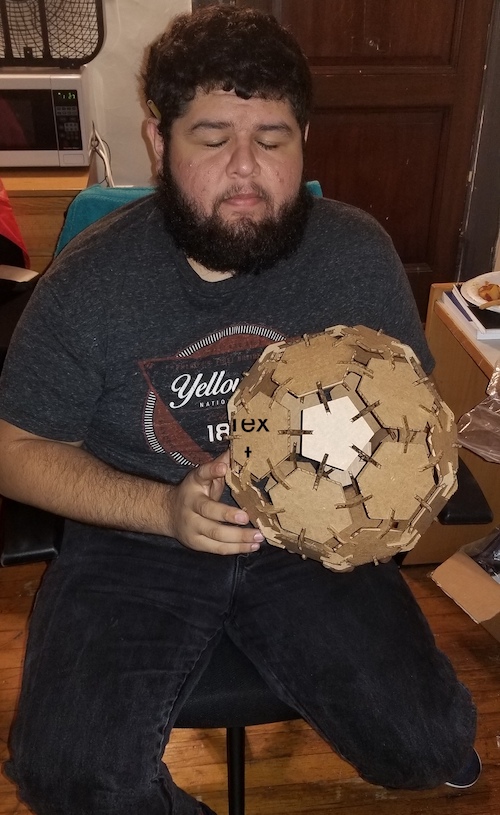
The final pieces were the hardest to insert since they needed to connect to 5 pieces at a time. Being very careful, I inserted them and moved them around until they were somewhat sturdy. However, the pieces would loosen as I tried to put assemble the ball as a whole. After about an hour of pushing the pieces together, I completed the ball and all of the pieces are tightly fit and relatively sturdy.