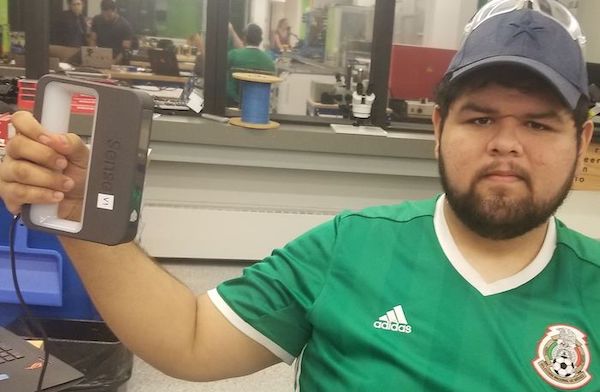
This week I began working with the handheld 3D "Sense 2 scanner". In the small objects mode, I had some trouble getting it to recognize a gatorade bottle because of the shiny blue surface, but it somewhat modeled the label. So instead, I decided to scan myself. There is a humans setting with options for full body or just face scan, and I chose the latter.

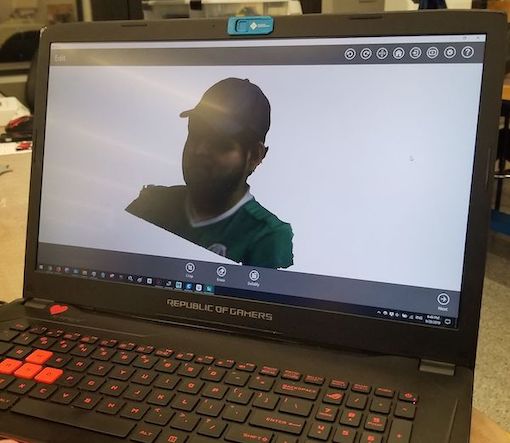
My 3D scan was good. I will attach a link. It did not read my eyes or ears amazingly, but it got the overall complexion.
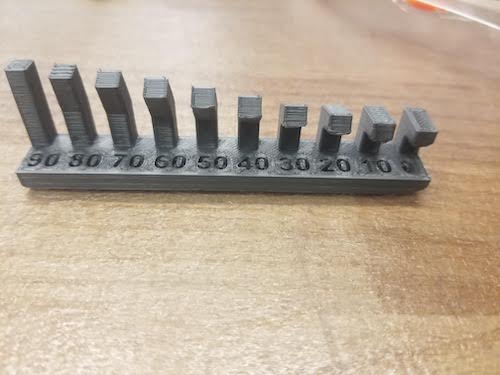
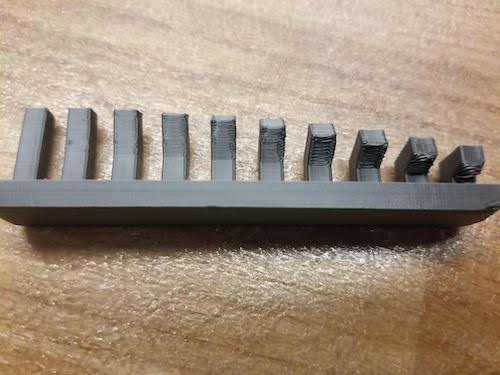
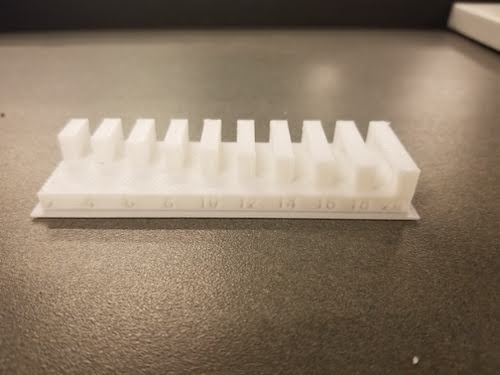
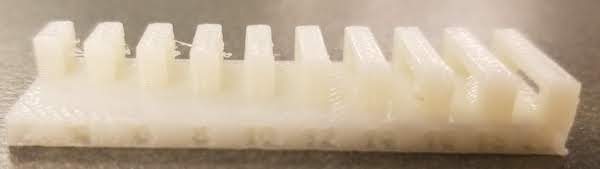
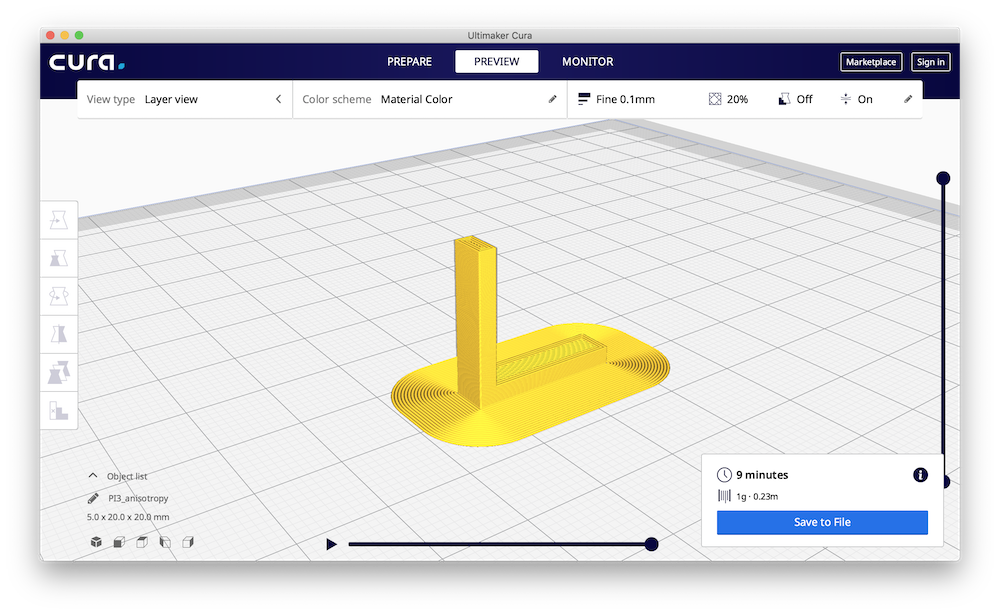
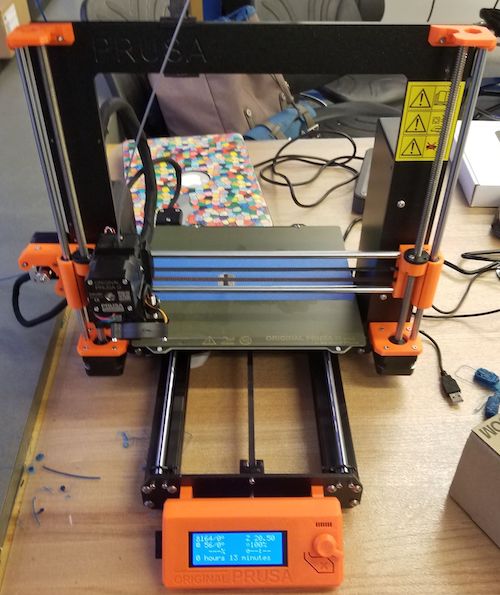
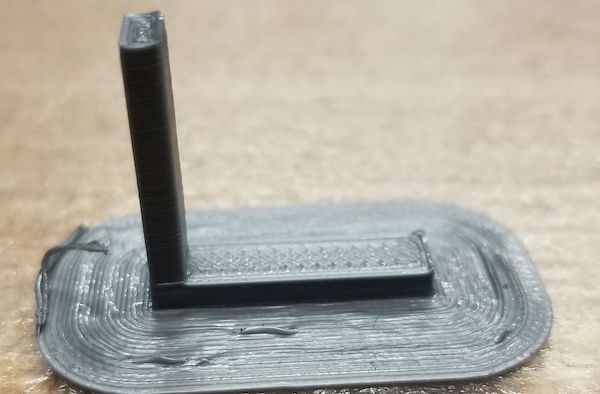
My first 3d printed piece was the anisotropy sample piece from the class site. The piece was very small, so the total print time was only 16 minutes with preheating. From the piece I can see that the horizontal component is stronger than the vertical component. So for future printing I want to print any structural parts horizontally so that they are stiffer. I used the gray PLA in the prusa and cura to slice the image. Cura was pretty intuitive, but is not compatible with the other printers in the EECS Lab.
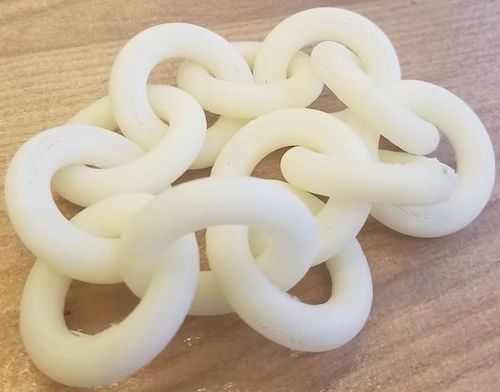
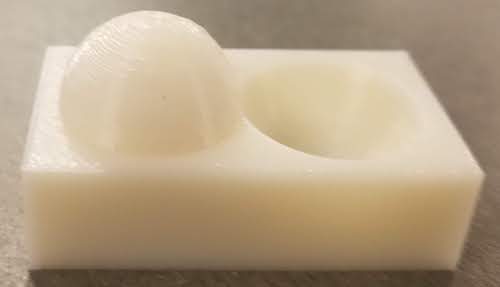
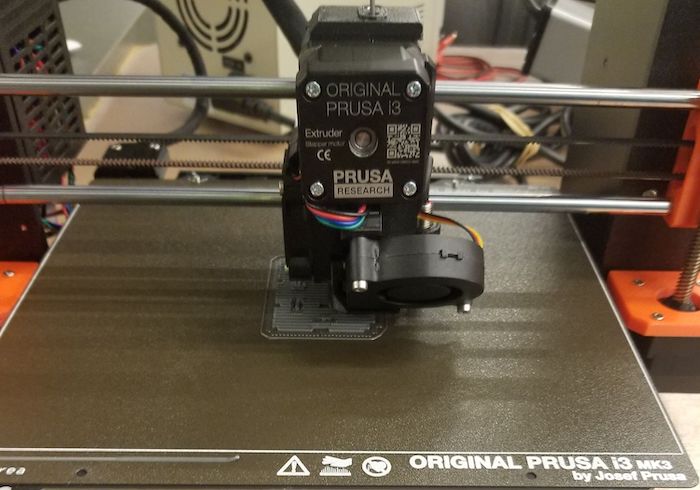
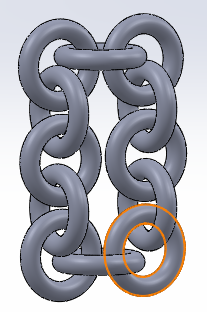
My non subtractable print is a set of torus's that form a chain. I first wanted to make a cube out of them, but had some difficulty visualizing so I made a face. It turned out to be more of a rectangle than a square, but I can go back and edit the Solidworks file. Mistakes were made. The first thing that happened was the Prusa was not printing at all, so I tried to clean the tip. Then, it was not sticking to the plate so I moved over to the uPrint.
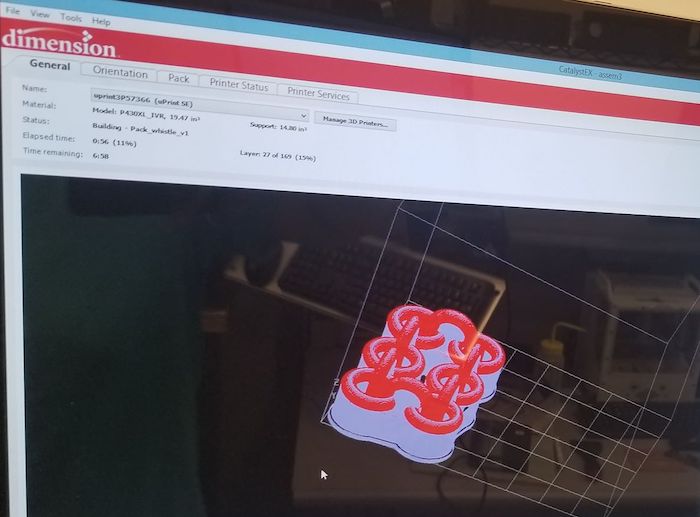
The u print reads the STL file and has a computer set up next to it so that you can see the slicing done. I made the print a bit too big, so it printed the piece overnight. We also got the cura printer going to compare the two prints.
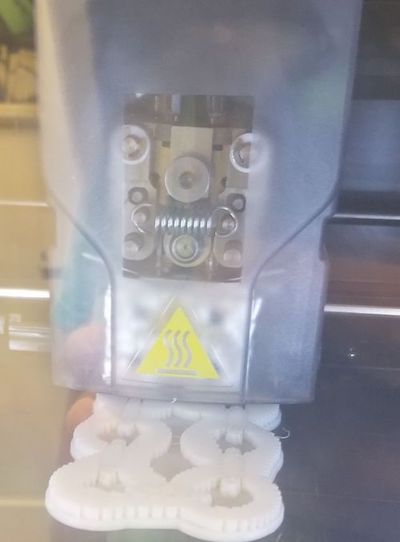
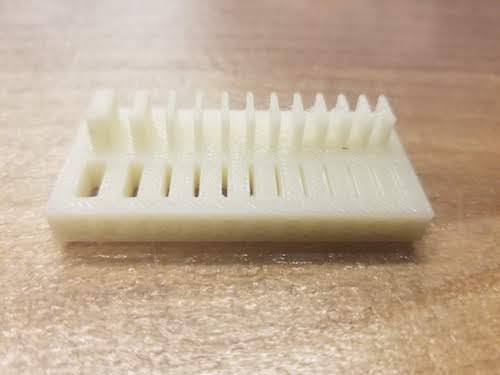
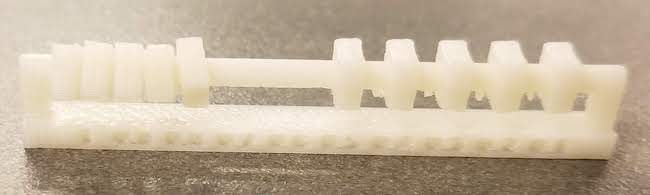
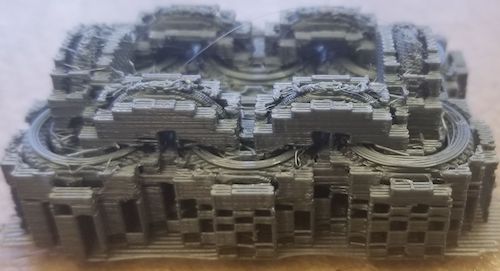
On the left is the uPrint with the dissolvabele support and on the right is the unfinished version from Prusa with support you have to manually chip away.
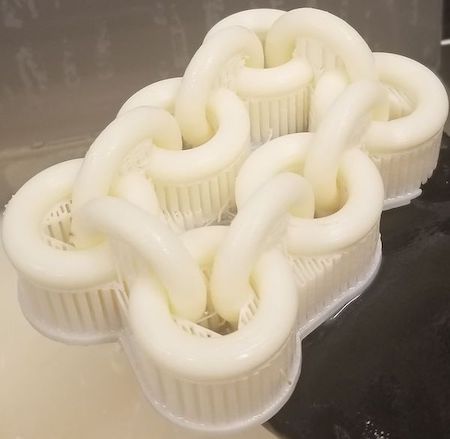
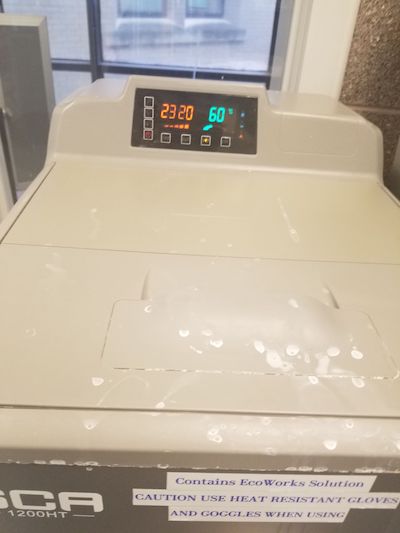
After leaving the torus chain in the bath solution for about 2.5 hours, it came out pretty smooth. One thing I did notice however was that the toruses printed horizontally are much smoother and have more material than those printed vertically. I can change my STL so that they are all printed diagonally to have a more consistent finish. The final results are below, with the bath used.