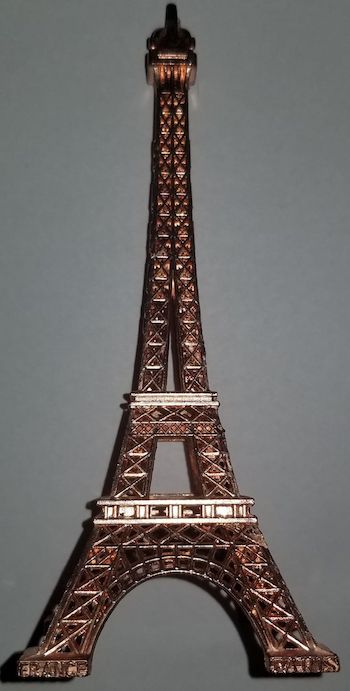
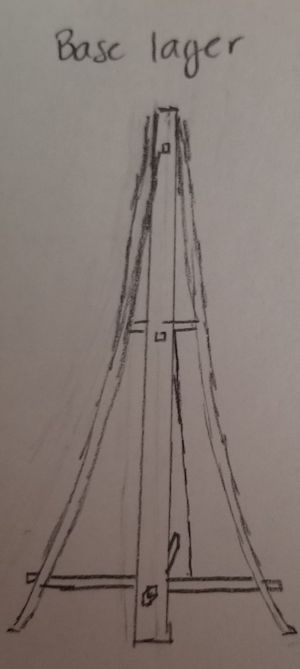
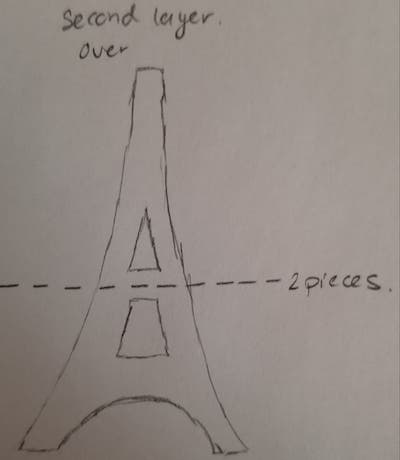
This week is MAKE SOMETHING BIG WEEK. We are given a 4x8 sheet of OSB to work with and will be using the machines in the architecture shop. I am planning on making a hat stand inspired by the eiffel tower. Below are the two sketches for the design next to a small model of the tower I bought..
This week I am going to try Autodesk Fusion360 on my Mac. I normally work with Solidworks CAD so we will see how the learning curve is.
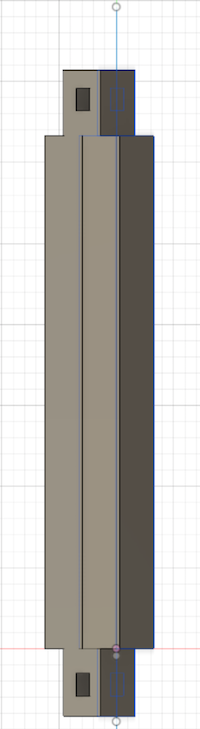
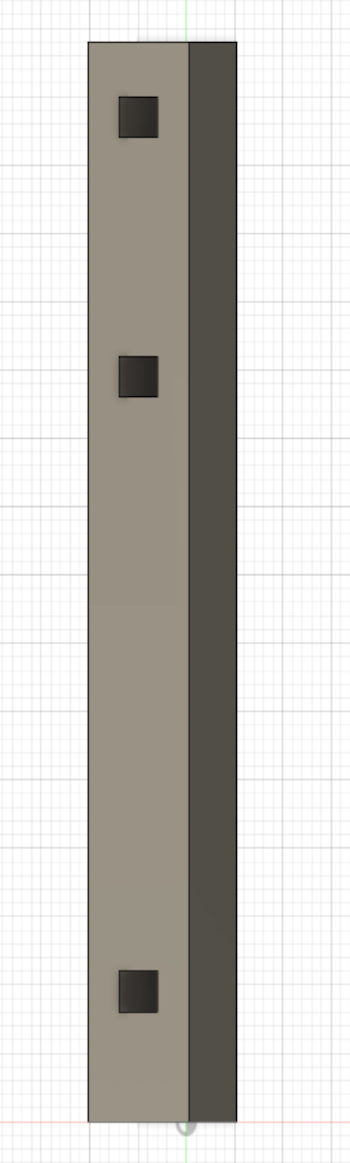
Below I created the three fundamental pieces for the design. I need the side supports, a connector to keep them stable, and a wedge to join the two. I will be using 4 side support beams, 6 connectors, and 12 wedges. I am fairly certain there is more than enough material.
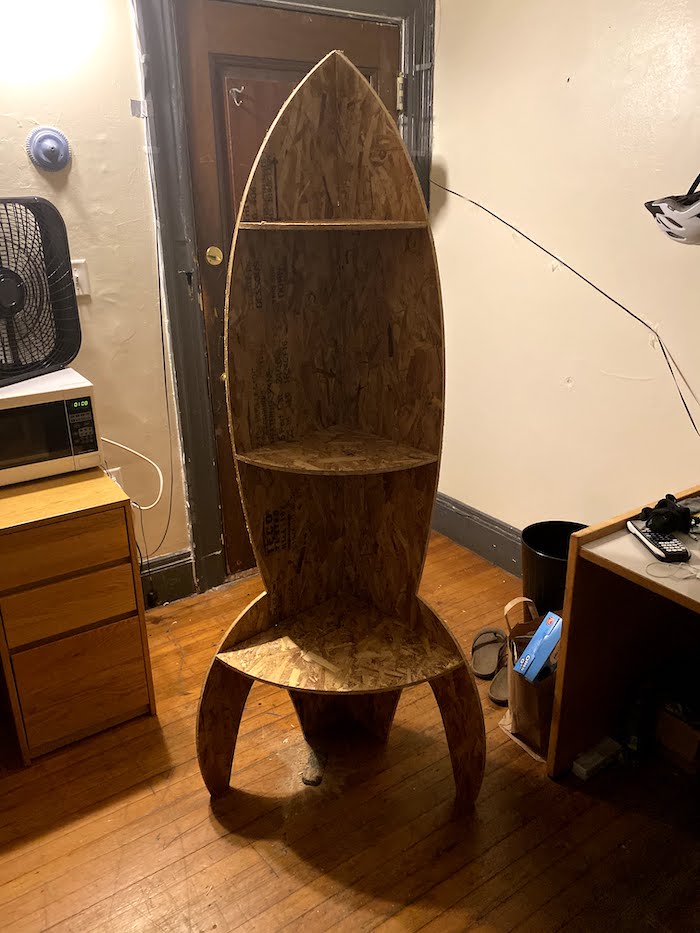
After speaking with Anthony, I realised the pieces were going to be too thin. So I changed my design to a shelf. I wanted to make something that would blow you out of this world, so I made a rocket ship shelf
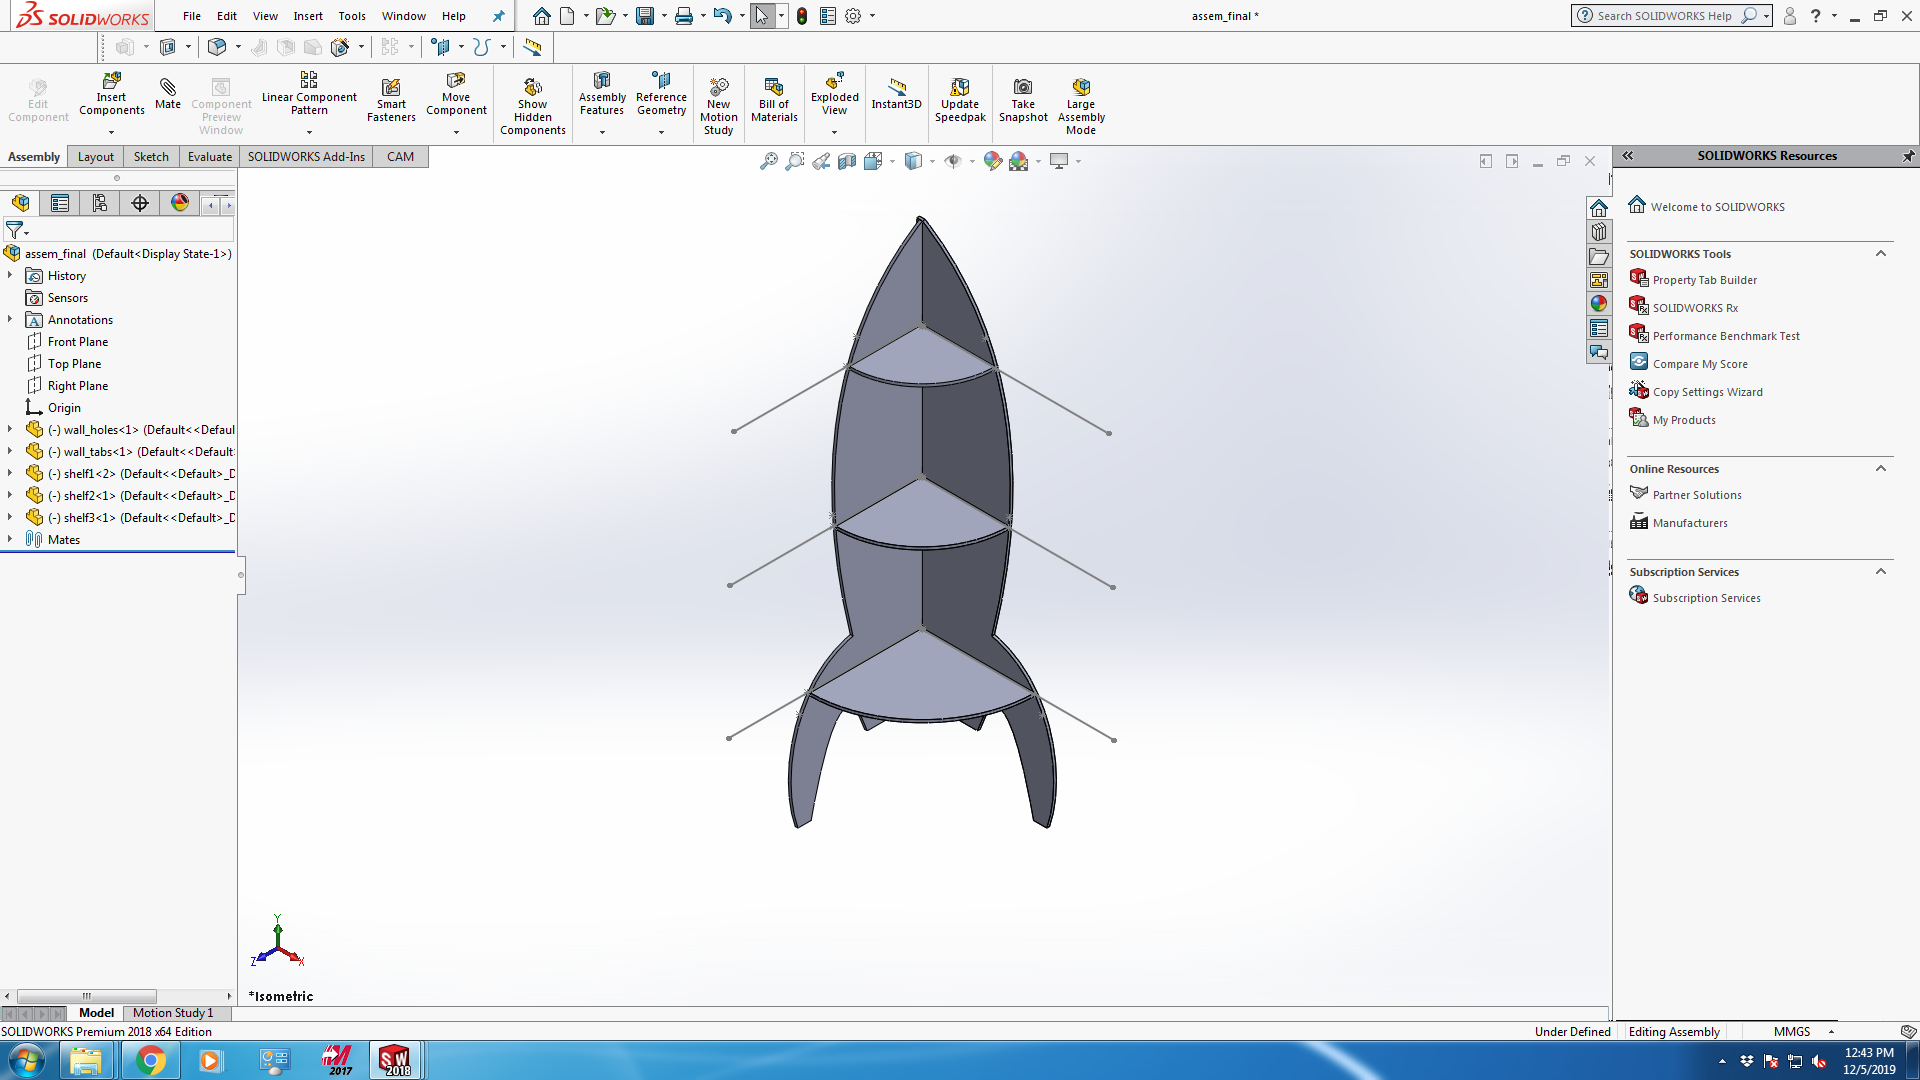
I then decided to go back to solidworks, where I am more comfortable. I created two main pieces, and built subpieces off from them. They were the shelves, and the walls. Below you can see the two pieces.
Then I customised the two pieces. The shelf became three shelves of different base sizes, but with the same size wedge to stick to the wall. So there are three independant shelves for the assembly. Similarly, I created two walls, one that connects into the other. So one wall has holes, and the other has tabs. Here is the assembly in CAD putting the pieces together.
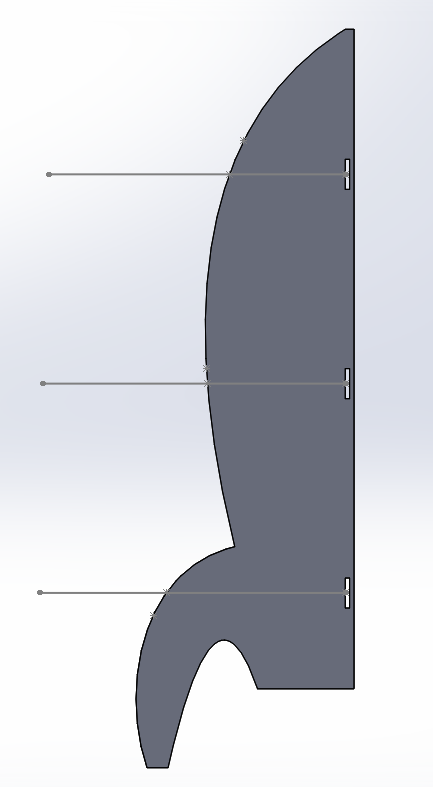
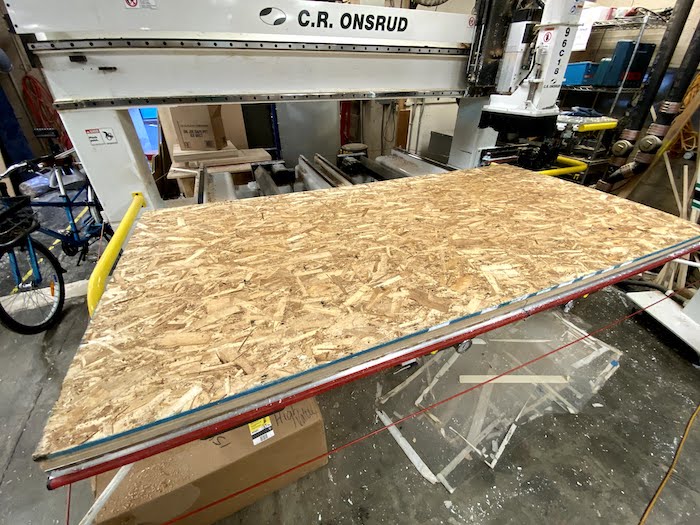
I then again ran into a design issue. I needed to extend the bottom corners of the rockethship to extend to the ground. This helps stabilize it more. I added this feature and created a Mastercam file. After adjusting for the tooling and creating the toolpaths, I went to the Arch shop to cut. Below is the Mastercam toolpath and file.
Rocketship file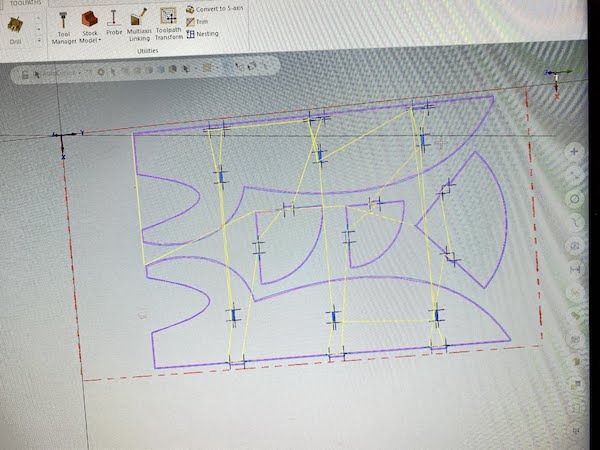
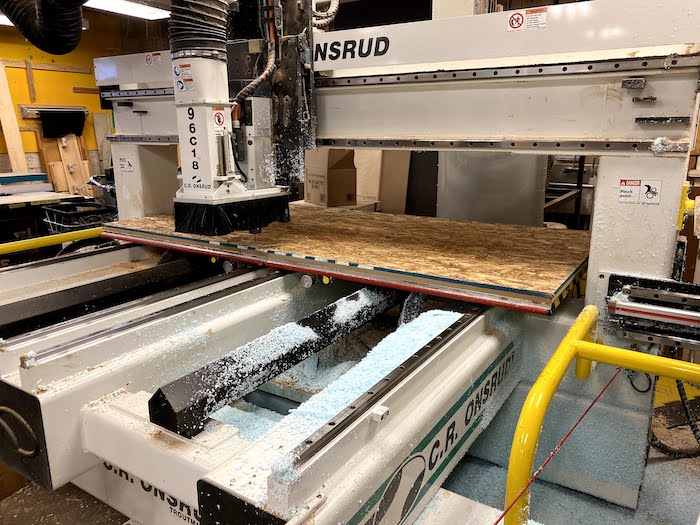
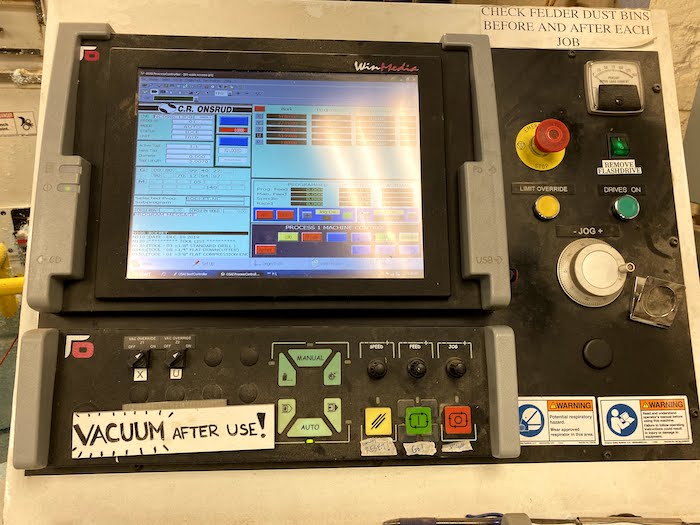
After going to the archshop, I set up so that the main tool is a 1/4" tool. The machine they use is an Onsrud.
Here is the machine beginning and the interface used
A small timelapse of the cut
Final cut piece before removing

After assembling and some sandind, this was the final result. The shelf stands at 6'2", just taller than me, and is meant to lean against a wall for support. It holds up well