Communicate with WiFi Device
ESP32 OnBoard WiFi
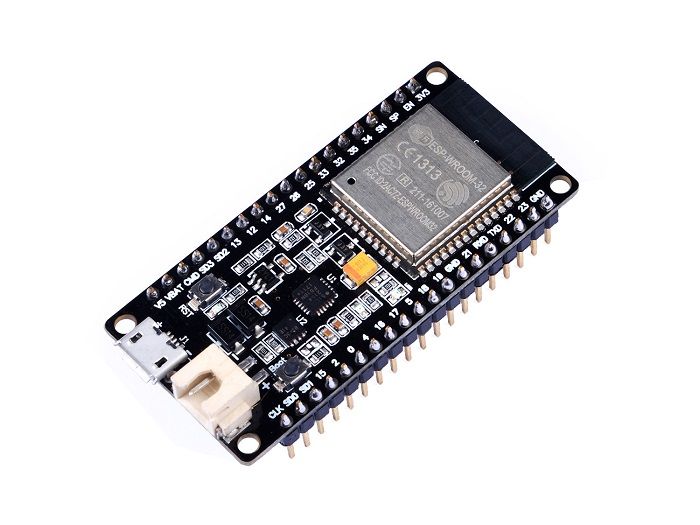
I am using the ESP32 for my final project. As part of my final project, I need to send data from my ESP32 to send accelorometer readings, which the ESP32 receives (from onboard BNO055), to a remote server. This data then would be stored in some form and should be accessible when needed. The good thing about the ESP32 is it has WiFi functionality built-in into it. The main tasks therefore were to setup a server and make the ESP32 communicate to the server.
 The ESP32
Setting Up the Heroku Server
In another class at MIT, namely 6.08, I had used the ESP32 to perform GET and POST requests to a server. However, the server was pretty much setup for us then. This time around, I did not have an access to such a server. I tried searching how I could configure my website on the cba parent site to act as a server that would process GET and POST requests. I could not figure out a way, so I asked my friend Elton Lin about this. Elton is an expert in Web Development and he suggested me to create an Express server and then deploy it to Heroku. Apparently creating a remote server from scratch is a daunting task requiring one to handle multiple things. Herkou simplifies this process by a lot and all one needs is a working local server. On my first attempt of creating the server, I got weird bugs. I found a medium article that gives a step by step process of building and deploying an Express servere to Heroku. Following this article, I had my server up in under 30 minutes.
 Express Server on Heroku
Testing Get Request using Postman
My initial server processed one GET request at the root path. The following line of code responded with "Alligator Approaches" text if you sent a GET request to the root path. Heroku provides with a domain name for your server. In my case it is here. Going that url on a browser automatically triggers a GET request. Your browser should then display "Alligator Approaches" on the browser window. I also wanted to test GET request using Postman. Postman is a very helpful tool that can be used for building and testing APIs (basically GET and POST requests). The app is free to use, so I used this for testing my server. Using Postman, I performed the GET request to my server and got the expected result.
Setting up Post Request and Database
The major reason to setup the server was to facilitate the ESP32 to send data over to the server. This required adding POST request functionality to my server. Just adding POST request API by itself was super easy. The difficult part was storing the data. I could setup a database on Heroku, however it would have to be in something like PostGreSql. Although, I am not completely unaware of how databases work, I did not want to work with PostGreSql. I thought the data received could simply be stored in a text file. Therefore, thats what I did. I made a data.txt file where each line would be an entry. Then for each post request, I wrote code (see below) that would get the request and store the relevant data in the data.txt file.
    app.post('/postto',function(req,res){
        var x = req.body.x.split(",");
        var y = req.body.y.split(",");
        var z = req.body.z.split(",");
        var state = req.body.state;

        var logger = fs.createWriteStream('data.txt', {
            flags: 'a' // 'a' means appending (old data will be preserved)
            })

        for (let i = 0; i < x.length; i++){
            logger.write(state+" "+x[i]+" "+y[i]+" "+z[i] + os.EOL);
        }

        logger.end()
        console.log("Data Written!");
        res.send('Post Received');
    });
I also added functionality for another get request that would download the data.txt file anytime I wanted to retrieve it.
    app.get('/download', (req, res) => {
        res.download(path.join(__dirname, "/data.txt"));
    });
Testing using Arduino
After setting up the server side, I uploaded Arduino Code on the ESP32 which would allow the ESP32 to post to the server. The ESP32 successfully communicated with the server. In the video below, a post request occurs every 5 seconds. The screen shows post request being processed and the number of post requests processed. Check the final project to access the Arduino code.