Let's Take Down Some Castles
Coming Up With an Idea
My struggles in this class have been to a great extent about the idea for the project. For every week's project, there is something new I need to think of. Forcing yourself to think of an idea can be particularly stressful, especially if you want to make something good. Just like in other weeks, to get some inspiration, I started looking at projects people had done in prior years. A lot had made furniture stuff, chairs, tables, cloth hanger and so on. I also looked for stuff people had made online using a single plywood. The Oriented Strand Board (OSB) we were to use for the project was gonna be very much like a rectangular plywood, so I thought I could get some inspiration. I found people had made some amazing stuff online. If you search on YouTube with the keyword "woodwork", you will get a list of amazing videos where people have made amazing stuff. However, all the things I saw were static stuff, I wanted to make something dynamic, something movable. Somehow, the idea of a trebuchet popped into my head. I had taken a Physics class during my Freshman IAP, where we had learnt about the complicated dynamics of a trebuchet. Then, I had wanted to make it, but could not really do so. Now was my chance to actually make it!
 Medieval Trebuchet
Reseach on Trebuchet
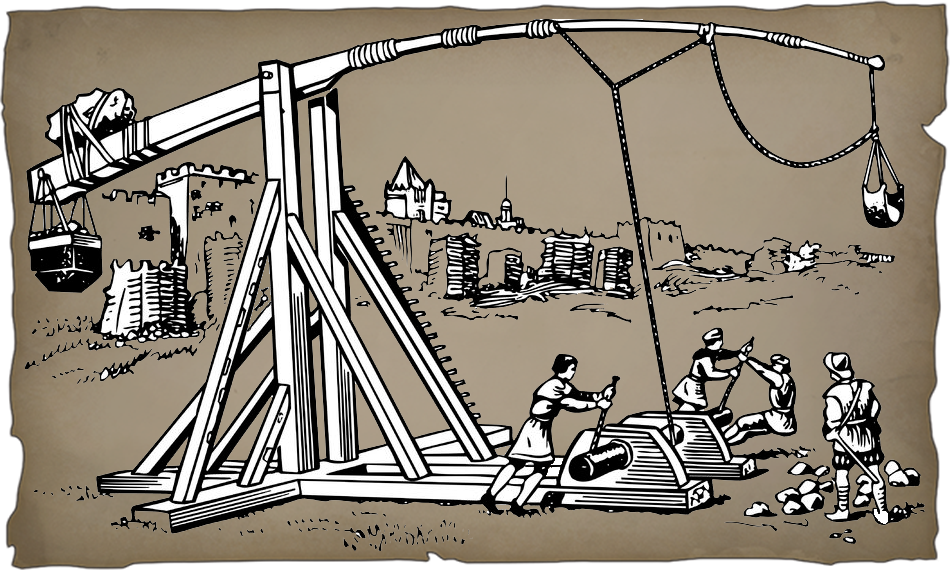
A trebuchet is a Miedeval European war weapon used to shoot heavy projectiles at the enemy. As a physics students, its dynamics have always been interesting to me. It had been a while since I had learnt about the trebuchet in my 8.223 class. I did not remember all the different componets of the trebuchet. I also did not want to do the maths to figure out the dimensions of the different parts of the make a good trebuchet. Therefore, I went online and performed some research on it. A trebuchet has three important dynamical parts: the lever arm, the counterweight that goes on the short end of the lever arm and the sling that holds the projectile and tied to the other end of the lever arm. Some people have done some calculations to make an efficient trebuchet and the results are:
- The distance from the axle to the point where the string (of the sling) is tied on the lever arm must be 3.75 times the distance from the axle to the point of support of the counterweight.
- The length of the string tying the sling to the end of the lever arm must be equal to the distance from the axle to the point where the string is tied.
- The angle between the counterweight and the support should be 45 degree above the horizontal (this might change when air resistance is taken into account).
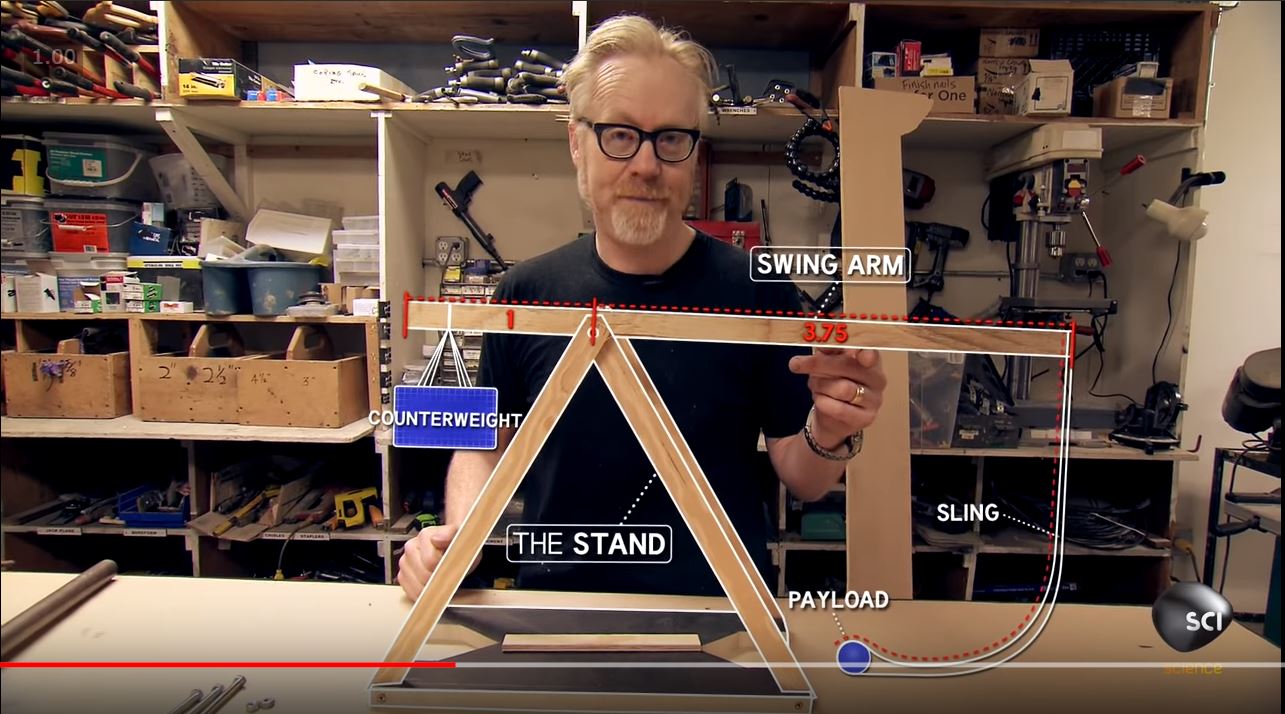 Adam on Science Channel explains How to Build a Trebuchet
Designing the Trebuchet
I first made some sketches on paper. I thougt since the OSB itself was very thin, I should make some additional design choices to make my trebuchet stable. However, a MechE friend told me, as long as your base is heavy, you should be fine. So I tried to keep the design simple. I was ready to move on to CAD.
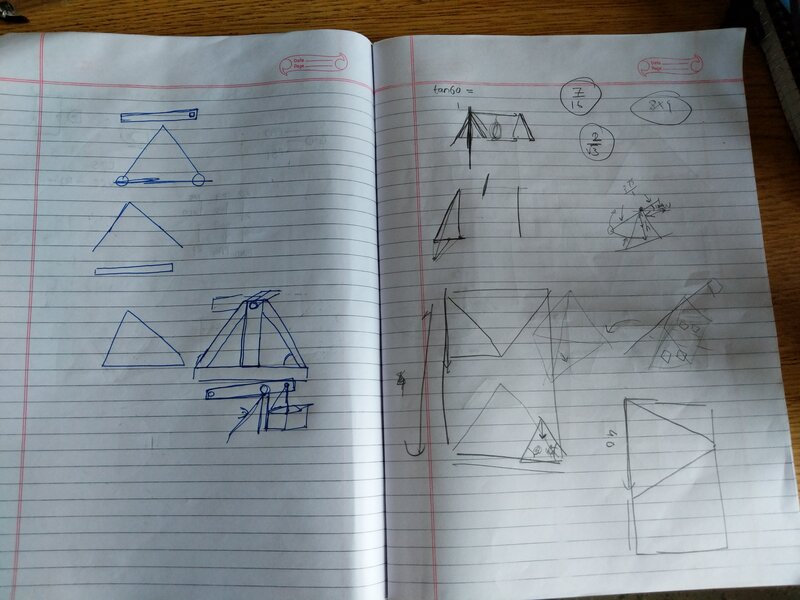 First Design on Paper
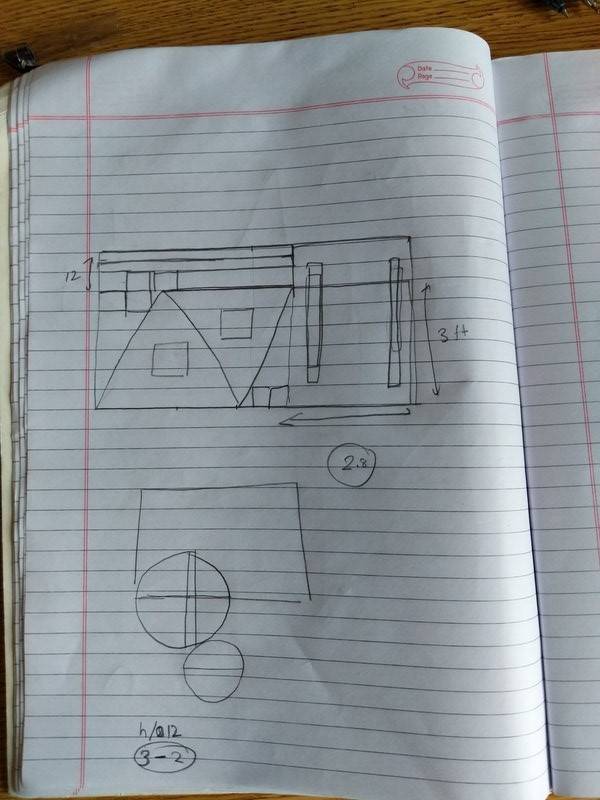 Paper Designs Continue
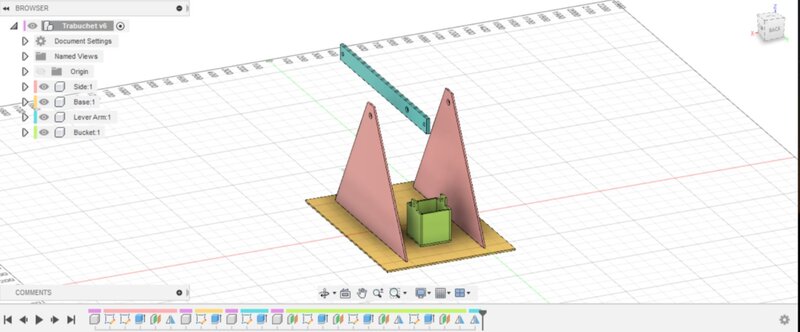
I had finally found the CAD software that really fit my taste and worked on my computer: Fusion 360. I started my CAD design by listing the components of the trebuchet: sides, base, lever arm and bucket (for counterweight). Designing them and seeing the design come together was a real joy. In the beginning, I was not very sure of the length scales, so instead of fixing length scales from the beginning, I made use of parametric design. After making all the components, I chose some length scales that made sense, like trebuchet height of 3 foot, for the final thing. Before finalizing my design, I made sure the 8 by 4 board of OSB would be enough. On paper, I just placed the surfaces of all the flattned components on the 8 by 4 OSB and tried to see if everything fit. In the beginning, they did not, but after some length adjustments, they fit well. Here is the link to the CAD design.
 Fusion 360 Design
OSB Milling
On Monday afternoon, I went to the Architecture wood shop to get my design ready. I made some minor adjustements to my CAD design, like adding press-fit joints. Then I exported the design to a DXF file and handed it to Zain. Zain took the model in DXF format and opened it in Rhino. He first flattned the components of my design so they could be cut out from the flat piece of OSB. Then, he added some features to the edges so we got actual rectangular cuts. Finally, we were ready to mill the OSB. Zain brought the program with the traces to Onsrud CNC milling machine's computer and soon enough, the milling process began. I was pleasantly surprised by how fast the milling process was. After the milling ended, I used a knife to cut out the onion layer of the OSB from the traces. Soon enough I had all the parts to make my trebuchet.
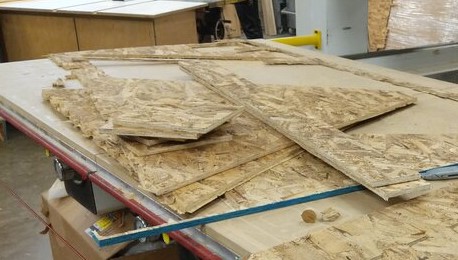 Parts of the trebuchet
Sanding and Joining Parts
I sanded the edges of the parts to make them smoother. Then, I started joining the components. First, with Anthony's help, I connected the sides to the base (press-fit joints). Then I glued the two pieces of lever arm to make a thick lever arm and clamped them together. Next, I started working on putting the bucket together. The parts for the bucket did not have press-fit notches in them, so I had to either glue them or screw them using a small piece of wood to form the joint. Zain taught me how to screw the pieces together and I went ahead and screwed my bucket in place. The top part was still wobbly since only the base had been screwed. I decided to glue the top to make the bucket very solid. I then clamped the bucket too and left the glue to dry. Next, I needed to find an axle. I could not find anything that could be made into an axle for the trebuchet at the architecture wood shop. So I went to a hardware store in central to buy a PVC pipe that could be used as an axle. After putting on the axle, and the lever arm between throug the axle, the trebuchet was nearly ready to be tested.
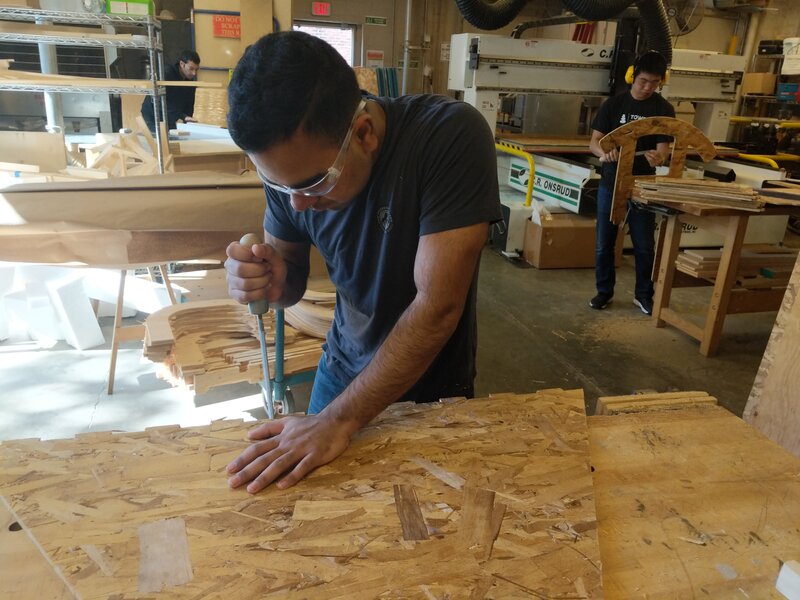 Sanding the Edges
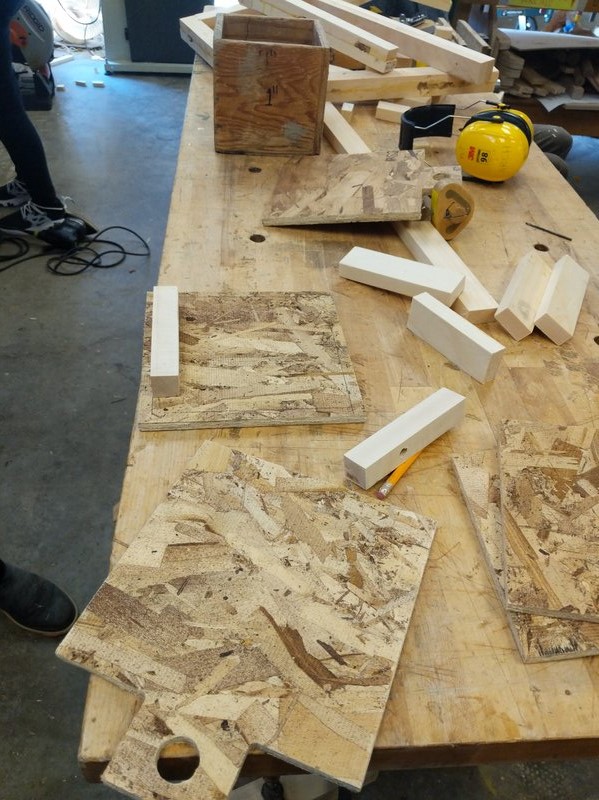 Parts of the bucket
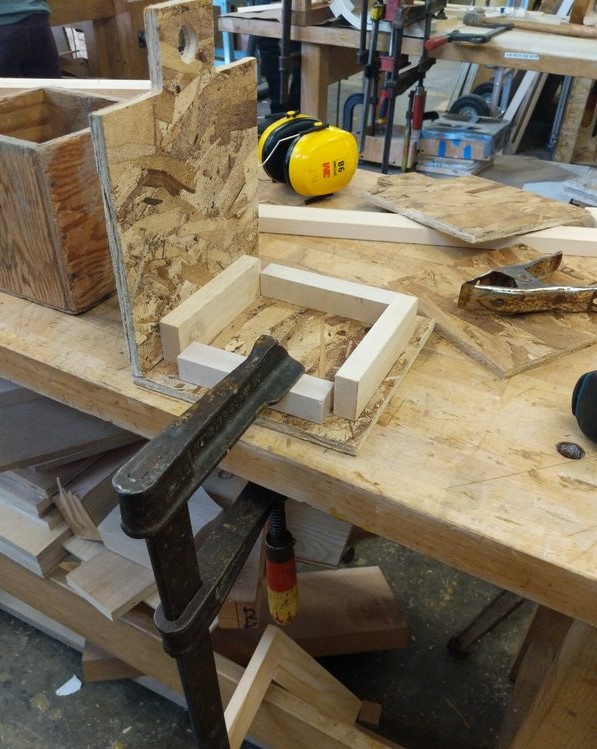 Bringing the bucket together
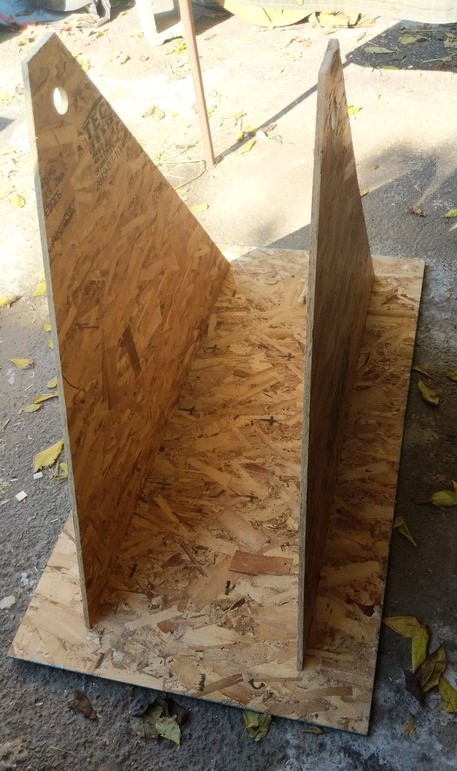 Base and Sides
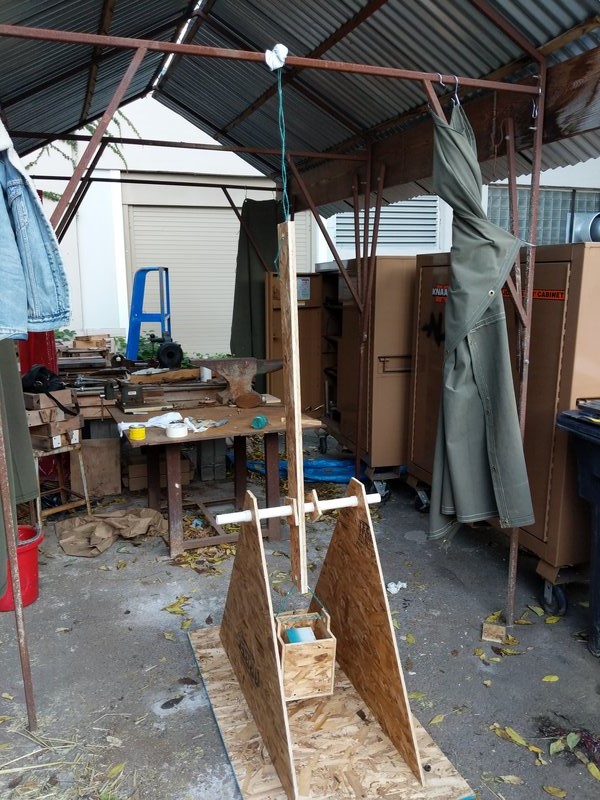
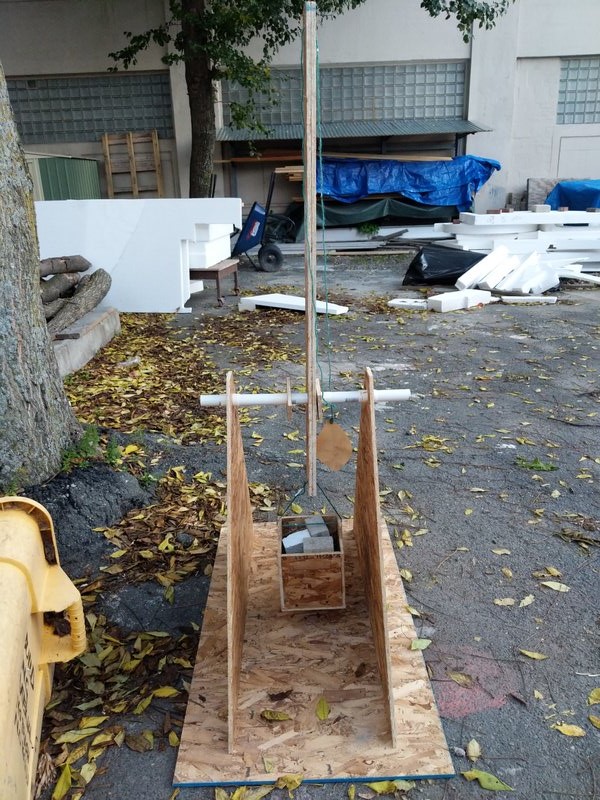 Finished Trebuchet
Testing the Trebuchet
The made a sling out of a rag cloth I found in the shop. I tied its two ends with strings whose other ends were tied to the end of the lever arm. I also attached the bucket on the other side. The bucket along with heavy stuff in it would act as the counterweight. Then came the moment of truth, to test the trebuchet. I found a small piece of stone that could act as a projectile. I also added aluminum bars in the bucket and made the counterweight ready. I then released the counterweight that I had been holding which caused the lever arm to rotate and the string followed along. However, the string caught the iron bar above the trebuchet. I moved the trebuchet so that it would not happen again. This time, the lever arm rotated fully but the projectile did not shoot out from the sling. I tried launghing the projectile multiple times, but the same story followed. It seemed like the cloth caught the stone really well, and would not let it go. So I tried to make the projectile out of something like plastic which would not cling to the stone. However once again, the projectile did not eject, it just rotated along with the sling. Anthony suggested that in real trebuchts, one end of the strings that connects to the sling is connected to a nail at the end of the lever arm insted of being tied to it. Then when the lever arm rotates and the sling rotates with it, the string tied to the nail gets detached and along with it the sling gets detached too. This opens up the sling and the projectile can fly off. I did what he suggested, but it did not seem to work. It was late at night on Tuesday and I was super tired, so I decided to come back the next day.
 Outline of rag for sling
 Funny Failure
I moved the trebuchet and tried again. This time, the lever arm rotated fully but the projectile did not shoot out from the sling. I tried launghing the projectile multiple times, but the same story followed. It seemed like the cloth caught the stone really well, and would not let it go. So I tried to make the projectile out of something like plastic which would not cling to the stone. However once again, the projectile did not eject, it just rotated along with the sling. Anthony suggested that in real trebuchts, one end of the strings that connects to the sling is connected to a nail at the end of the lever arm insted of being tied to it. Then when the lever arm rotates and the sling rotates with it, the string tied to the nail gets detached and along with it the sling gets detached too. This opens up the sling and the projectile can fly off. I did what he suggested, but it did not seem to work. It was late at night on Tuesday and I was super tired, so I decided to come back the next day.
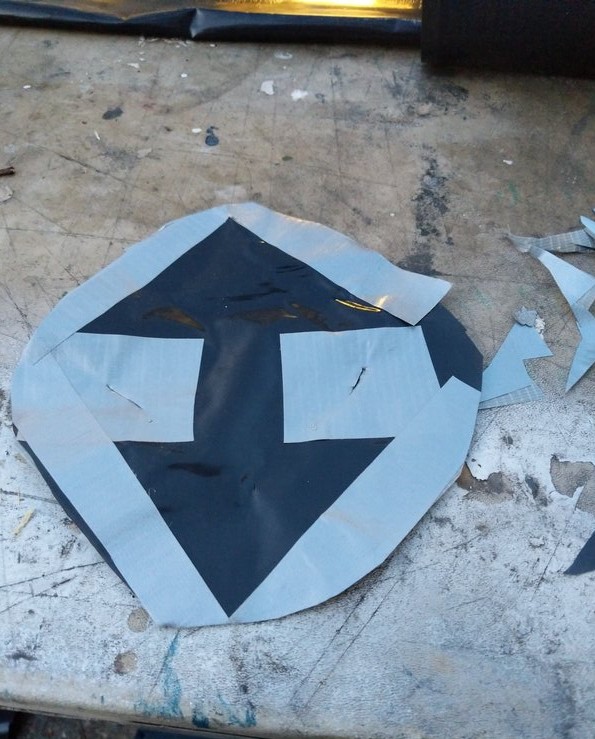 Making a plastic Sling with duct-taped edges
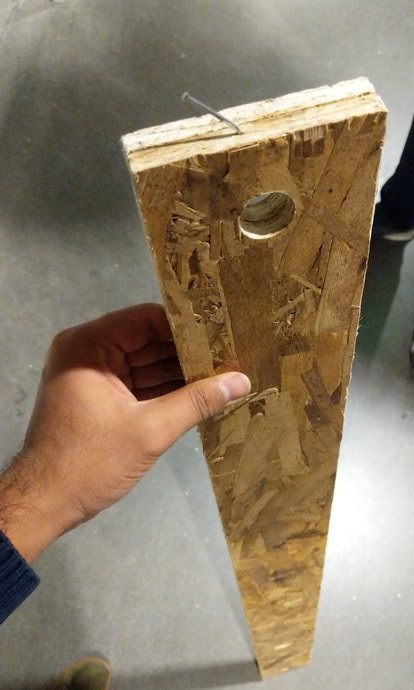 Anthony's Nail Suggestion
Successful Launch
Next day I came at 12:30 and attached a new sling, made the setup ready and released the counterweight. And we got a successful launch. Anthony's suggestion had worked. I tried it again and again, I got a successful launch. The projectile had gone much further than I had anticipated.