What to Cast?
This week too, I had my struggles with coming up with the idea. I looked what other people had done in the past years for some inspiration. It looked like making something complicated would be a lot of work. Therefore, I started thinking of simple ideas of things to make. The idea of making something related to pokemon came to my mind. I tried to see if I could make Pikachu or Charlizard. The pokemon themselves seemed very hard to make, first the CAD design and the way they would have to be molded. Just then I realized, I could instead make a pokeball. I would be pretty simple and cool enough.
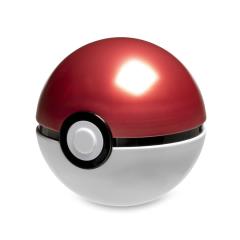 Pokeball
Designing the Pokeball
I only started designing the pokeball on Tuesday morning. There was a YouTube video on making a pokeball in Fusion 360. Although I did not design my pokeball exactly the way they did in the video, I did use some elements of the video in my design. There were only three major parts to the pokeball, the outer shells, the inner sphere and the button, so making the design did not take too long.
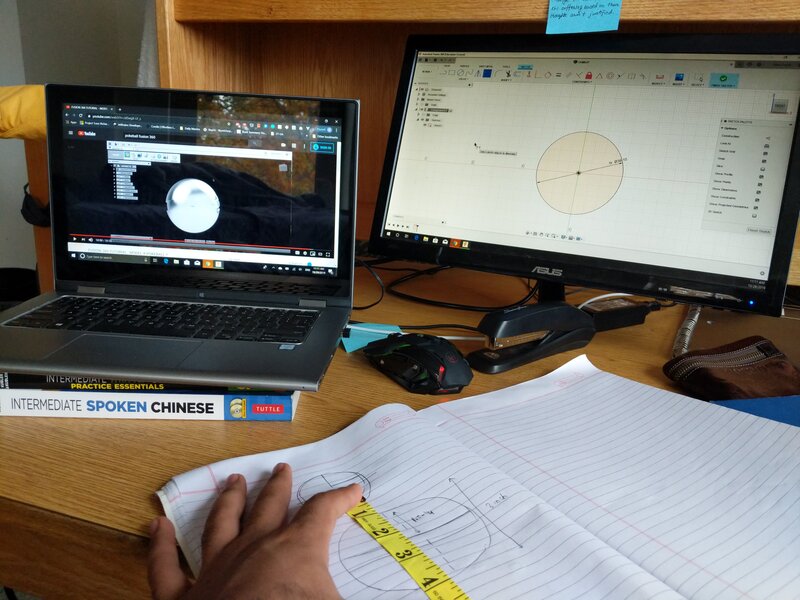 Planning on Paper
Designing Pokeball with Stock
The first design of the pokeball was not placed in a walled cuboid, the way the milling machine would actually mill the stock. I had merely made a pokeball and had hoped later somehow the pokeball would be put between walls (of the future stock) so that the milling machine would appropriately cut them. When time came, I realized I needed to split the pokeball in half, put each half in two cubicle like structures to go ahead with the milling process. I tried splitting my pokeball and moving the parts, but things just looked way complicated. I thought I could make everything from scracth faster, especially if I started with the walls and the cubicles. I did so, and rightly enough, I completed my design in about an hour.
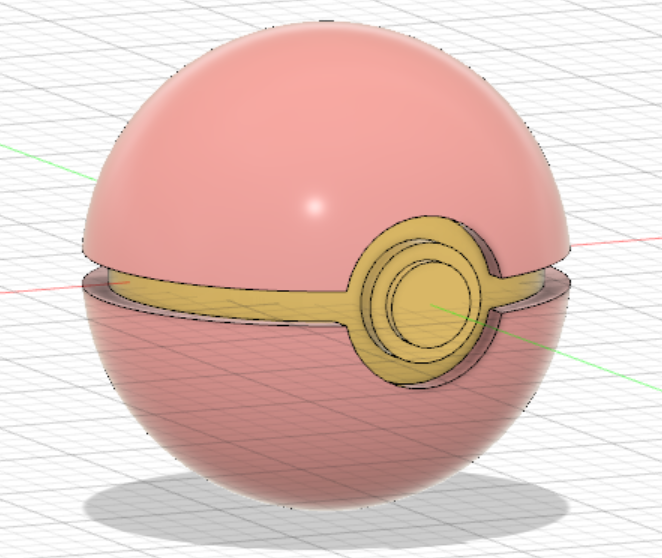 Original CAD
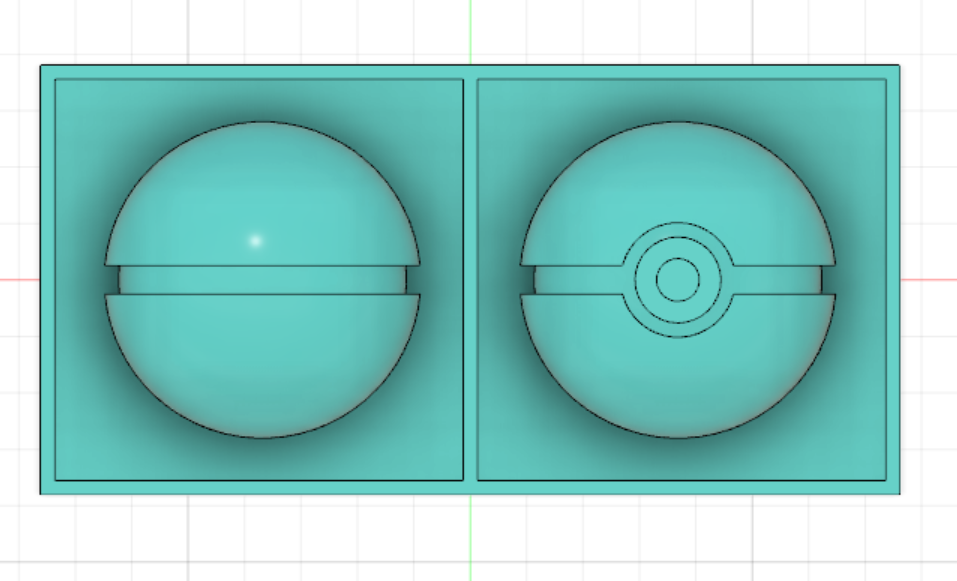 New CAD
Generating Toolpahts
We had had a recitation on setting up toolpaths for the milling machine. I did not get a great idea of how milling and toolpaths would work from just that one recitation. However, luckily Anthony took care of most of that for me. It took us a while to get the right kind of 3D toolpath. Since the pokeball is spherical (hemispherical in the mold form) and smooth, getting the toolpath to make anything comparable was tricky. In all the toolpaths, the hemispheres were stepped instead of smooth. Although was not quite satisfied, I stuck with that toolpath since milling anything finer would take at least 3-4 hours.
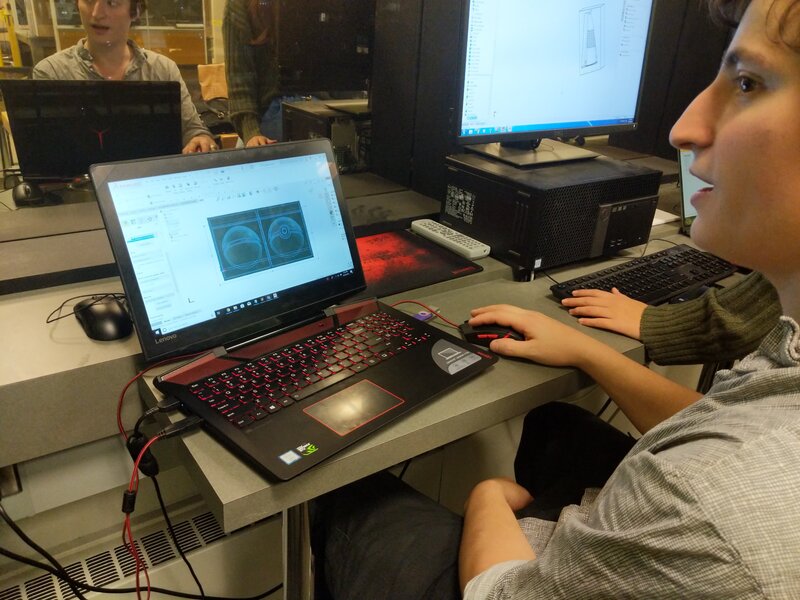 Anthony Generating the Toolpath
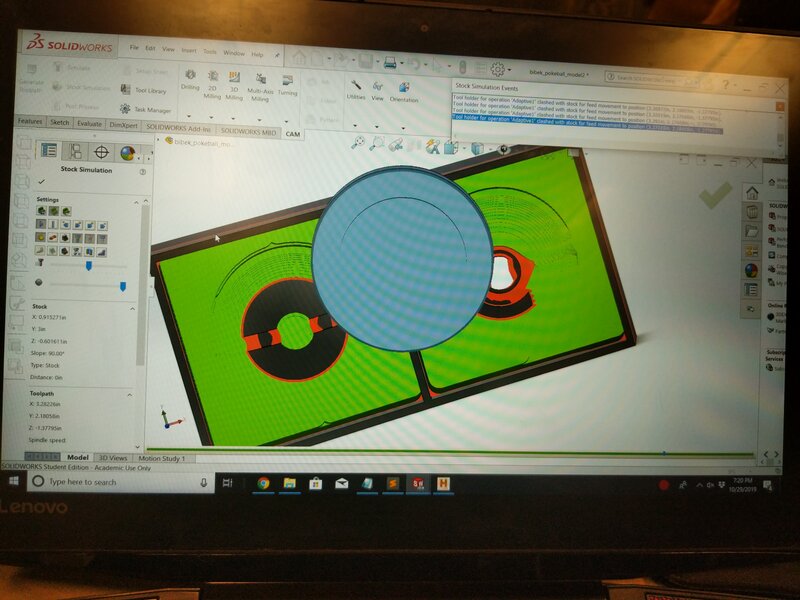 Toolpaht Simulation in Solidworks
Milling
After generating the G-code for the toolpath, we went to the milling machine. I got my stock of the machineable wax, uploaded the G-code to the milling software and started milling. The milling was going on fine. About 8 minutes into the milling process though, the stock just got detached from its base and started spinning along with the mill. I pressed the emergency red button to stop the machine immediately. Upon inspection we came up with two reasons that the milling might have failed. We had only applied one strip of tape to stick the stock to the base which meant the stock was not very strongly attached to the base. Second, some wax did not get removed and had melted and clumped up, so when the mill dug into the clump and uprooted the entire stock.
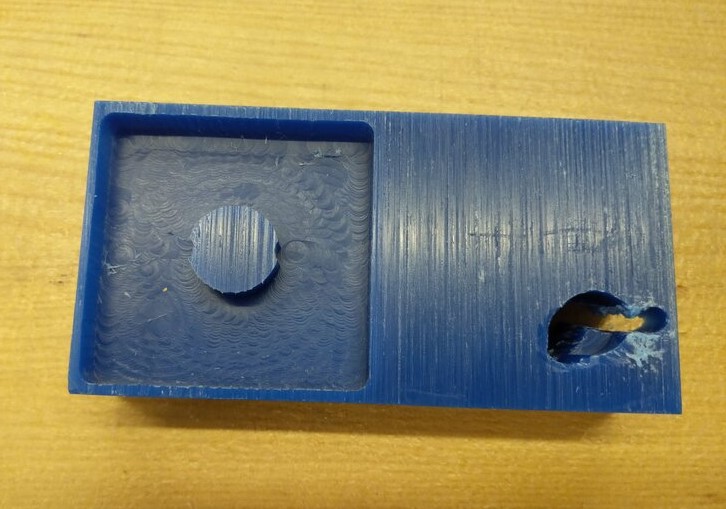 Milling Failure
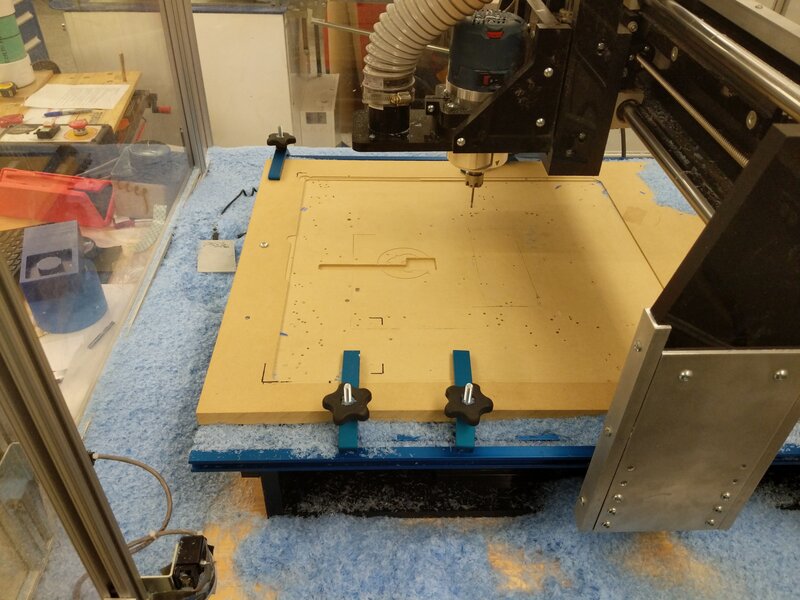
I got another block of machineable wax, taped the base properly and started the process again. This time all worked well. After an hour or so, the positive of the mold was ready!
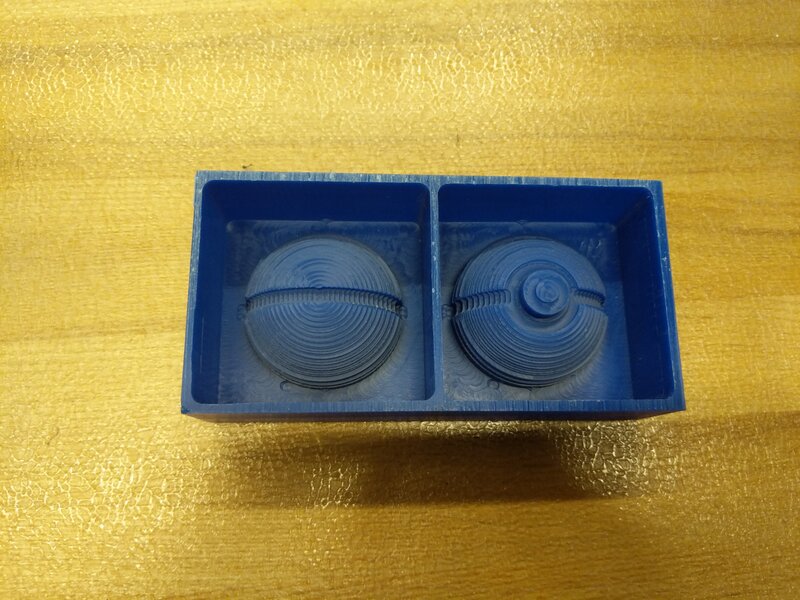 Milled Wax Positive
You have not really produced something meaningful unless you also produced a lot of garbage with it.
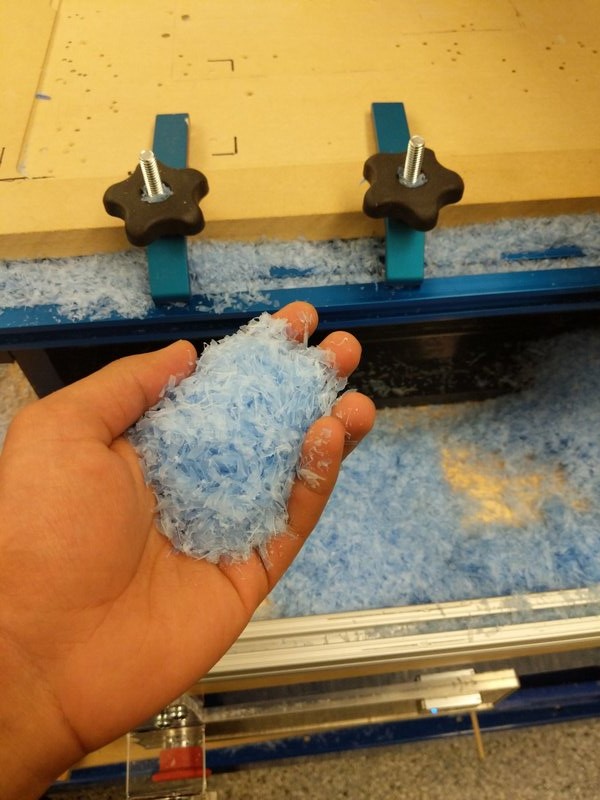 Wax Dust from Milling
 So Much Wax Dust
Oomooing
To make the actual mold, one in which the casting would go, we used oomoo. There were two parts of oomoo, Part A and Part B, which needed to be mixed in same proportions by volume to get the oomoo paste. After mixing Part A and Part B to get the oomoo paste, I went ahead and poured the oomoo in the positive mold. I also tapped my mould to release any bubbles that might have formed. Then, I let the oomoo sit and dry.
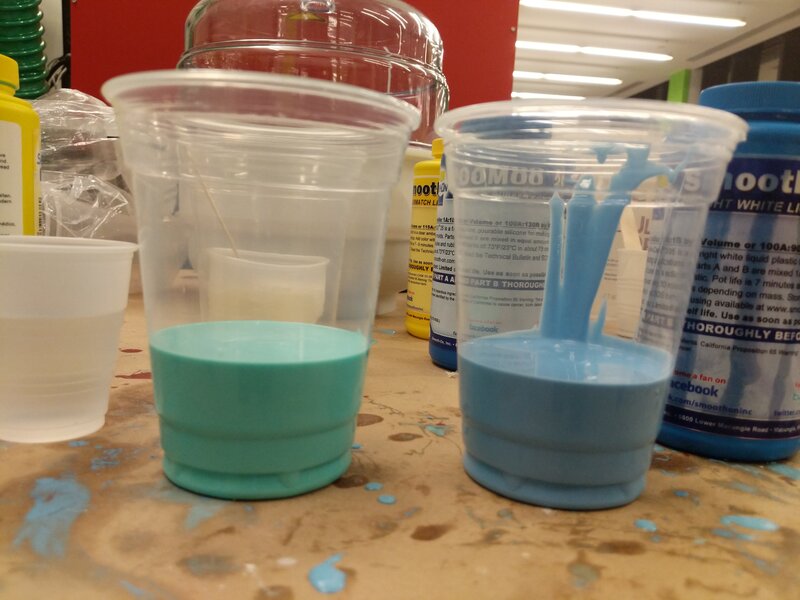 Equal Proportions of Part A and Part B for oomoo
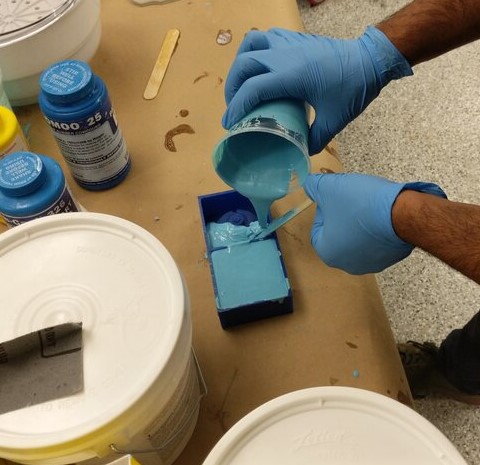 Adding Oomoo to Positive Wax
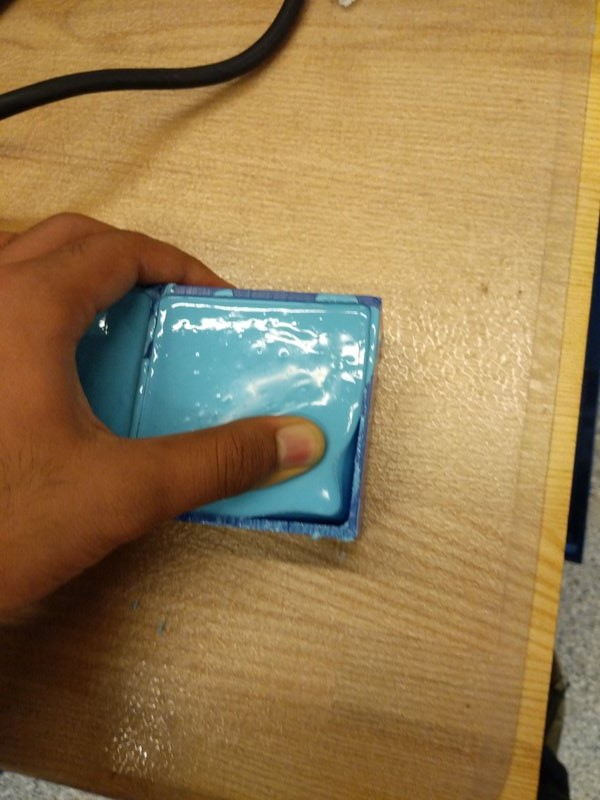
After two hours, the oomoo had set in already and it was time to remove them. The oomoo was very well stuck to the walls of the machineable wax. I had to pull it hard while being careful to get the negative mold out. And soon enough I had my negative.
 Oomoo Semi-Liquid
 Ooomo after Drying
 Taking Ooomoo Out
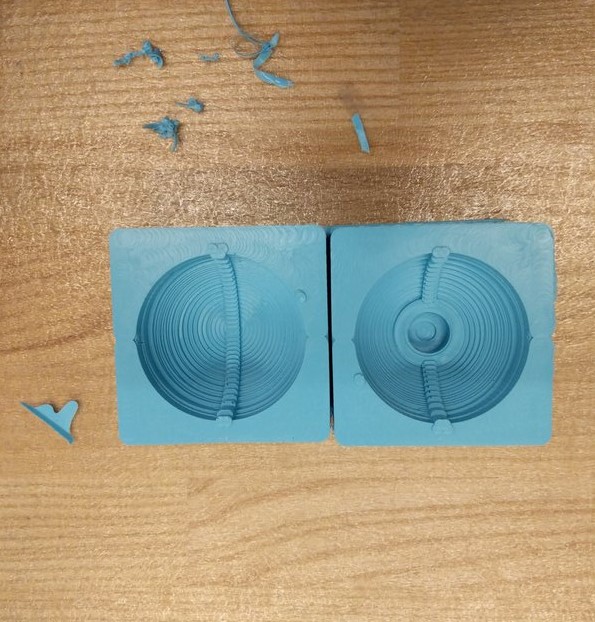 Finished Oomoo Negative
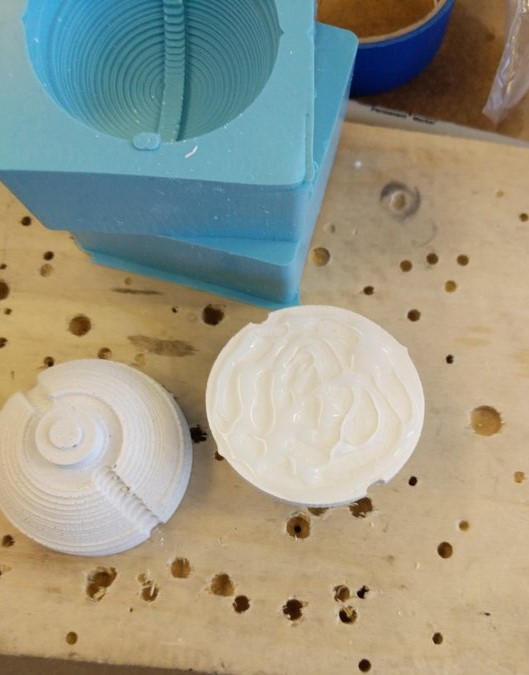
Casting
I decided to use dry rock as my casting material. I mixed water and dry rock in proportions of about 25 : 100 by weight and then put the dry rock paste in the two oomoo negative slots. After 40 minutes, they had dried well enough. I then took the two hemispheres and joined them using super glue.
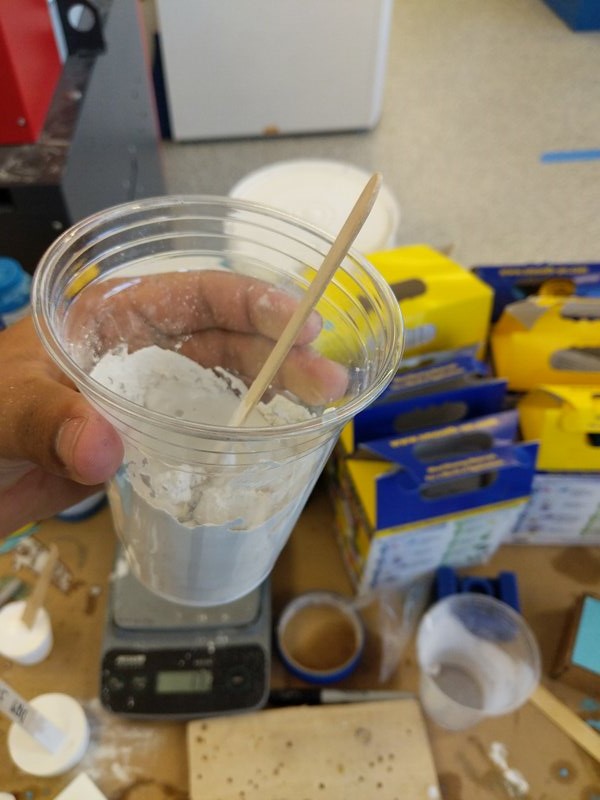 Making Dry Stone Paste
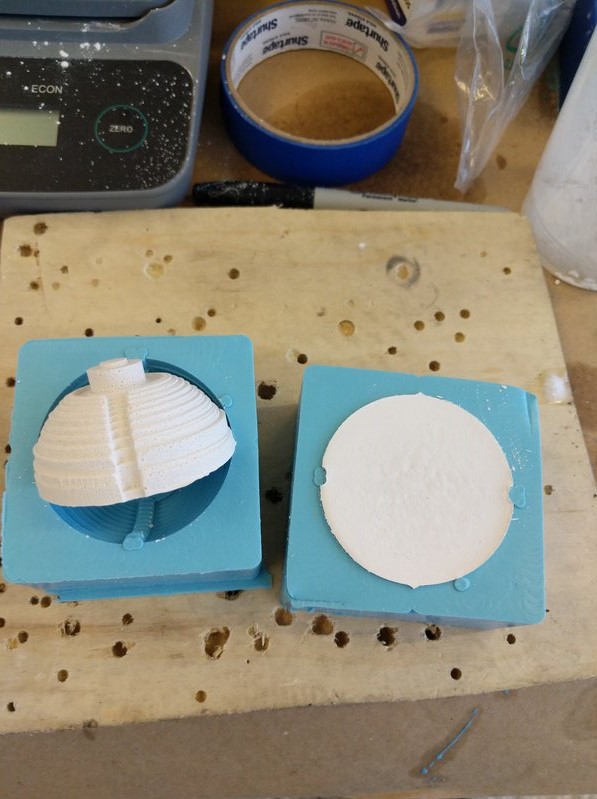 Dry Out of Mold
 Superglue on the Bottom of Cast
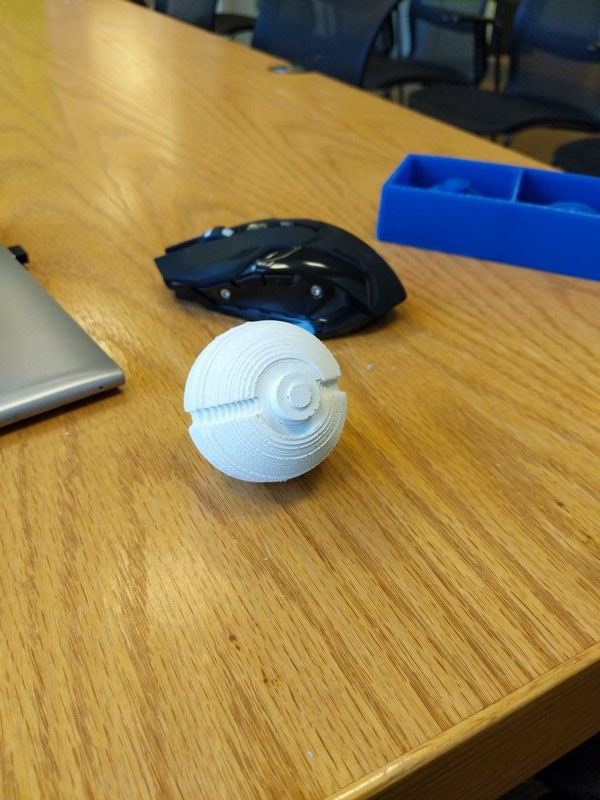 Finished Pokeball