Tutorials: Git
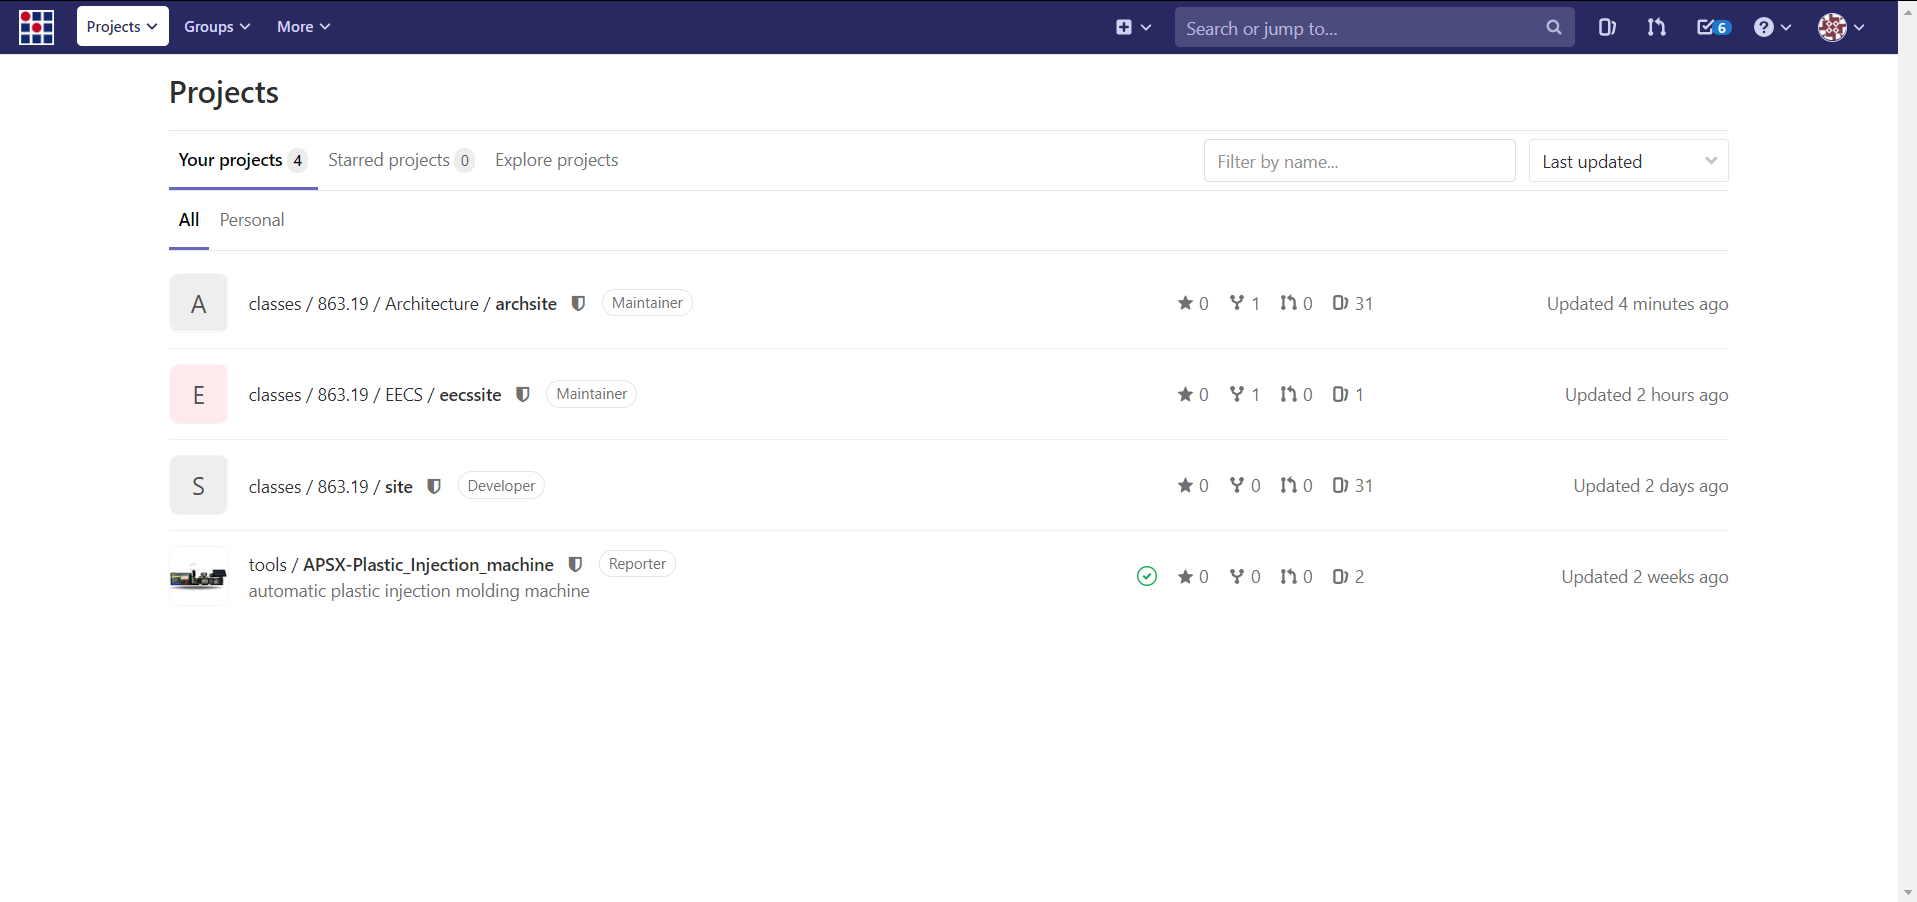
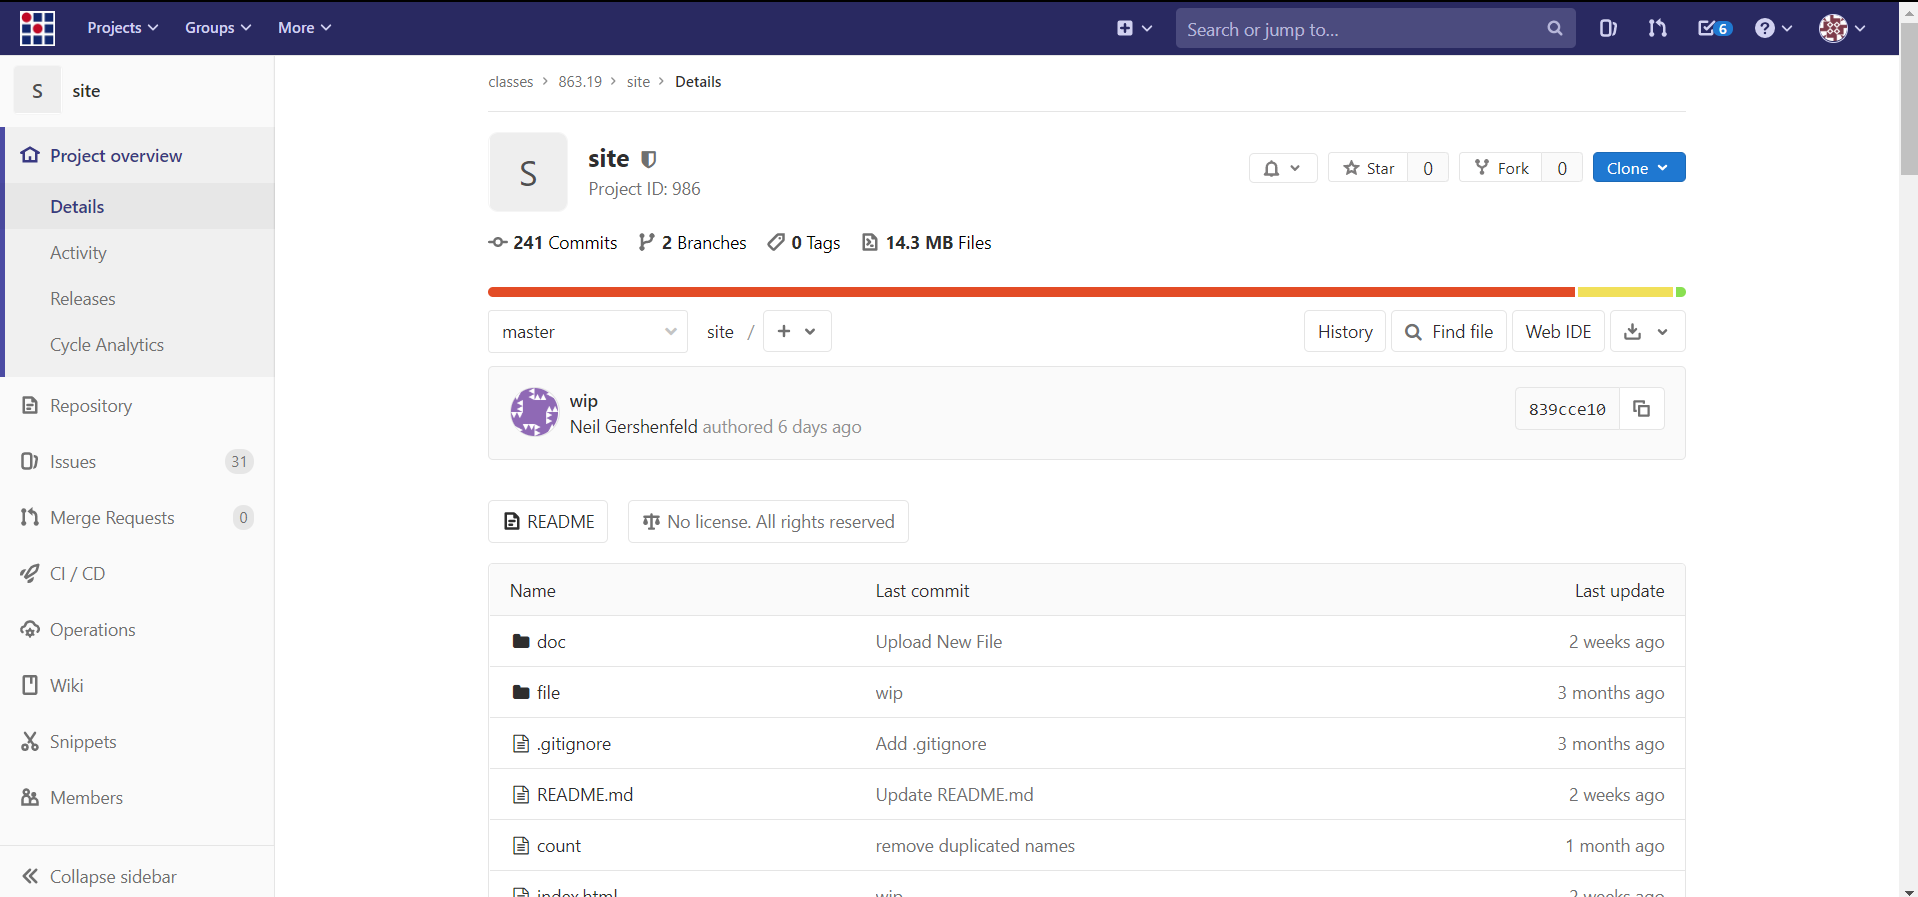
Once you start the class, one of the first things you should do is clone the class repository. The class repository is located on GitLab. You probably received an email notifying you about being added to the repository. If you can't find the link, you can visit the CBA GitLab at https://gitlab.cba.mit.edu/. It should be listed under "Your projects". The link for "site" takes you to the repository for everyone in the class. Using the bar that says "classes > 863.19 > site > Details", click on "863.19" or whatever the number is for your year. From there, you can select the repository for your particular section.
Issues
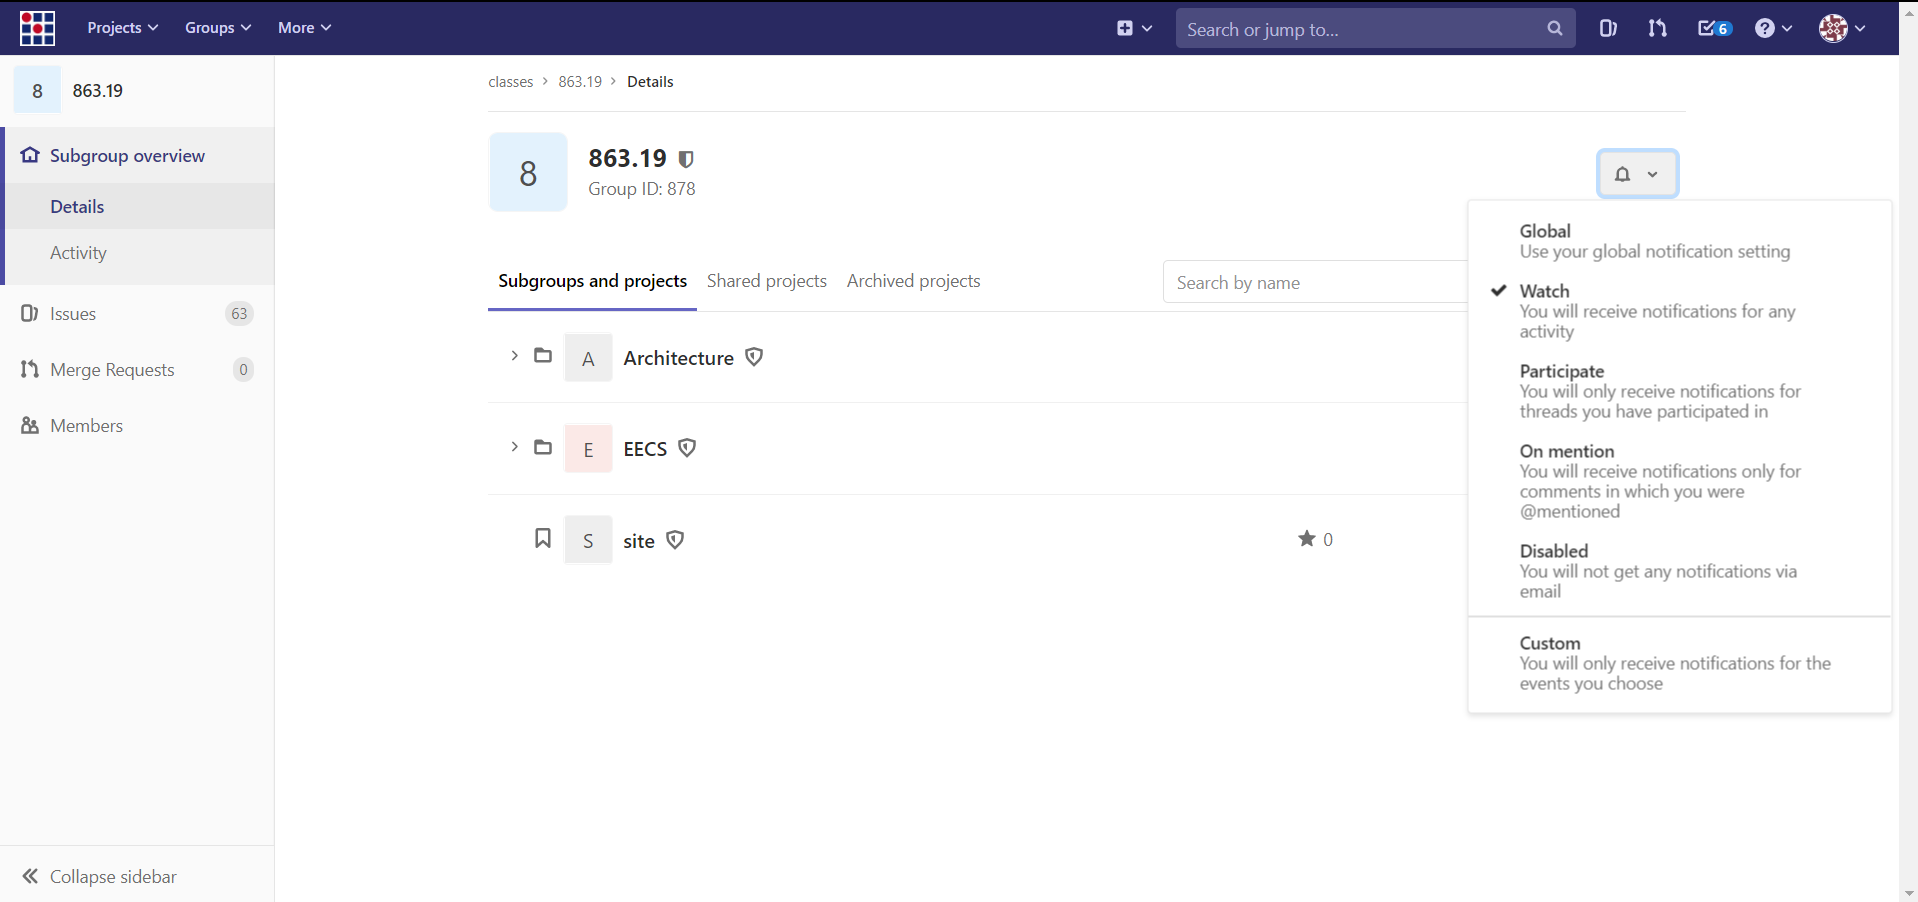
Once you've found the class repo and your section's repo, you should change your notification settings. Issues are used by the instructors to distribute information and by the students to ask for help. By setting your notification settings to watch, you will be notified of all issues by email. You can change that setting by clicking on the bell icon on the top right. Don't trust your global settings and use the watch setting.

Git
Now that you've found the repos, we can start talking about Git. Git is a version control system. It lets everyone in your section work on the same set of files across multiple different computers. We'll use it so we can each update the website without some terrible system of transfereing files manually. Git is a very popular system, and there are plenty of tutorials on how to use it. We'll just be discussing the most common commands, and you should also follow some guides. Git is not something that can be learned just by reading about it.
You can check if you already have Git installed by opening up the command shell or the terminal and running the command `git`. If you get a "command not found" error, you should install Git. For Windows, I recommend Git Bash.
https://gitforwindows.org/
SSH keys
I highly recommend setting up SSH keys for Git. It may also be required for working with these repos. The official guide on this is excellent, and you should follow it.
https://help.github.com/en/github/authenticating-to-github/generating-a-new-ssh-key-and-adding-it-to-the-ssh-agent
git clone
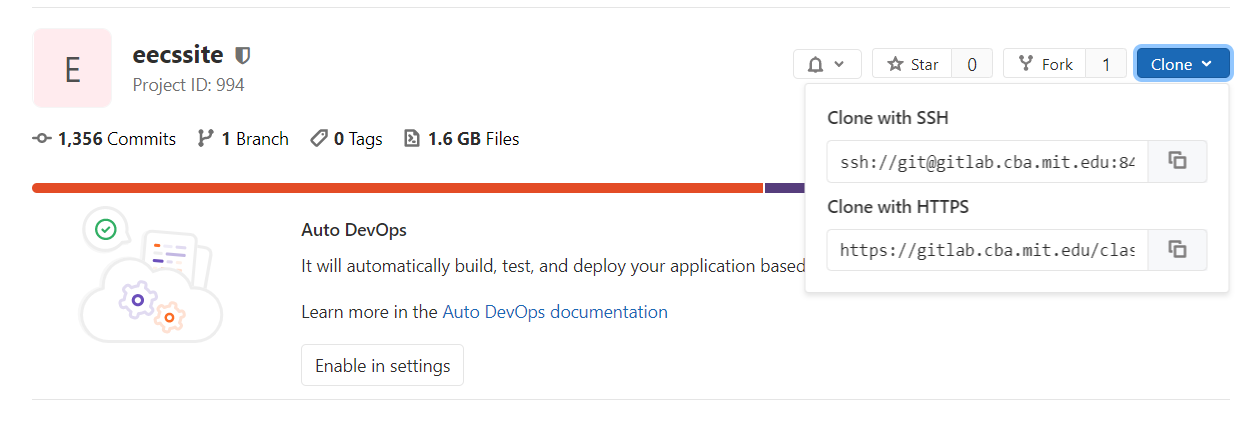
Once you have Git setup, you need to clone the repo to work on it. All that does is make a copy of the files on the server on your local machine. Note that this copy is not automatically updated. You have to keep it updated yourself by pulling other people's changes and pushing your own. The command to clone is `git clone ___`. The argument at the end specifies which repo to clone. You can find that by going to your repo (i.e. eecssite or cbasite), and clicking on the "clone" dropdown. If you're having trouble cloning, try both the SSH and the HTTPS options. If the repo is large, this command can take a while to finish.
git status
This command gives you a summary of what has happened to the files. You can see which files have changes, which files you have added, and if you need to commit. When you're using Git, if you're ever unsure what your doing, you should use `git status` to check. You should also run this command before you commit so you know exactly which files are being adding/deleted.
git add
This command adds files to the list of files to be committed. Note that this will only include the changes up to the moment. If you then make some other changes, the file will have to be added again. If you run this command with a folder, all the folders and files within will be added.
git commit
This command commits all the added files. Basically, it saves a checkpoint of your current changes. Note that these changes are still only on your local machine, they have to be pushed to show up for everyone else. A useful modification to this command is `git commit -m "Commit message"` which gives the appropriate title to the commit.
git push
This command pushes your commits to the server so everyone else can see them. Only the files you have added and committed will be pushed. Note that your local repo needs to be up to date for this command to work. You will probably need to use `git pull` first.
git pull
This command pulls all the changes from the server and puts them in your local copy. This command can cause merge conflicts is multiple people have been editing the same files. This command may also fail if you have changes you have not committed.
git stash
If you want to pull but have changes you don't want to commit, you can temporarily hide those changes by using `git stash`. This removes any changes you have not committed. The changes are saved, but not visible in your local version.
git stash pop
If you previously ran `git stash` and want those changes back, you can use `git stash pop` to apply those changes to your local repo again. If you don't want those changes anymore, you can use `git stash clear` to remove them.
git reset
If you just want to remove files you added but haven't committed, you can use `git reset`. This doesn't changes the files, but clears the list of files to commit. If you want to erase all your changes since the last commit, you can use `git reset --hard`. Note that this is irreversible, so be careful with it.
Merges
You will often encounter merge conflicts when multiple people are working on the same files at the same time. Since each person is working in their own folder, their changes can usually be automatically merged. If there is still a conflict, you may have to manually fix the files. Use `git status` to see which files need fixing. For text files, you probably just need to delete the appropriate section or combine some changes.
Catastrophes
At some point, it is quite likely that some catastrophic damage will be done to the repo. This includes things like deleting everyone's work and accidentally adding a bunch of extra files. Sometimes, that can be resolved by adding back the files or deleting bad files. In other cases, it can be resolved using something like `git revert`. The most important thing to do is to make an issue telling everyone else to stop committing until the mess can be untangled. Often, a reasonable solution is going back to a previous version and just copy pasting that in as the new version. If you're out of your depth, get someone else like the staff to fix the problem.