Week 2: Lasercutting
Lasercutting
I chose to lasercut a model for a dodecahedron. My initial test failed, so I ended up just using slots for a press fit.

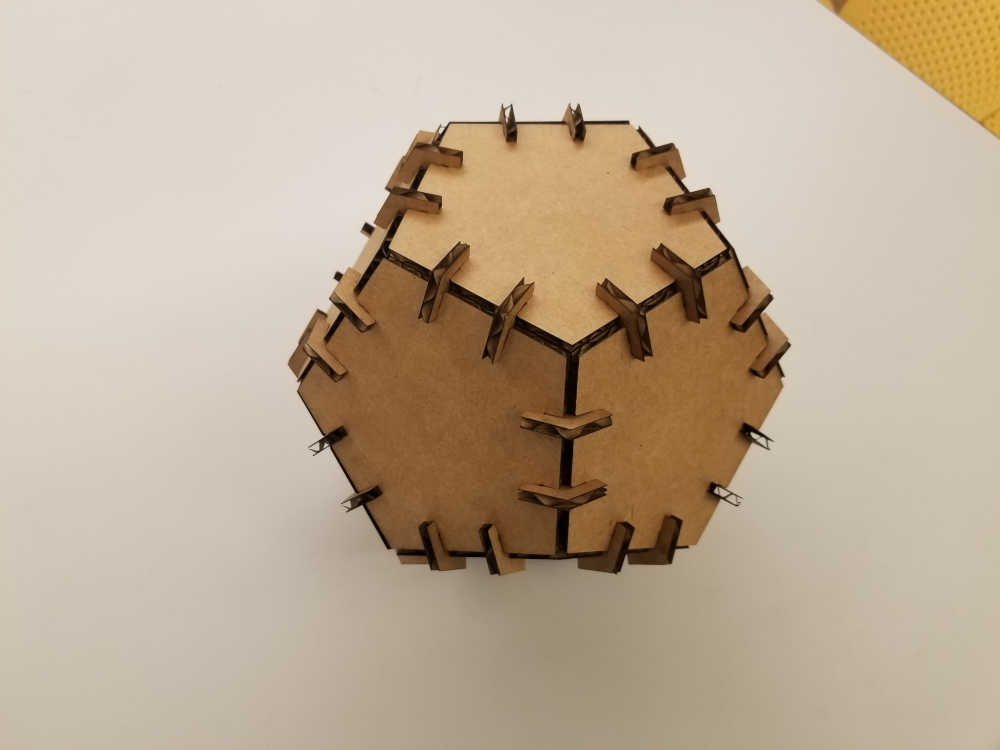
In my initial plan, I wanted to have a tab from each face interlock into a socket on the adjacent face. So each half of the tab would bend in a different direction and the friction of that joint would hold the two pieces together. Unfortunately, the cardboard is far too thick for that to work. If I increased the scale of the pieces significantly, it might work, but I decided to give up on that for now.
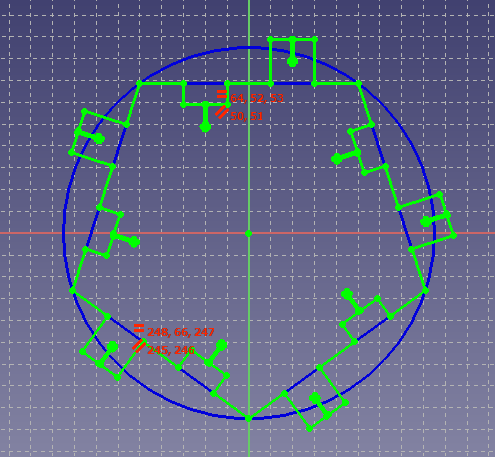
pentagon.svg
parametricPolyhedra.FCStd
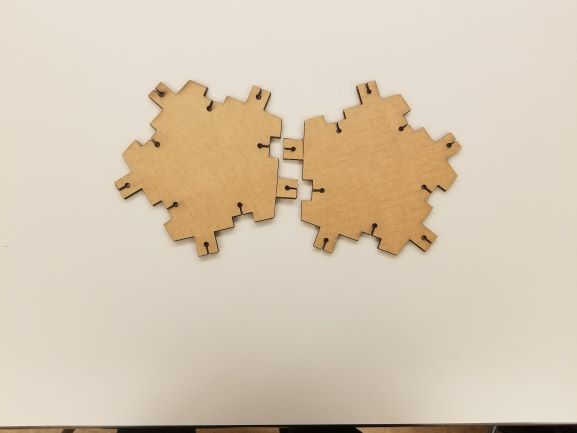
For my final design, I switched to using separate connector pieces. This requires accounting for the kerf of the cut, so I cut a test piece and adjusted the internal dimensions of the slots. I cut these pieces on the big laser cutter in the EDS shop. For that machine, an adjustment of 20 thousandths of an inch was enough.
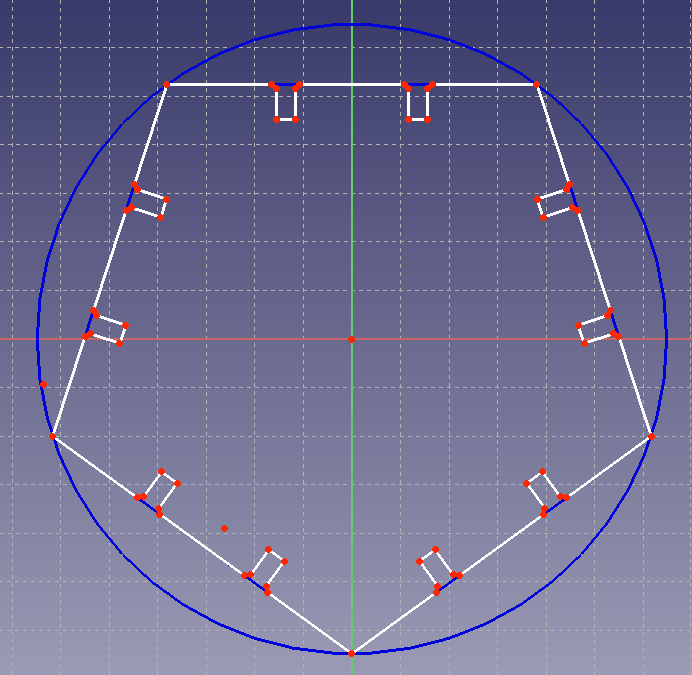


slottedPentagon.svg
tab.svg
pentagon.FCStd
tab.FCStd
See the tutorials page for more details on lasercutting.
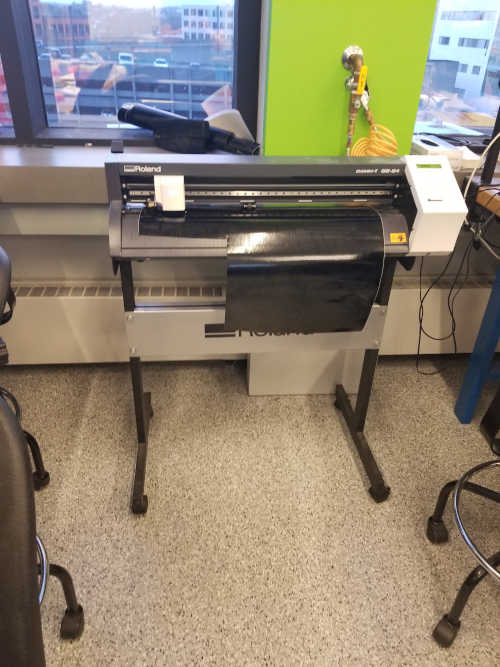
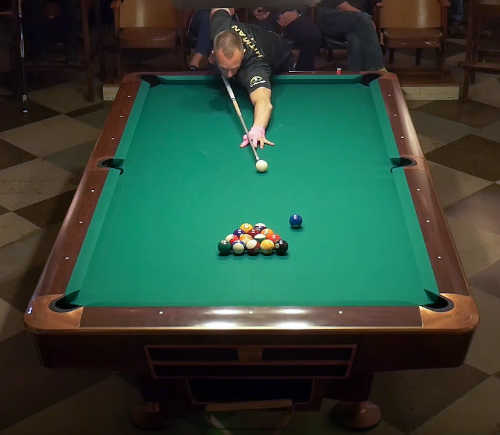
Vinylcutting
I chose to vinylcut an icon inspired by a straight pool rack. I designed the icon using OnShape and cut it on the Roland vinylcutter in the EDS lab. That printer takes .dxf files. You just connect it to the adjacent computer and print like a regular printer. You need to set up the material and the knife on the cutter. The tension for the knife is adjustable, and it's pretty forgiving for a single layer cut. Make sure that the blade is clean and that you won't run off the material. The material you're cutting also needs to be under the rollers so the machine can move it around.

See the tutorials page for more details on OnShape.