Week 4: 3D Printing
3D Printing
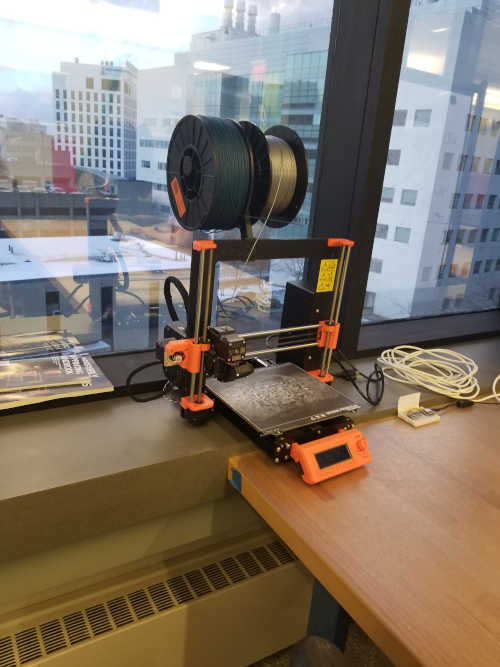
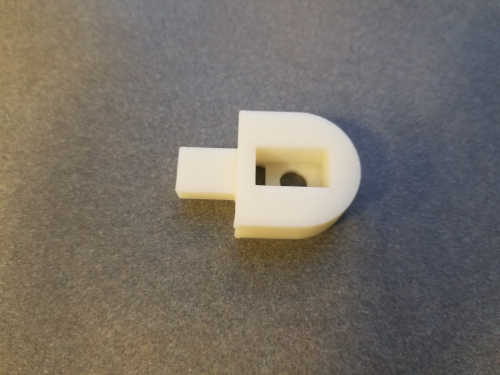
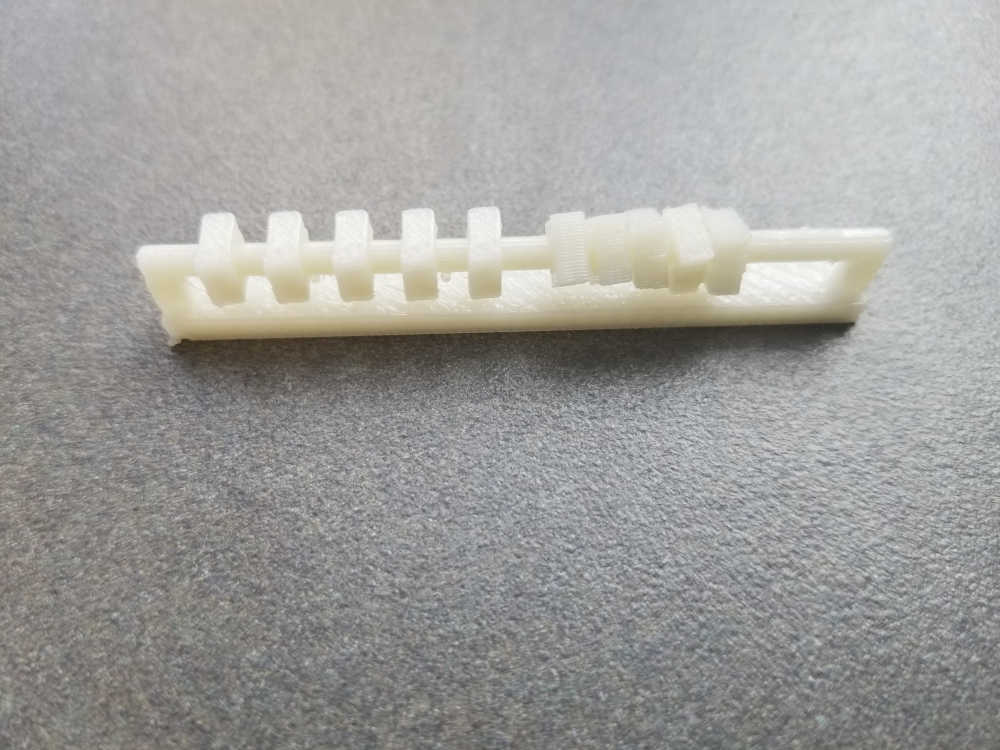
For this week, I printed a test piece for my final project. The test was a finger segment with two half lap joints sticking out on either end. One side has a hole for a D shaft, and the other has a hole and slot for the base of a potentiometer. The inserted potentiometer provides the axis for the rotation between two segments. This part was sliced using the Prusa slicer and printed on the Prusa printer in the EDS shop.

combined.stl
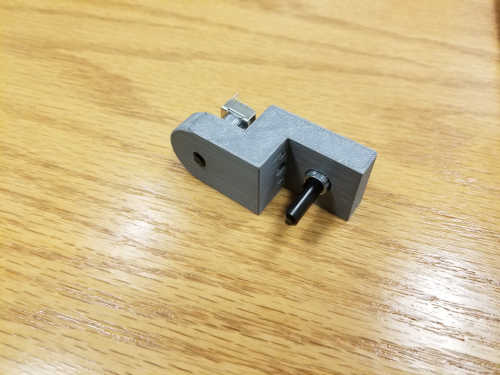
For this print, most of the internal dimensions came out about 5-10 thousandths of an inch too small. At the worst end, one came out 50 thousandths too small. All the external dimensions were basically perfect, maybe 1-2 thousandths at the most. Interestingly, the circular hole was actually slightly an ellipse as it came out slightly too wide.
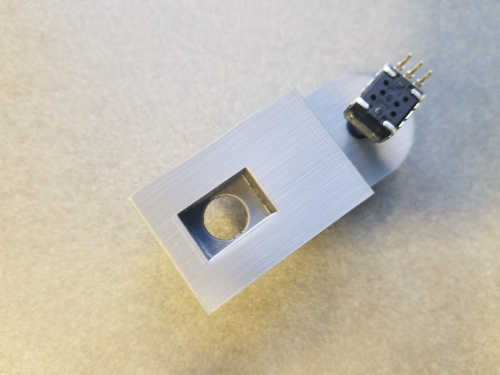
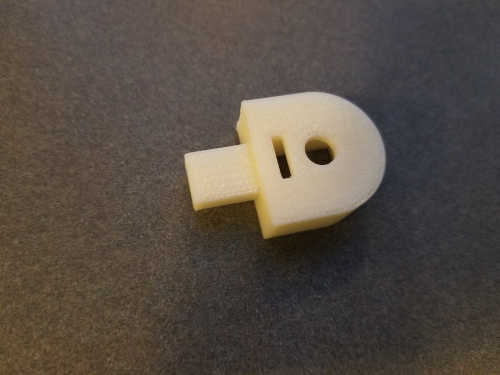
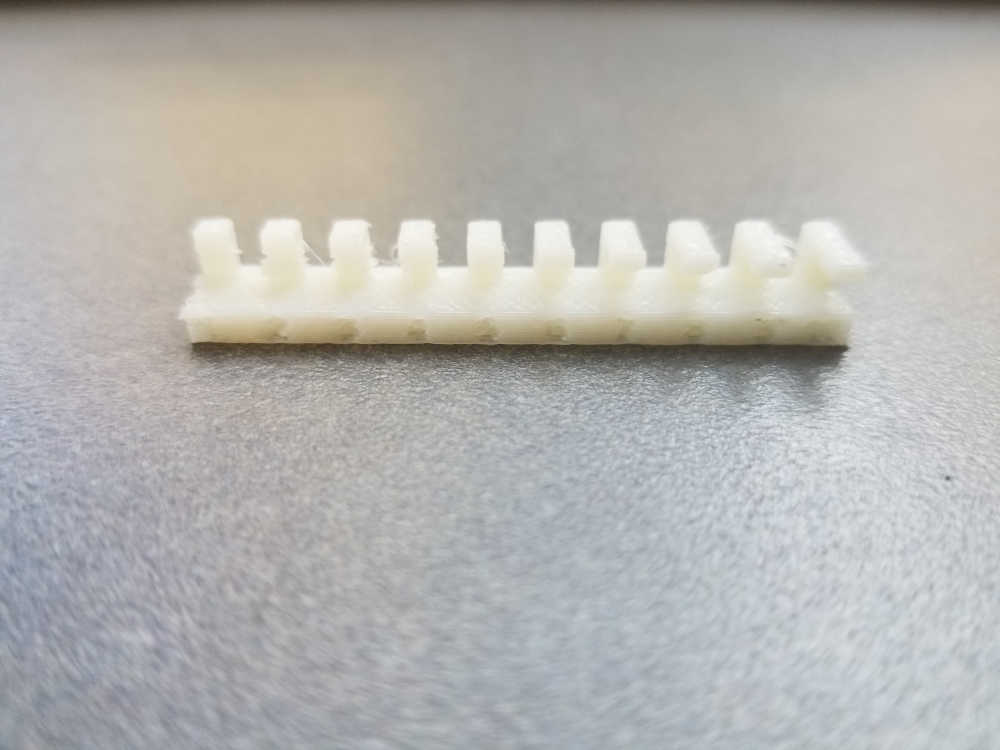
I also printed a different test piece on the uPrint. This piece is just one of the half lap joints with a protrusion for attaching it to the palm. This is needed because there wouldn't be enough room to slide in the potentiometers for the index to pinky fingers. The uPrint uses dissolvable support, so the pieces need to sit inside a chemical bath for a while after they are finished printing.

knuckleJoint.stl
knuckleFixed.stl
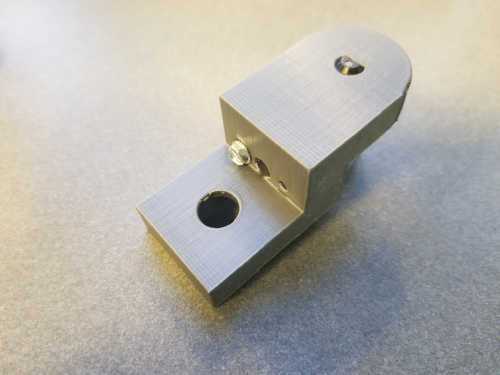
This part came out basically perfect. I just made the mistake of using the wrong length for one of the dimensions.
See the tutorials page for more details on 3D printing.
Test Prints
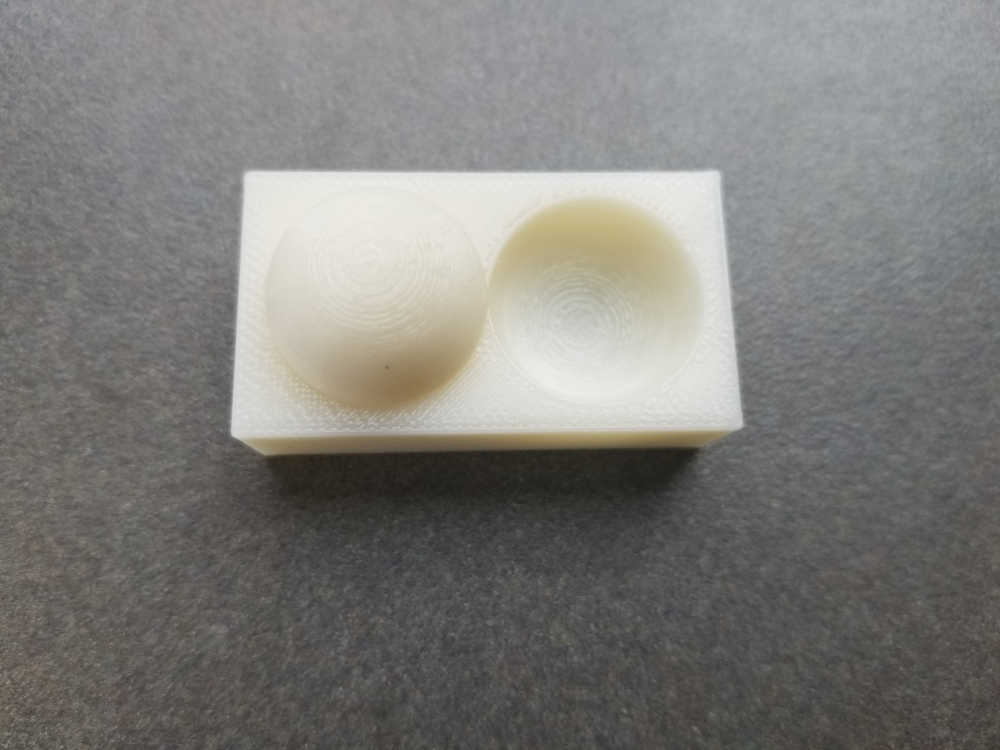
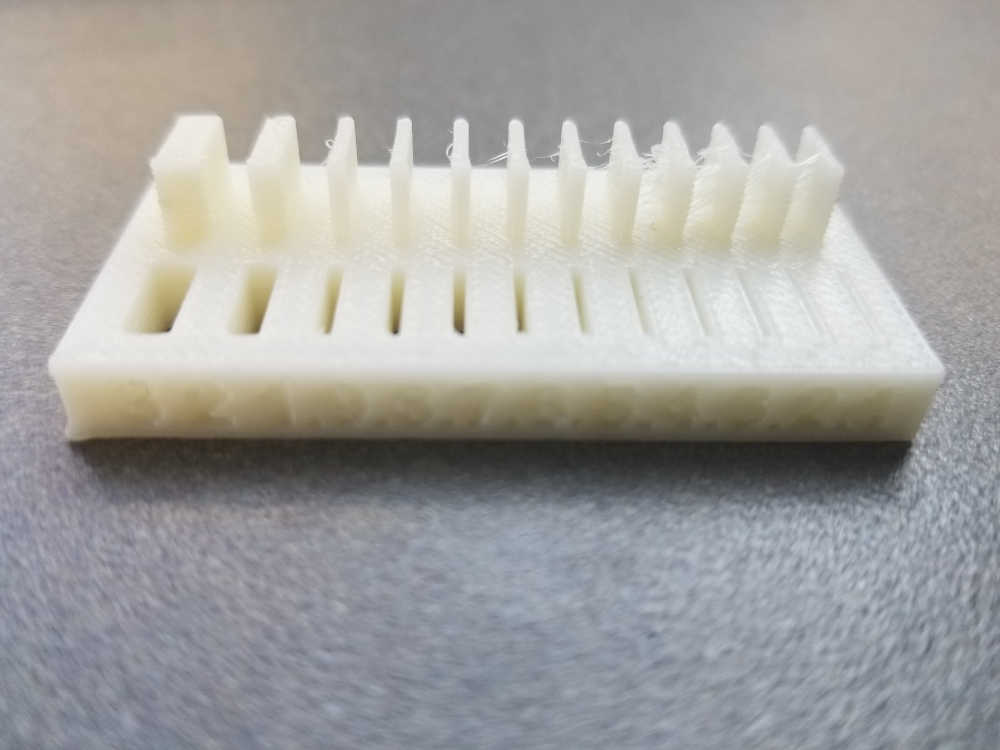
As a group, the EECS section did a series of test prints on the uPrint. That printer does have dissolvable support, but the general principles apply to most other FDM printers.
From the first print, we see that the surface finish of this print is actually pretty good. The box part of the print is basically flat with a slight texture. The hemisphere parts show a slightly stepped ring pattern, but that texture is also fairly minimal. With a bit of sanding, filling, and painting, no one would know this part is 3D printed.
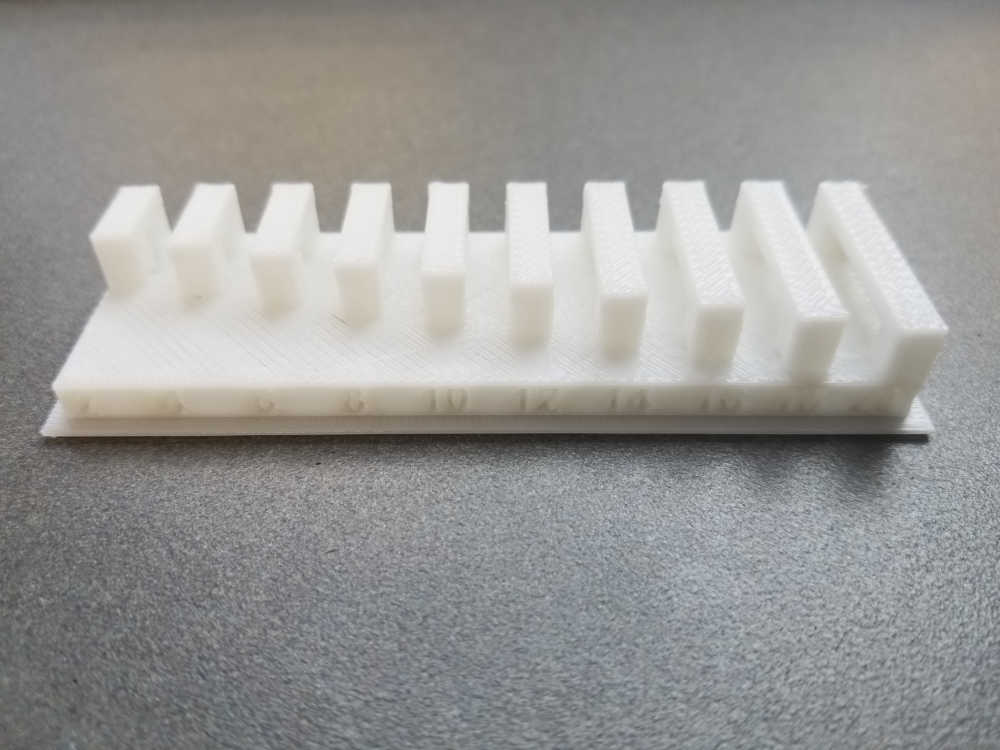
From the second print, we see that we can print almost arbitrarily thin walls. Somewhere around 0.5 mm or 0.4 mm, the slots close up entirely.
From the third print, we see that we need a clearance of at least 0.6 mm to prevent separate parts from being printed together.
From the fourth and fifth prints, we see that we can print basically arbitrarily long overhangs as long as they are anchors on both sides. So as long as we have somewhere to connect to, overhangs are not a problem. The fourth print shows that the uPrint can print horizontal overhangs, but it has dissolvable support, so that's a given.
The last print was done on the Prusa and shows that it can print angled overhangs down to perfectly horizontal.

3D Scanning
Just for fun, I got some help scanning my arms using the structure.io sensor. That's a structured light sensor which connects with a tablet device. The quality is not amazing, but it worked pretty flawlessly out of the box. The scanned mesh is not closed, but it could be made printable with some additional work.
arms_scan.obj
https://structure.io/developers