Week 6: Computer-Controlled Machining
Testing
Since I am working in OSB and leaving an onion skin on the cut pieces, every edge of every piece needs to be "deburred" and finished by hand. So tolerances are pretty unimportant for this setup. Pieces are machined on the Onsrud in the N51 architecture shop, so there is little worry about runout, alignment, and feeds and speeds.
Idea
Since my piece is made of OSB which tears out easily, has terrible surface finish, and takes fasteners poorly, I chose to rely on through tenons and another simple press-fit joint. All these joints involved either the edge of a piece going through the face of another or the edges of two pieces meeting. As you can see, I'm also not much of a fan of OSB. So I decided to make a rocking chair similar to the example below.


Modeling
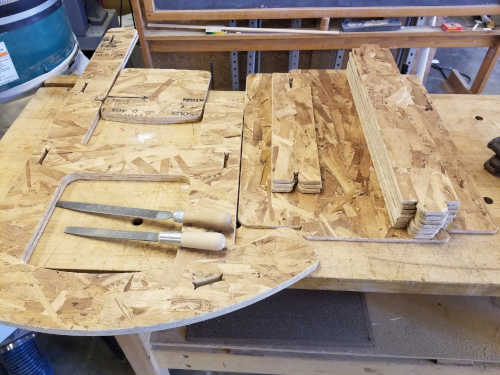
I modeled the design in OnShape using configurations to parametrize the model. The only modification I needed was to correctly set the slot width to 7/16". There is actually an extra horizontal support and an extra arm rest in the model. That was useful when I slightly blew out the slot in one of the arm rests in assembly.
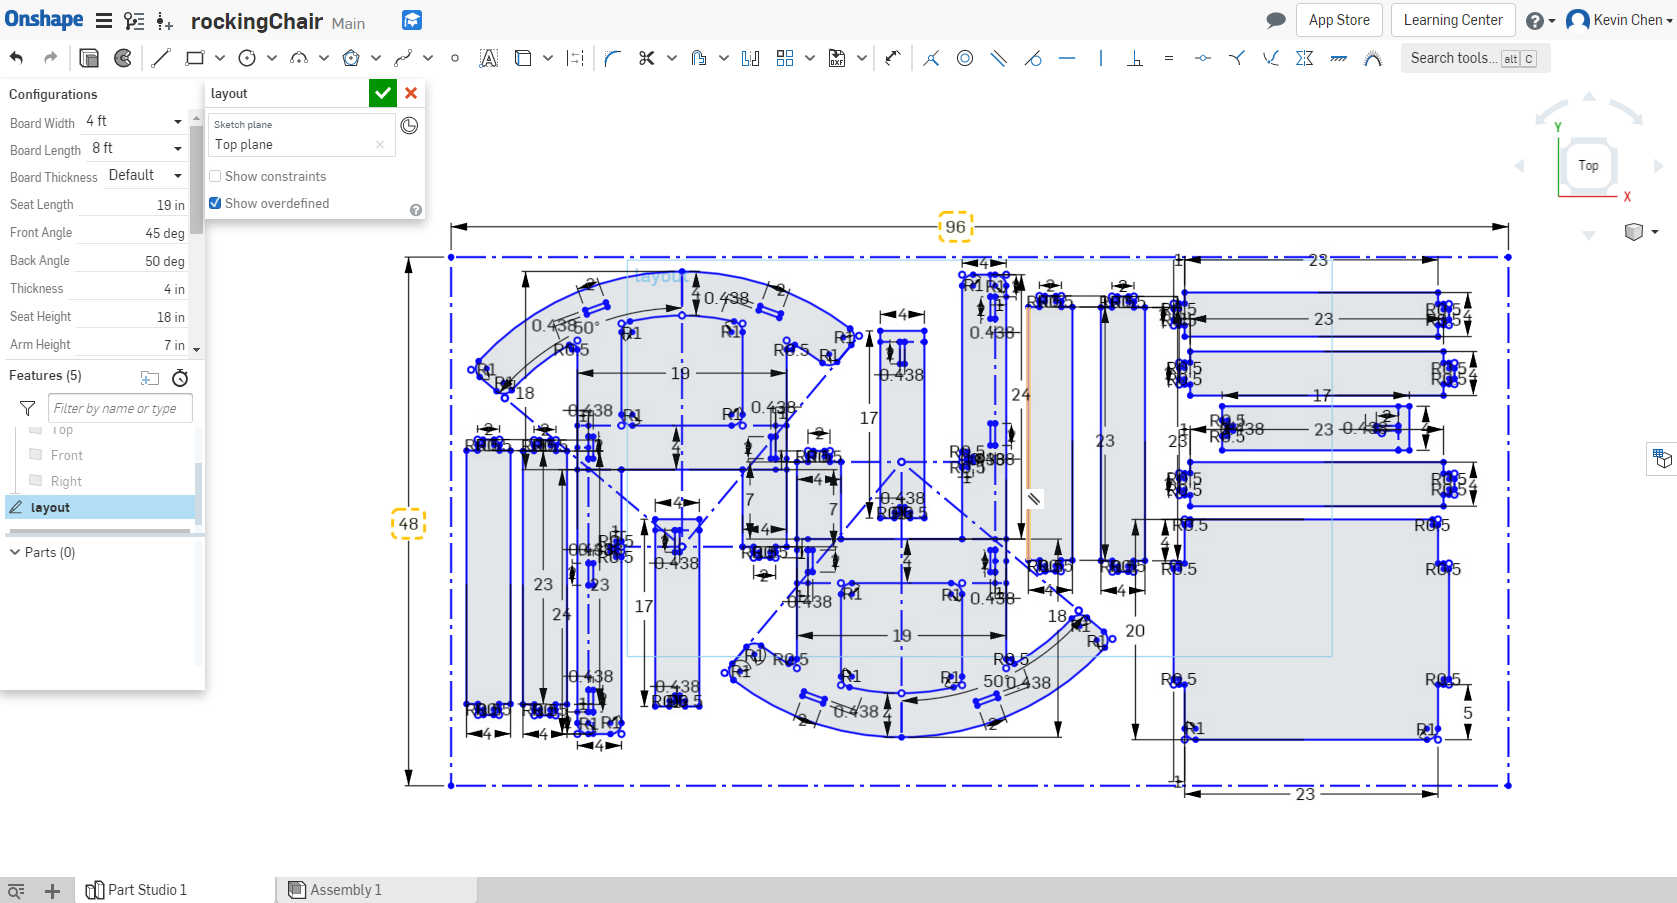
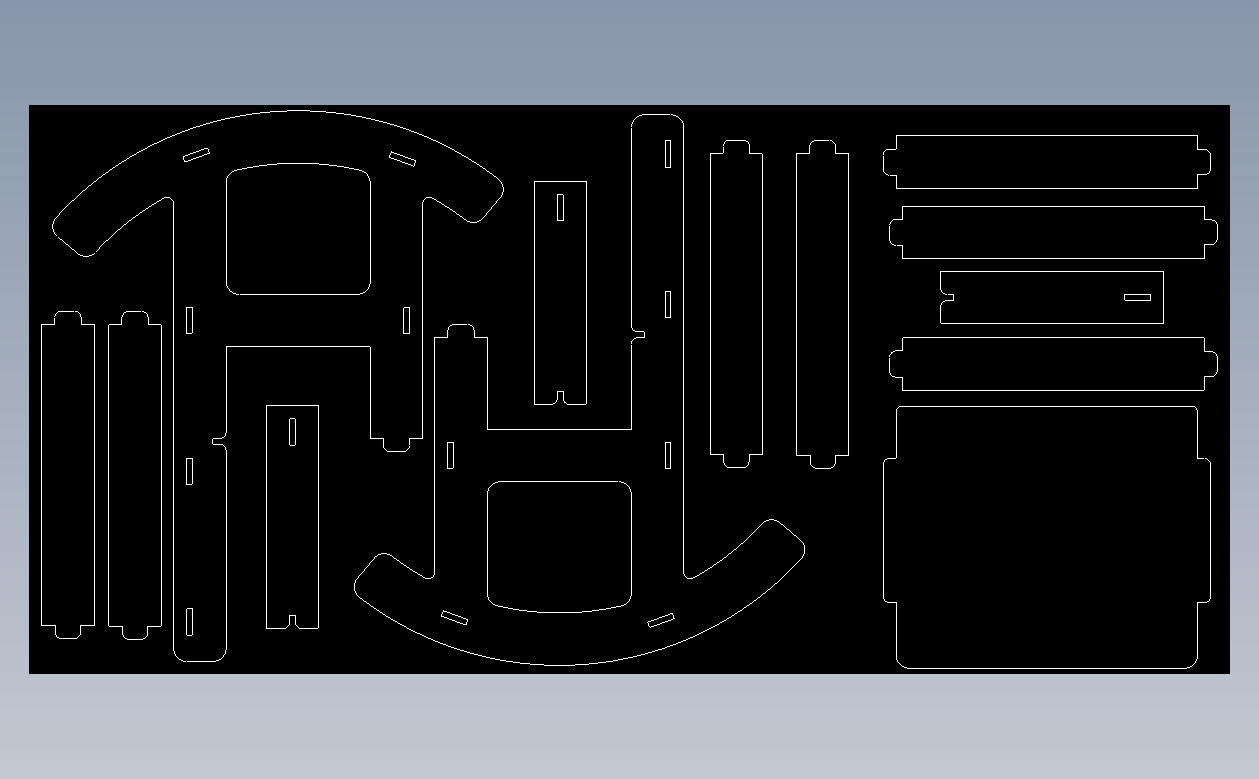
This sketch was exported to a dxf file which can be found here. The G-code was generated from that file with points added for dogbones in the interior corners. I learned a few lessons from this model. Fillets should be added last because they tend to mess up your model a little bit. You should also be careful when adding dogbones to small features. The dogbones remove some of the edge they're along, so if that edge is small, it may disappear or become poorly supported. This was evident in the slots for the tenons.
Machining
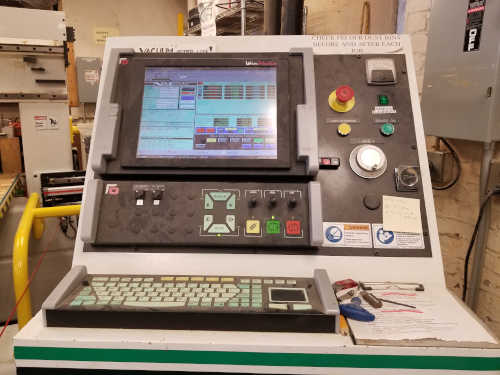
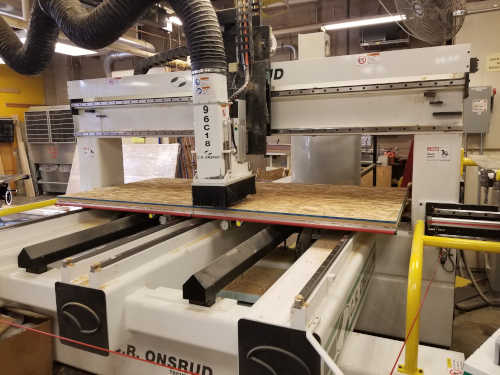
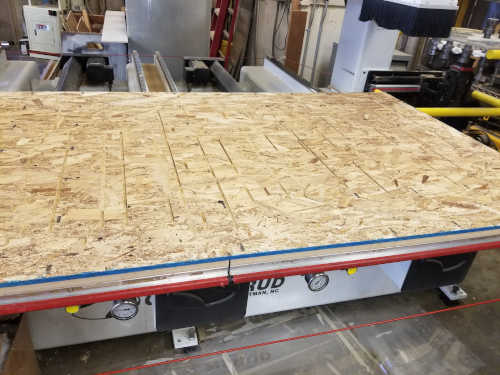
My model was cut out on the Onsrud in the N51 architecture shop. That machine is, in the words of Anthony Pennes, "deserving of respect". The emergency stop on this machine is the big red button at the top right, and the red button in the bottom center of the top panel can also be used to stop cutting. There is also a red rope which goes around the machine which acts as another emergency stop. Considering how strong this machine is and how fast it moves, that is an apt protection.

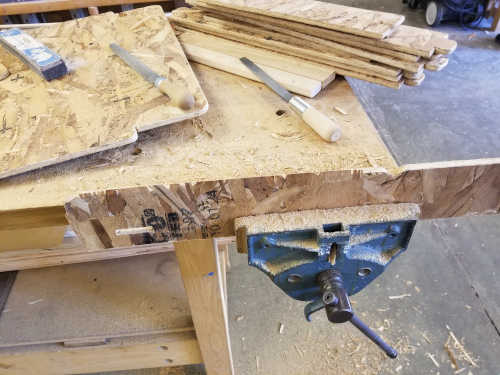
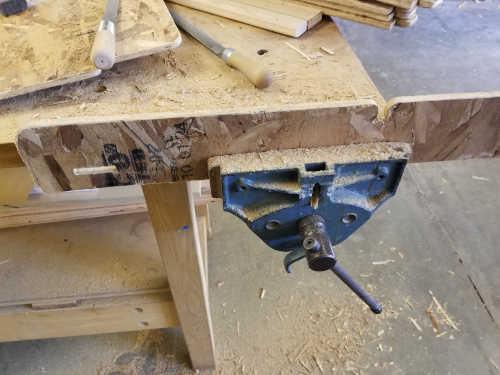
This machine uses a vacuum to hold the material down to the bed for cutting. That requires leaving an onion skin on the pieces to avoid breaking the suction too much. It can handle the holes used for the dogbones although those holes did not go fully through in my case. This means that pieces must be cut free of the original board. A box cutter does that well enough. After that, the onion skin can be taken off using a rasp and a file. With a better material, this would be a good time to do some finishing on the edges. With OSB, that's more of a futile attempt at polishing a turd. You should file toward any edges. Otherwise, you risk tearing pieces off of the OSB.
Assembly
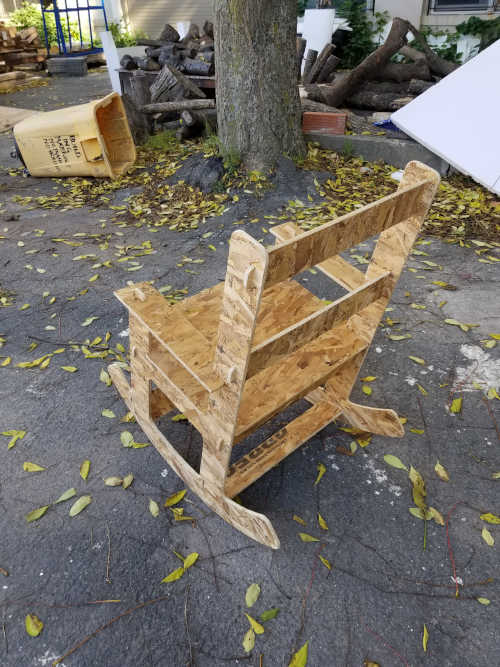
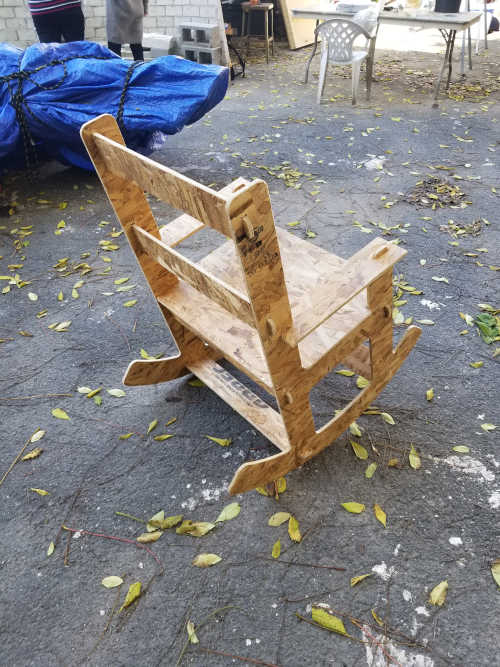
Once the pieces are cut and finished, they can be assembled into a chair. The two side pieces are connected using the horizontal braces, the armrests fit into the horizontal slots on the back and into tenons on the arm rest supports. The seat just rests on the assembled frame. Note that OSB has a bad side and a terrible size, so try to place the bad side on the sides that will be shown/felt. The seat also cannot be put in once the armrests are added. The fit was surprisingly tight considering that no testing was done before the fit. After having been carried to the EDS shop for storage and to class for display, the joints are considerably looser. They initially required a bit of convincing with a mallet.


Improvements
- OSB is a terrible material. It machines questionably, finishes poorly, and has terrible surface finish.
- Using a dogbone on small slots results in weak support for the short edges. In a better material, leaving out the dogbone and using a chisel to remove the radius will have nicer results.
- Mirroring the side pieces instead or rotating them would allow me to put the nicer side of the OSB on either just the inside or just the outside of the chair.
- An extra horizontal brace could have been added at the end of the curved bottom. There's a bit of play there. It's not concerning, but could be removed.
- The horizontal braces on the bottom could be distributed better to provide a foot rest.
- The entire balance point of the chair needs to be a bit further back. In another material, the added thickness of all the pieces probably would have done that, but since OSB is so thin and light, it needs to be compensated for in the model.