Week 8: Molding & Casting
Idea
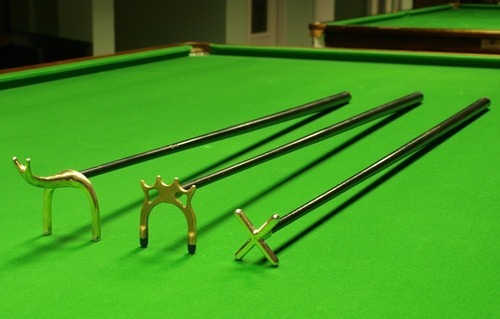
The idea this week was to cast a snooker rest, preferrably in metal. These come in all sorts of weird shapes, but I chose the cross rest to save myself some modeling.
Modeling & Machining
I modeled the design in OnShape using configurations to parametrize the model. There were some concessions on the size and thickness of the cross arms to fit within the wax block, but it came out pretty well. I modelled the positive part first and then adjusted the model to be able to cast the silicone mold. The extra features were added to locate the two halves of the mold.

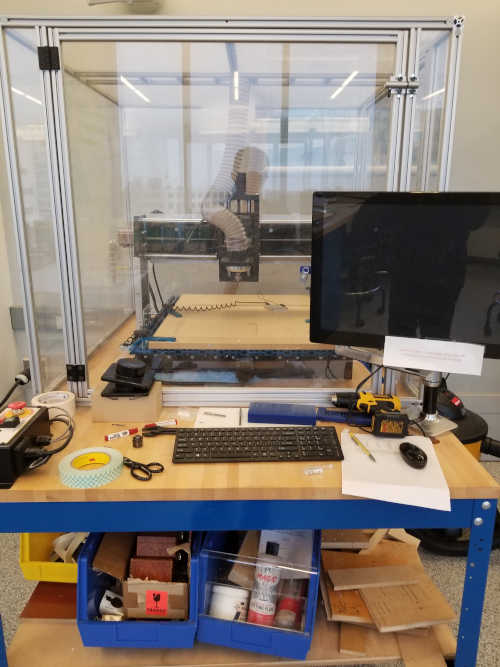
There were some severe artifacts exporting to an stl file even at the highest resolution. Turns out OnShape can export directly to a SolidWorks file and the geometry can be reconstructed. This sketch was exported to a dxf file which can be found here. The machining paths were computed in SolidWorks, and the mold was machined on the Shark router in the EDS shop.
Molding & Casting
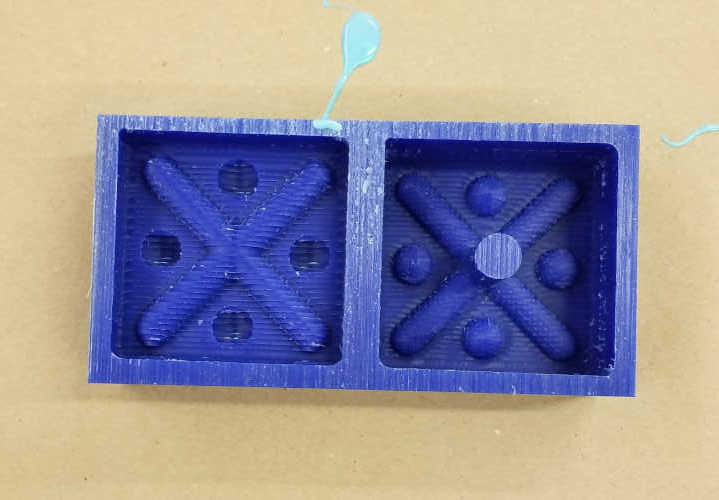
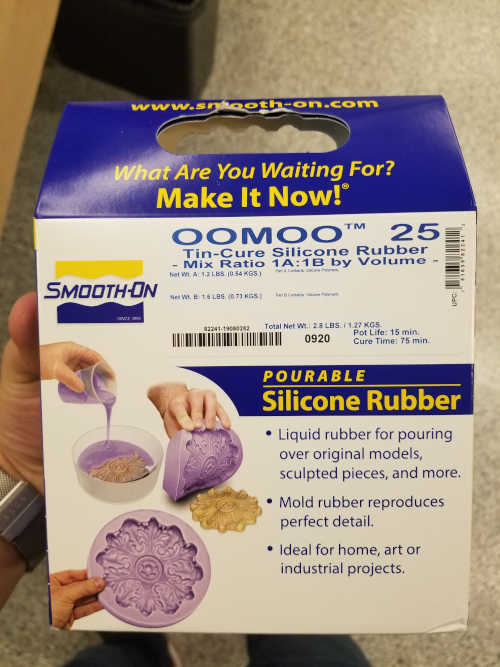
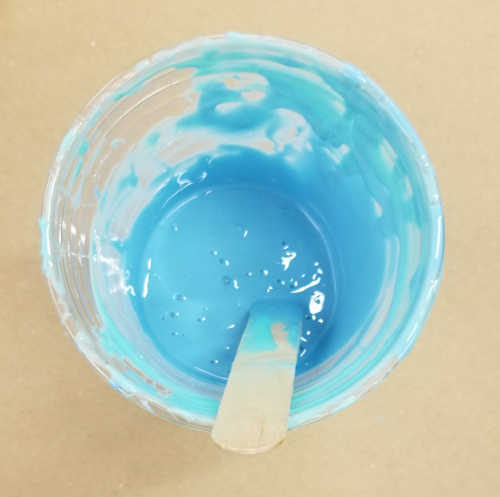
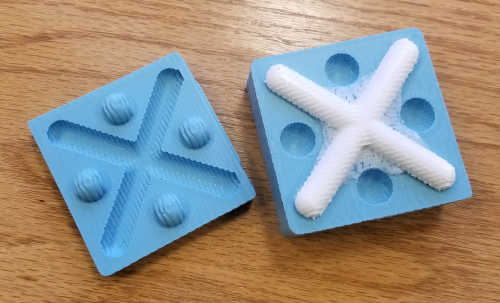
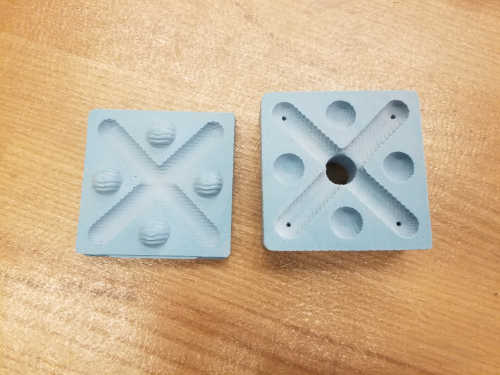
I started by casting the silicone mold for my part in Oomoo 25. This is a tin cure silicone which is resistant to ~450 degrees. This mold will also be used for metal casting. Silicone is pretty safe in terms of offgasing and reasonably resistant to getting the ratios wrong. Since I was using the last of the bottles I had, I fudged the ratio (which should have been one to one by volume) to squeeze out a little extra volume. The key with this is to mix the silicone well without trapping bubbles.

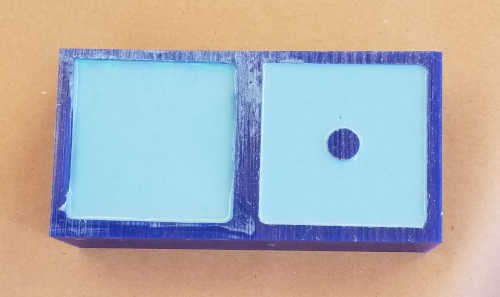
Once cured, the silicone was pretty easy to pop out with a screwdriver. I prefer to trim the edges of my molds with a knife.

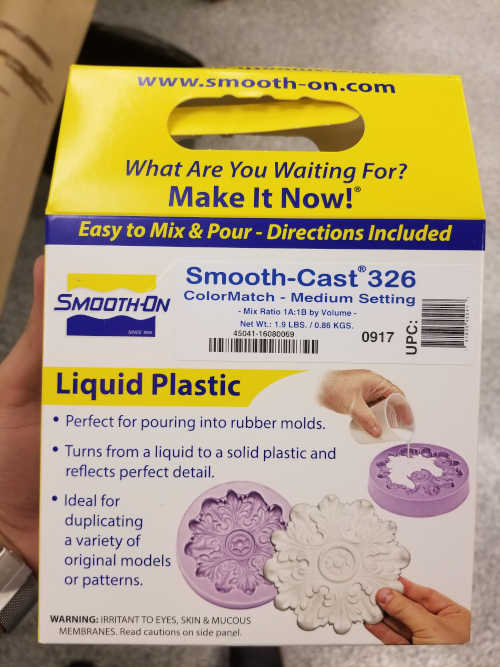
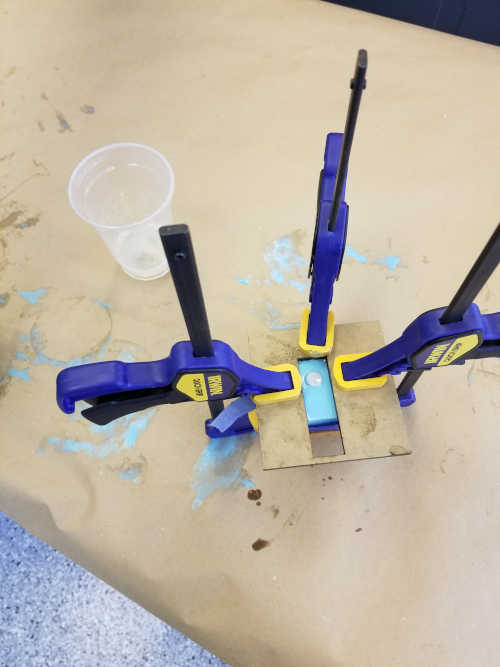
For my first cast, I used clear Smooth-Cast 326 and clamped the mold together with support on each side. For some reason, this material came out a little flexible and never fully hardened. That could just be how that material comes out, or the bottles could have been a bit old. It could be a result of trapping so many bubbles.

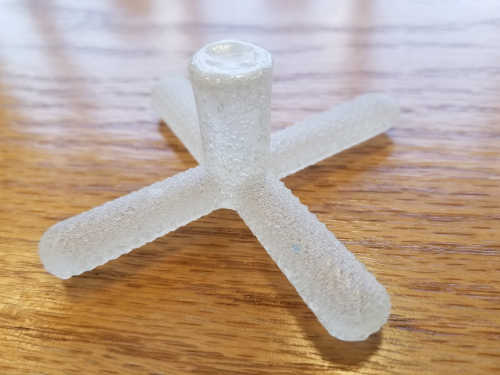
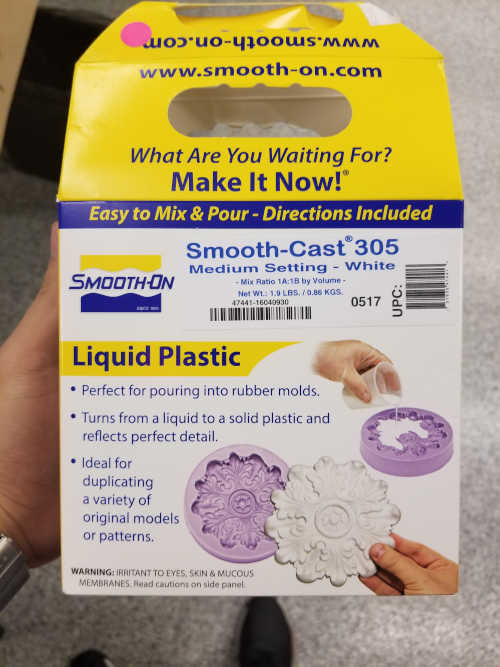
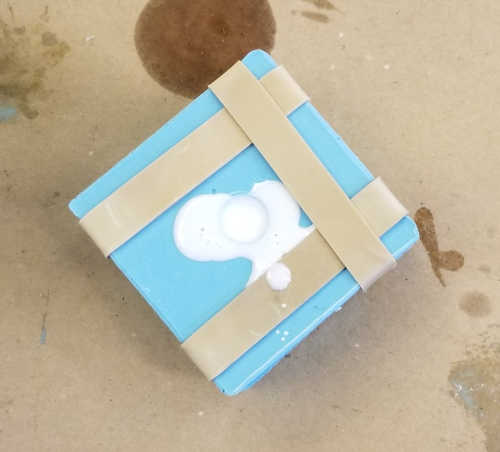
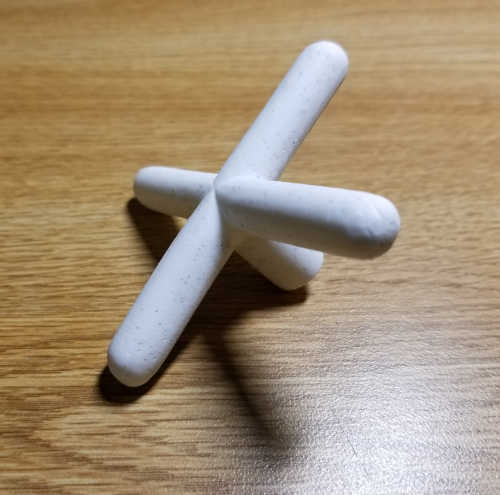
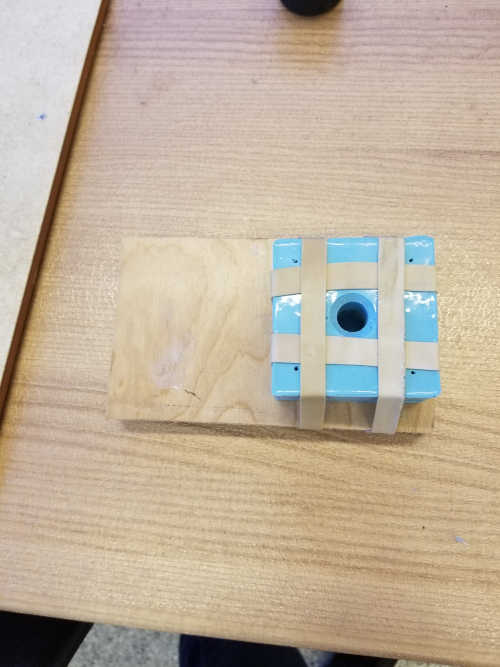
The second cast was in white Smooth-Cast 305, and that went much better. For the second cast, I switched over to rubber bands. The cast was also briefly put under vacuum for the second cast to try to pull out some bubbles after it was poured. There's not a great way to the bubbles in my mold to escape, and the work time is fairly short, so that was of limited benefit. A bit of sandpaper took care of the flashing.
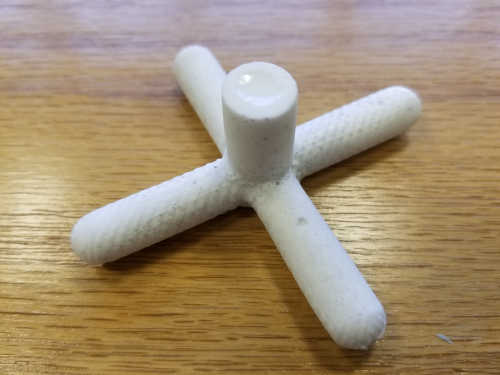
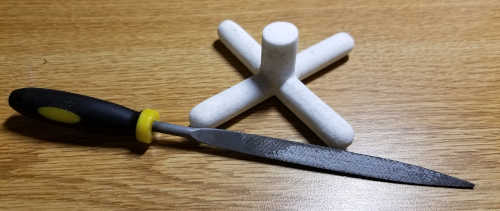
At this point, my model still needed some heavy clean up. Unfortunately, I machined the original mold to a pretty low resolution, so I had some filing ahead of me. The white material set completely solid, but had some tiny bubbles trapped inside which were exposed during the filing.
Installation & Metal Casting
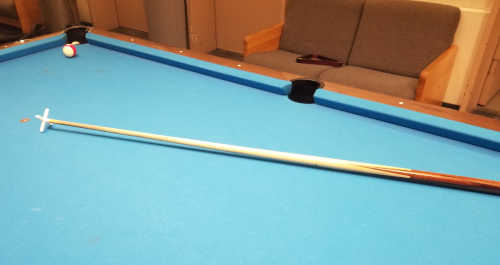
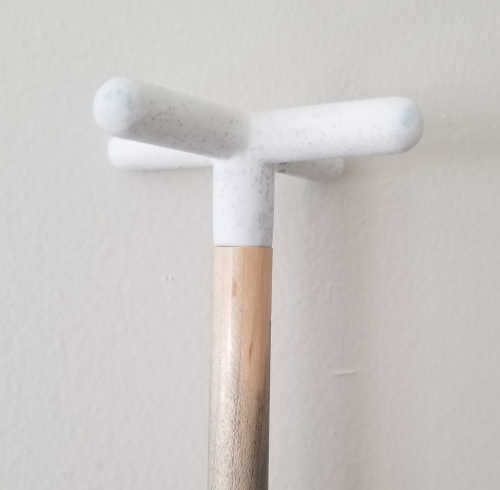
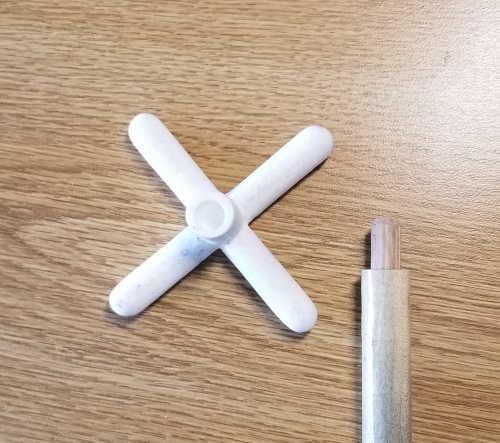
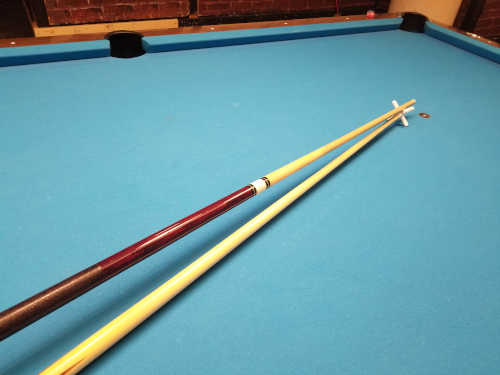
With the part cast and finished, I decided to install it on an old cue. I also took the time to put a new tip on a snapped cue. Unfortunately, all the ferrules I had were too wide, and I didn't have a lathe long enough to put this shaft on. The cross rest was attacheding by drilling a hole into the stem and into the end of the cue. A pin was glued into the cue end, and the cross is just friction fit on. Depending on whether I get a metal version cast, the cross will eventually get epoxied on. Note that the centering of my drilling is terrible, but it's a matching terrible on each part.

I intended to also cast my part in metal. Unfortunately, we ran into some issues with the low temperature alloy we were going to use, so that has been postponed to Thursday. I did take the time to prep my mold using gypsum powder and by drilling vent holes along each arm. Those holes could probably do with being expanded.
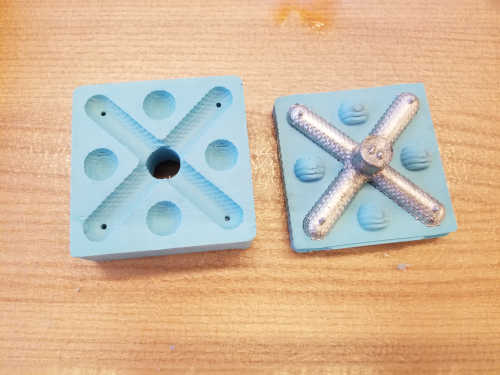
It turns out that we were not casting with the alloy we thought. So it wasn't melting at the temperature we thought it would. Once we found an actual block of Roto 281/282, things went much smoother. The mold was prepped with gypsum powder and rubber bands and the metal was heated up in a crucible in a toaster oven.
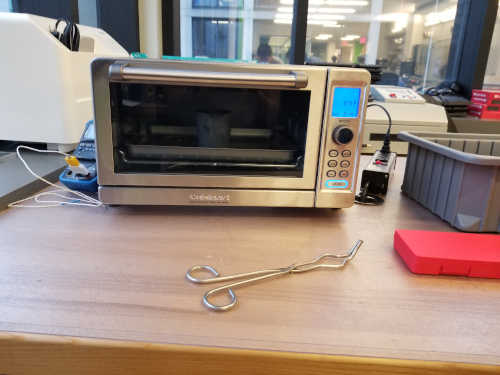
Just in case of splatters, we put on a jacket, some gloves, and a face shield. The operation was surprisingly cool, but it's still a necessary precaution.

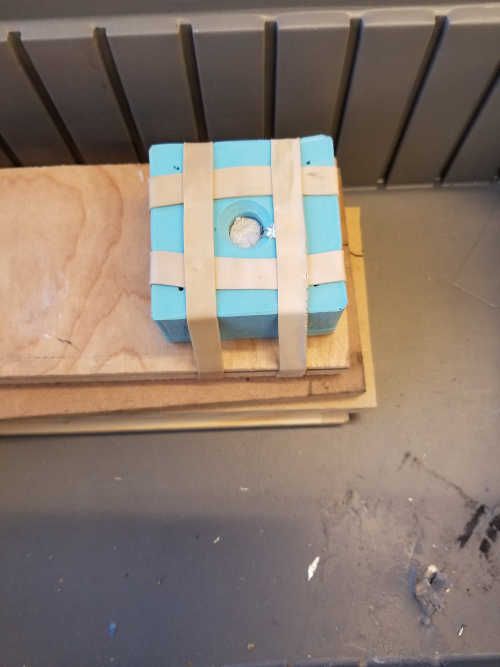
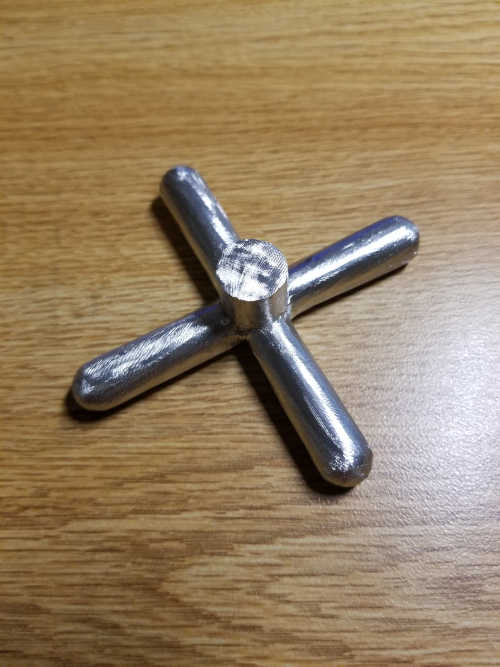
The cast came out great and the vents I made were surprisingly large enough. The surface artifacts are from the machining.
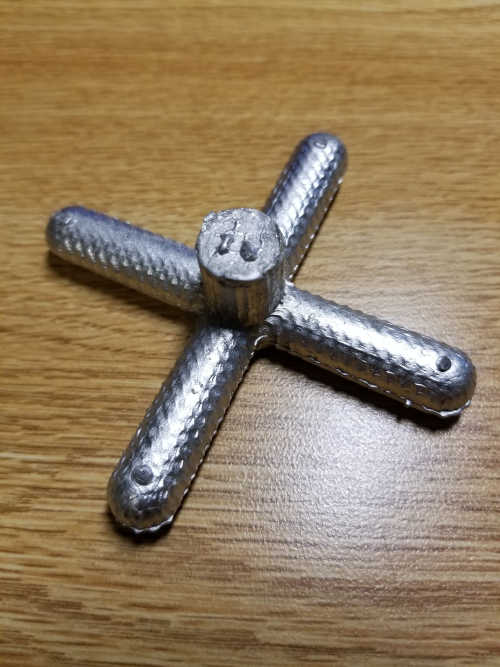
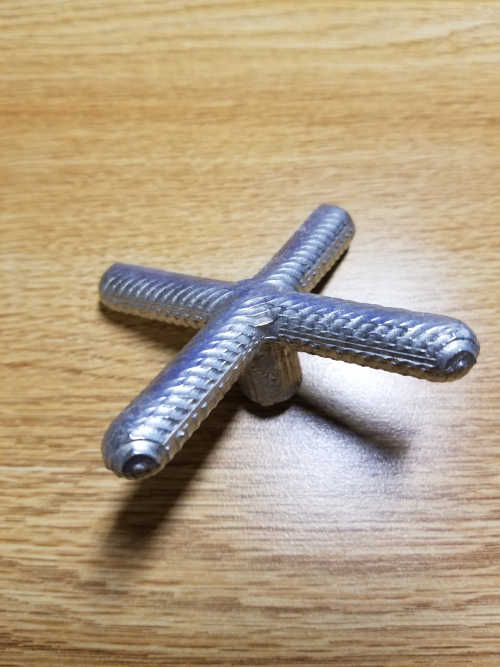
After a lot of filing, the piece came out pretty well. It still needs a few passes with sandpaper and a hole drilled, but it's smooth to the touch now.