Week 04
3D Scanning and Printing
3D Scanning
I wasn't too sure what I wanted to 3D scan. To minimize the decisions I had to make,
I picked up the item that was closest to me. It just so happened to be a rouge sponge
that had made it's escape from the soldering iron station.
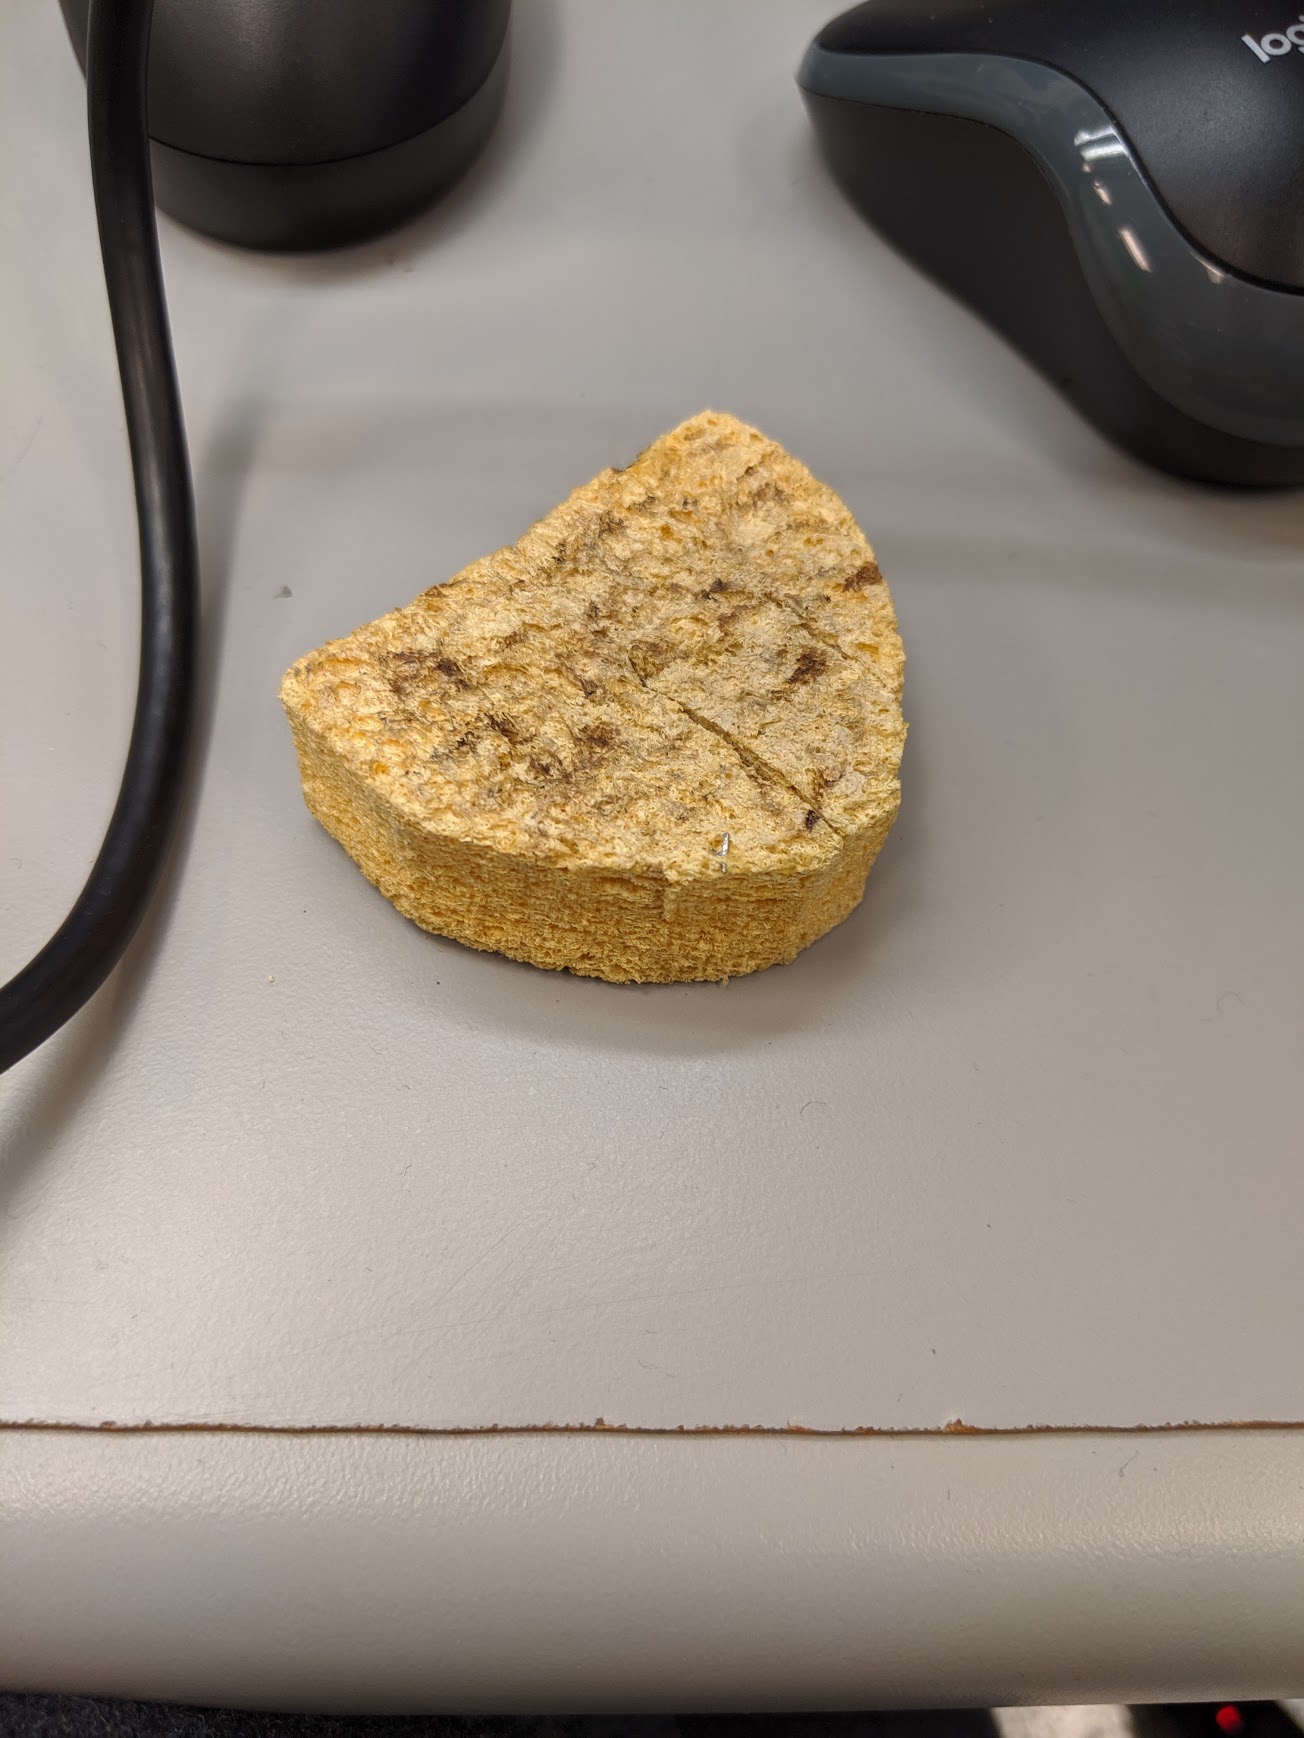 Oh here is that little rascal!
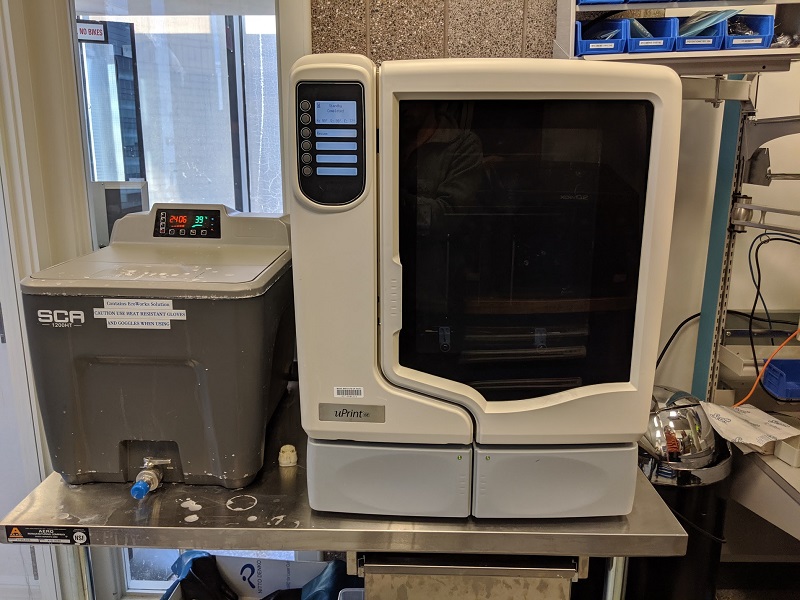
I used the iSense in the EDS shop for this portion of the week.
 I am still working on remembering to get photos of the process, but alas I have failed to get a
sufficient number of photos for this assignment.
I am still working on remembering to get photos of the process, but alas I have failed to get a
sufficient number of photos for this assignment.
 Fortunately for me, the newspaper that I had placed the sponge on came through to the scan.
I wasn't sure how the newspaper was part of the sccan, but maybe it was lifted ever so slightly in that
area. Not a problem, I found a trimming tool on the software and continued on my merry way towards an "okay"
3D scan.
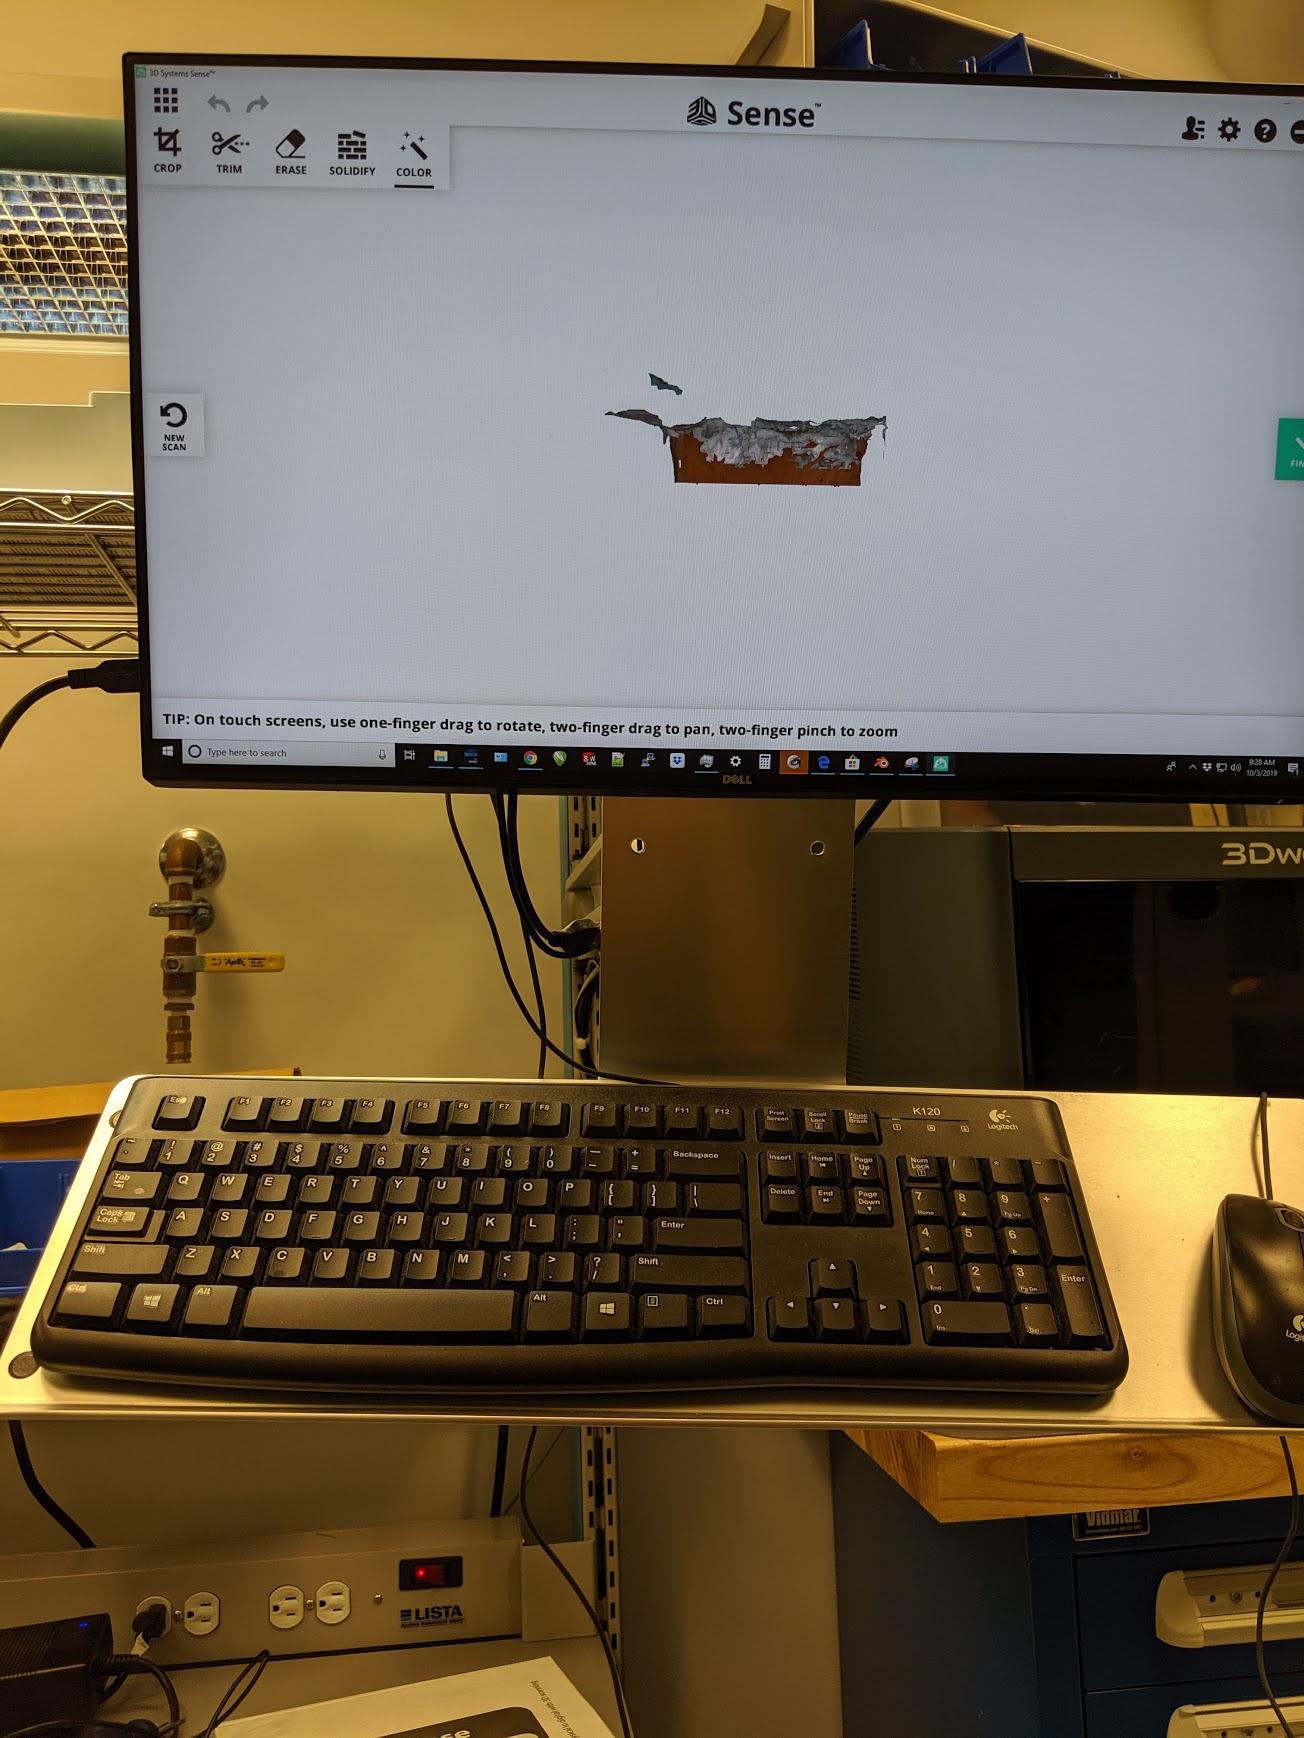 I was fairly surprised to see what the iSense had picked up and placed in the final scan.
Ultimately, my scan didn't come out too horribly. Really since a sponge isn't a "solid" item I probably
should have considered using a different item. I will have to look into some type of sponge MRI machine to
figure out how to incorporate the porosity. That would ultimately be a more accurate scan.
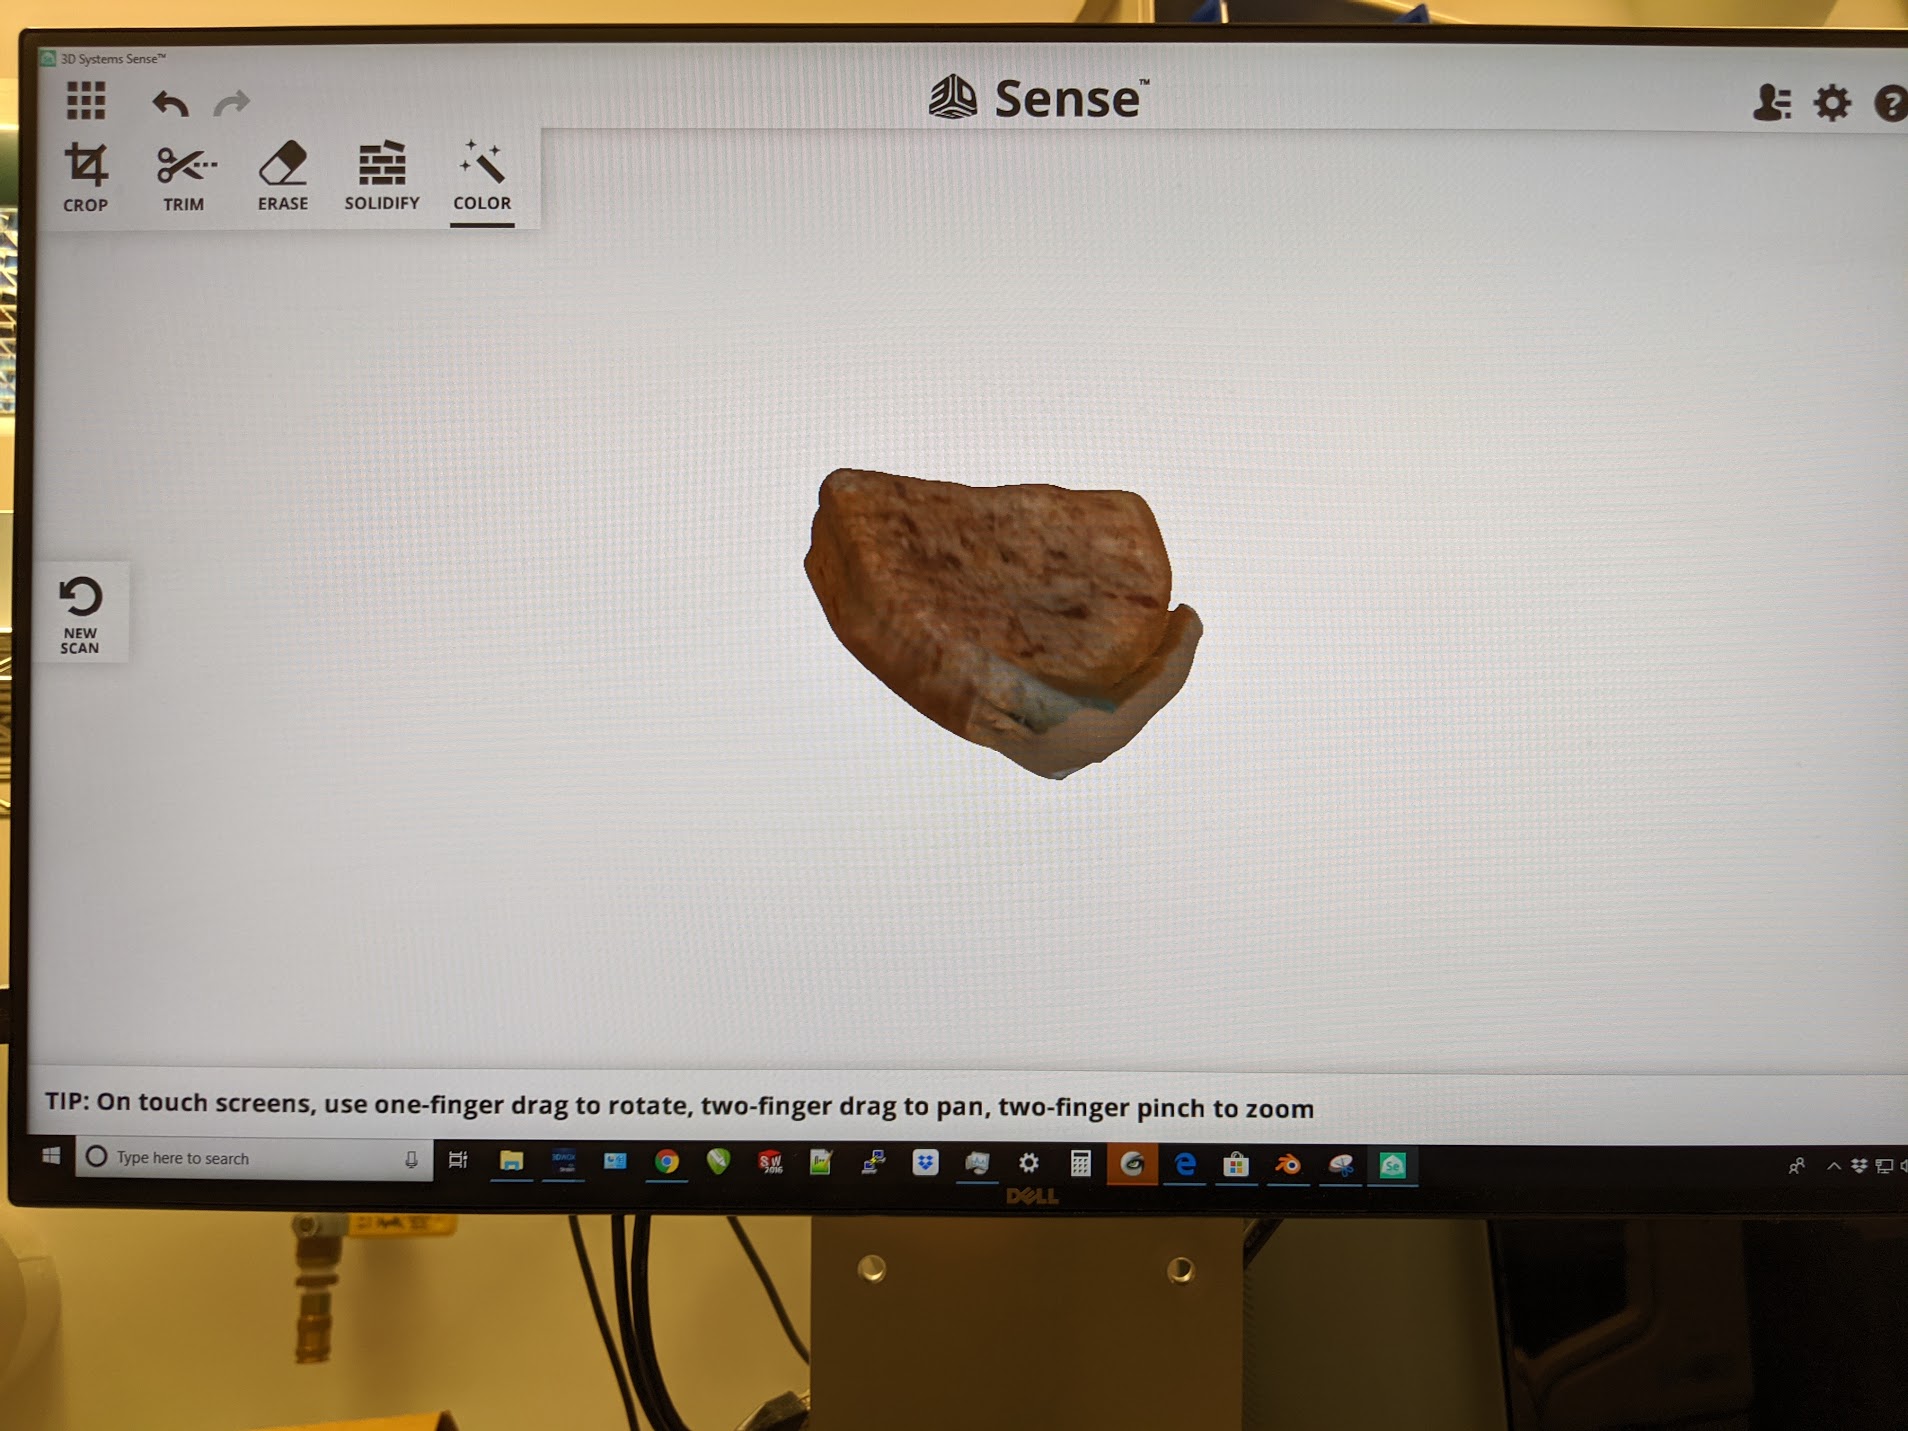 Once all the trimming was complete, I was fairly satisfied with my scan.
3D Printing Group
As always, the characterization is a very helpful step to working towards a final product. The EECS section
decided to divide and conquer. Not only did this reduce the time that the printer was operating, but it also reduced
the amount of material used overall. First as a small group we had to figure out what was to be printed. Honestly,
the printer did a really decent job. I don't have much to compare it to, but I was pretty happy with the results. Overall
it performed as it said it would and consistently put out parts within tolerances.
 We probably should have gone in order, but why not make life a little more interesting.
 The 3D printer is such a neat tool. It aides in rapid prototyping, while reducing costs and resource use.
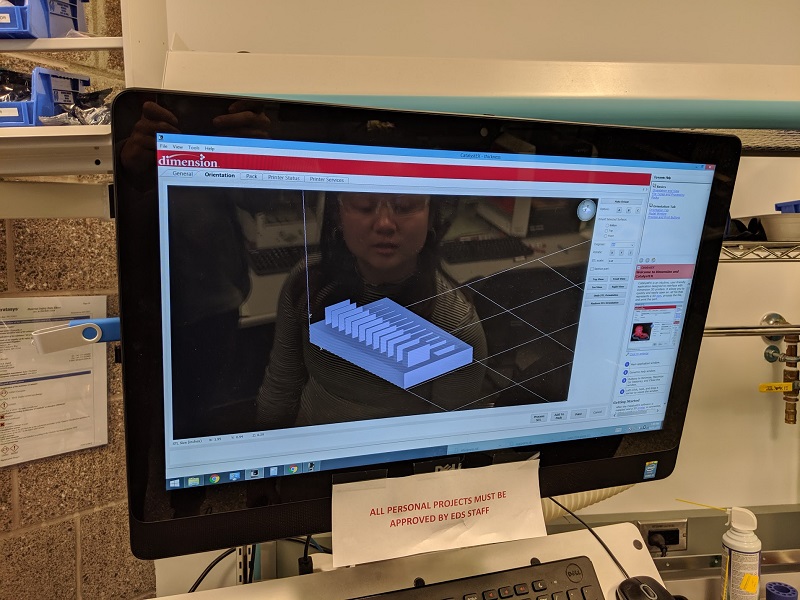 We took some good looks at the prints we were about to print. Did we need to scale them? Should we change anything else
about them?
We took some good looks at the prints we were about to print. Did we need to scale them? Should we change anything else
about them?
 The support was a wonderful tool. This support really was nice being able to dissolve it (but we will get to that later.
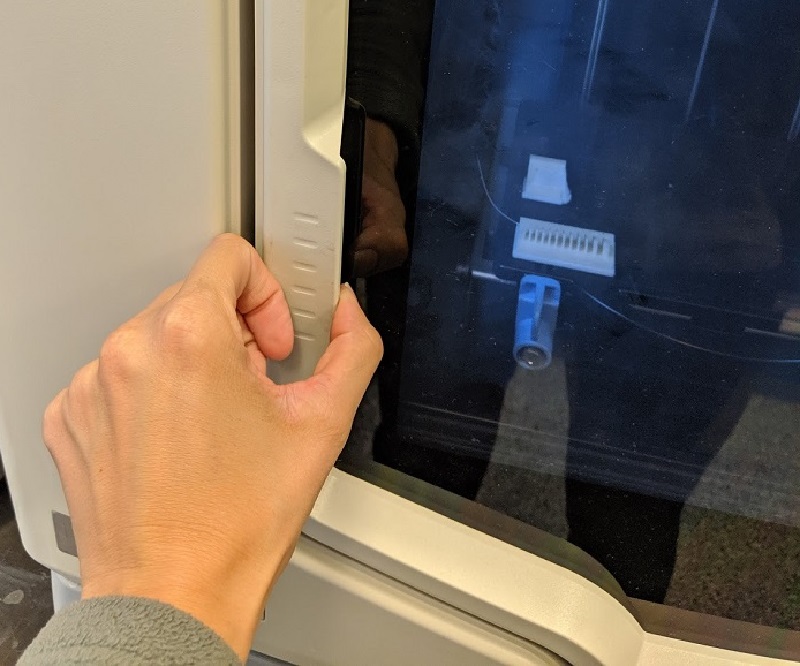
 And so it begins!
 The moment of truth. I had other projects that I was working on, so I waited for the print.
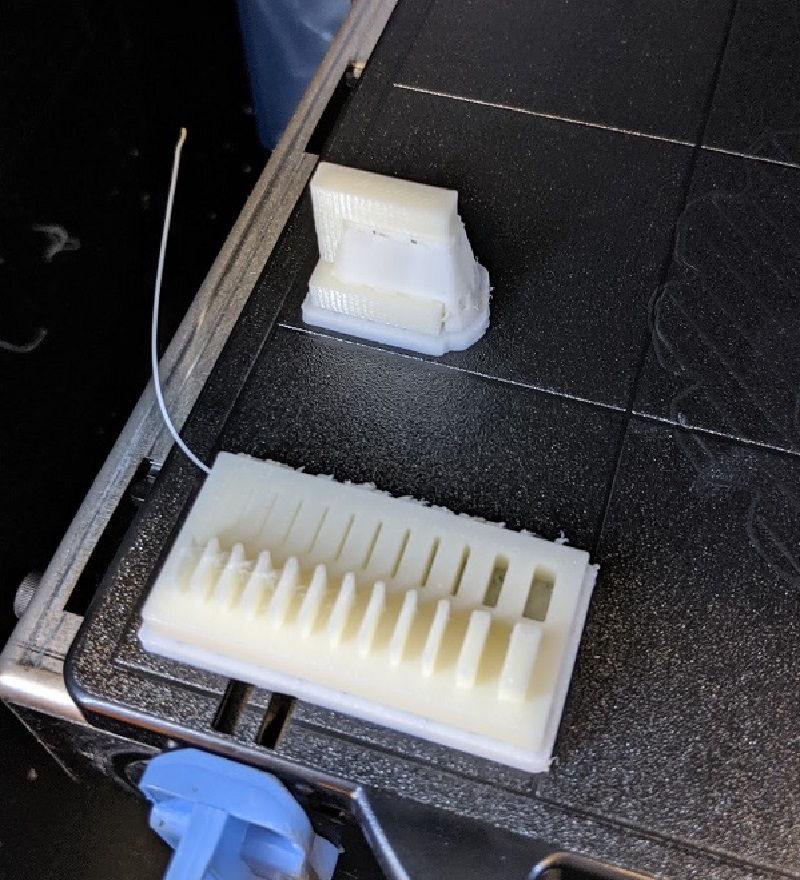 Honestly, this looks nice and tidy. I was happy with the outcome.
 In the hand goes to draw out the basket!
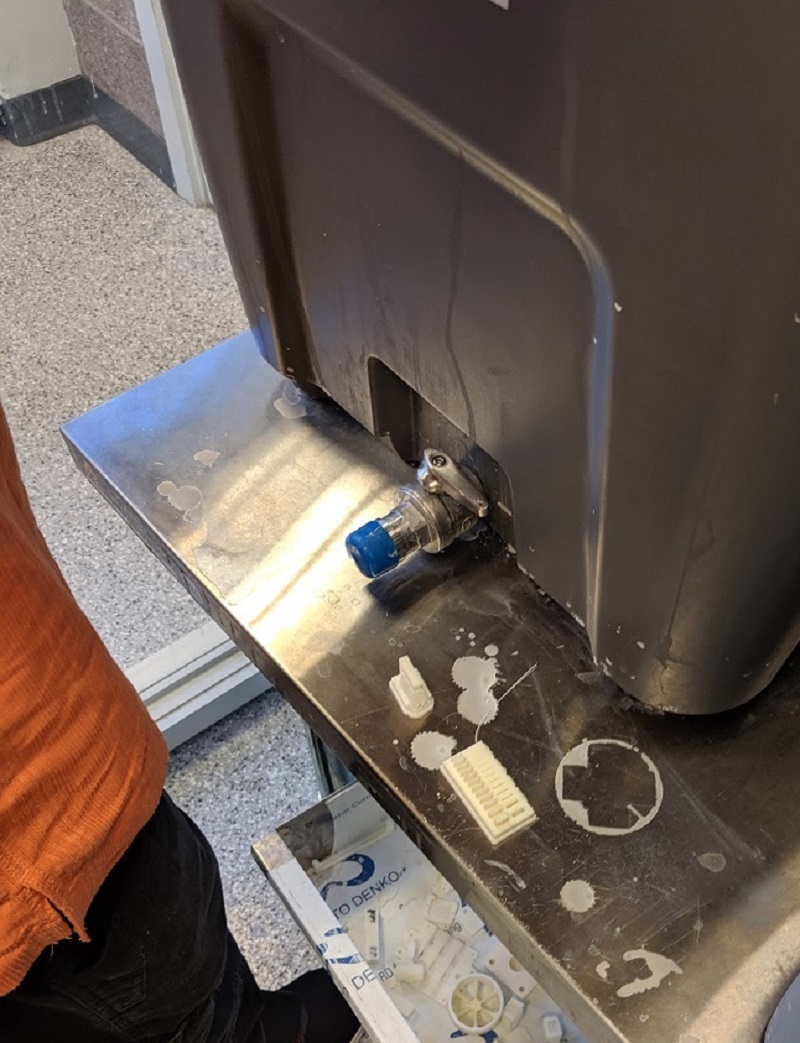 I know they are tiny, but at the very bottom of the bath, you can just make out our pieces.
3D Printing Inception
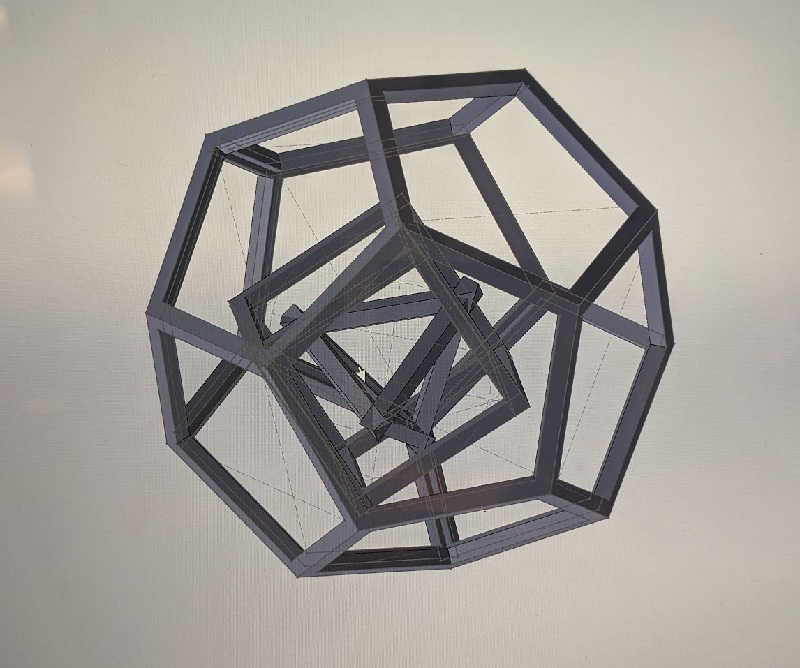
I honestly had a hard time thinking of something that could not be made subtractively. But eventually, I decided
on a pyramid, inside a cube, inside a sphere made with five-sided shapes. I was really excited for this. We were
able to find a cube inside a cube inside a cube that had been milled, but with consideration for the different shapes
I was given the green light.
 I had forgotten the 3-sided picture, but at some point you just gotta call it.
All of my pieces started separatly and then I combined them as an assembly.
I had forgotten the 3-sided picture, but at some point you just gotta call it.
All of my pieces started separatly and then I combined them as an assembly.
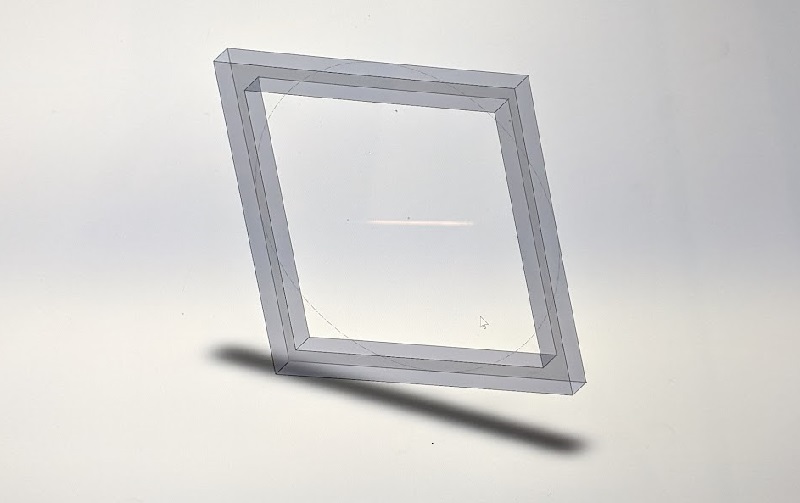
 My five-sided base.
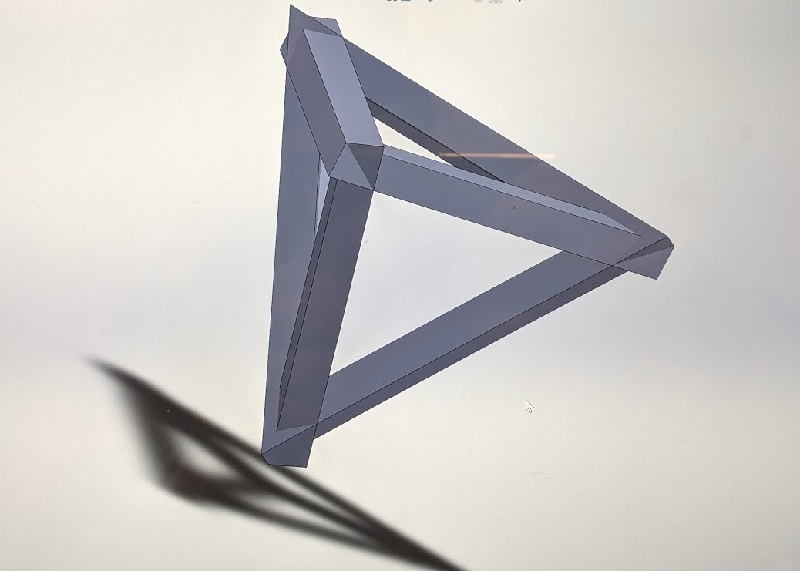 All the three-sided shapes placed together. Since the shape's angles were acute, I ended up with
little spurs on each corner. I liked them, so I kept them.
All the three-sided shapes placed together. Since the shape's angles were acute, I ended up with
little spurs on each corner. I liked them, so I kept them.
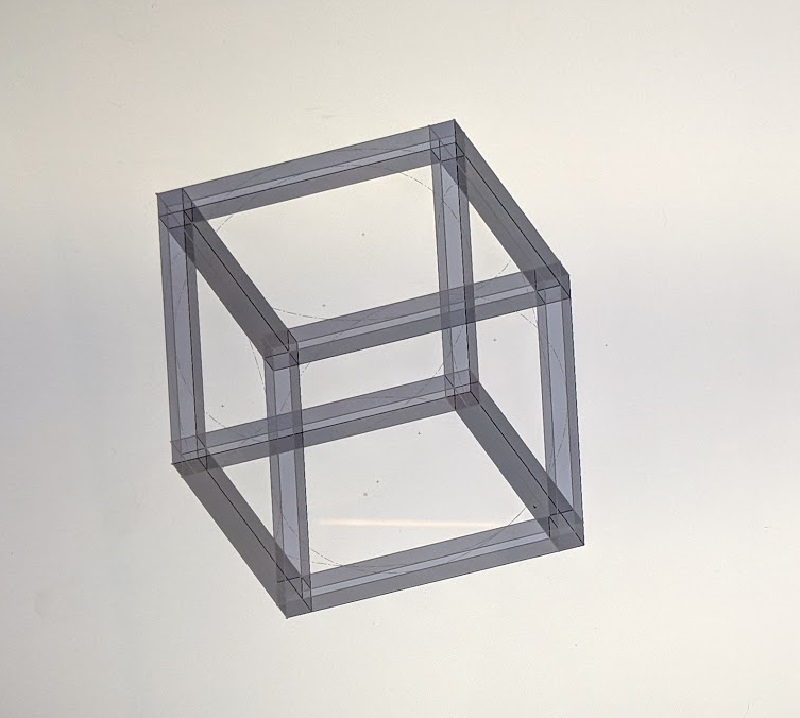 Here is my cube all put together. I basically took the outside edges of the extruded "2D" version and merged them
together. The end result was this.
Here is my cube all put together. I basically took the outside edges of the extruded "2D" version and merged them
together. The end result was this.
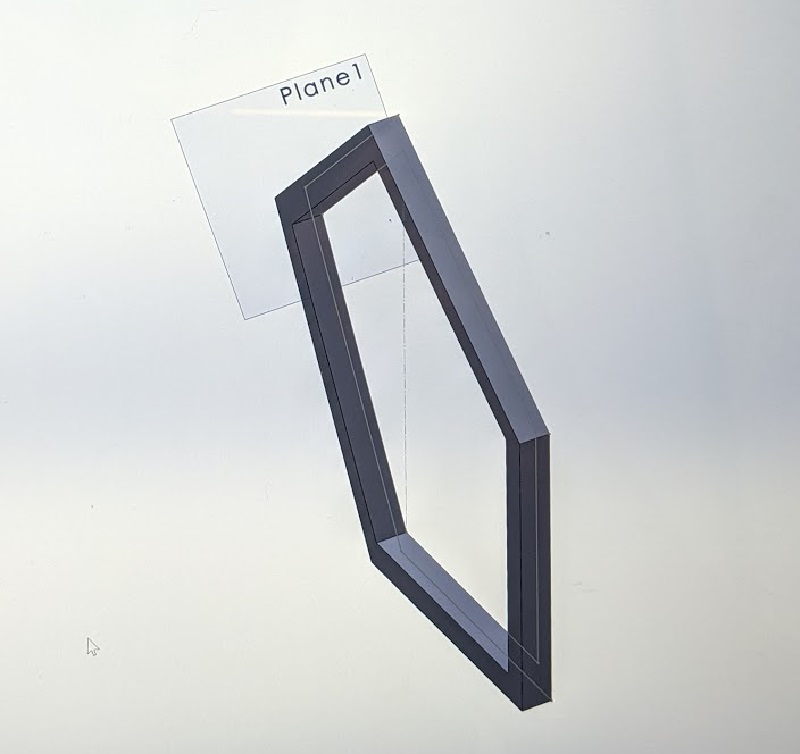
 Once all my 3D shapes were created, the challenge was placing them all on the same plane with the same origin. I got there eventually
with some patience and stubborness.
Once all my 3D shapes were created, the challenge was placing them all on the same plane with the same origin. I got there eventually
with some patience and stubborness.
 I then loaded my shape into the 3D printing software. It was a breeze. My footprint of support looked a little like this.
 The support material seemed like a lot, but upon inspection it wasn't as much as I had expected.
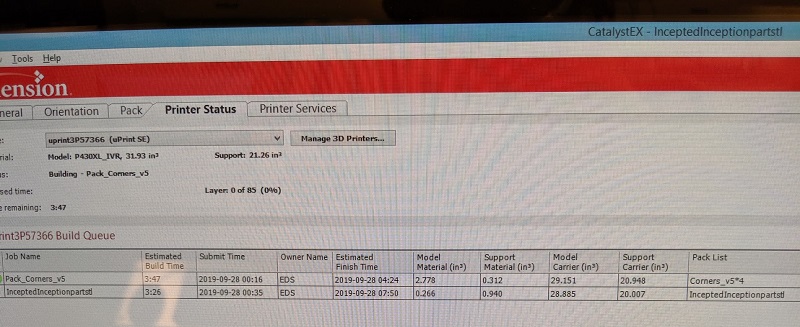 I almost timed it right to be first, but I wasn't quite quick enough. That's alright, I found out that you can queue your prints.
What a luxury!
I almost timed it right to be first, but I wasn't quite quick enough. That's alright, I found out that you can queue your prints.
What a luxury!
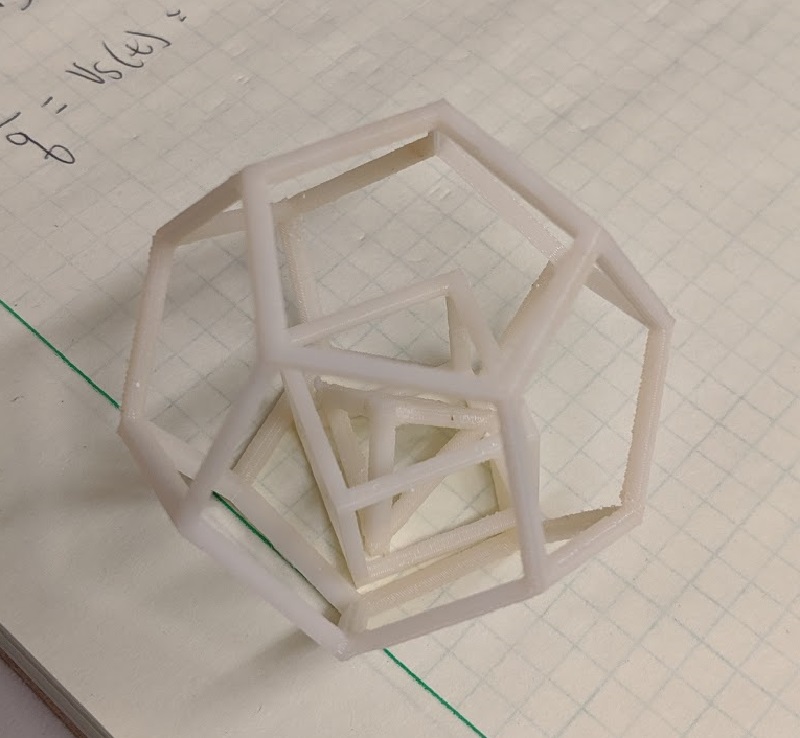 And TADAH! The final outcome! It was almost perfect. I had done the math wrong and occasionally my triangle would sidebarCollapse
out, but honestly I enjoyed the minor flaw.
And TADAH! The final outcome! It was almost perfect. I had done the math wrong and occasionally my triangle would sidebarCollapse
out, but honestly I enjoyed the minor flaw.
 Roadtrips with friends are the best!