Week 06


Computer-Controlled Machining


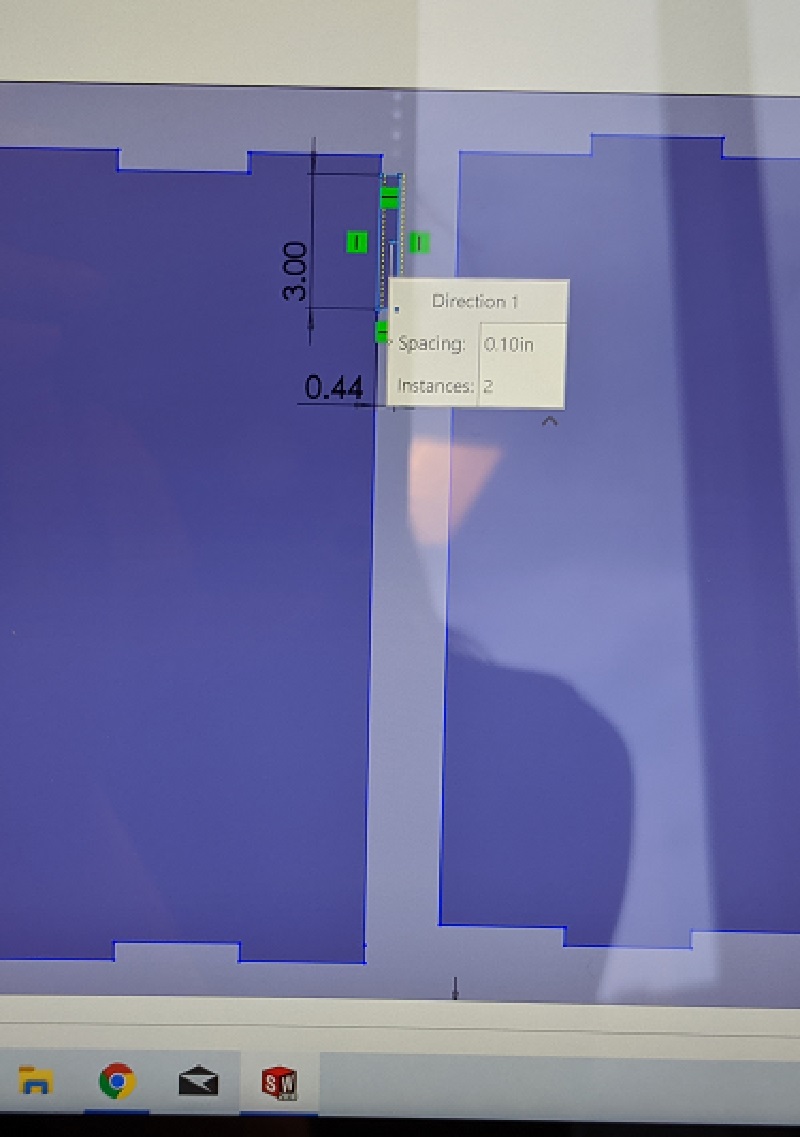
Basic Thoughts and Sketches

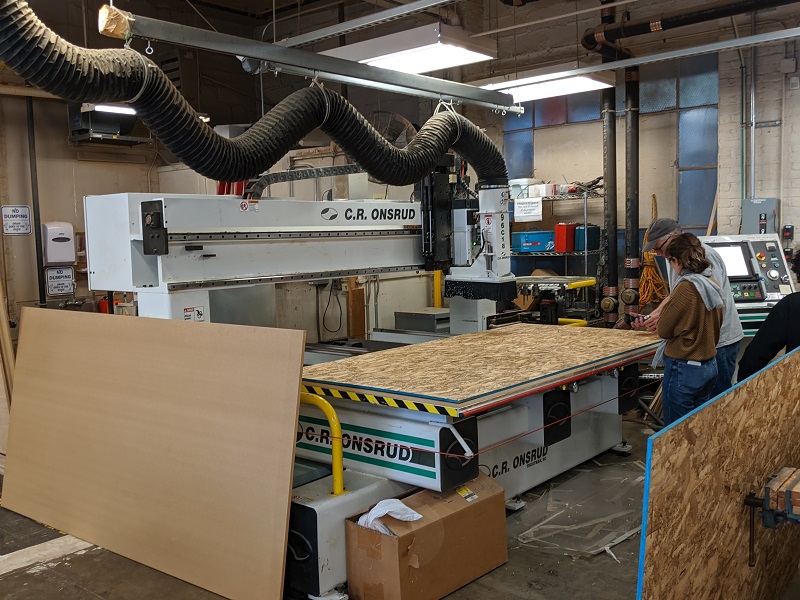
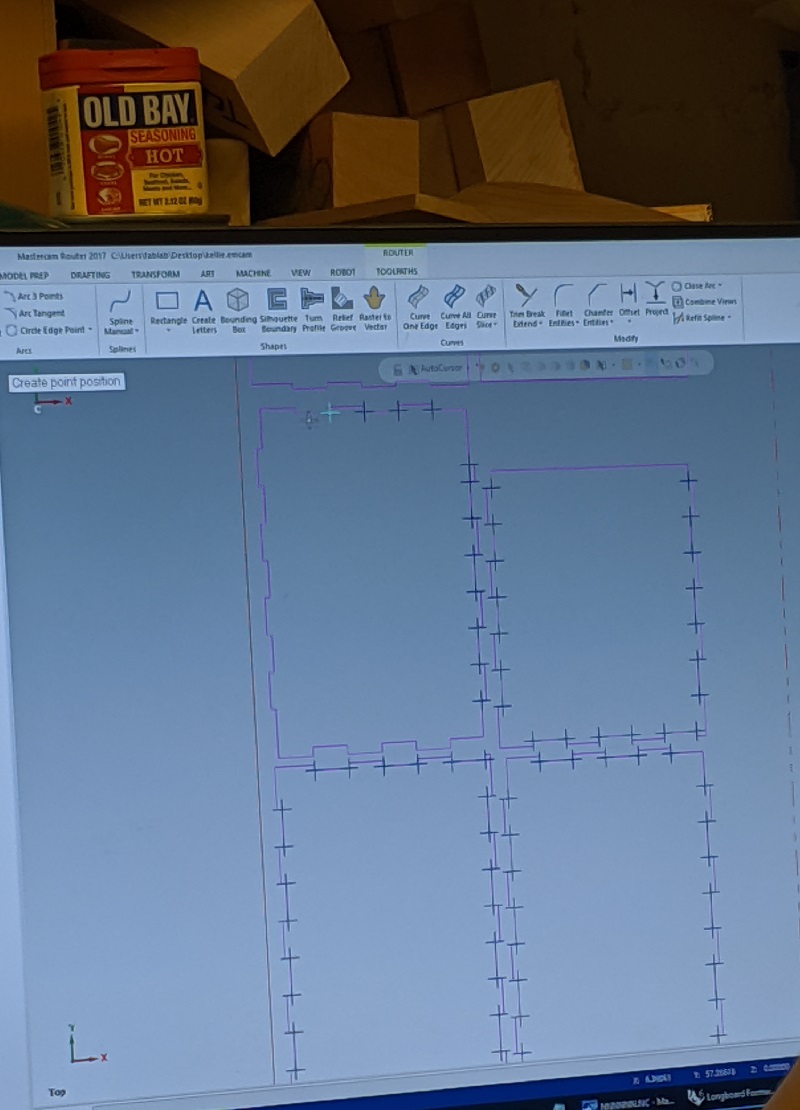
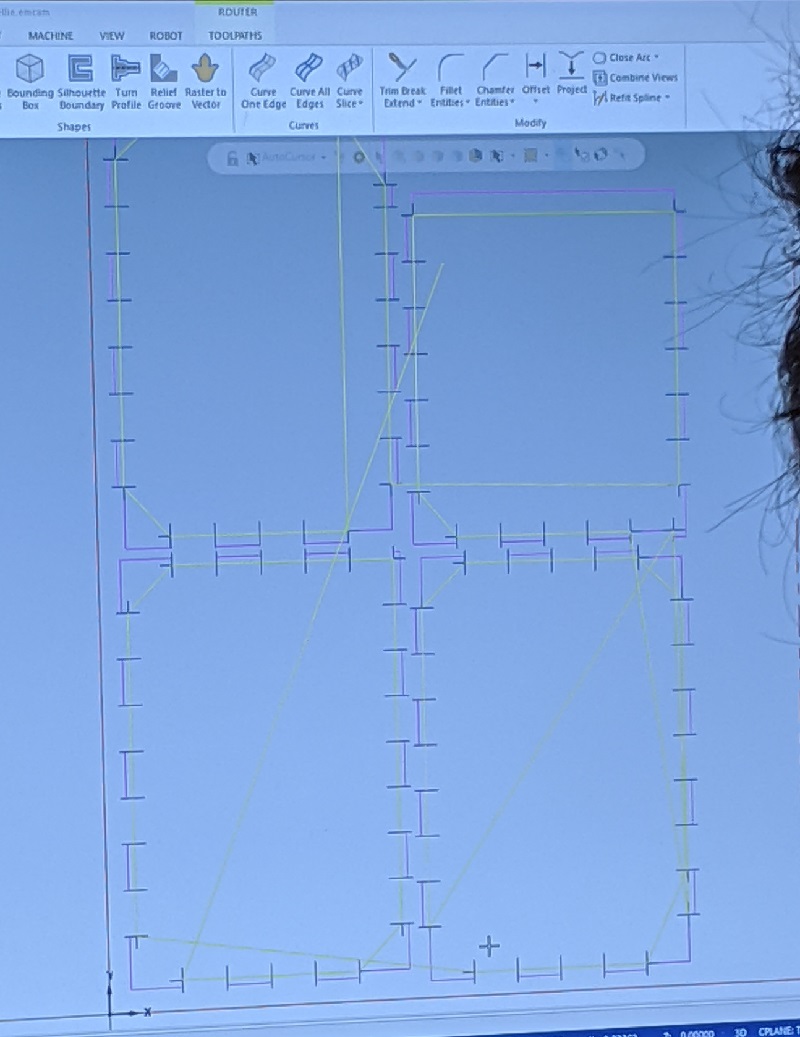
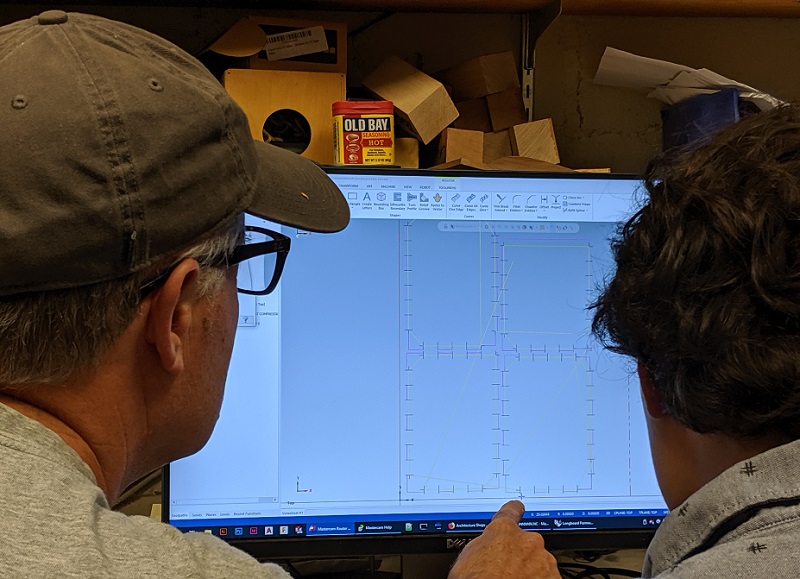
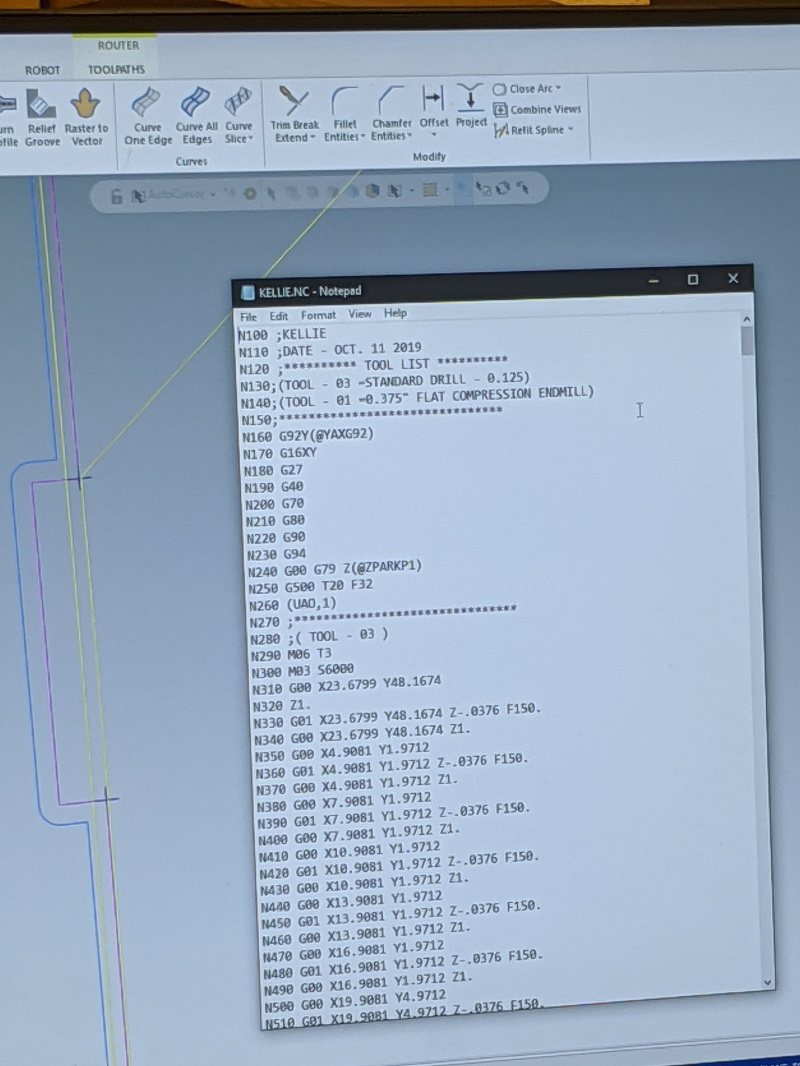
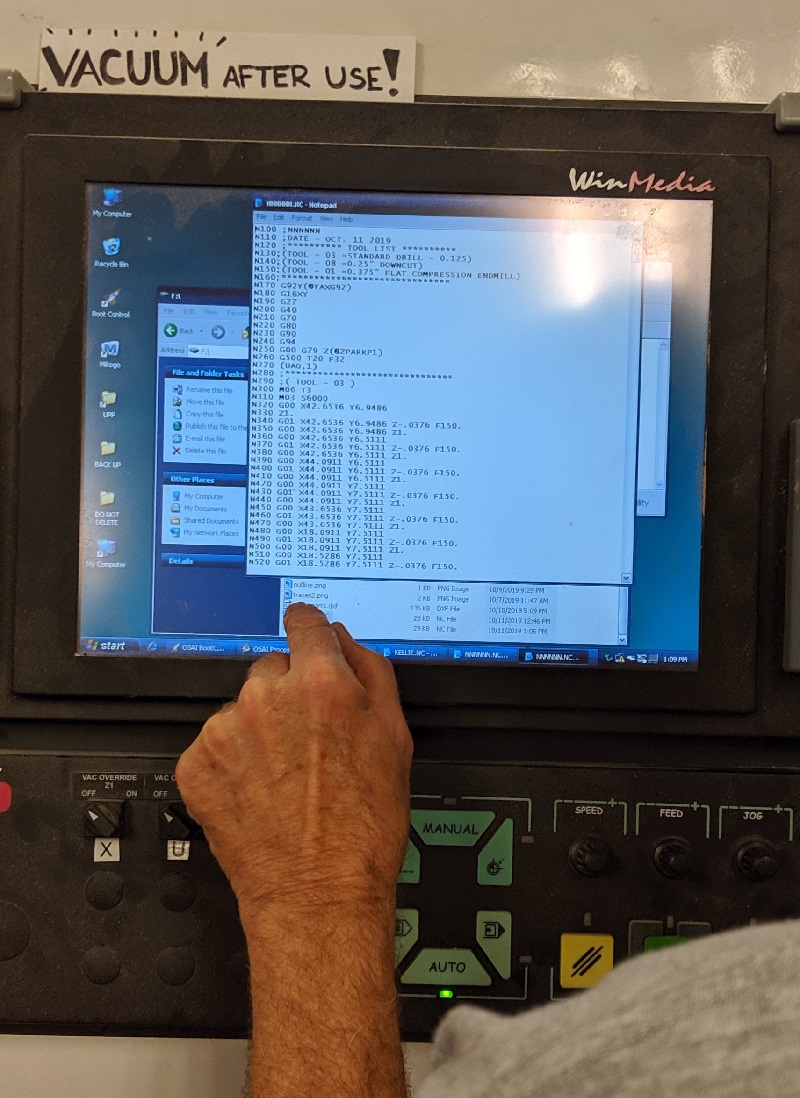
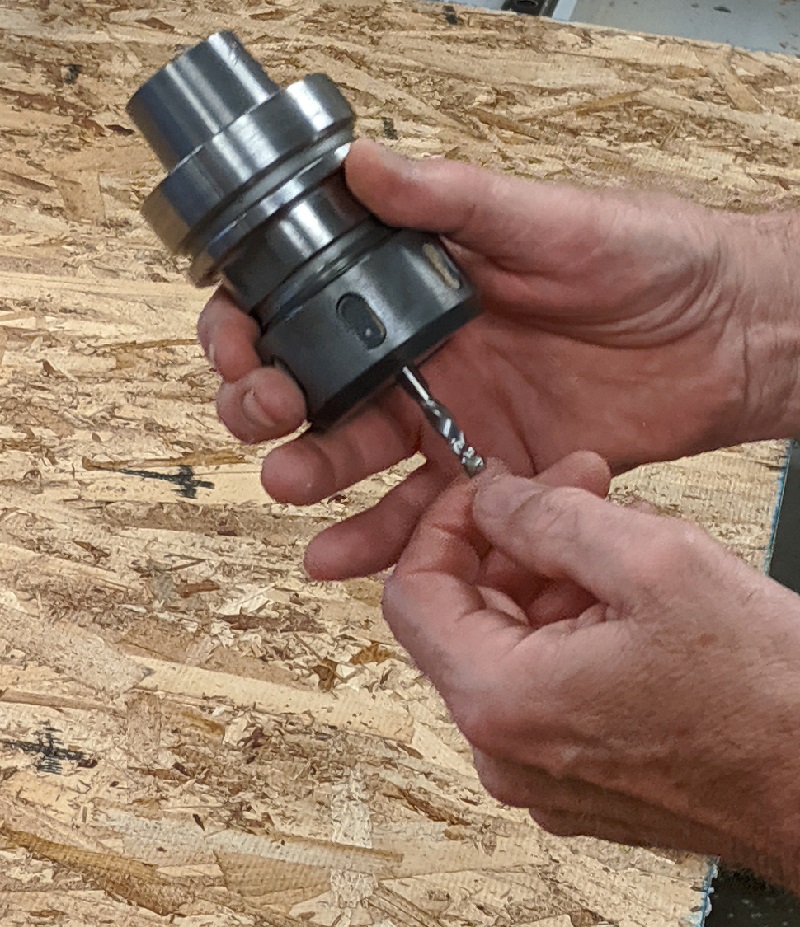
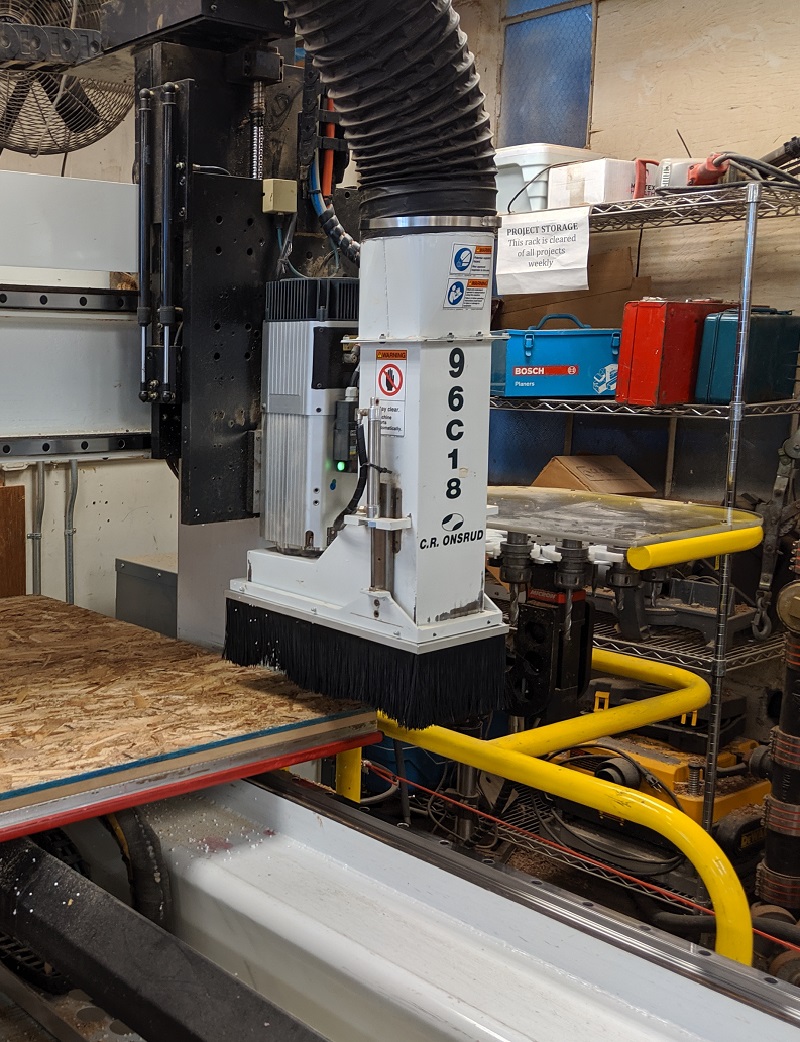
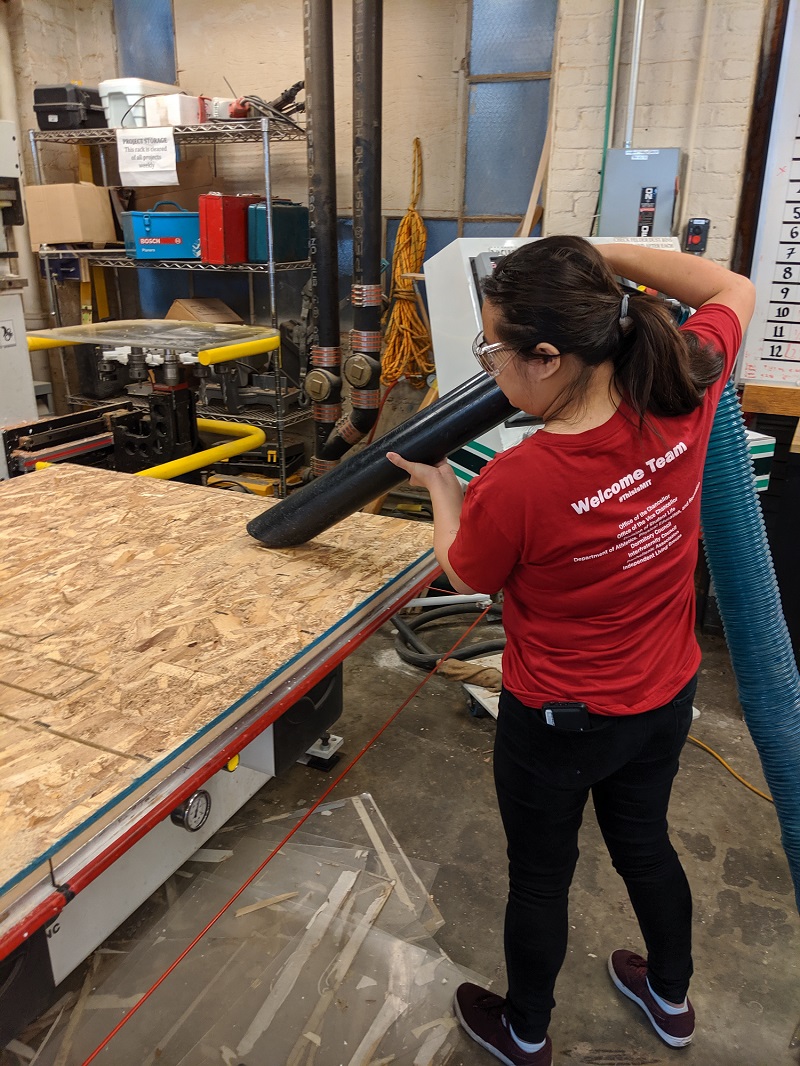
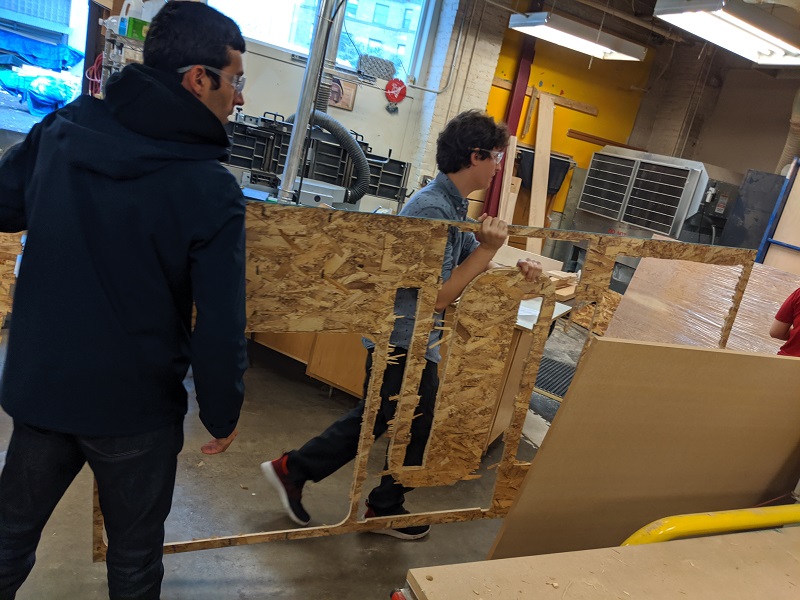
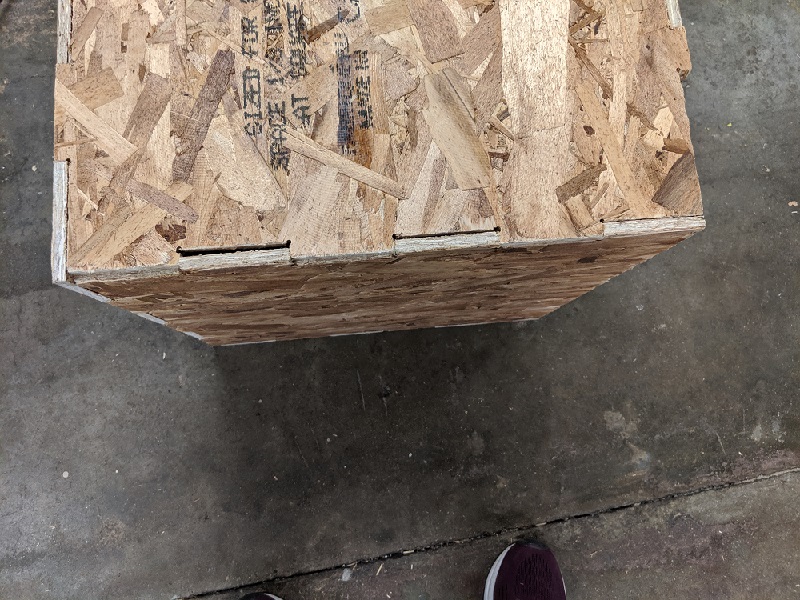
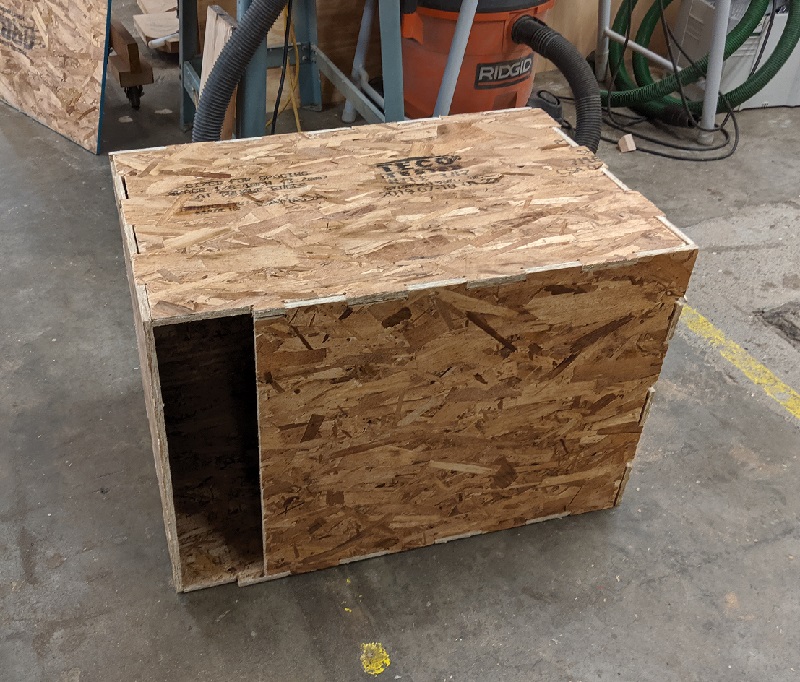
Going over to the Architecture Shop was a blast. It was intriguing to see a different type of shop. Of course it ran slightly differently than the EECS shop that I am use to. But that is ok. Upon asking to characterize the equipment it was sorta shrugged off. It seemed as if the shop caretaker knew what was best for the machine and didn't want to run a bunch of potentially hazardous projects on it. Instead, we were taught what the proper setup was and guided. (I really cannot blame him, that is an expensive piece of equipment.)


I have always been about PPE. Sometimes I forget.... but look at this excitement!!


What a gorgeous piece of equipment!


These were pretty simple as long as I kept them all the same size and depth. YAY Parameterization!


Drill points to ensure the corners are not arcs.


Tool path begins!


We did a lot of characterization by the shop caretaker explaining why we should and shouldn't do things.


What might keep this from being successful?


One final check on numbers and tool selections!


Somehow I managed to use most of this board.


We didn't get to really put our hands on the machine, but we sure learned alot.


Yep, all loaded up!


What a large mill bit!


Testing using the points to see if the depth is correct. (Note: We never got the correct depth.)


And away we go!


We all helped one another with our cuts as we wanted to keep the process streamlined.


Some more teamwork!


Because we ended up knifing the cuts off the table, there was quite a bit of clean up to do with files.


I used a couple of unexpected tools to accomplish this project.


I ran out of time to assemble my parts in SolidWorks (my bad), and ended up being slightly off. Nothing a saw and mallet couldn't fix!


And here it is! It now resides on my mom's front porch because it doesn't fit inside the house. I made it too big!

Fluff RIP 14OCT2019