Week 08
Casting, Molding, and Horses
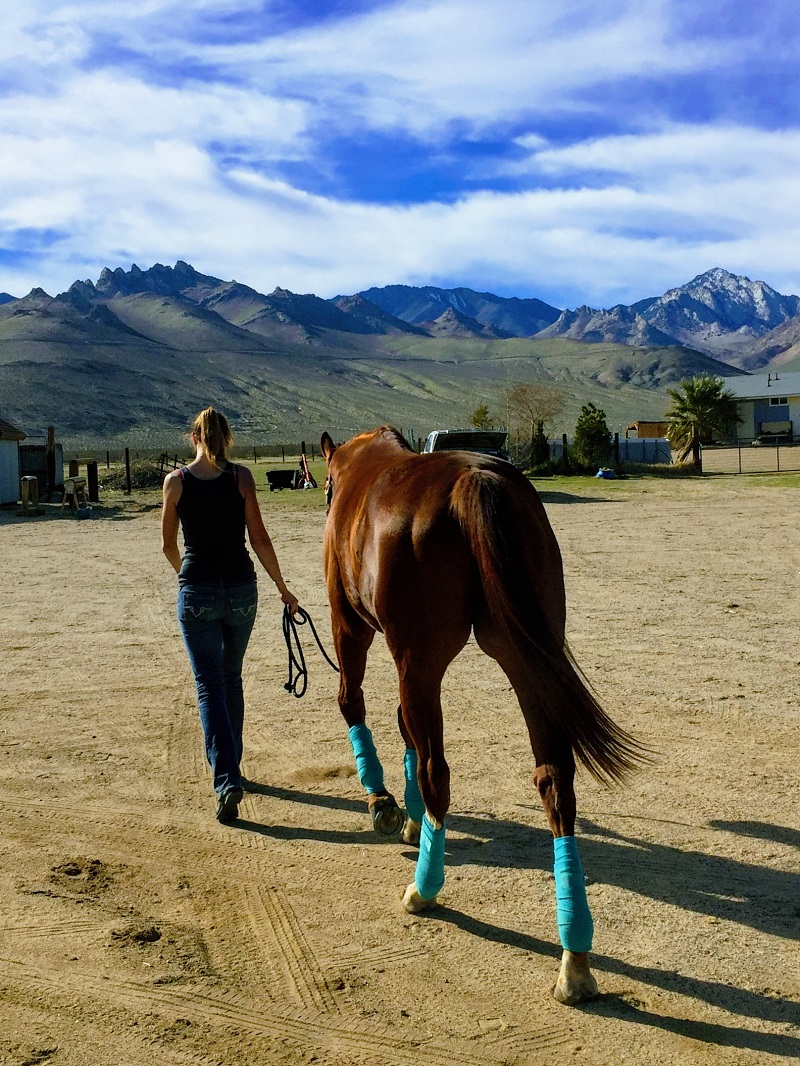
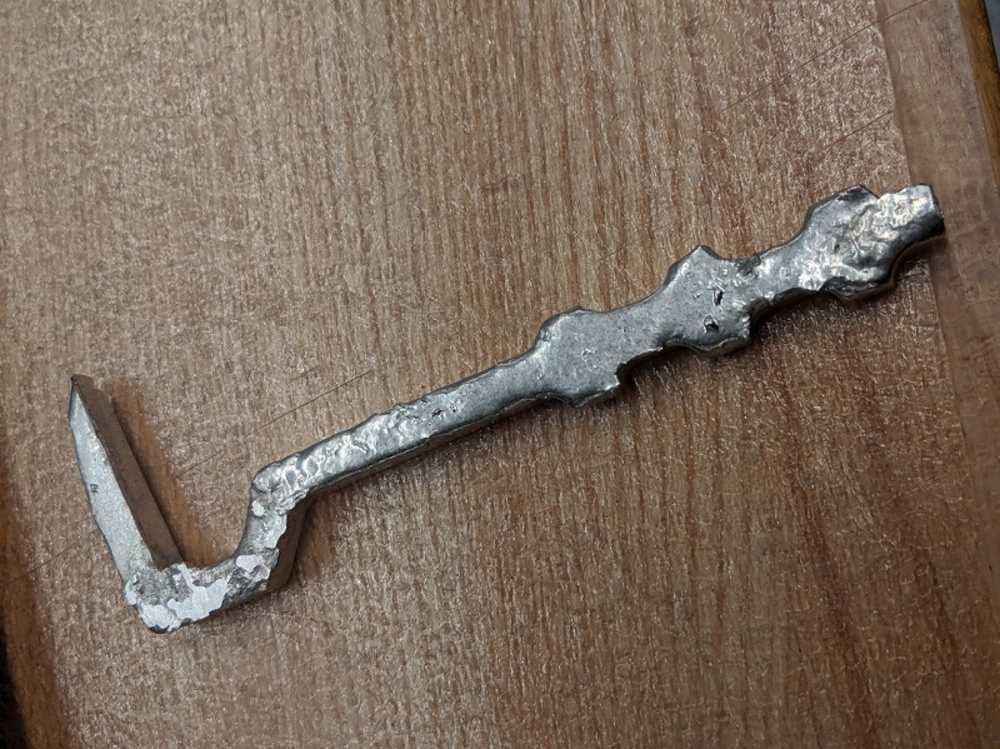
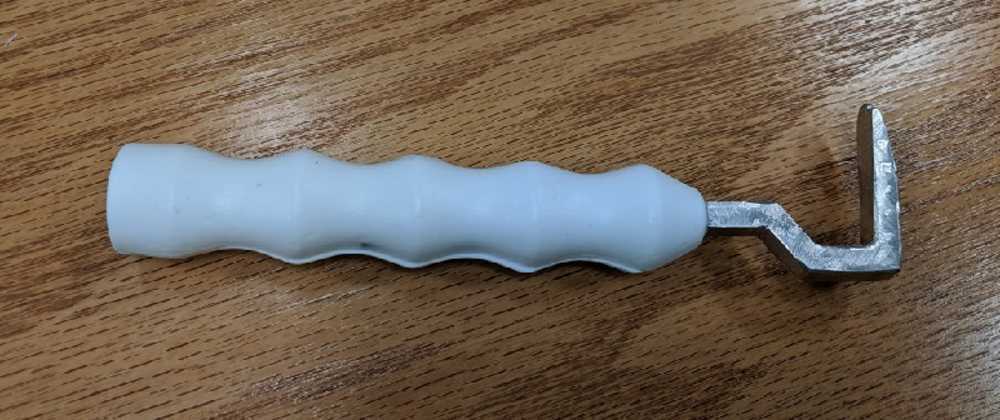
I started riding horses when I was able to pay for my lessons. I originally got two newspaper routes, and eventually started mucking stalls. One of the key things about grooming a horse is to ensure that their hooves are picked out. Now you might be imagining a hoof that is completely hard. That is true of their outer hoof wall. Internally things are a bit softer, to include the "frog", a triangular shaped portion on the underside of the hoof. When poked there is a little give. If a rock was to lodge itself next to that, it could cause quite a bit of pain and even lameness if not caught early enough. This is why a hoofpick is vital in every groom, pre and post ride.
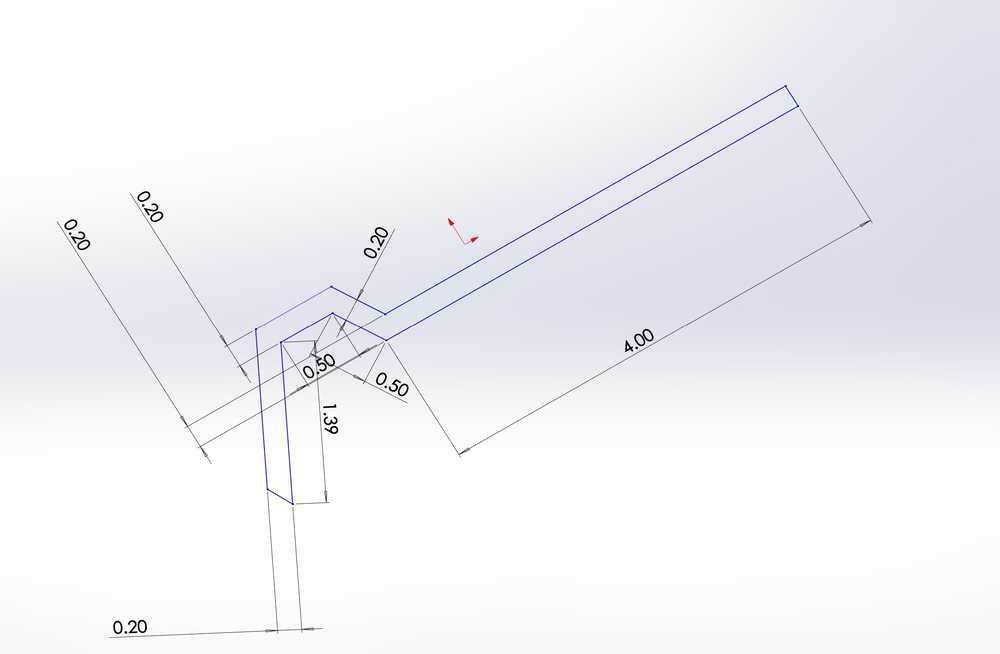
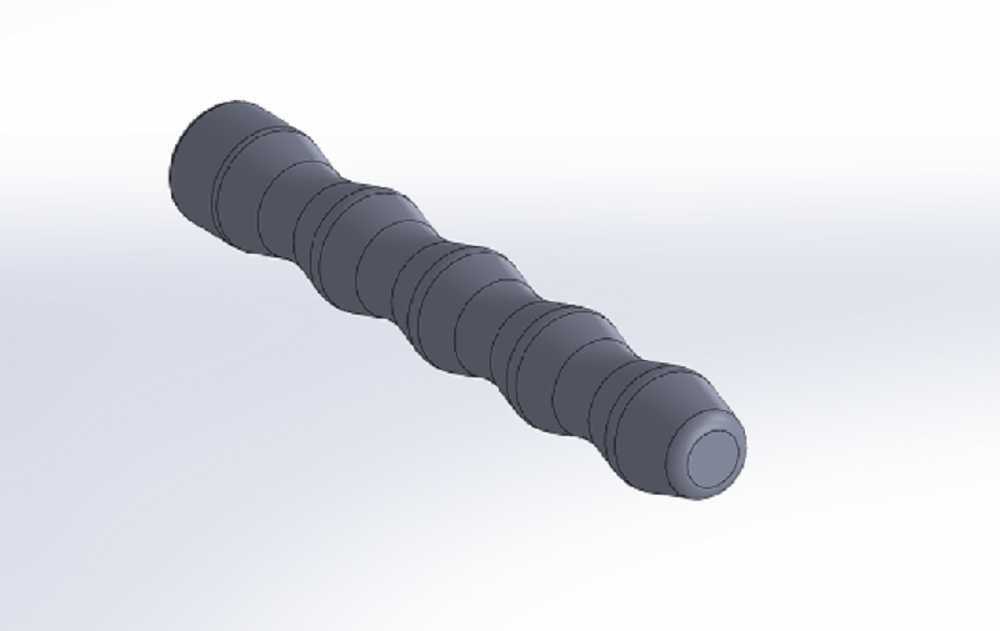
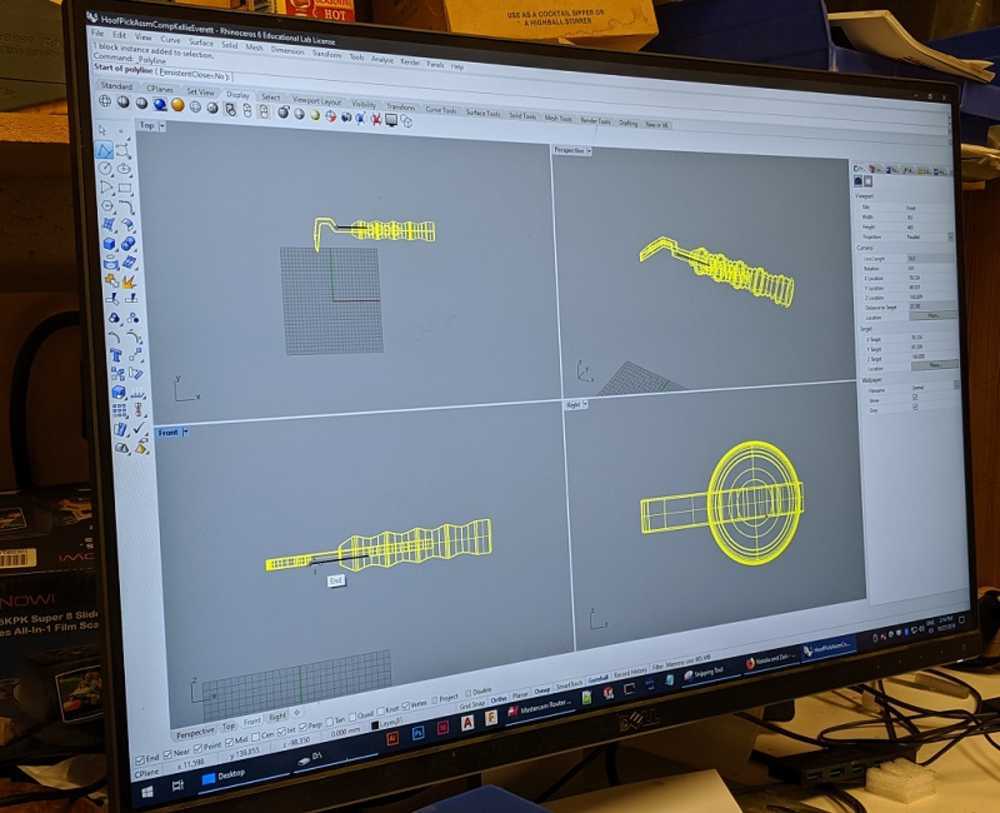
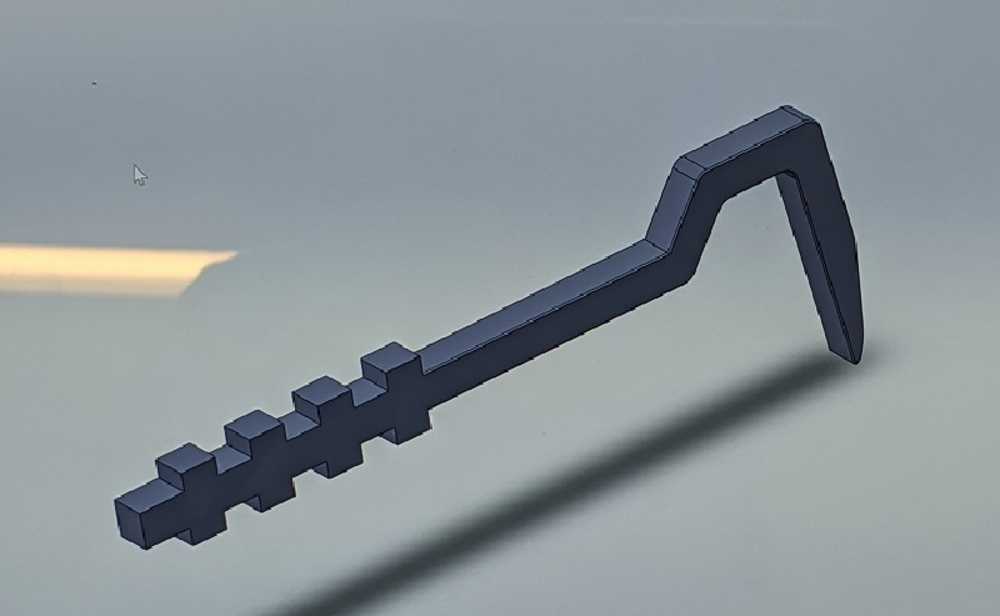
- Hook Measurements
- - I had to make a few considerations for how large I wanted each part to be.
- - The hook had to be able to fit into the handle, but still be functional.
- - Each measurement was made to try to prevent 90 degree angles as I was concerned with brittle fracture.
- - Ideally, everything would be of the same thickness.
- - The hook had to be able to fit into the handle, but still be functional.
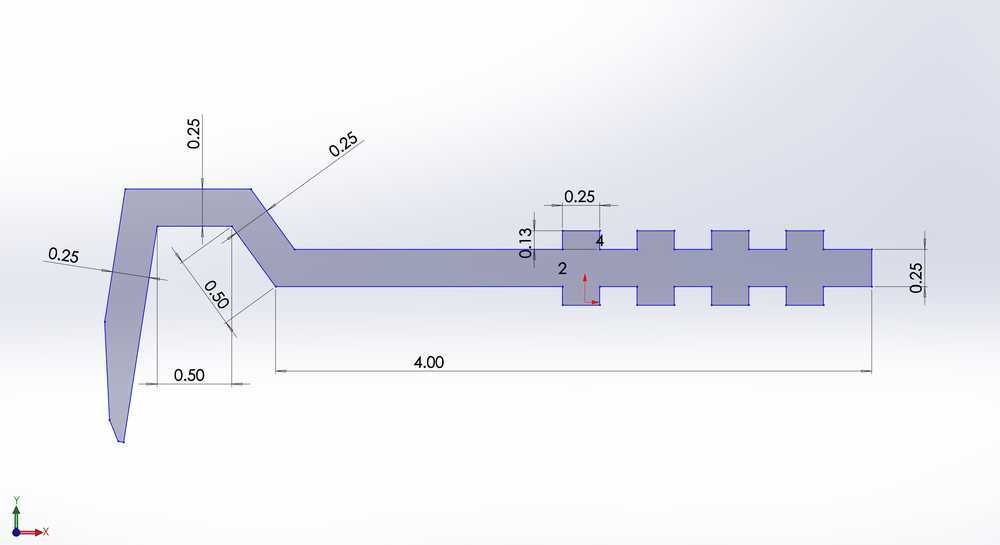
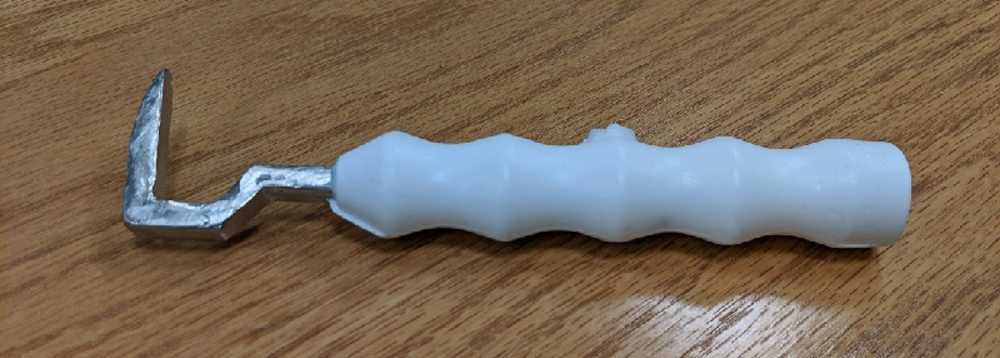
- Hook Part
- - The hook was fairly easy to make, and then to extrude.
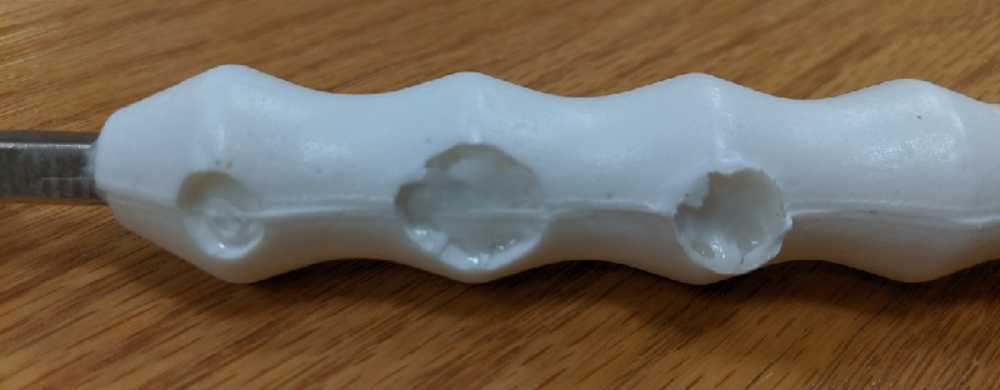
- - I even had the forethought to add anchors to the placement shaft.
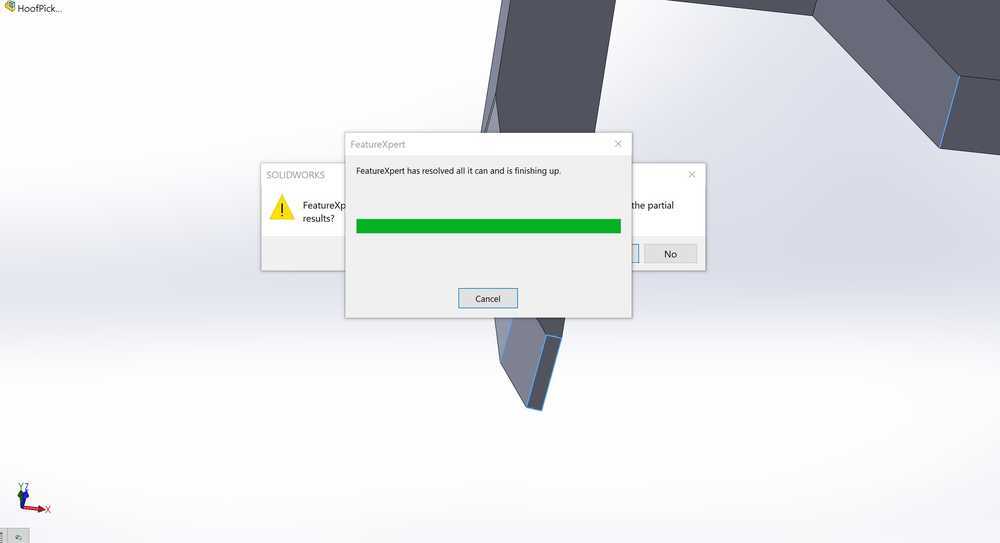
- FeatureXpert
- - I started playing with different features of SolidWorks.
- - Fillet seemed to be the right option for me. I honestly just like the look of the rounded edges.
- - I went through and made sure all edges were filleted to an appropriate radius.
- - Other than using consistent fillets (usually) around .01-.5 inch radii.
- - Fillet seemed to be the right option for me. I honestly just like the look of the rounded edges.
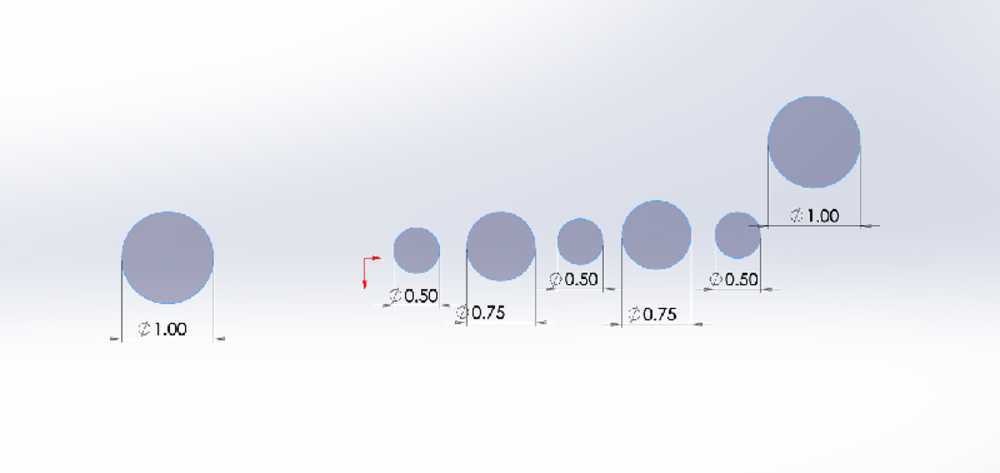
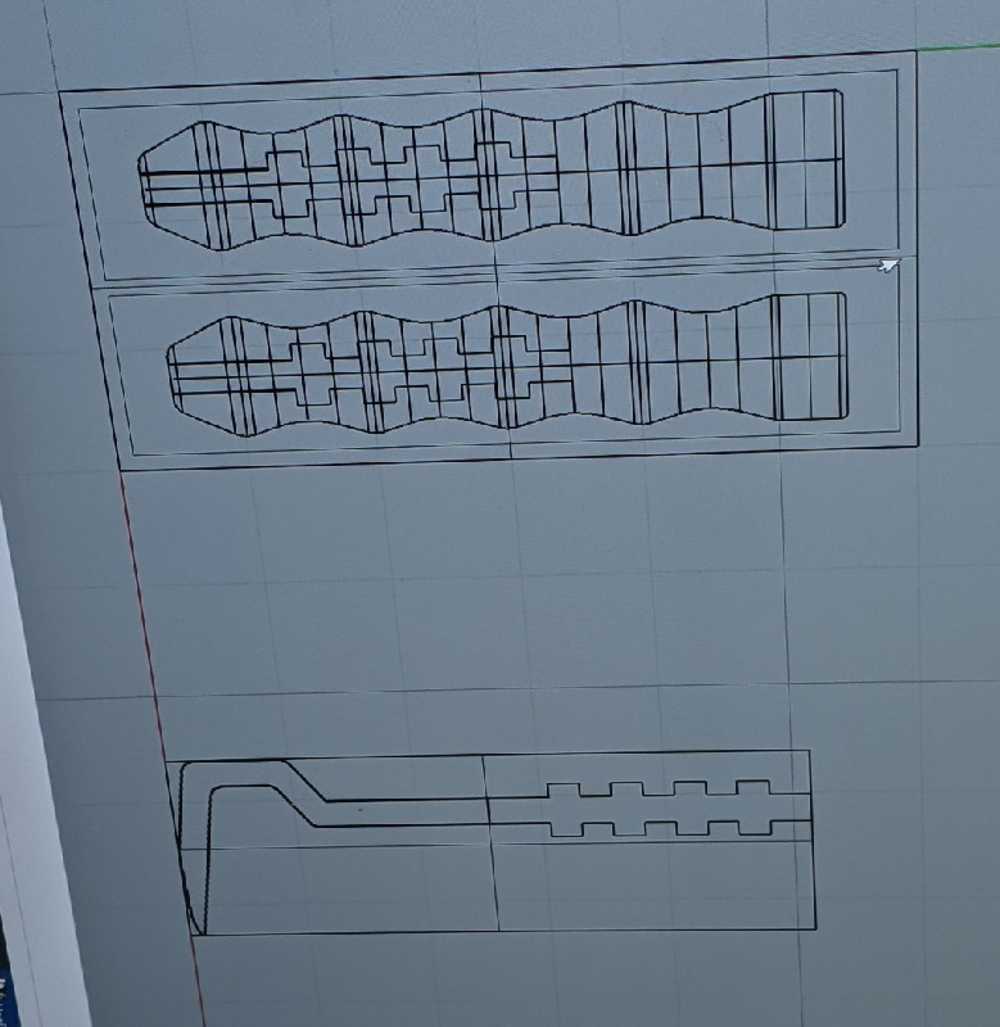
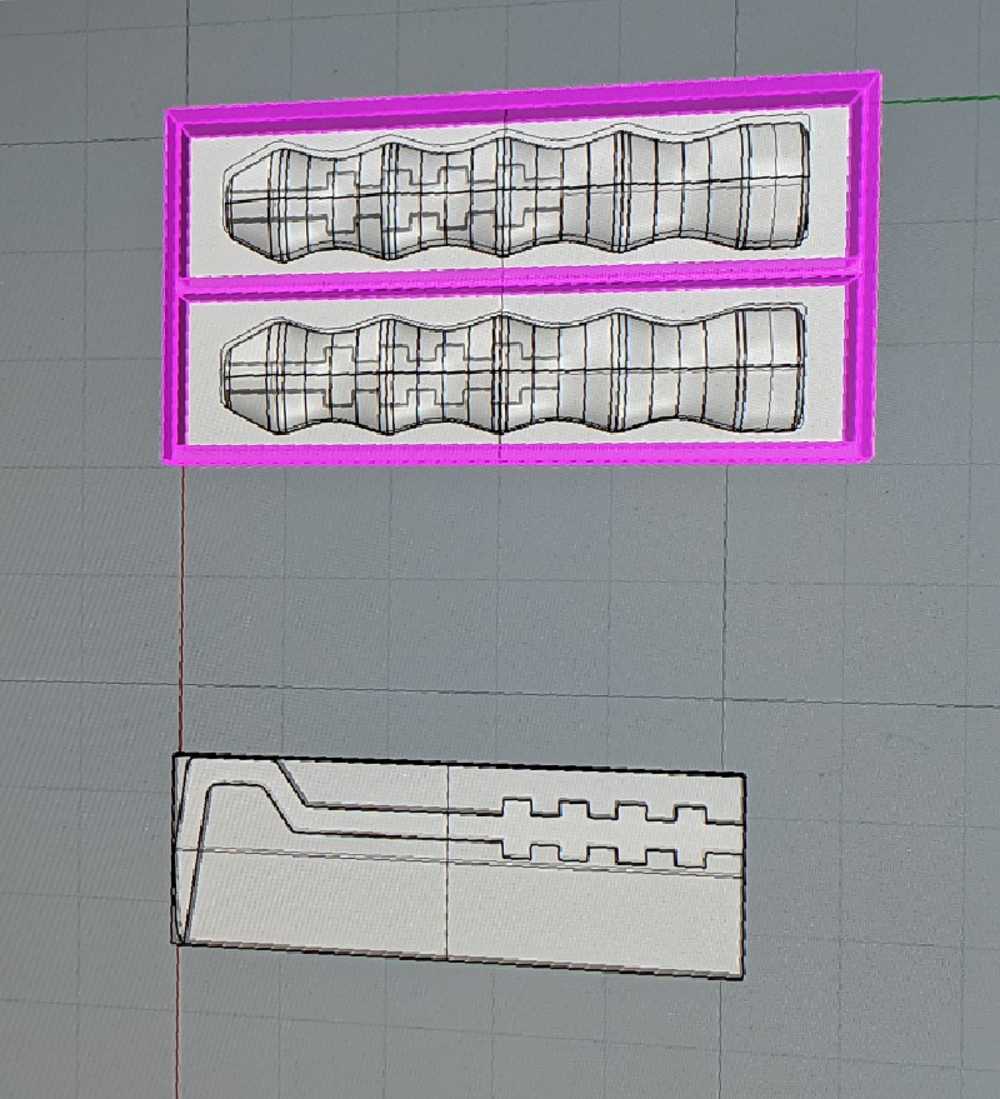
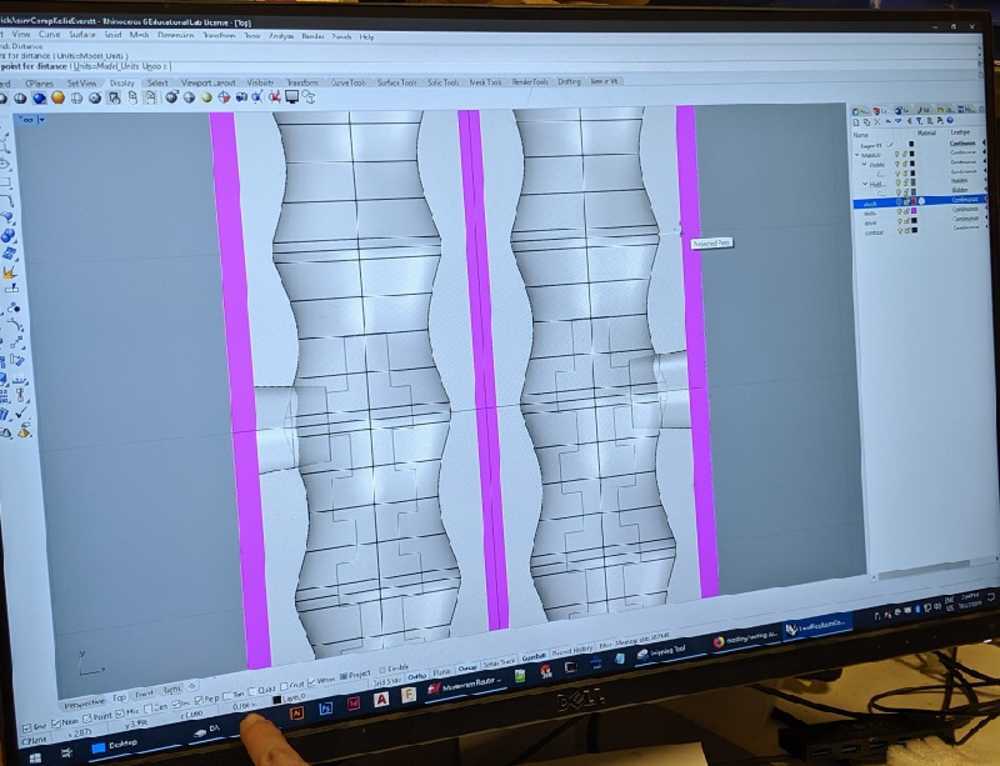
- Circles on Circles on Circles
- - I tried many different ways to put the handle together. I found four ways not to do it.
- - I even had friends on the bus with me suggest different ways to do it.
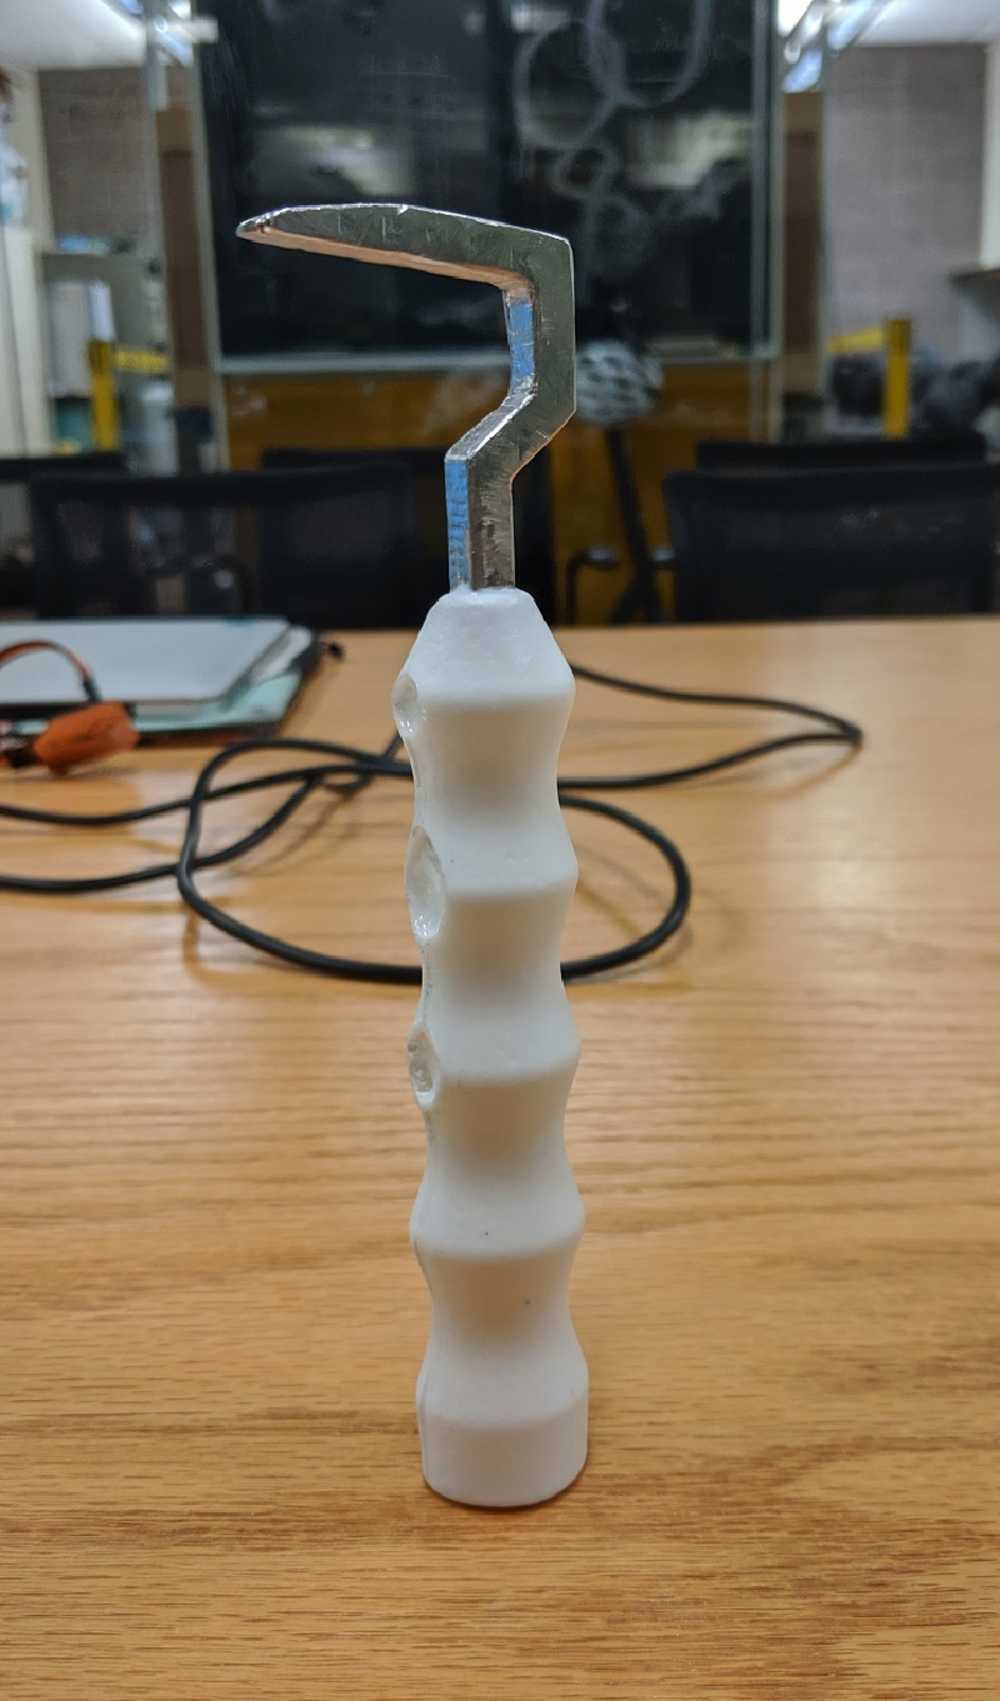
- Handle Complete
- - Eventually I made a quarter cross cut section and did a round extrusion for 360 degrees.
- - After the extrusion, I filleted inbetween the sharp angles to ensure that the handle was convenient and comfortable to hold.
Sunday Office Hours
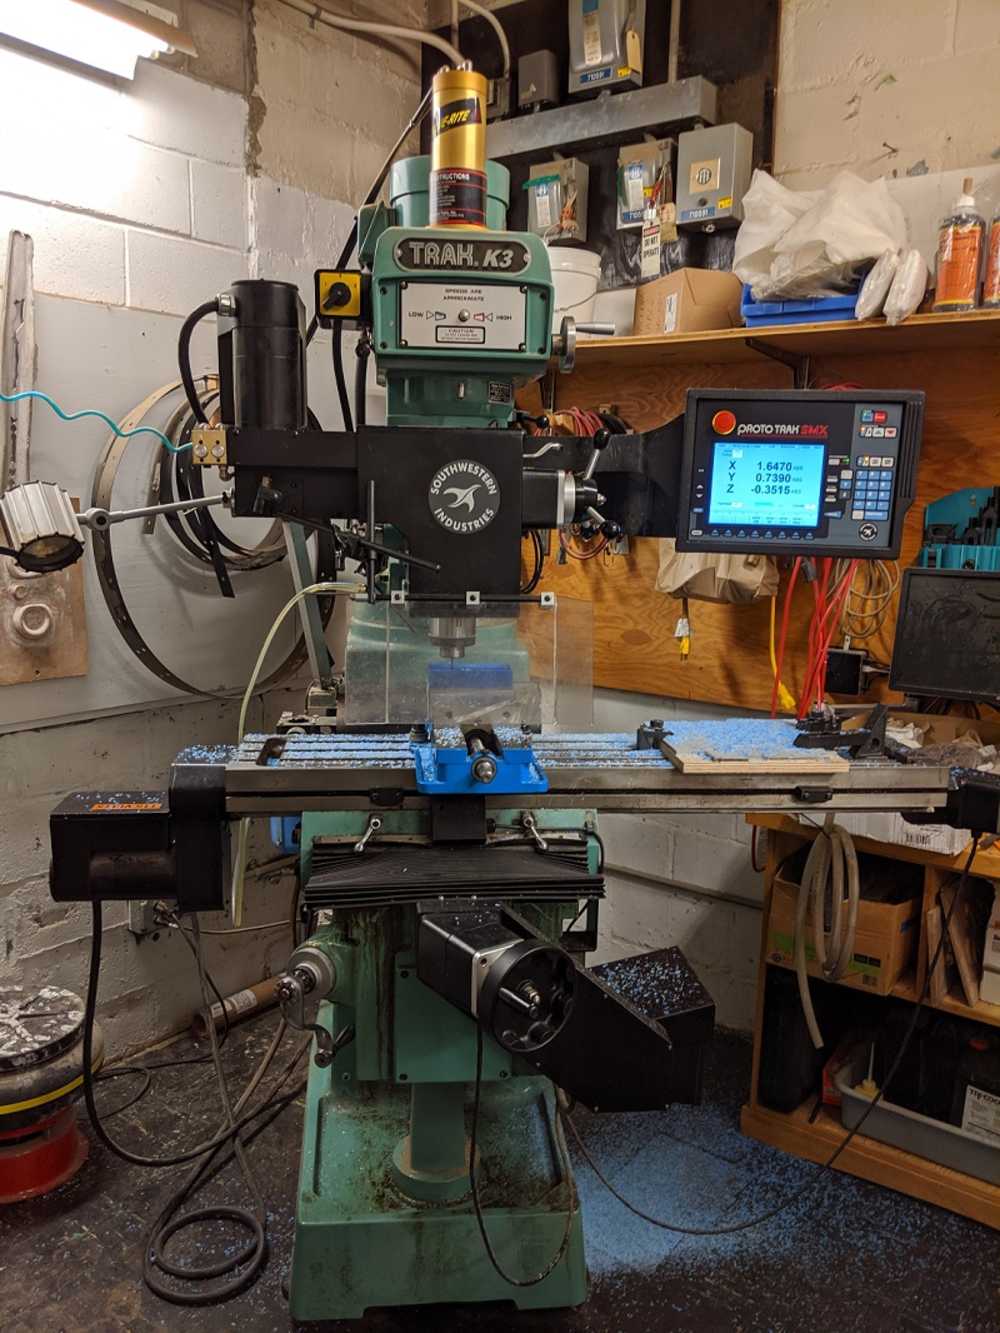
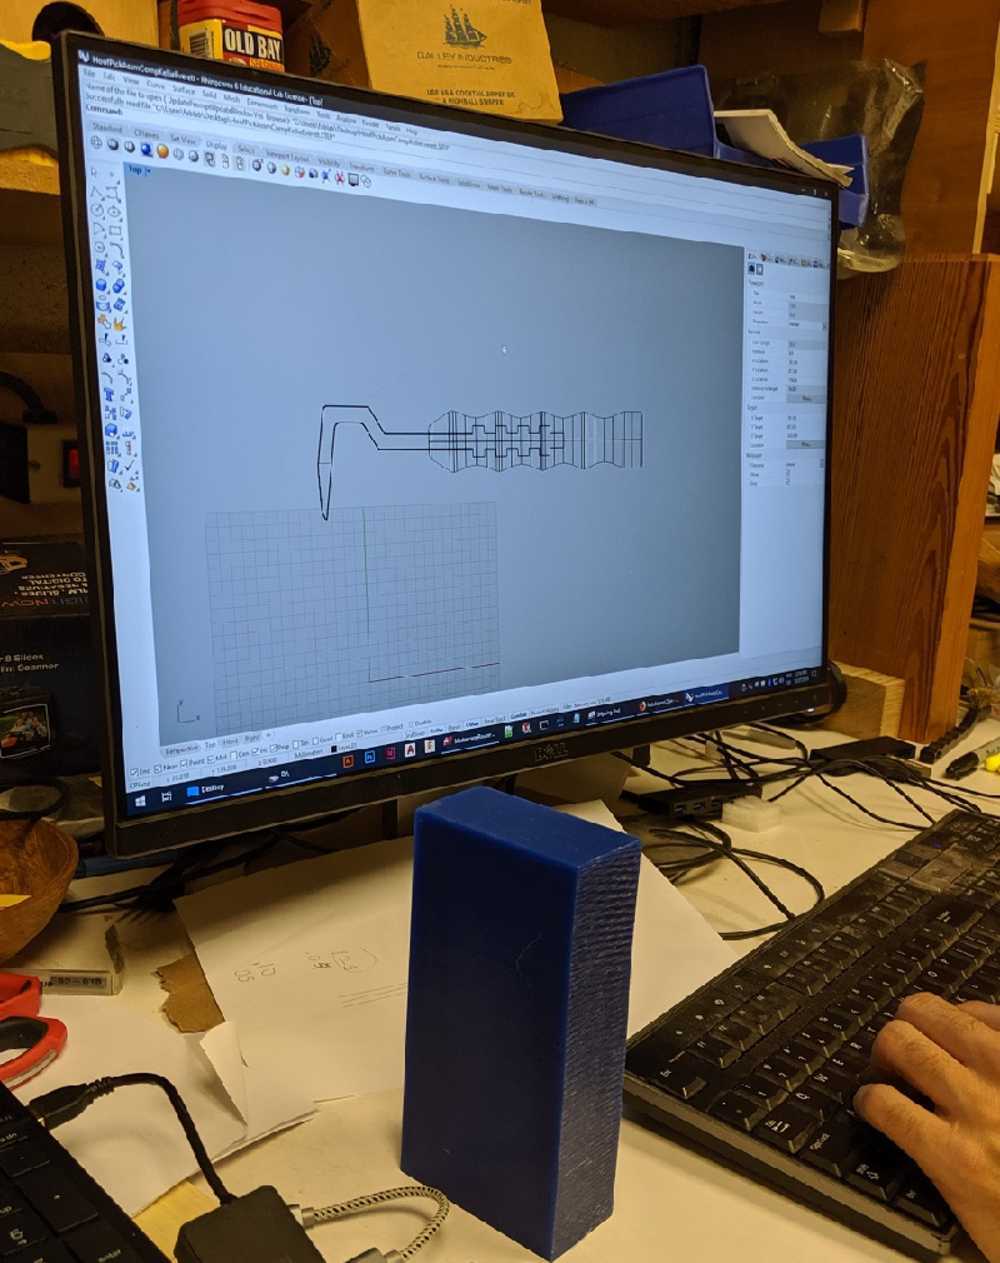
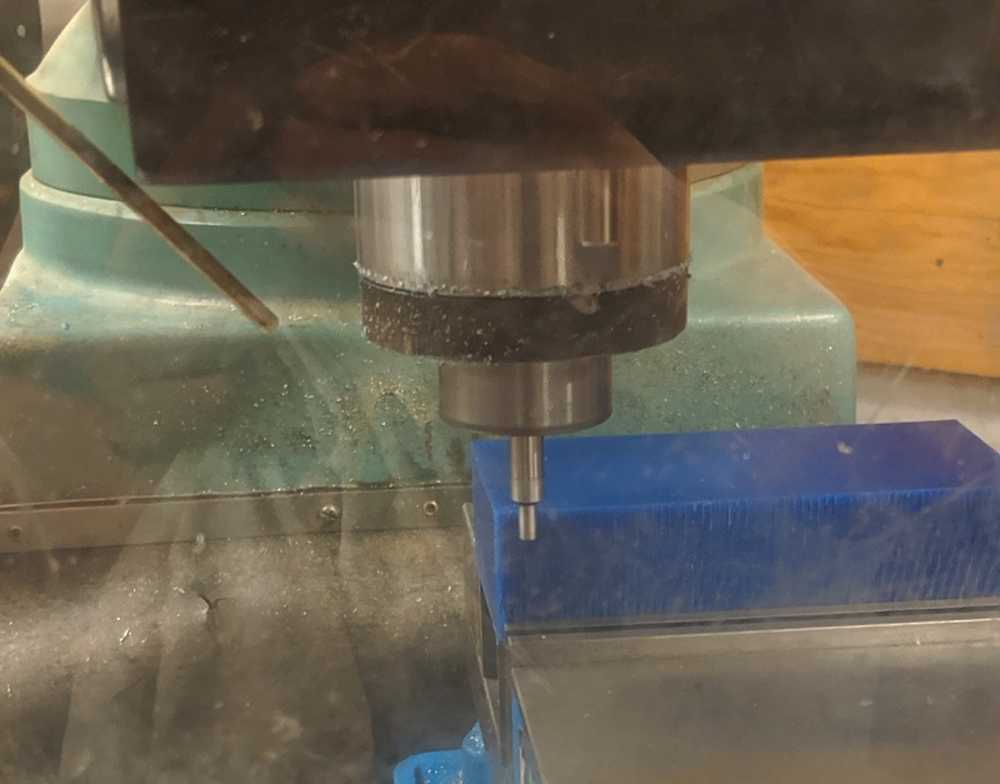
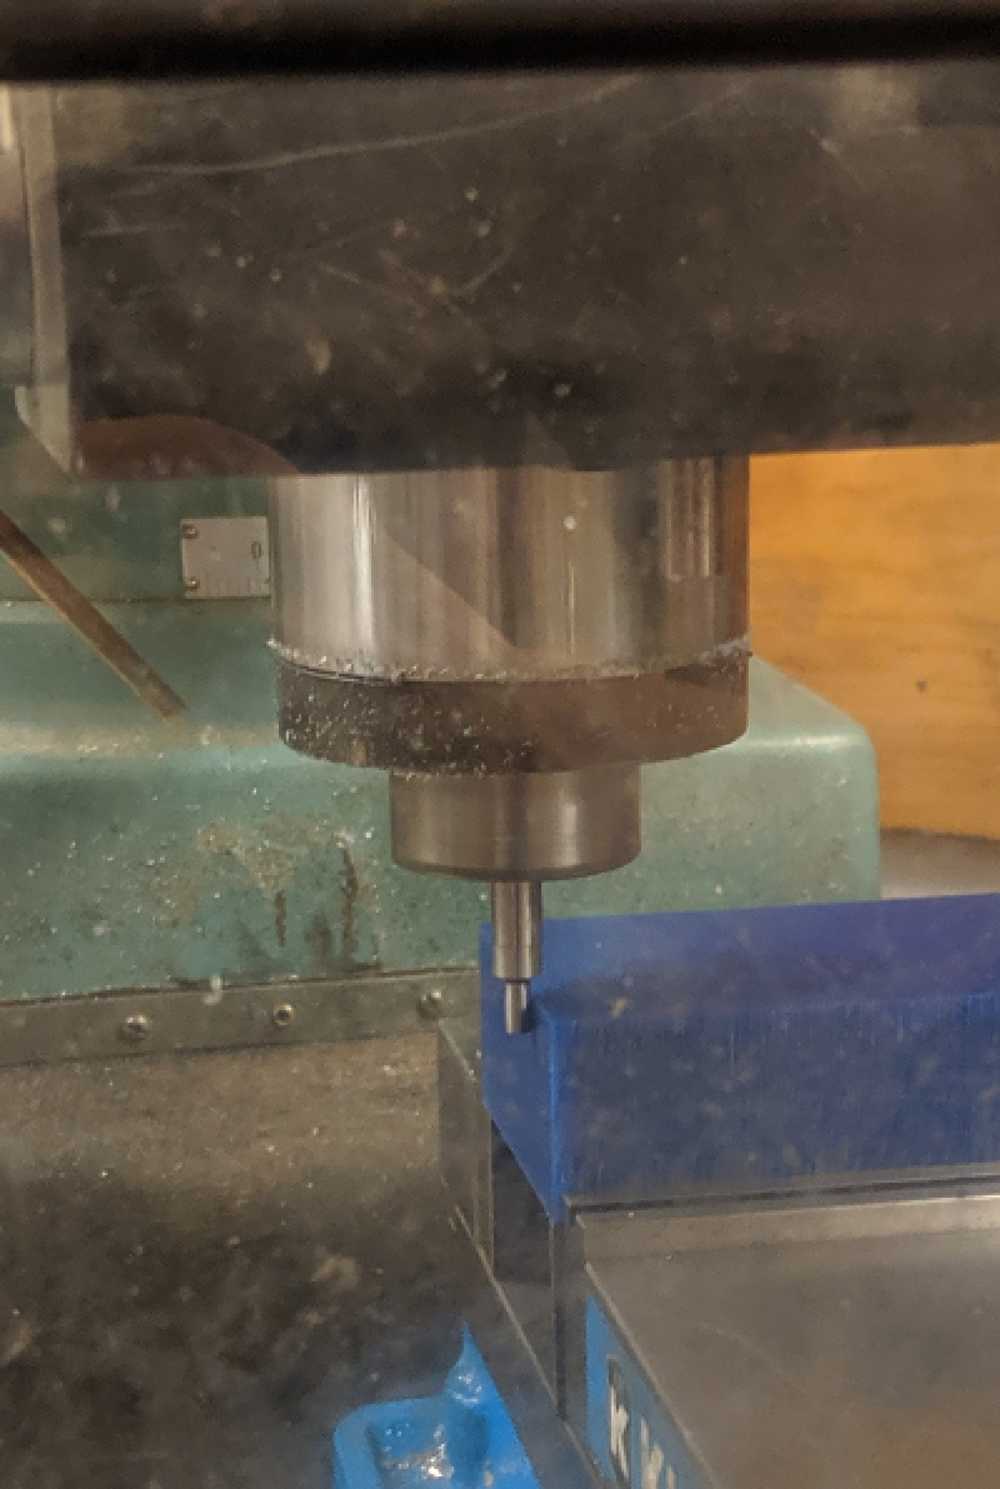
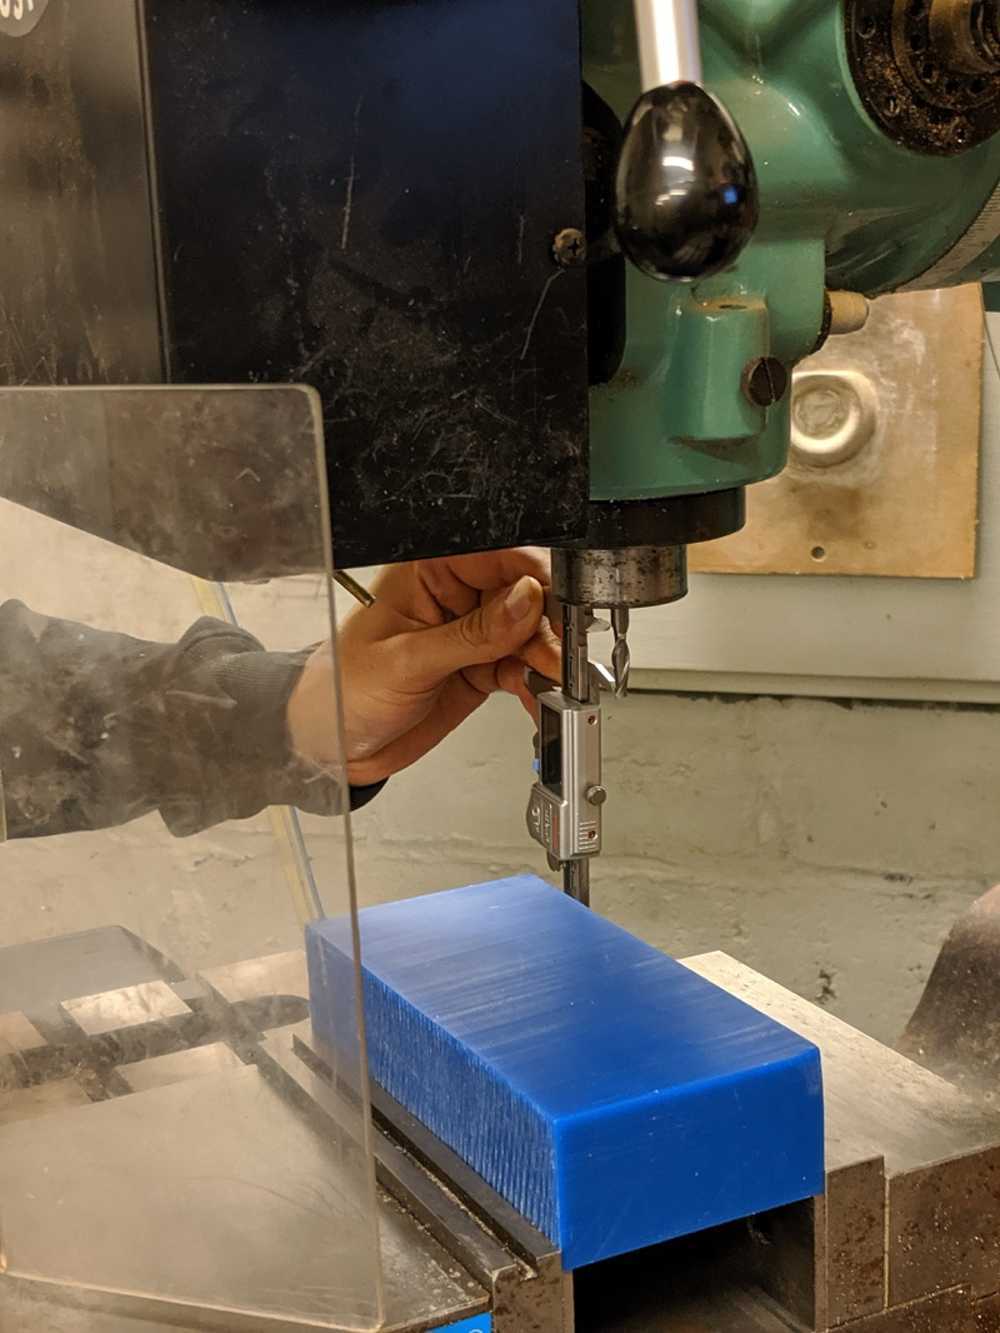
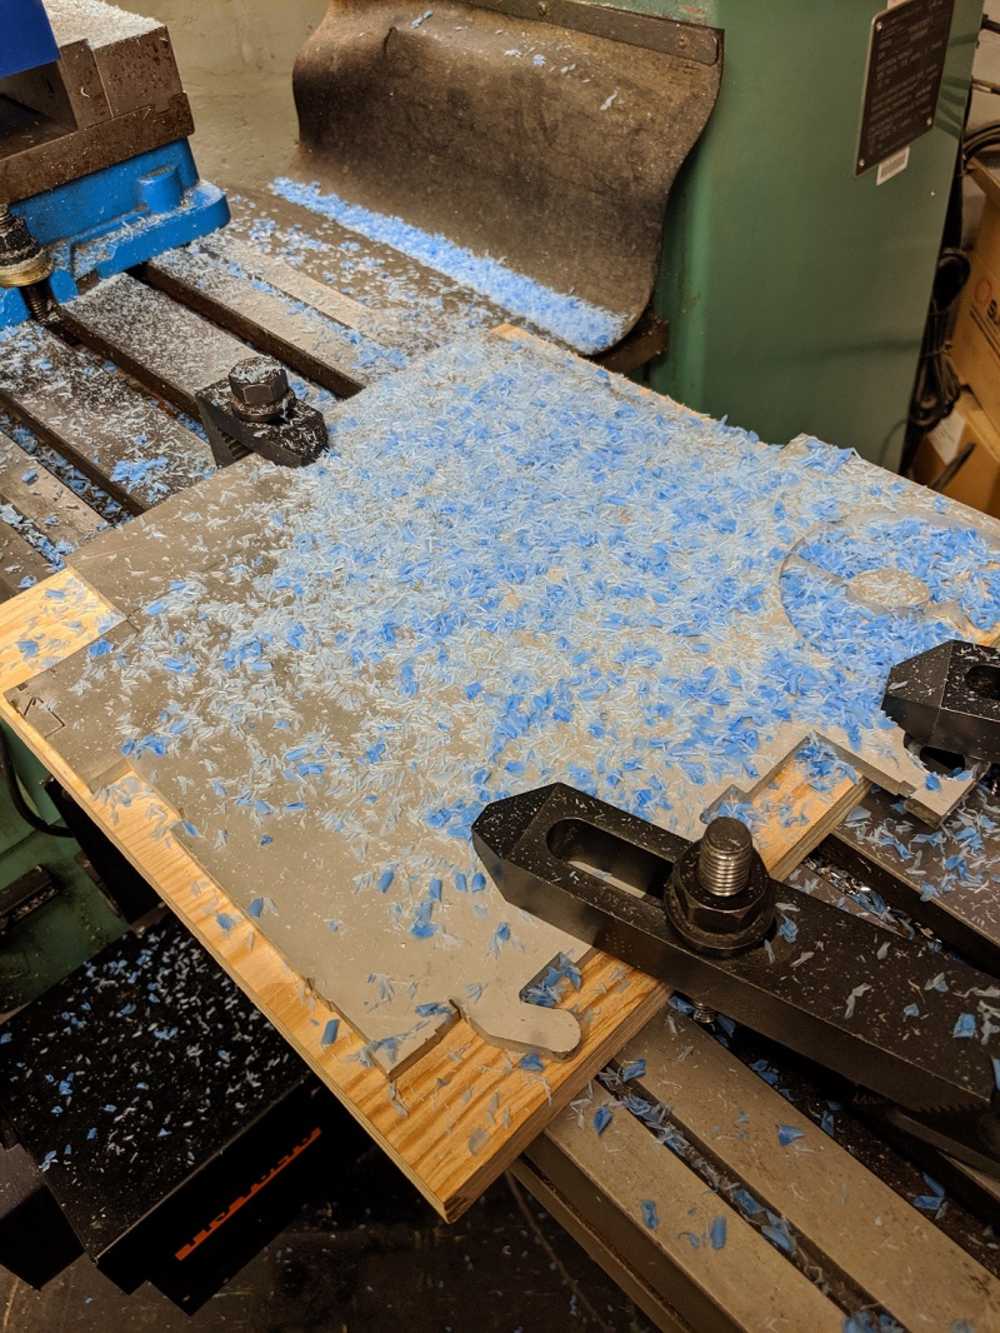
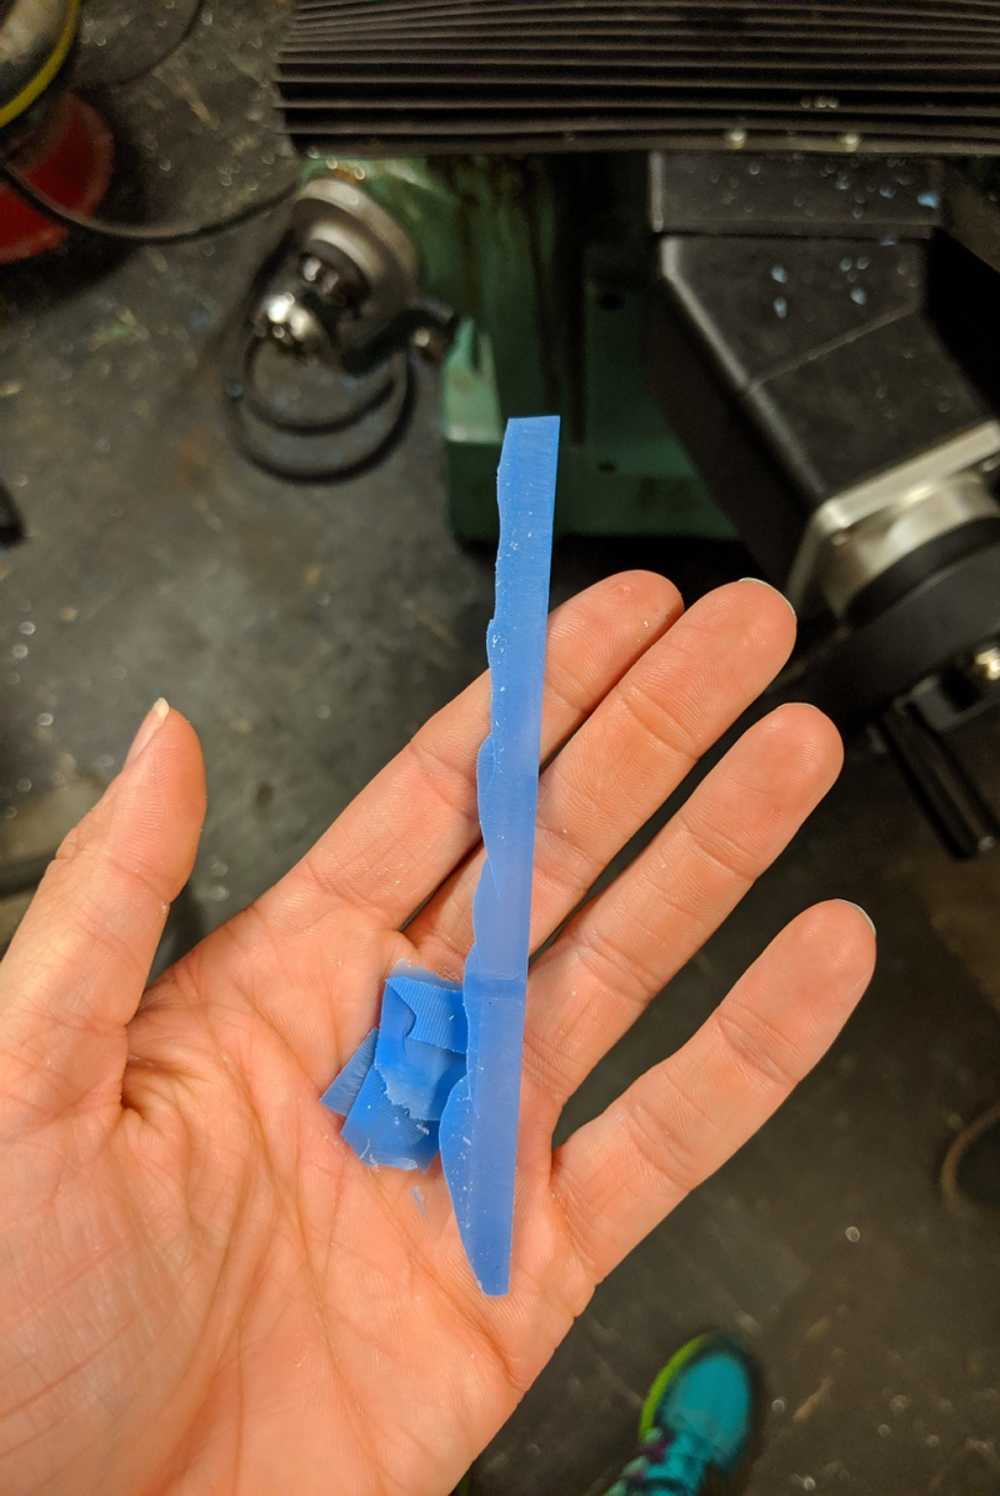
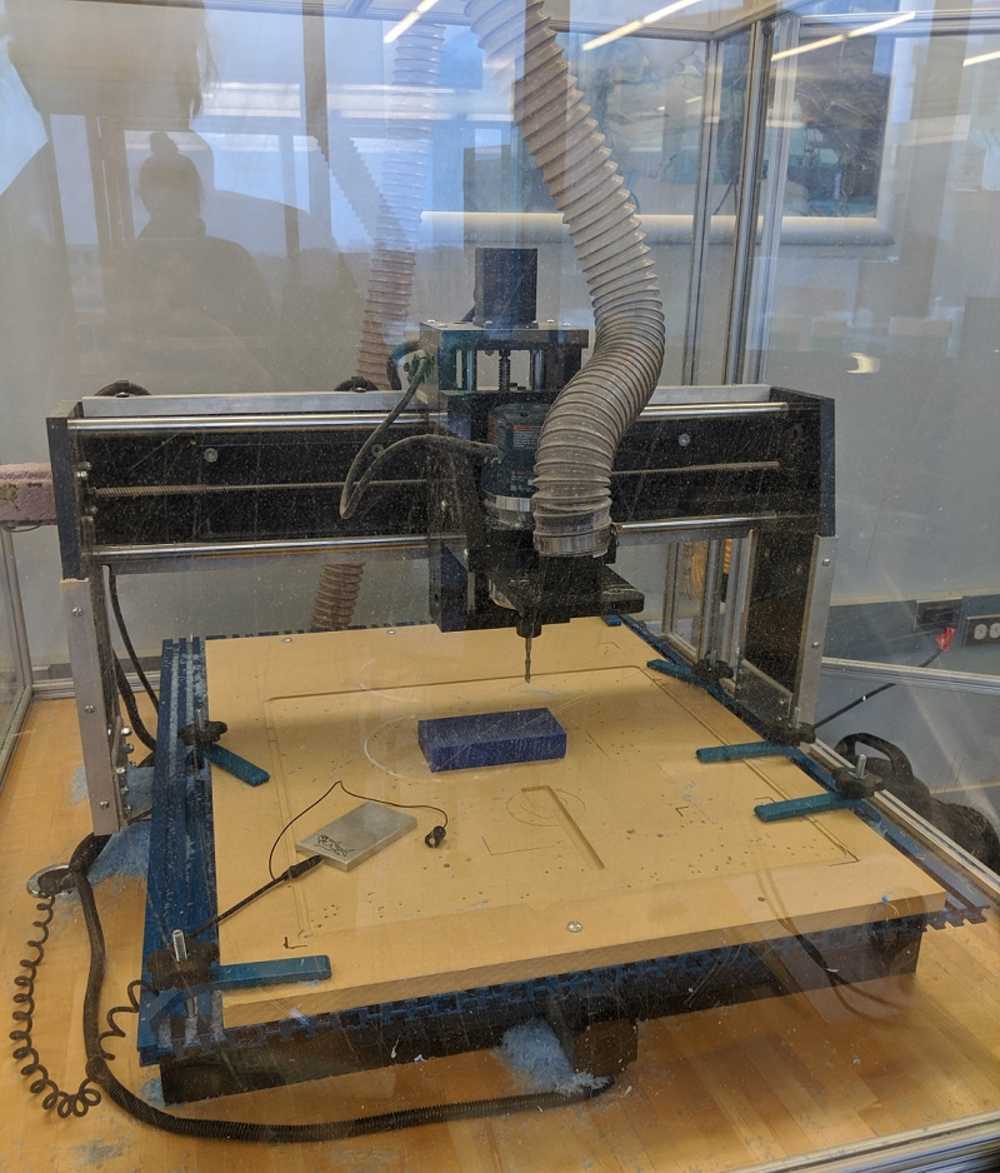
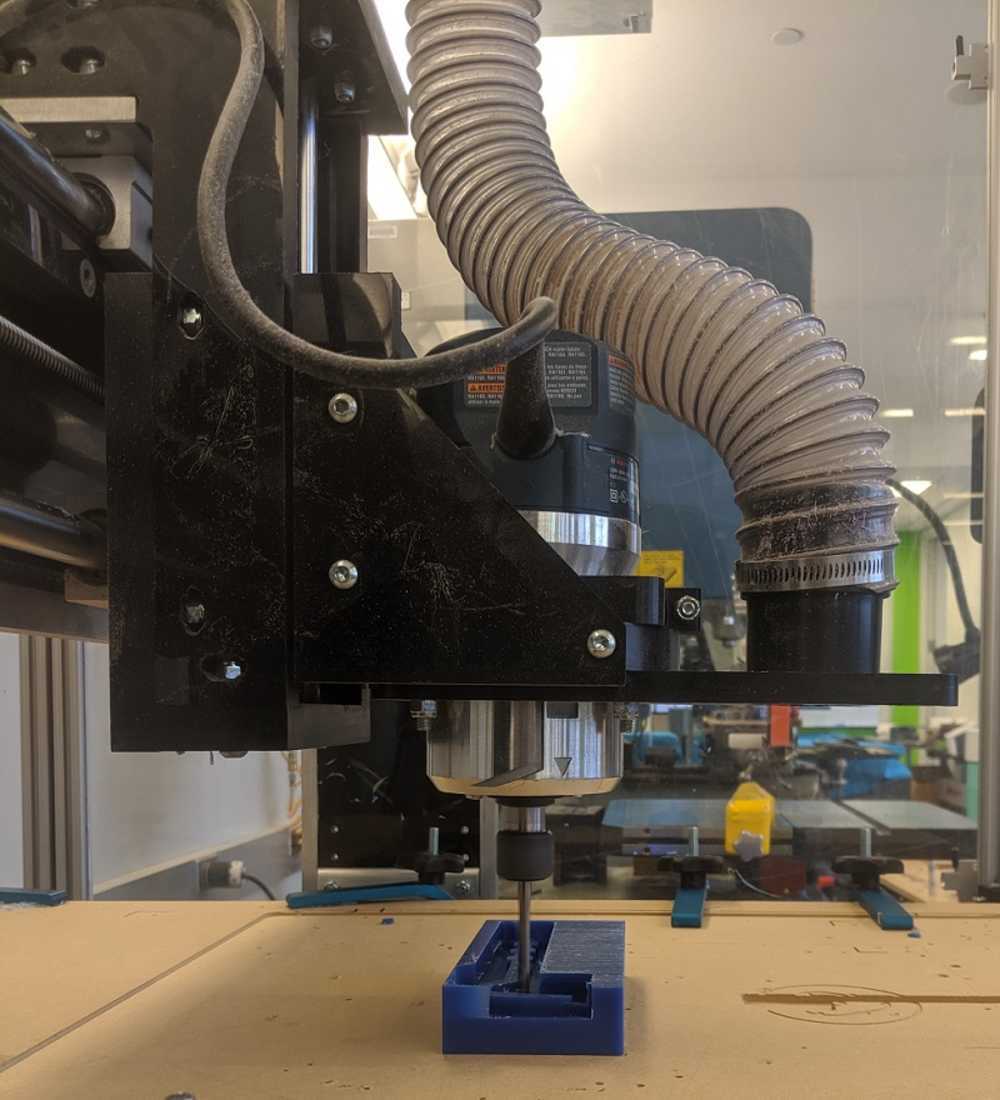
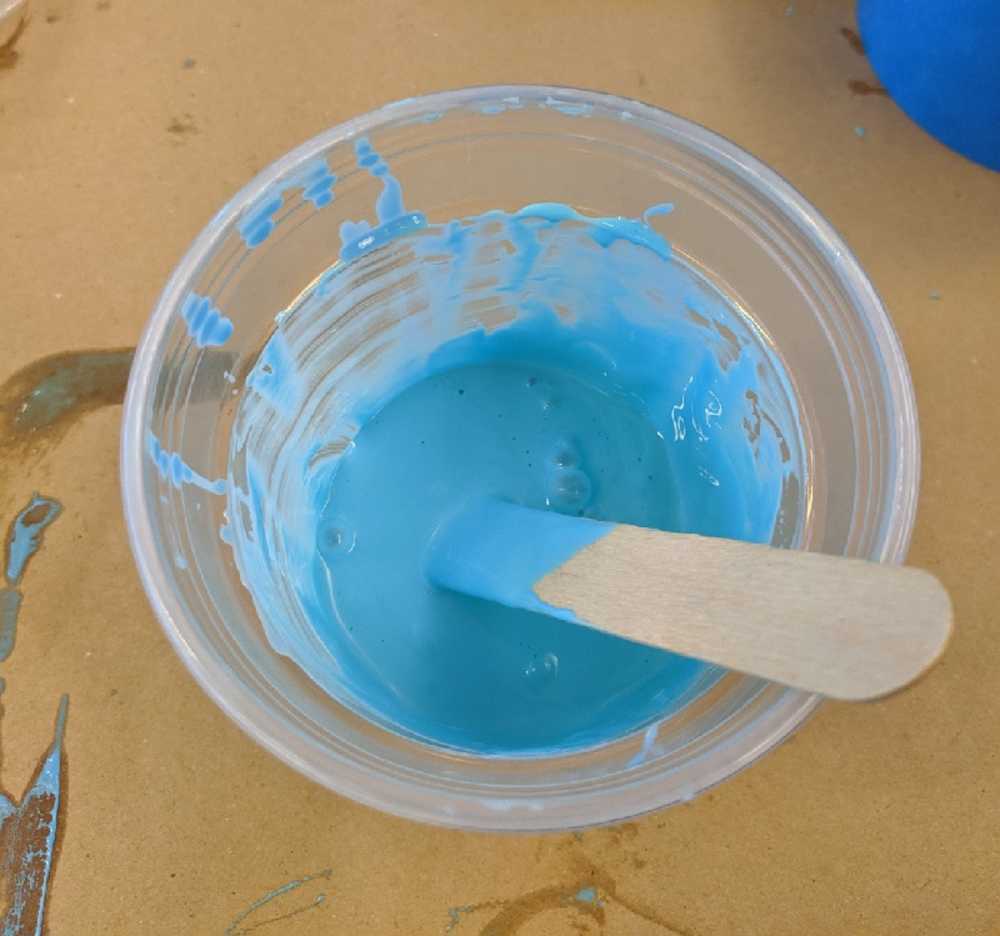
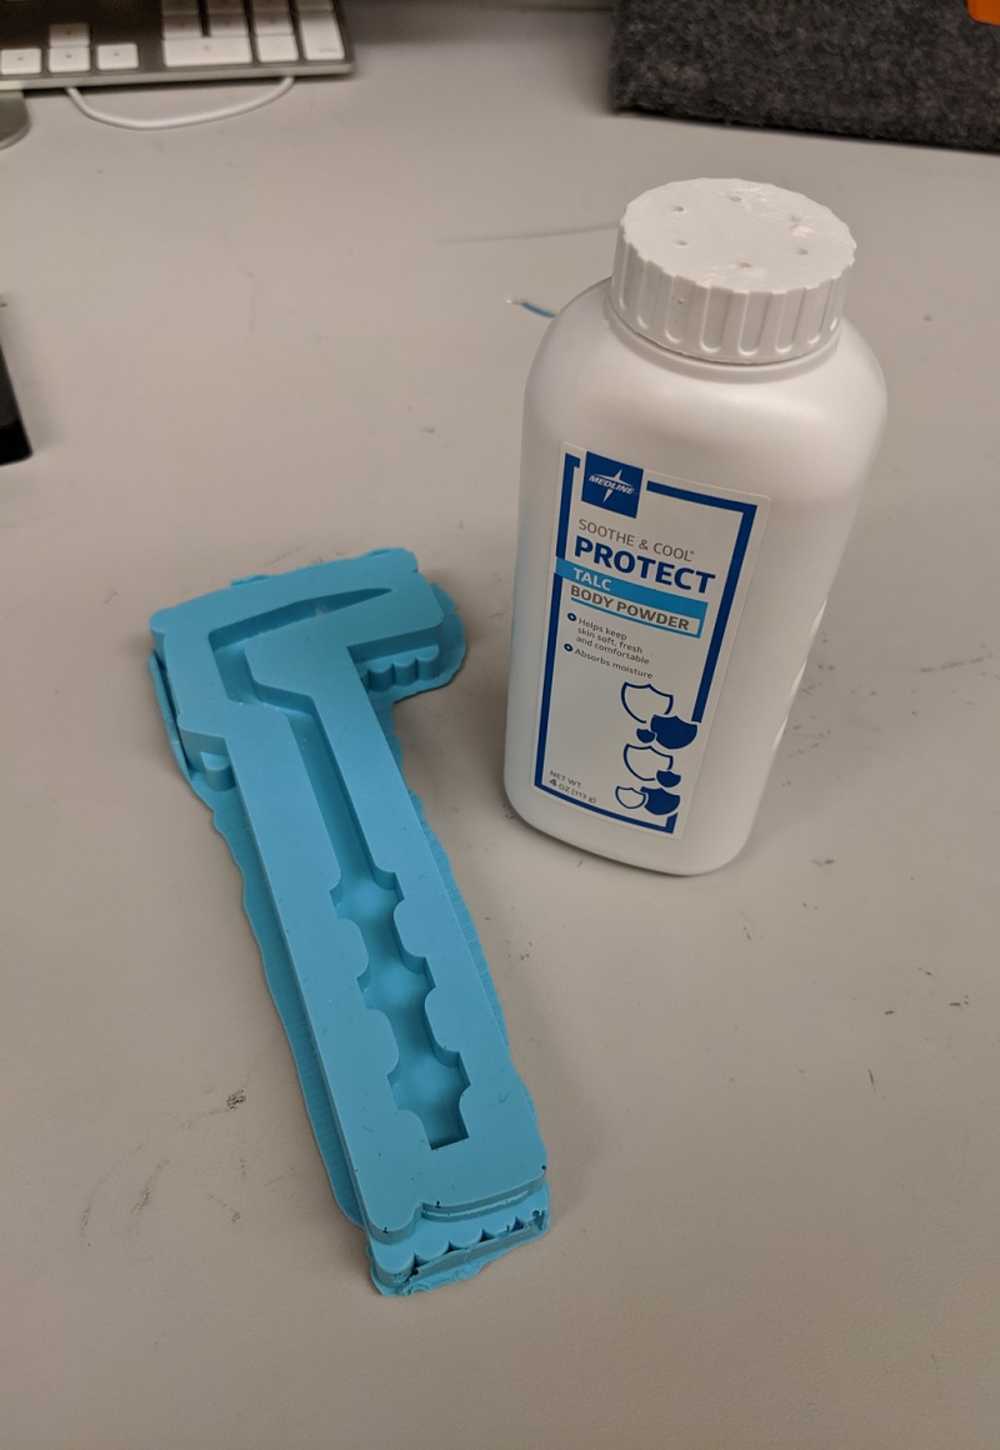
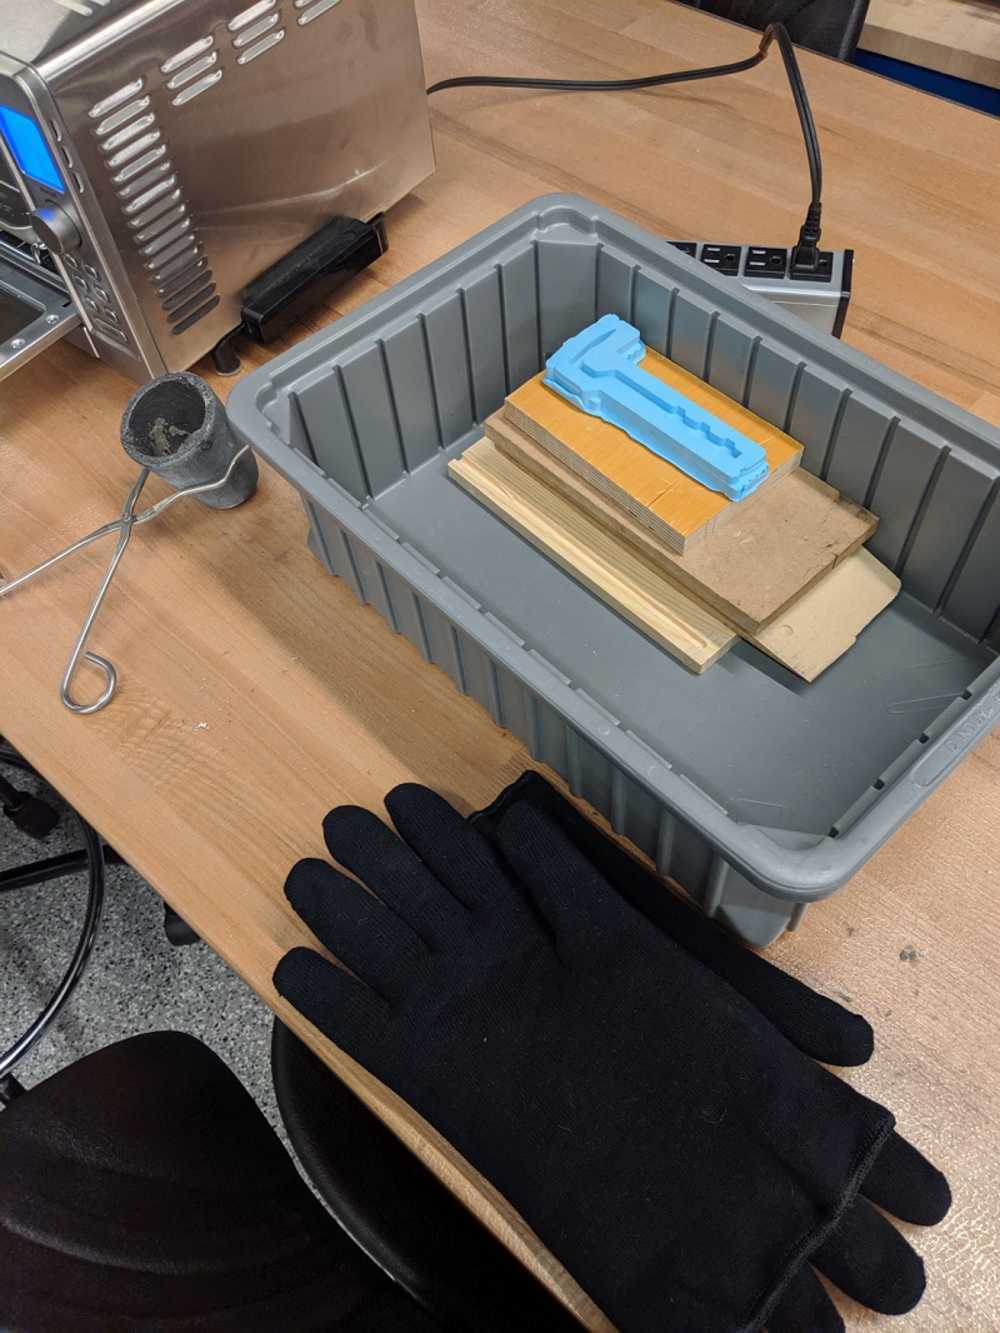
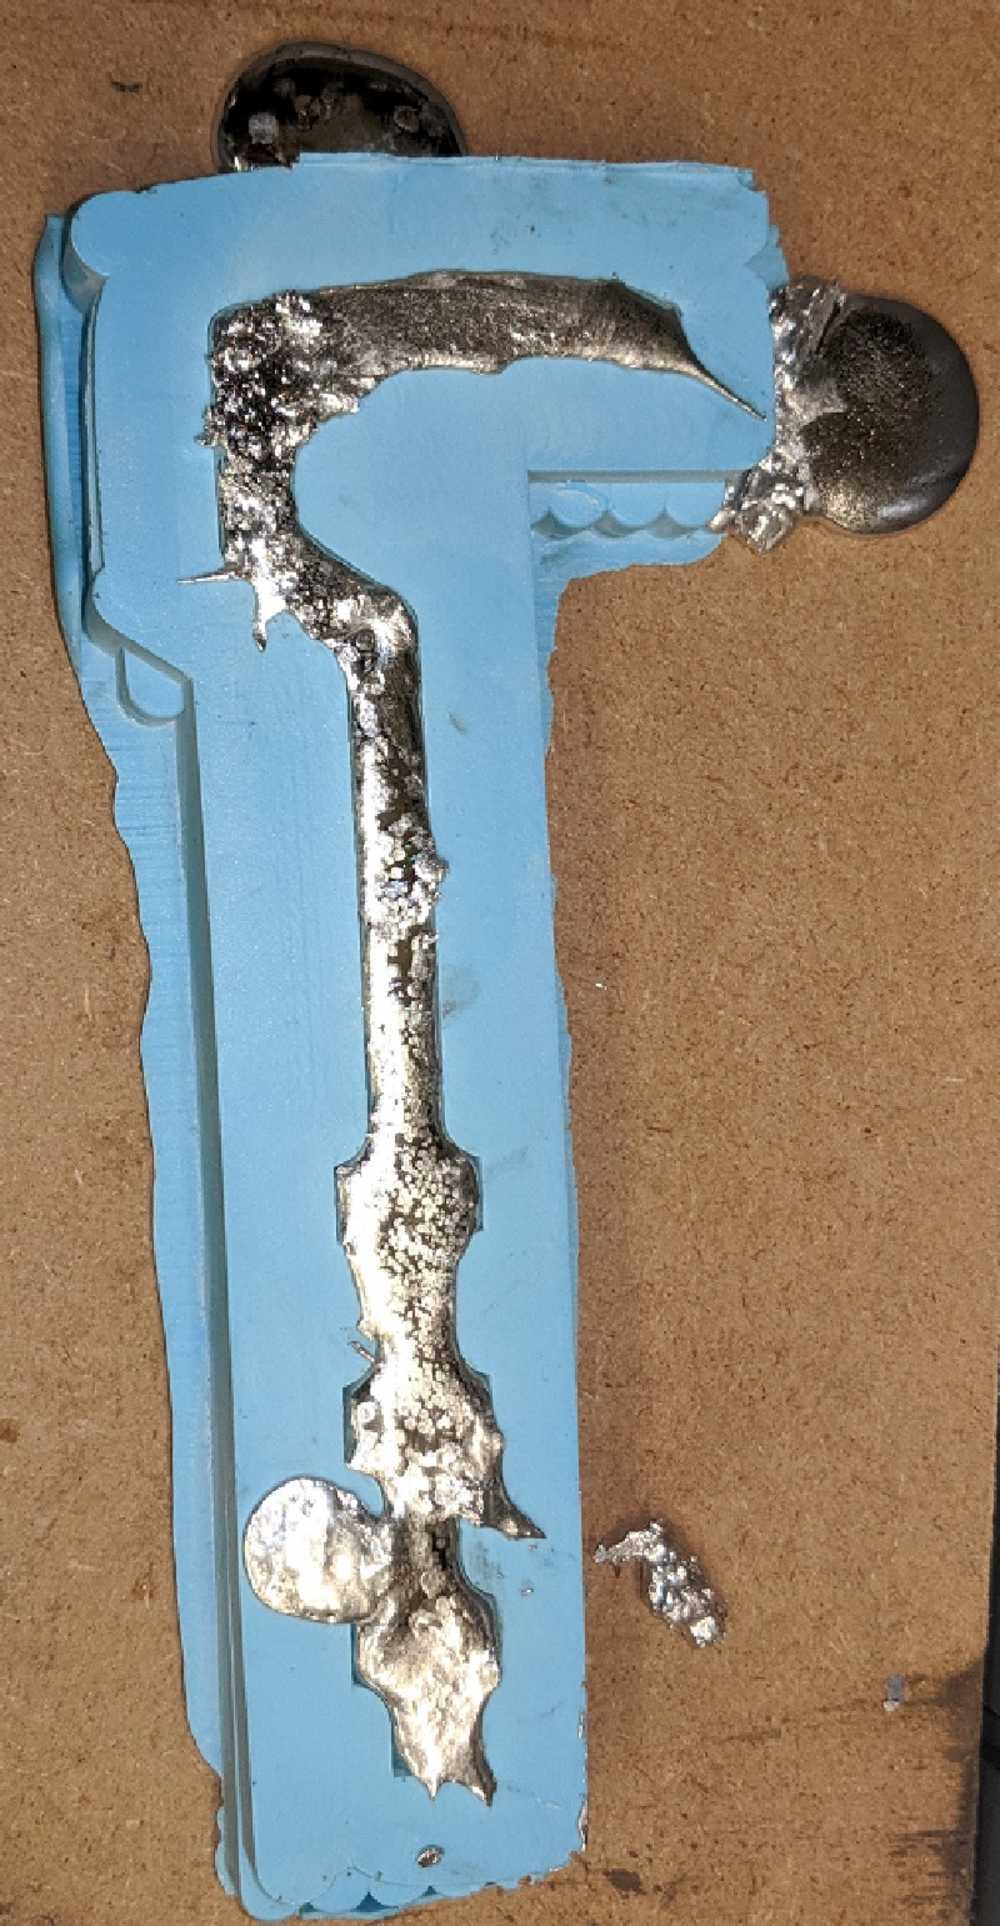
My weekday schedule is jam-packed for the next few weeks. I have been trying to do office hours on Sunday and get as much done as possible before the hours end. My Sunday became quite the adventure when I realized that EDS was not going to be open. I perused the emails that I had recently received and made a new course of action. First, I headed to 3-412 and hunted down a chunk of wax. Then I aggressively rode my way to N51 in the pouring rain and tried to cross a cross walk at the same time as a truck. I was shocked that I didn't end up laying my bike down as I felt the back end fish tailing. I scurried into the shop and must have looked like a sad and dripping orphaned dog as I asked Zain if he would help an EECS person accomplish this week's assignment.
- Starting Off Strong
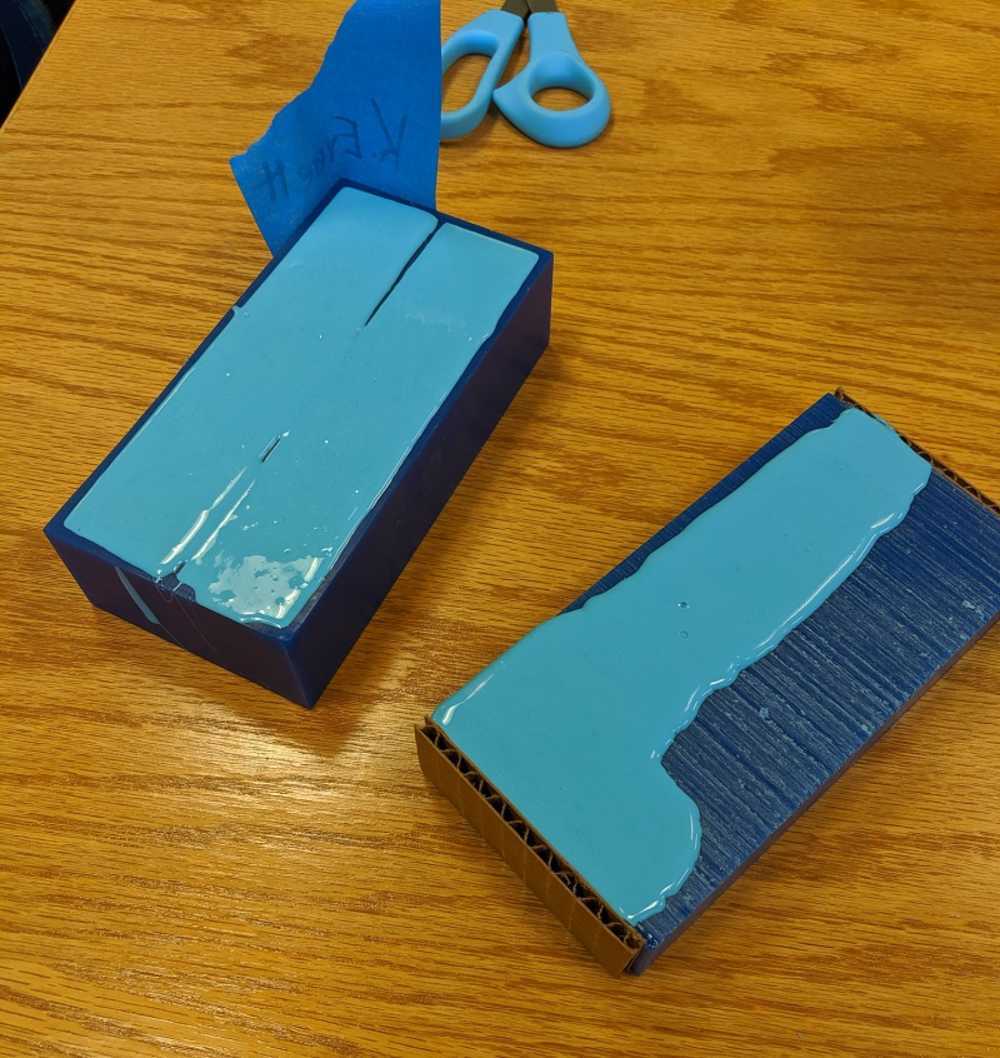
- - I had luckily been able to finish my drawing on the bus traveling to and from the race.
- - The furthest left image is the final product that is to be created.
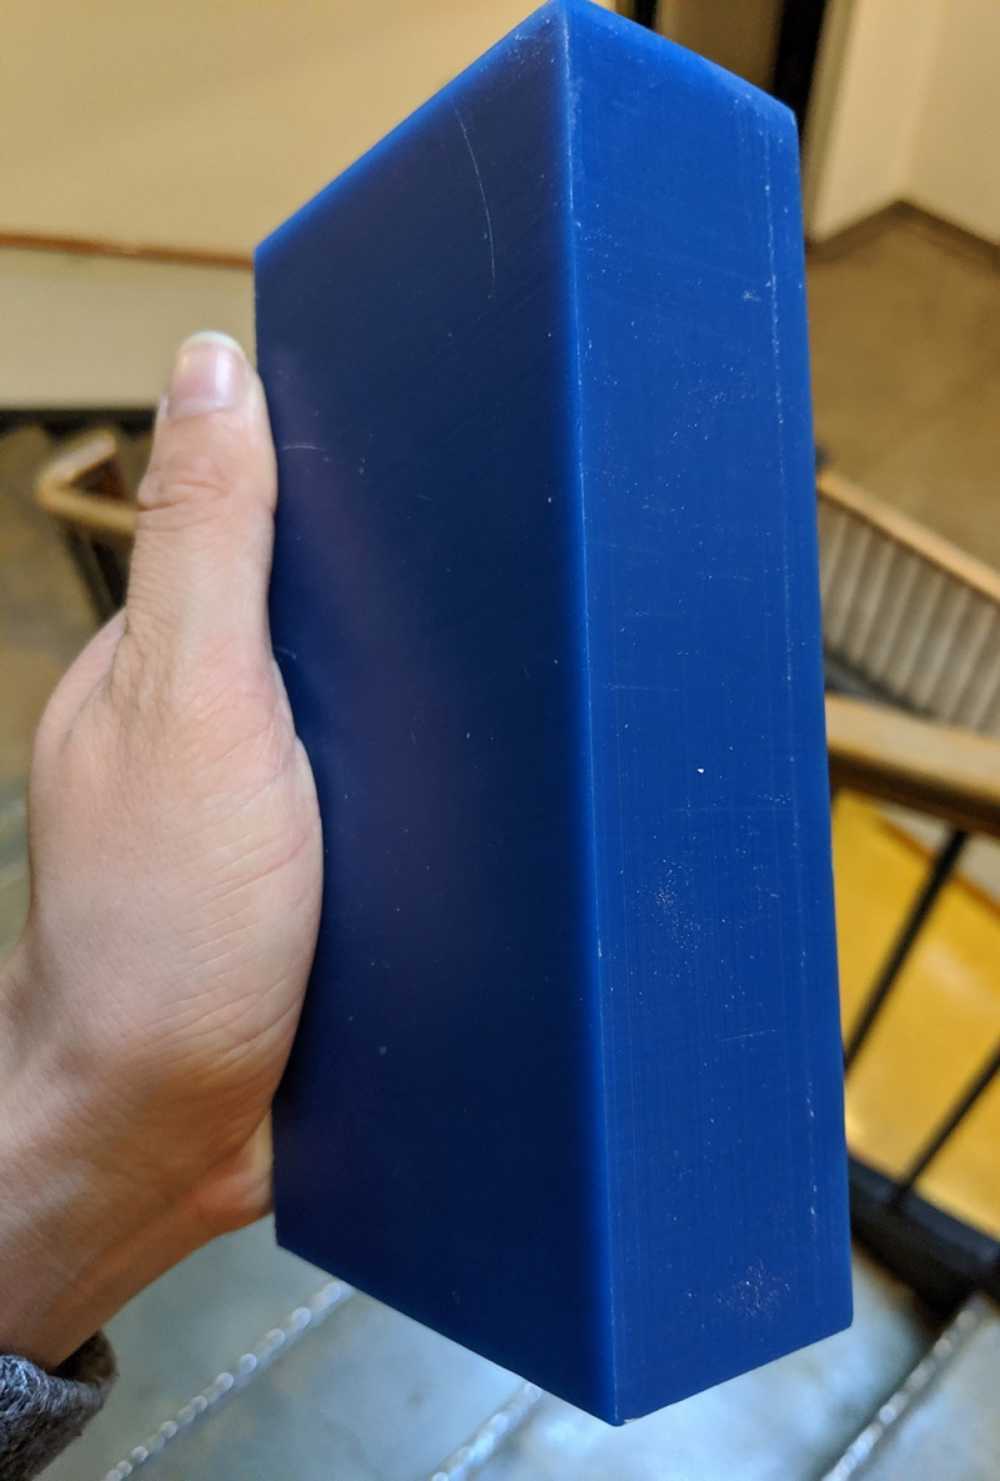
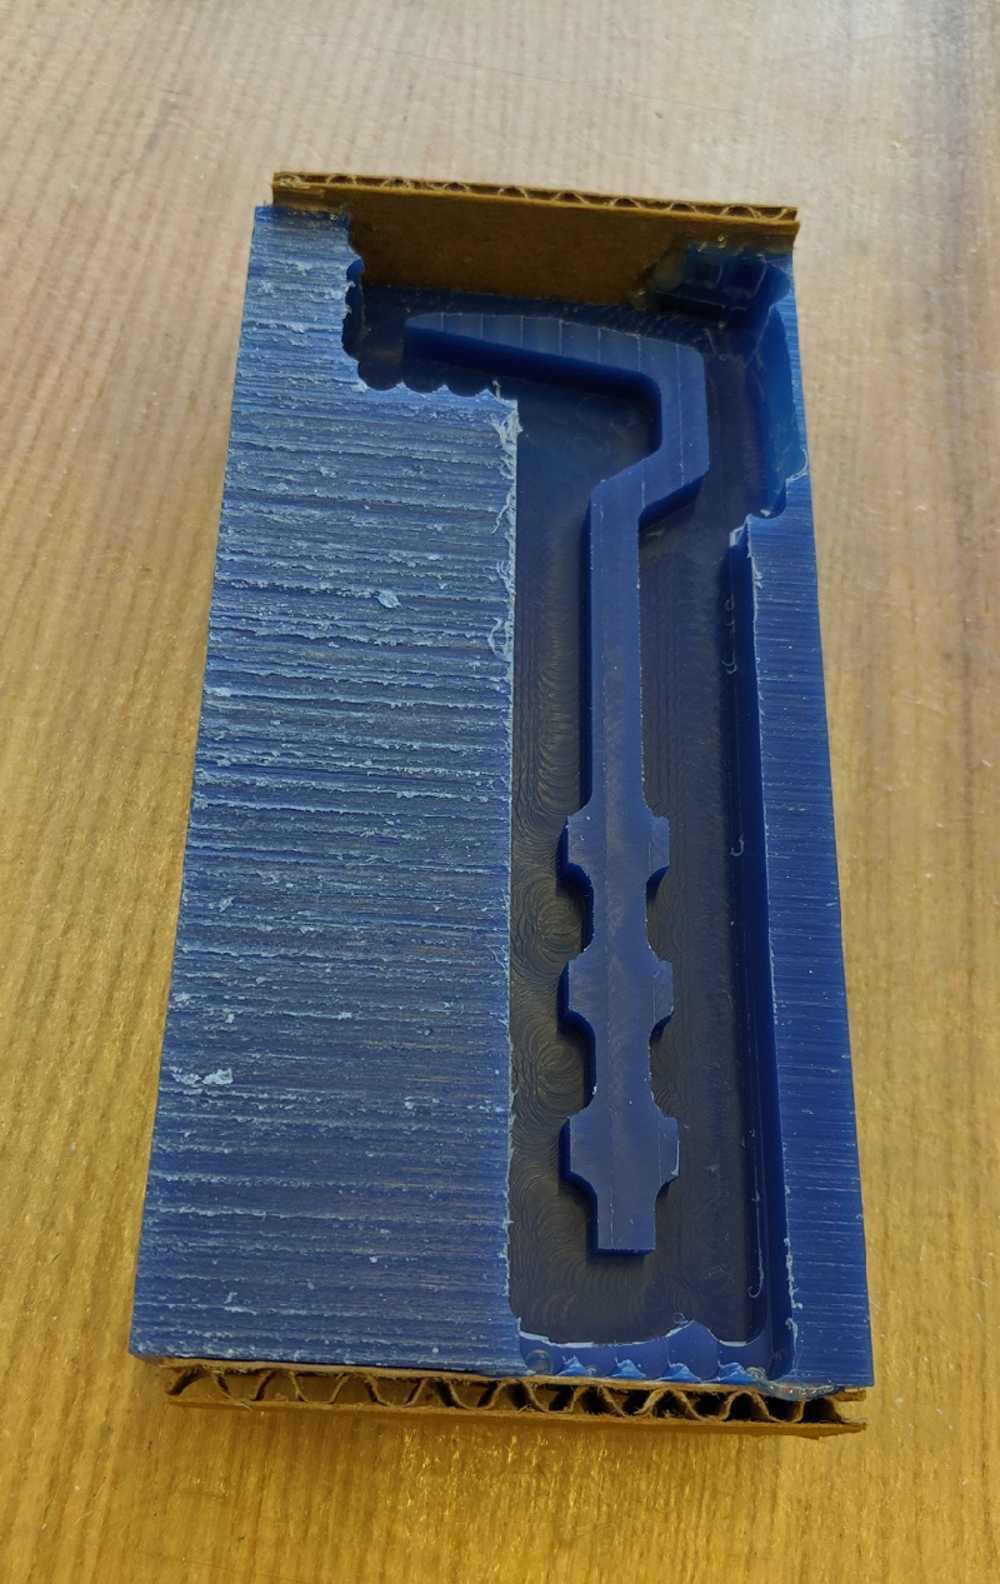
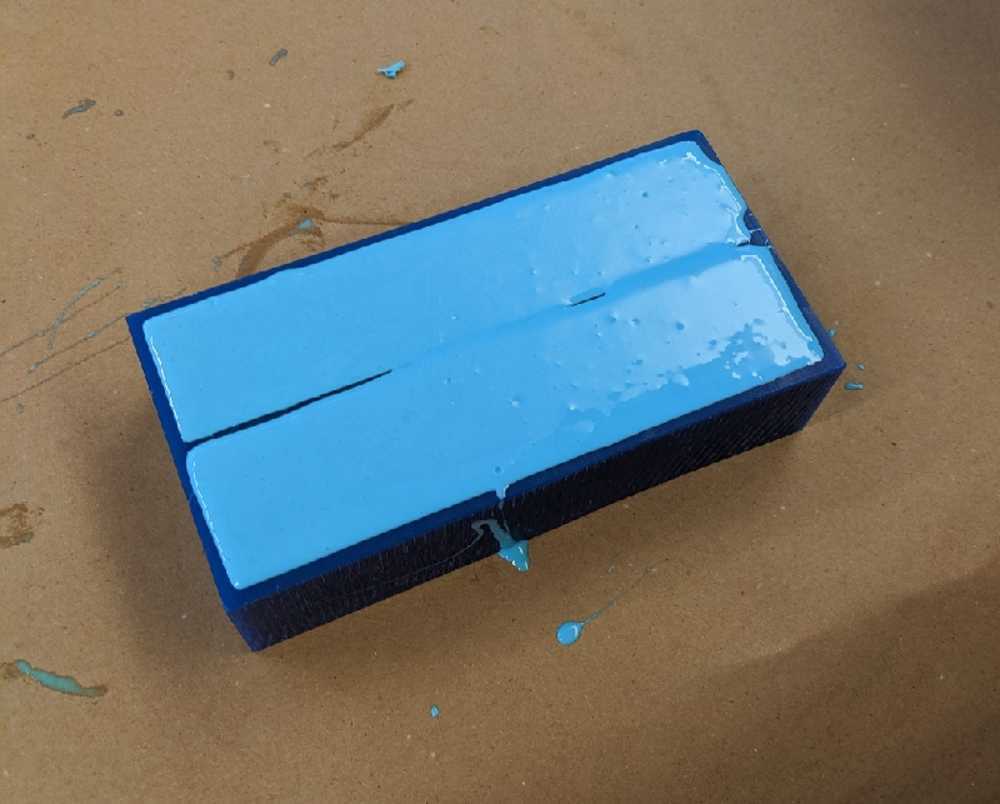
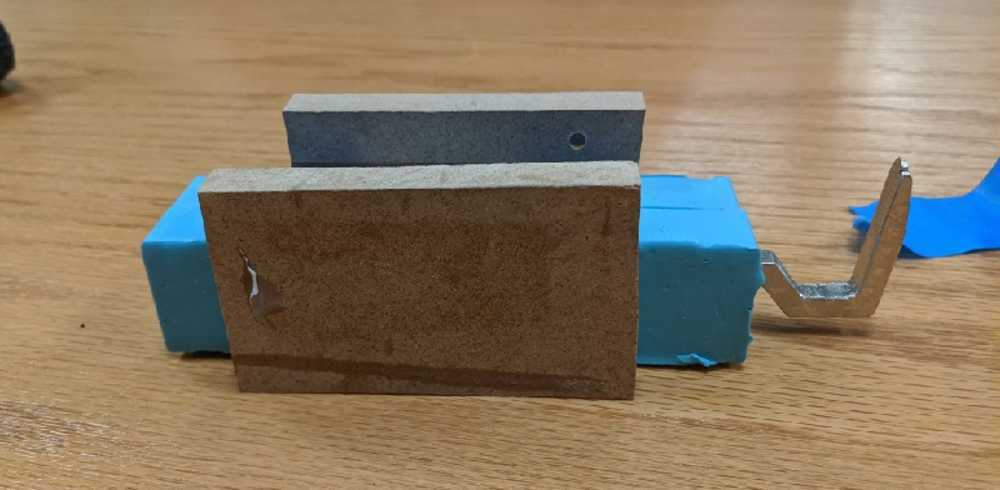
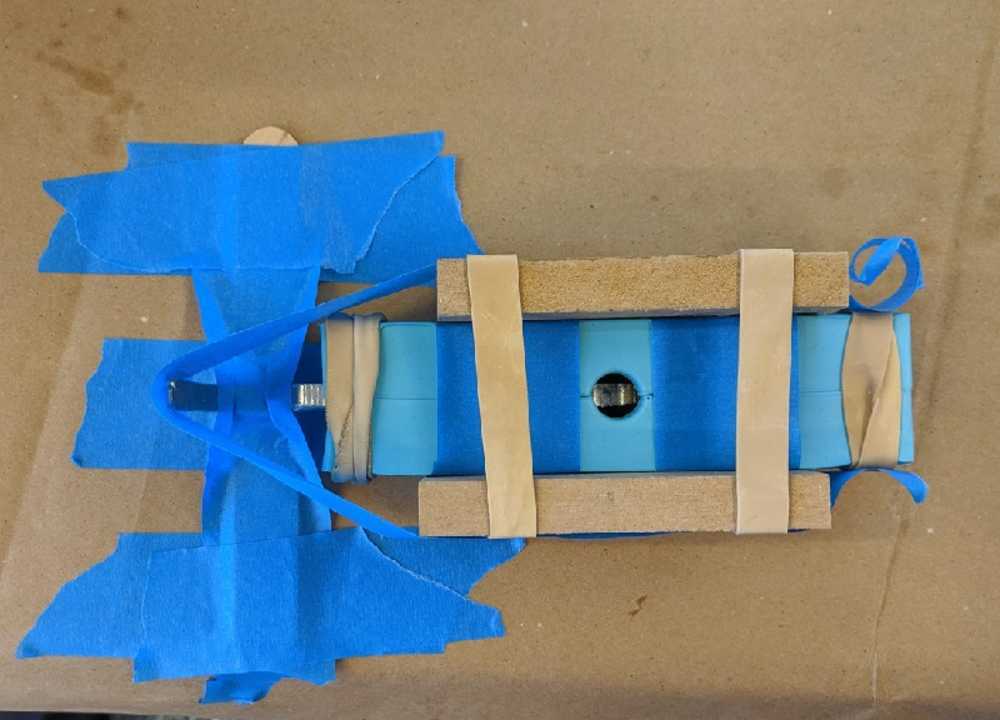
- - The middle image is me holding my block that I commandeered from the architecture shop in building 3.
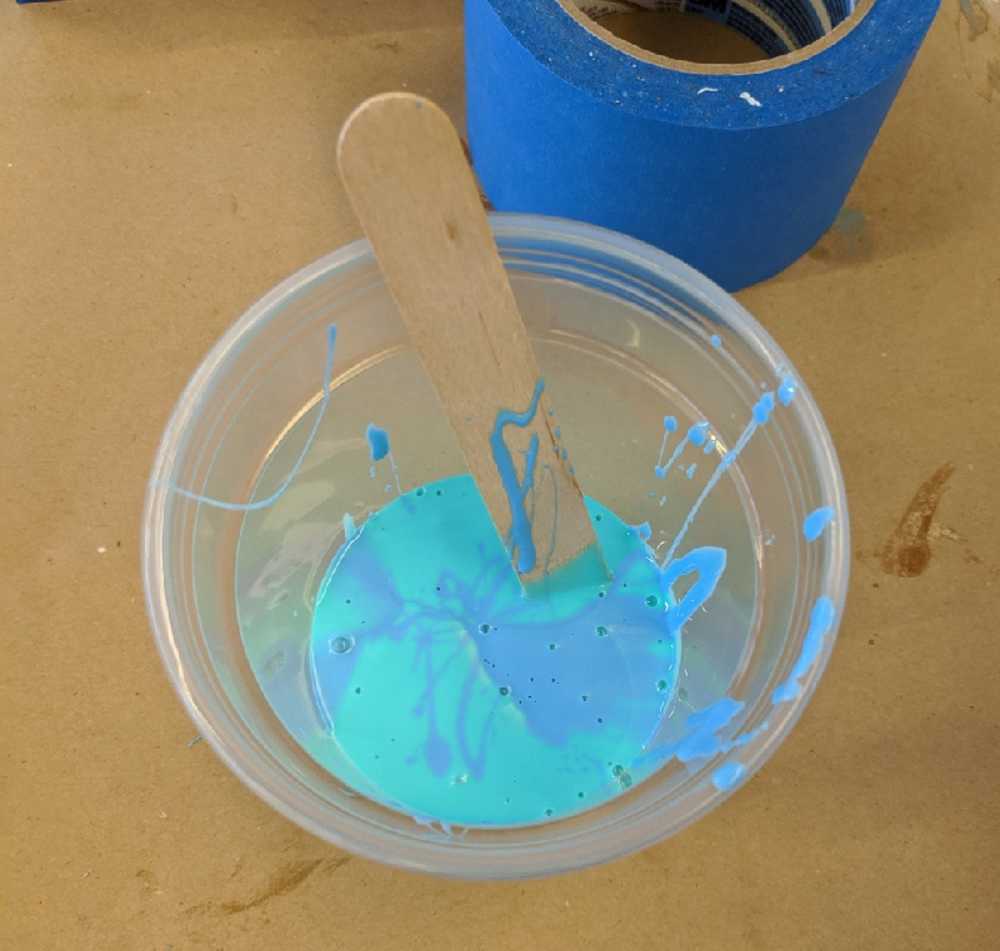
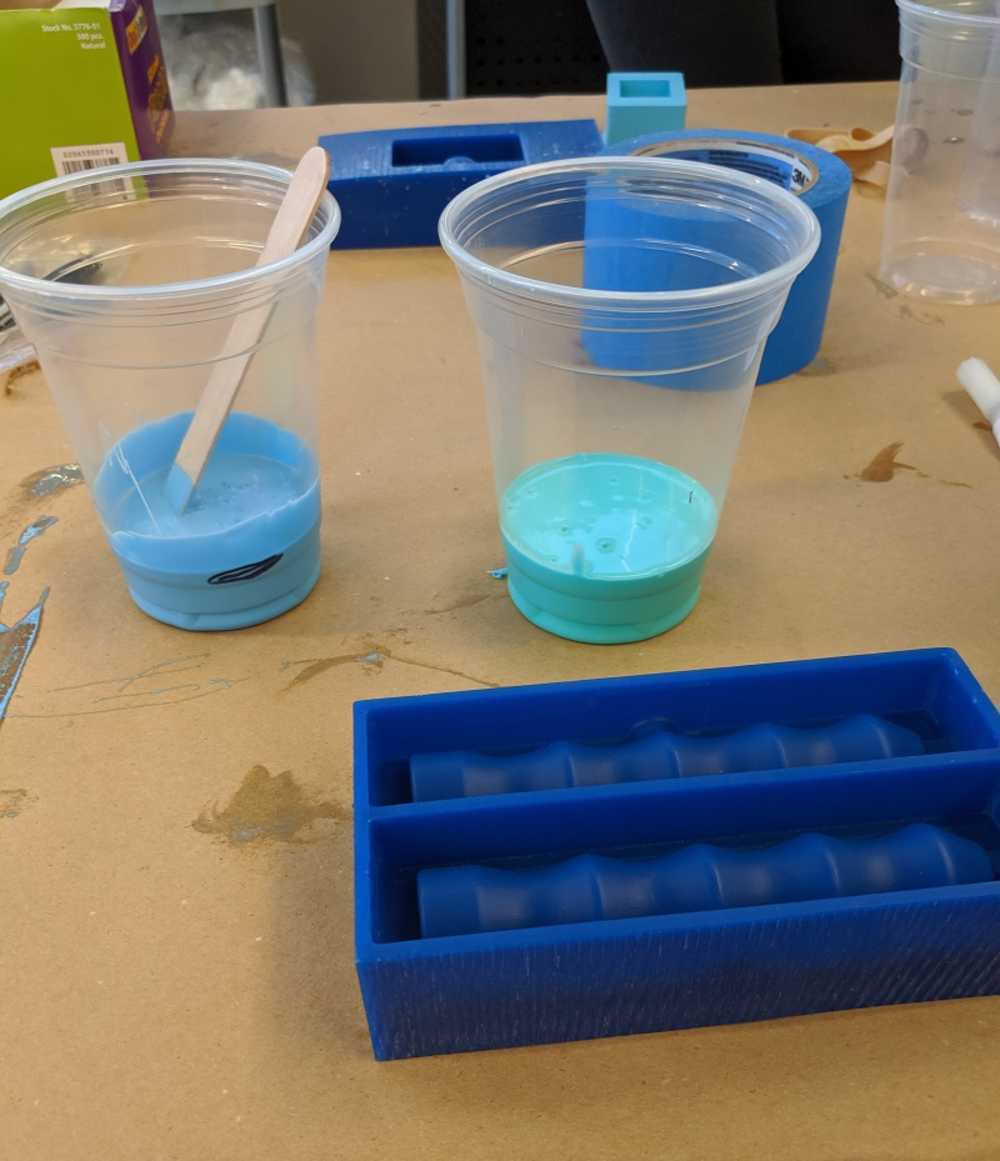
- - The third image is the assembly taken apart to start the wax mold.
- - The furthest left image is the final product that is to be created.

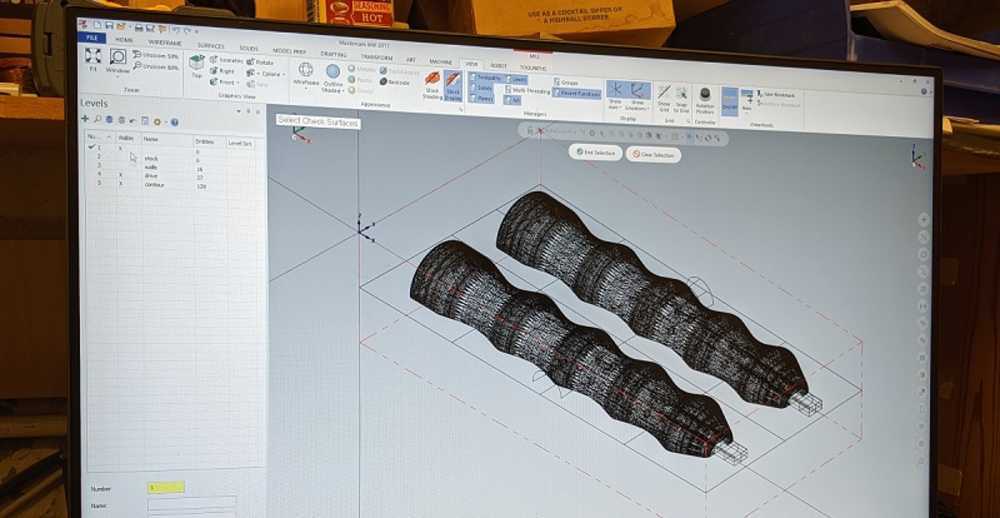
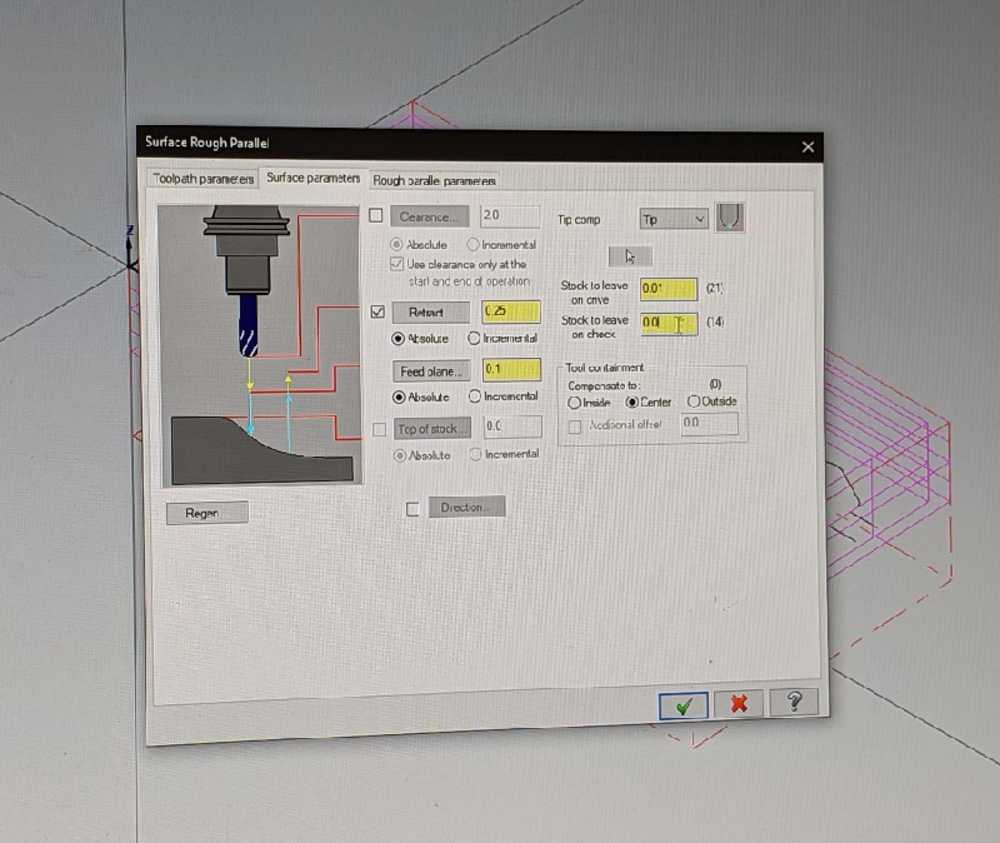
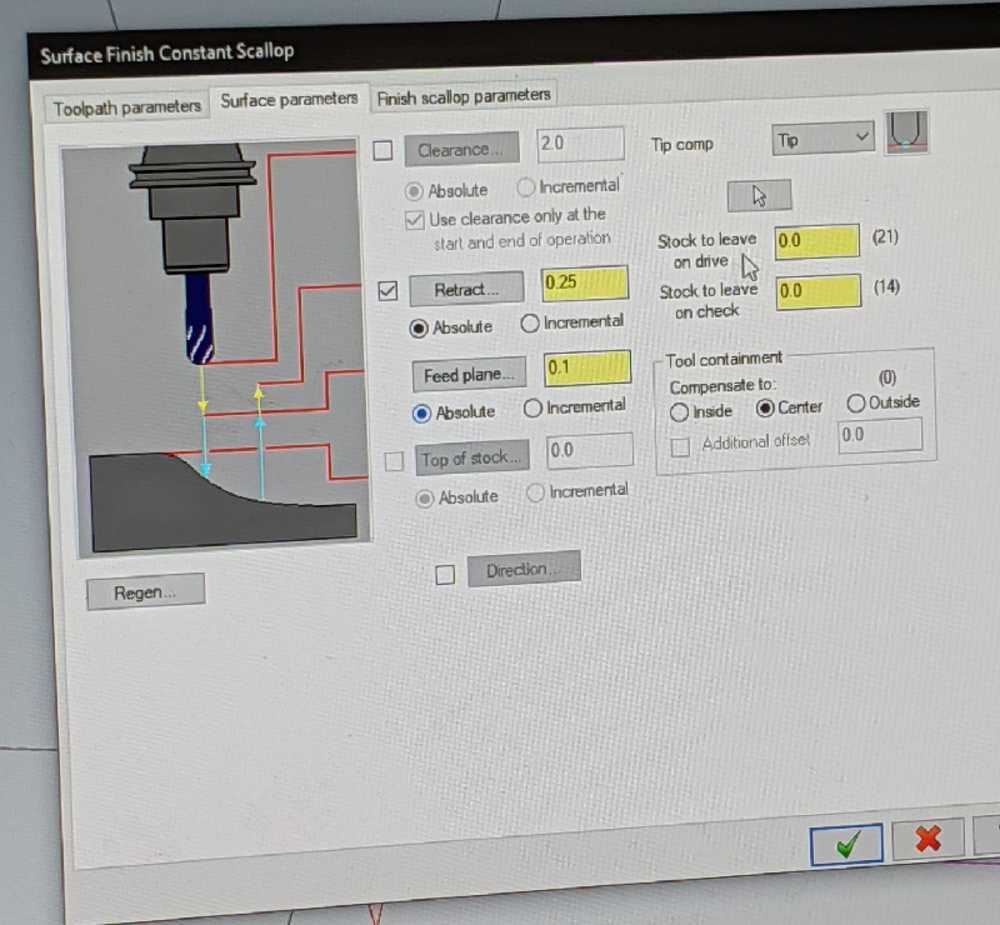
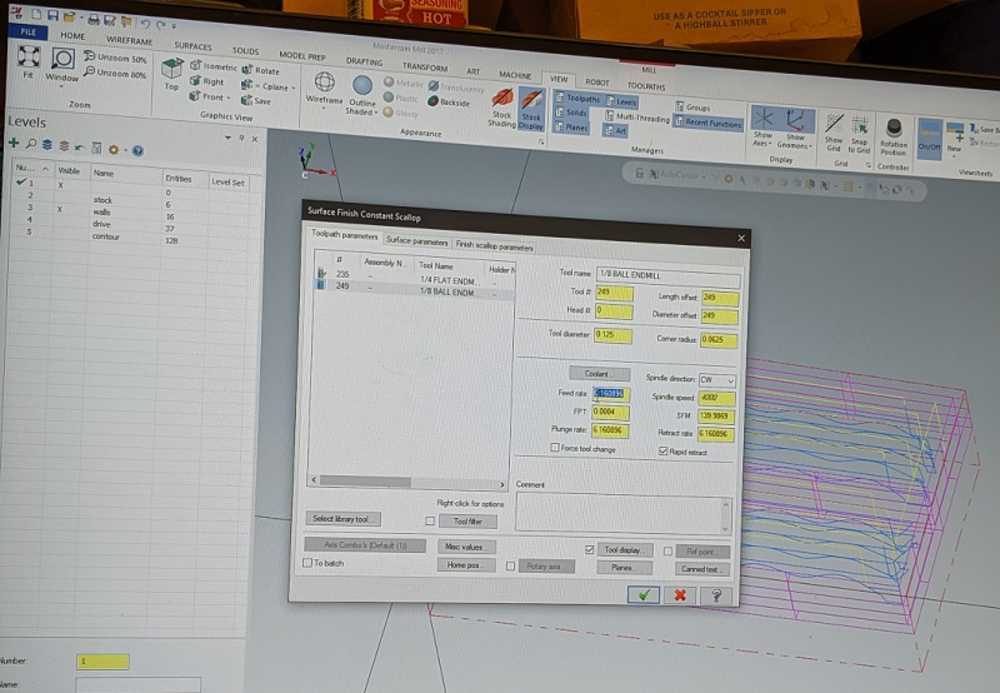
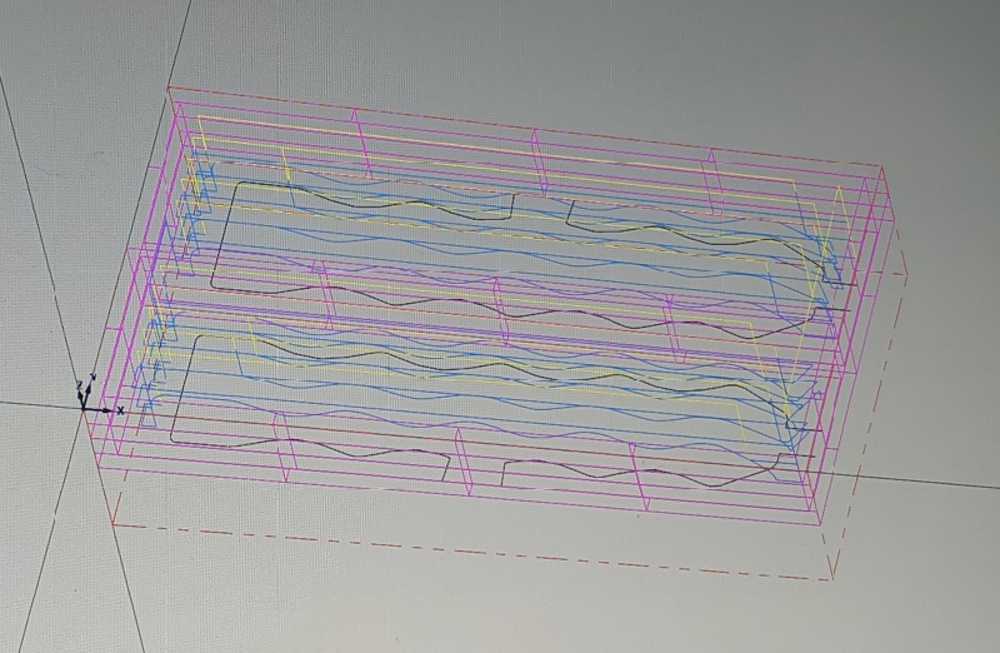
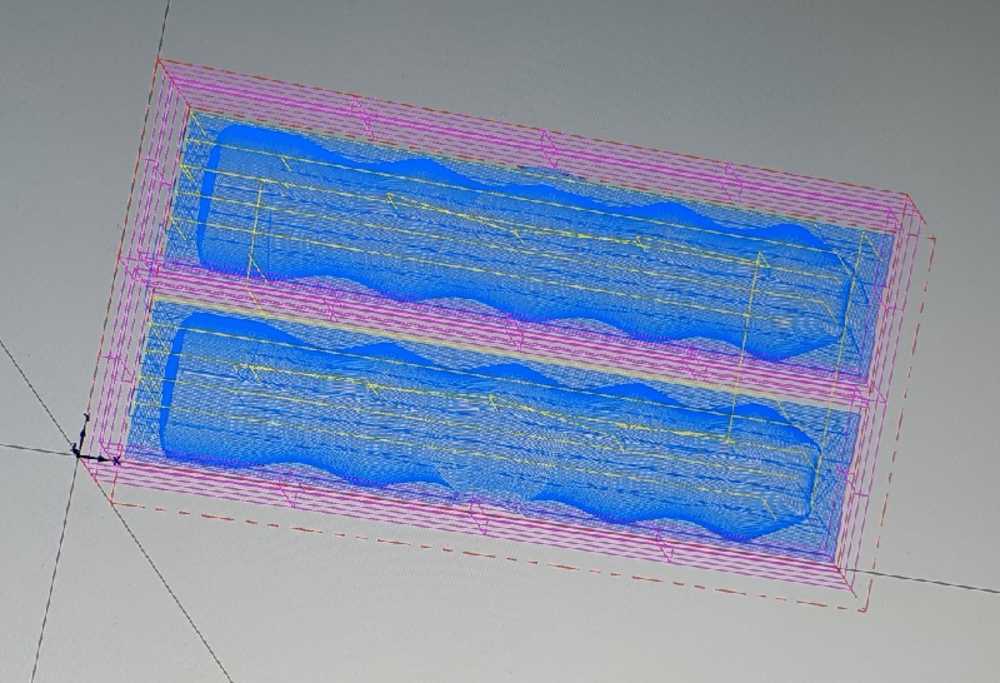
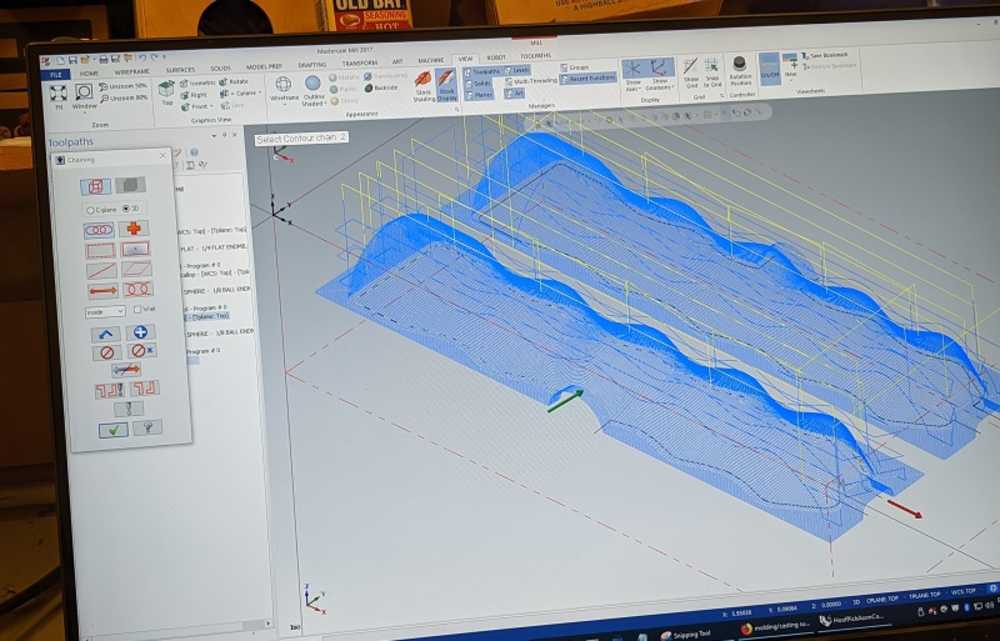
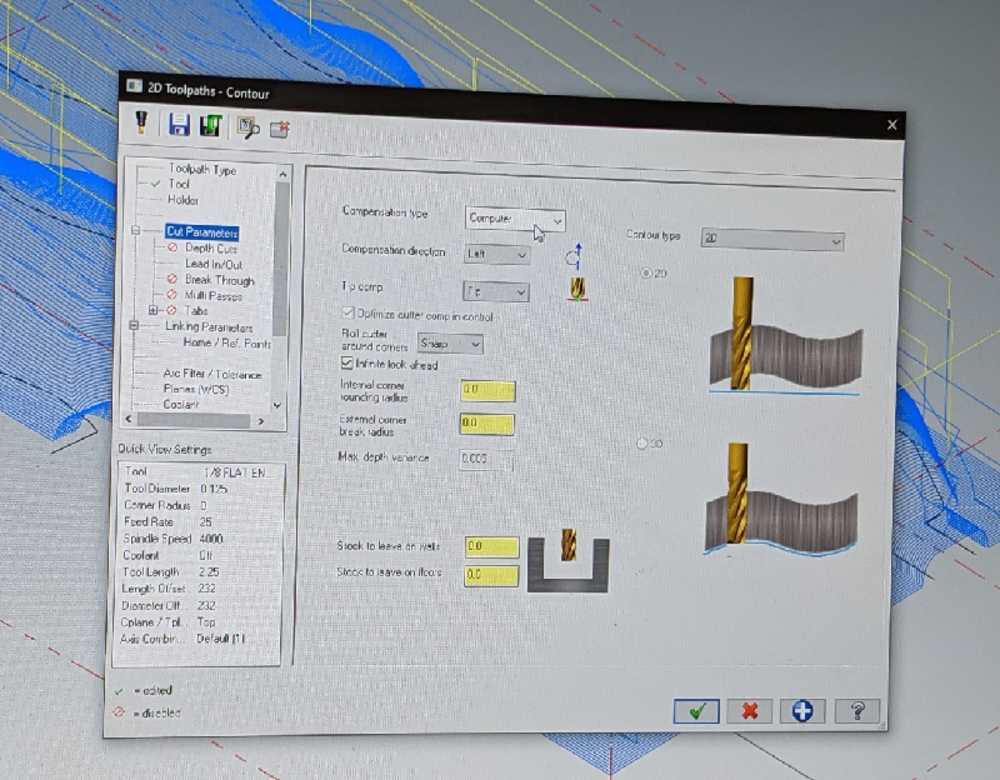
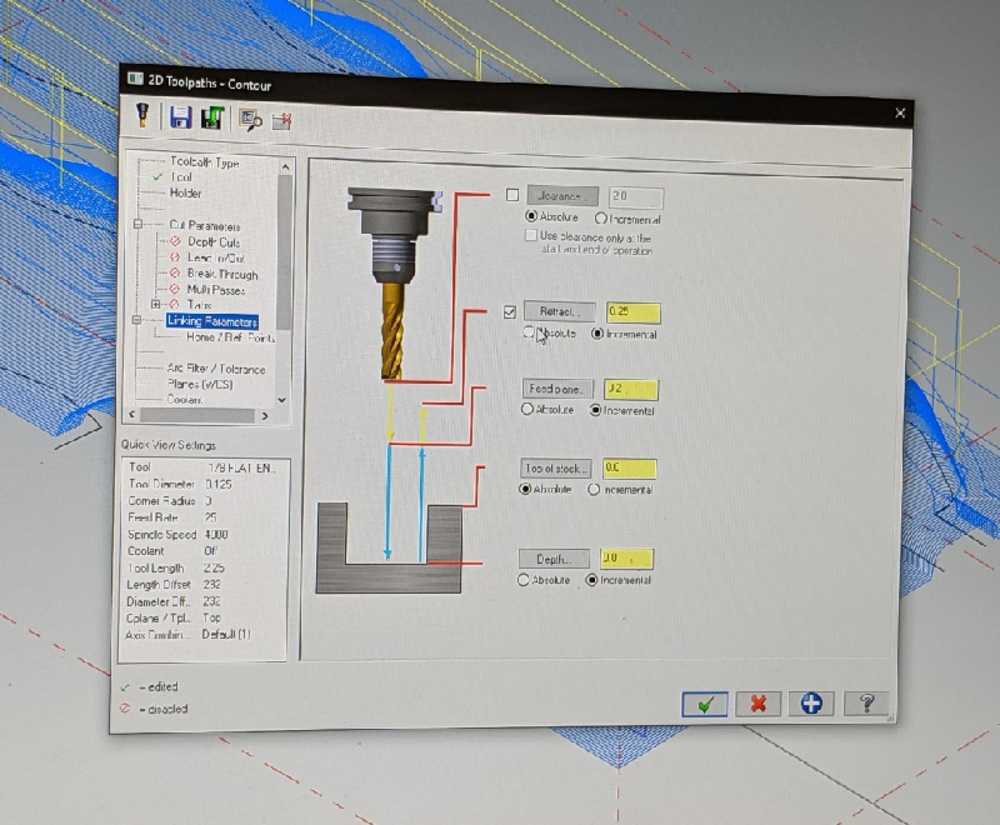
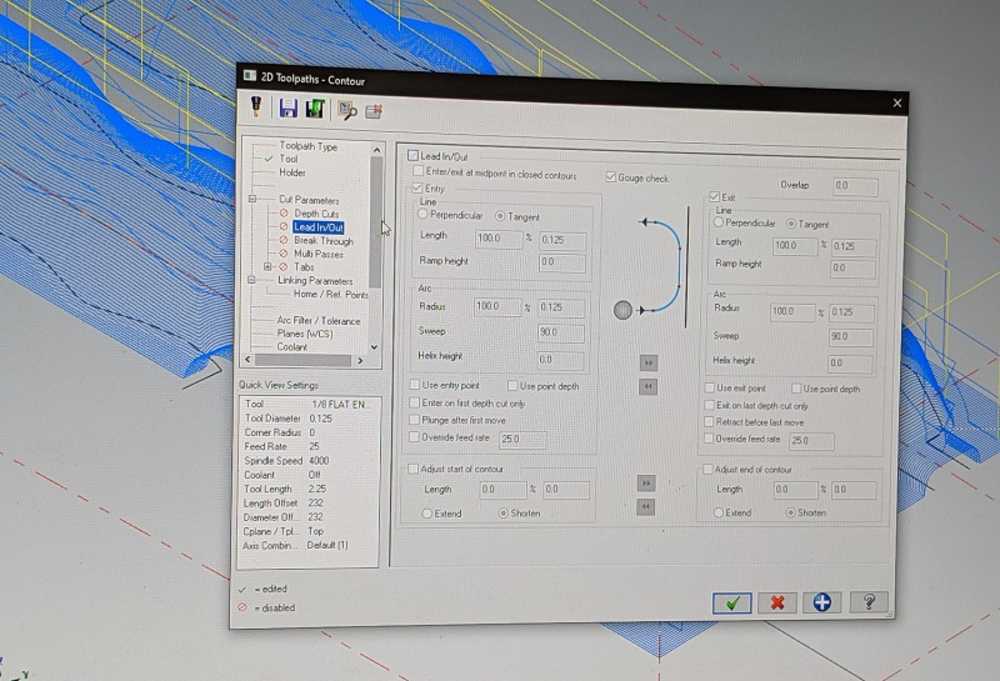
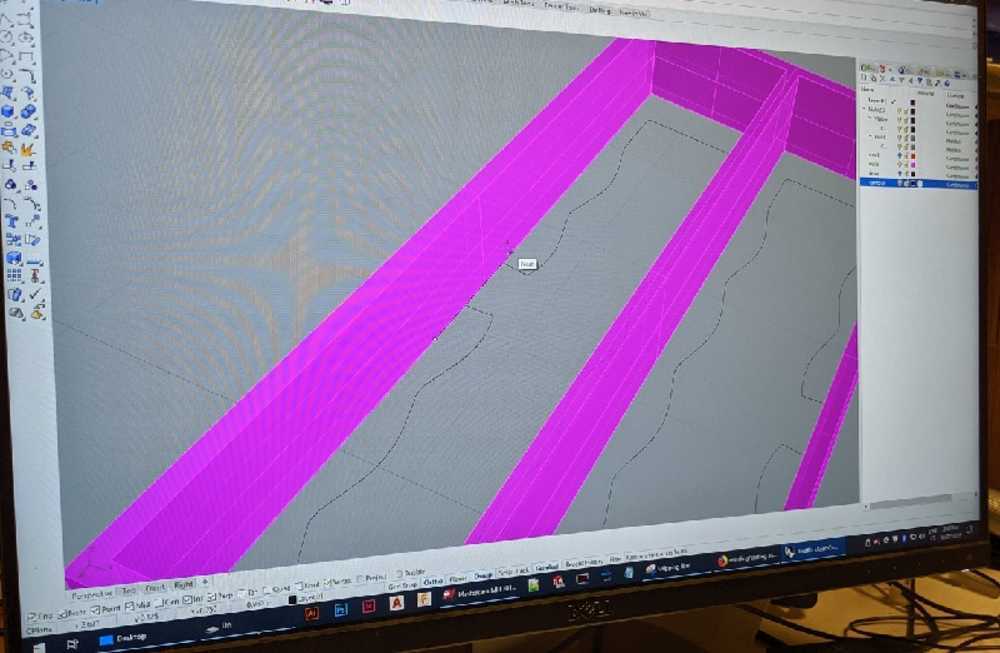
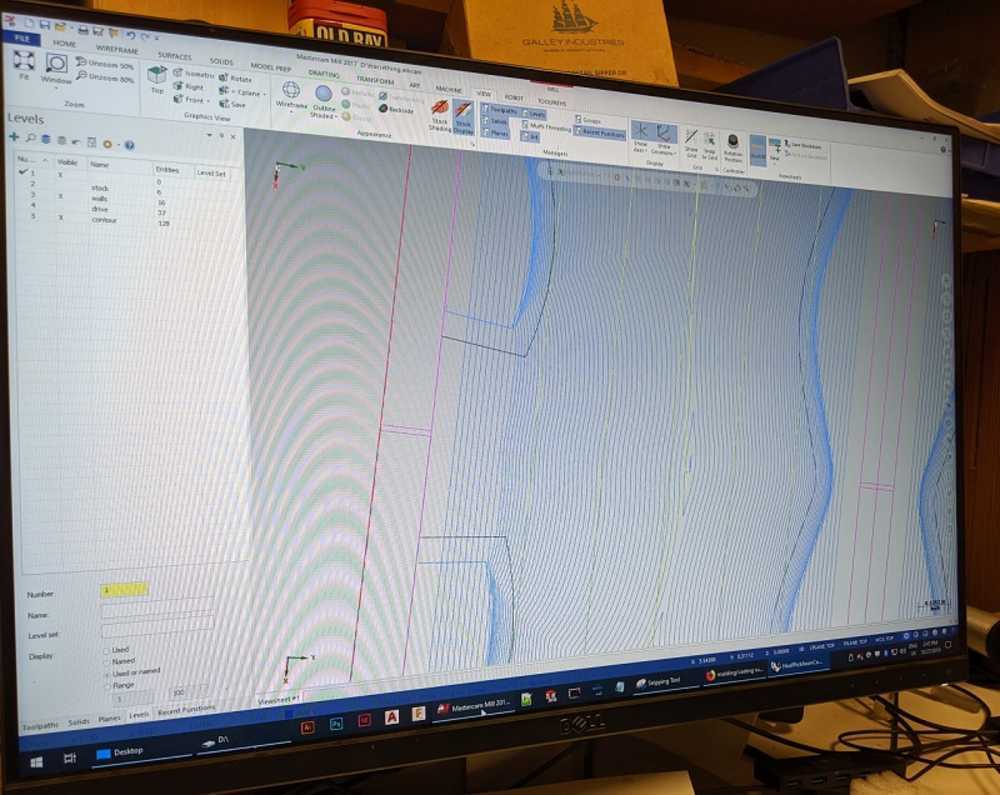
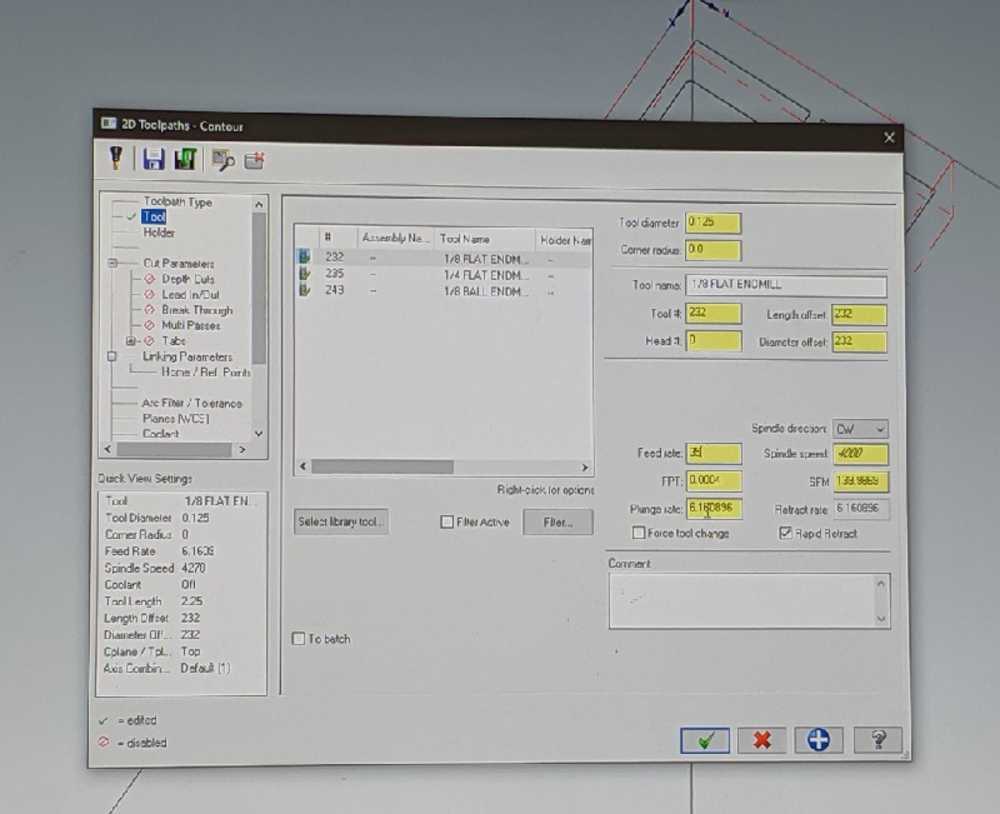
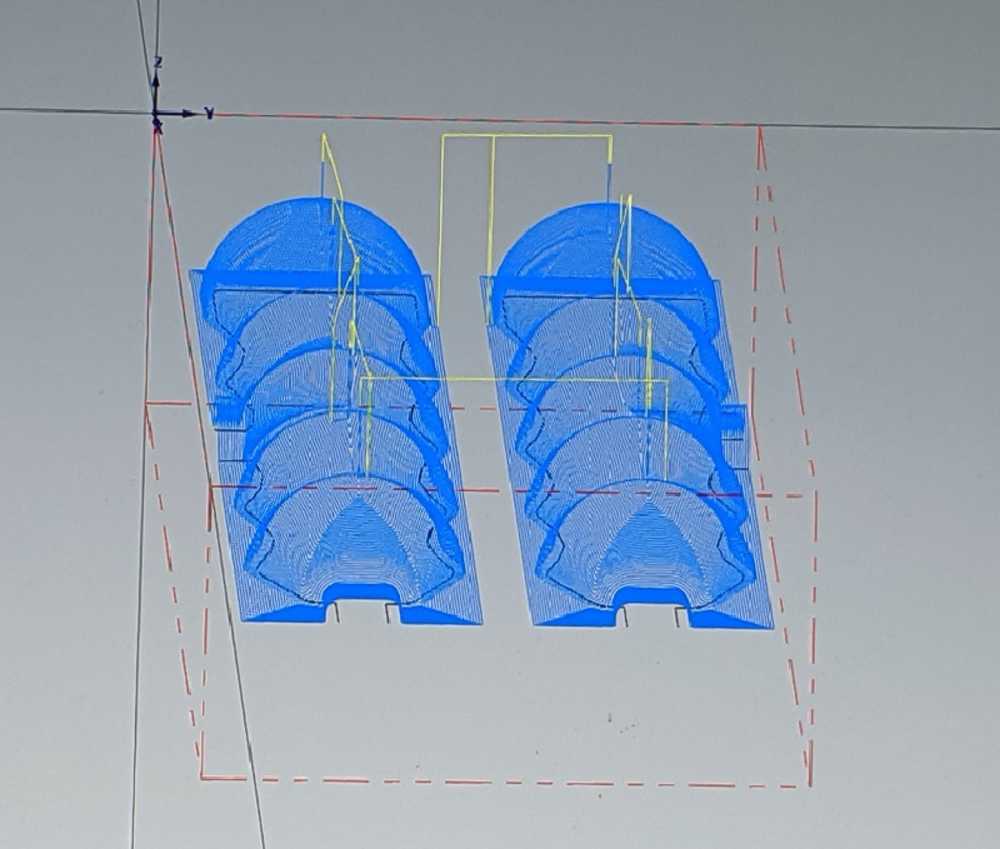
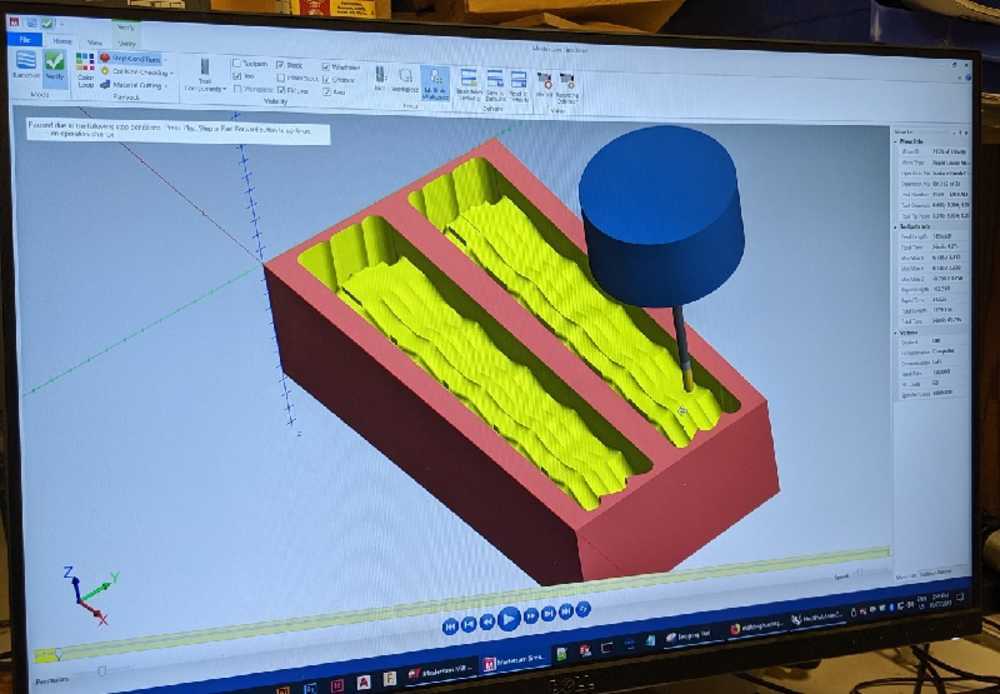
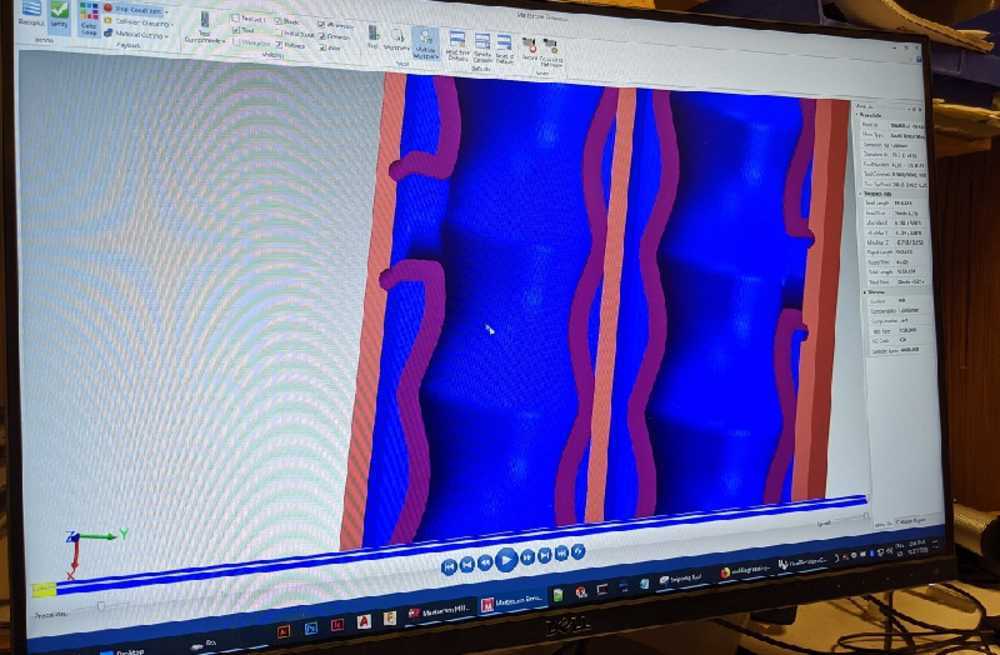
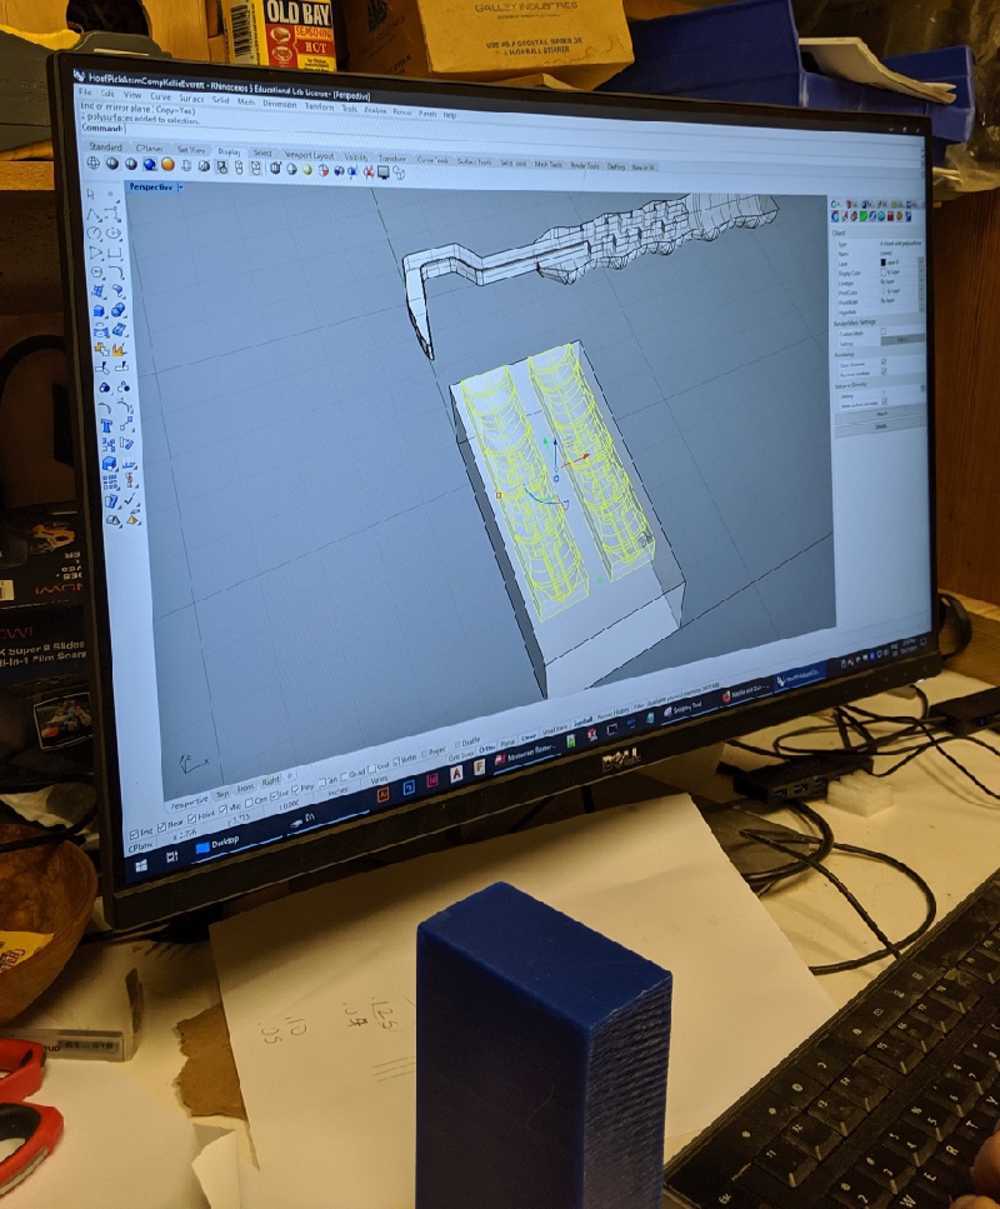
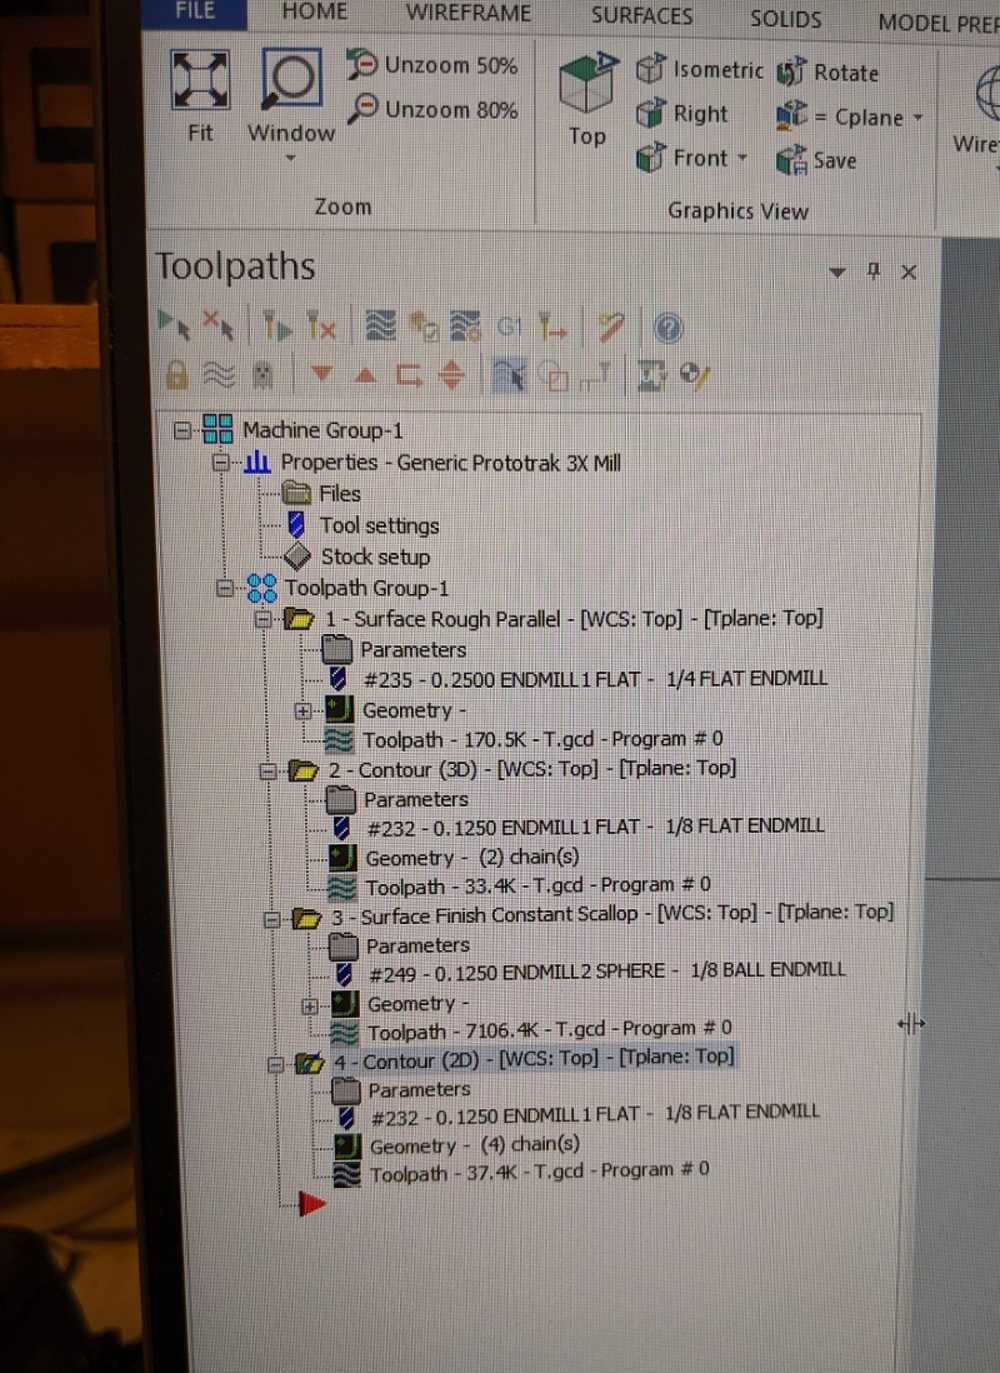
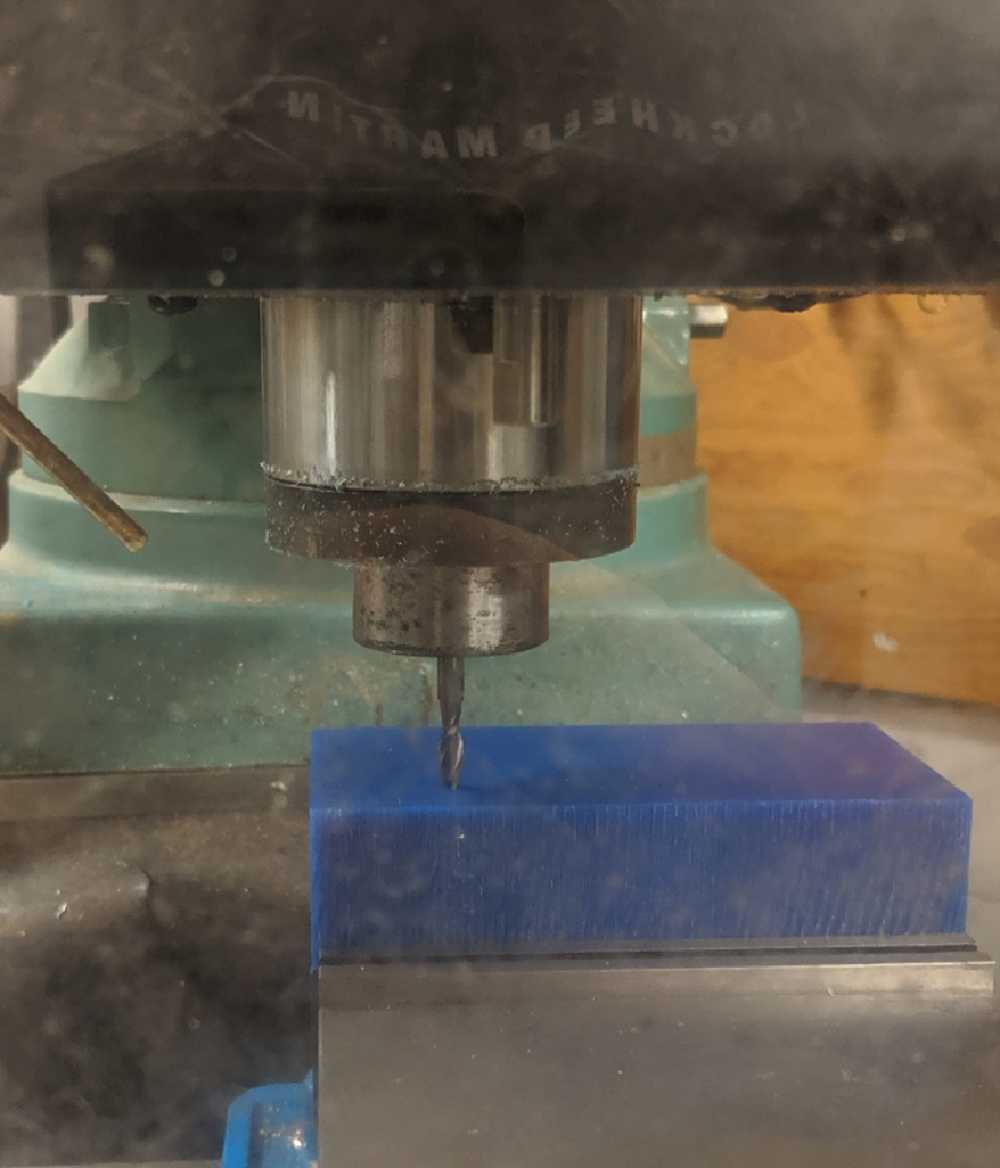
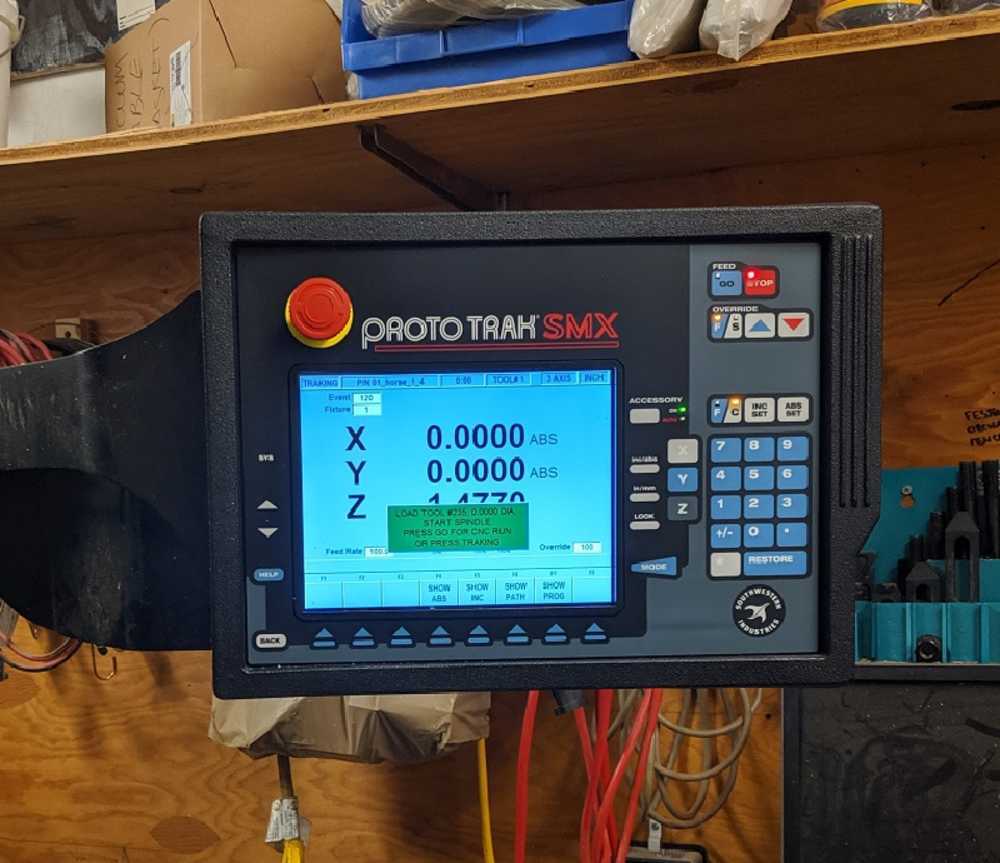
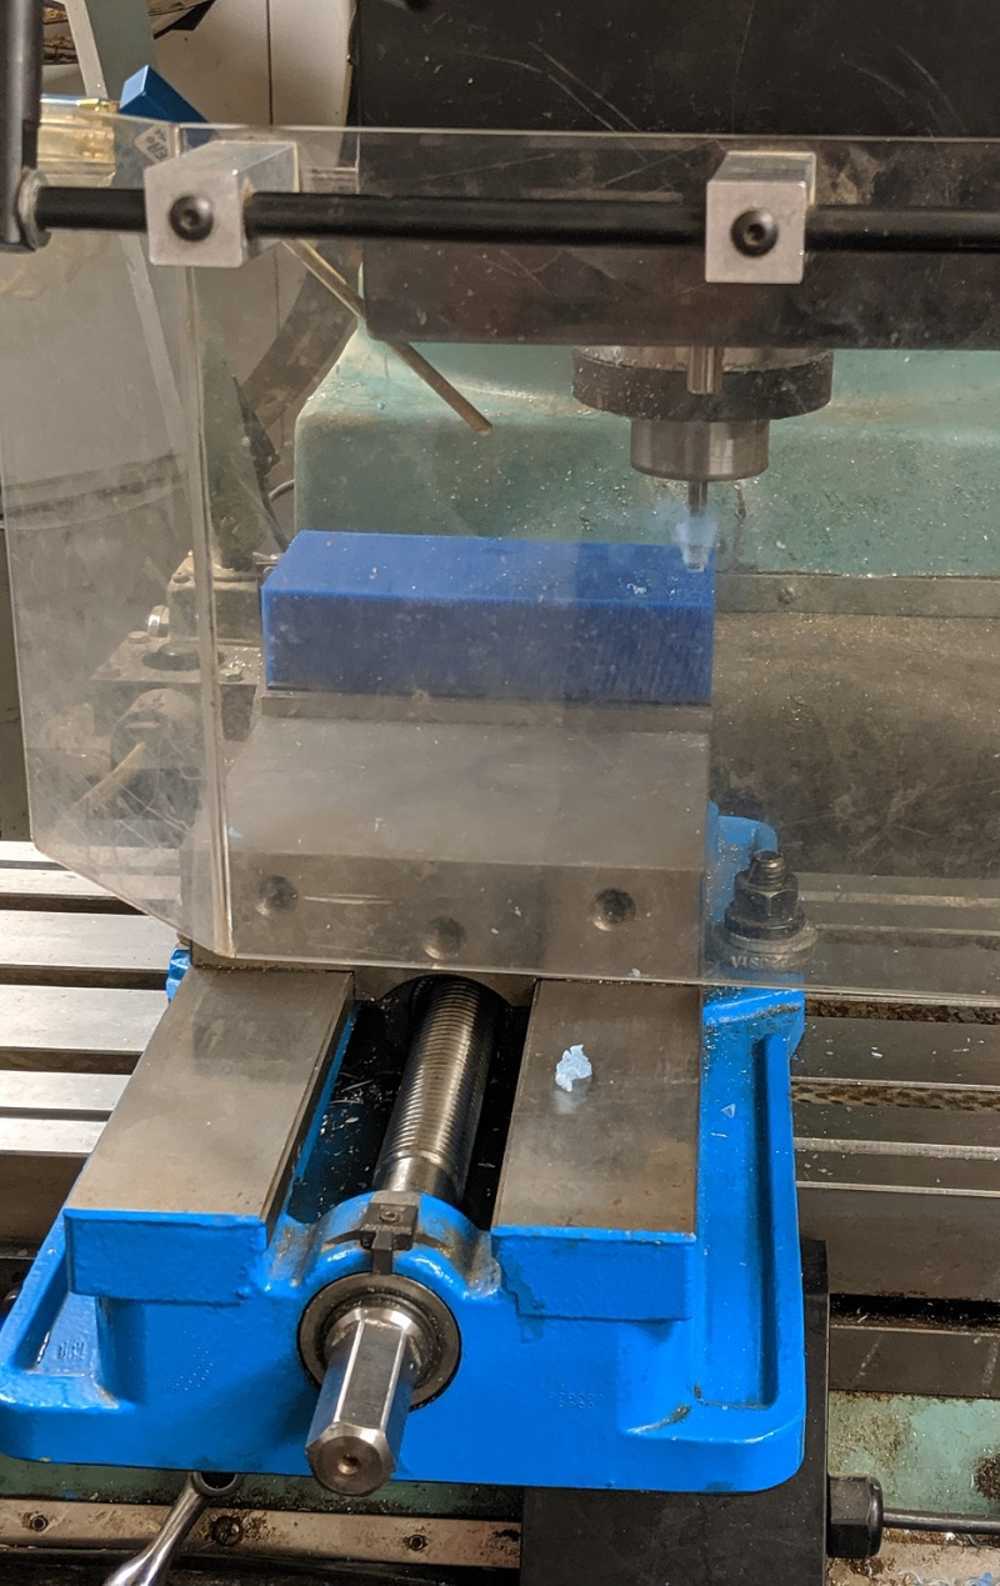
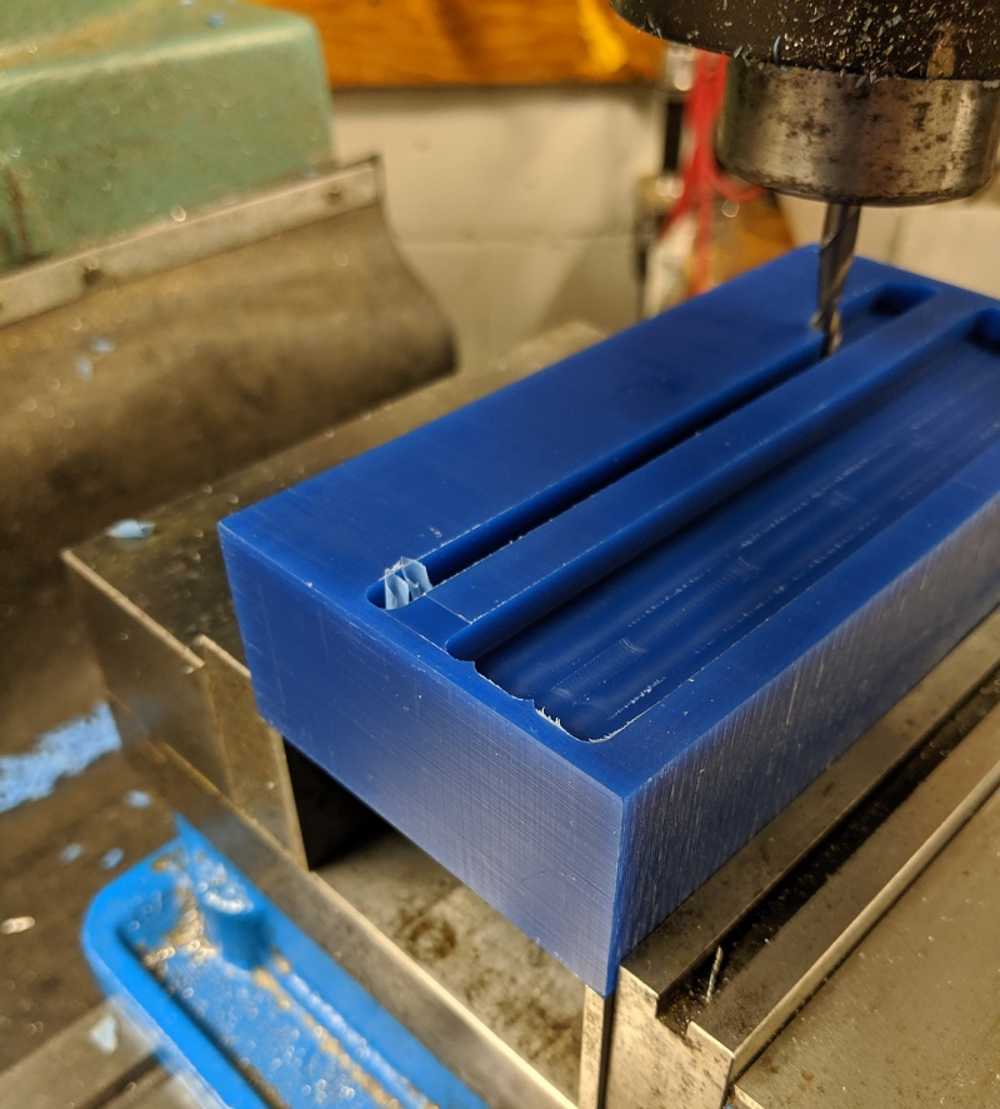
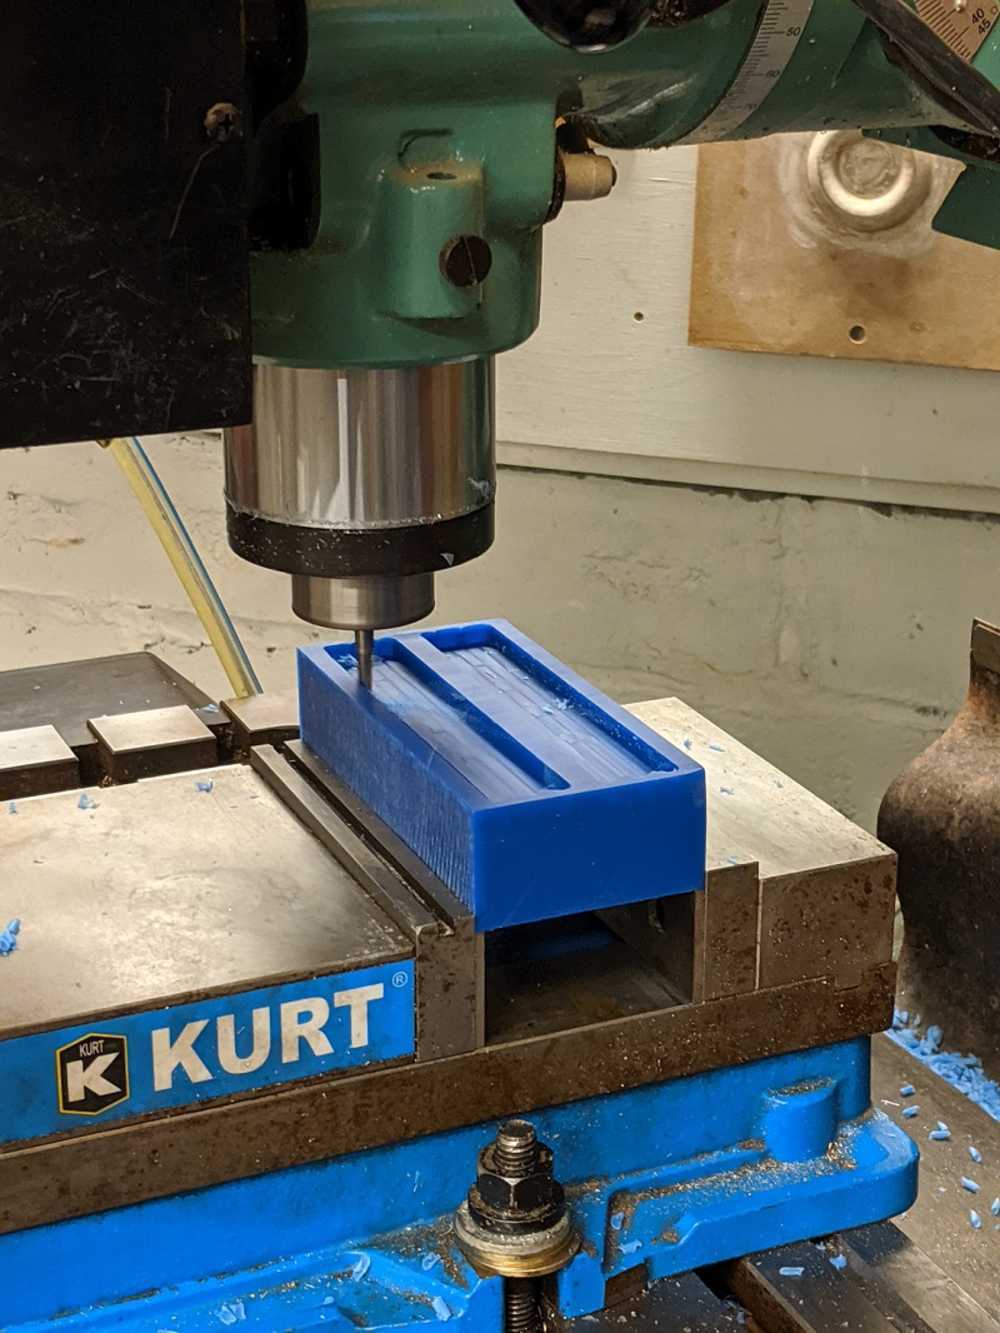
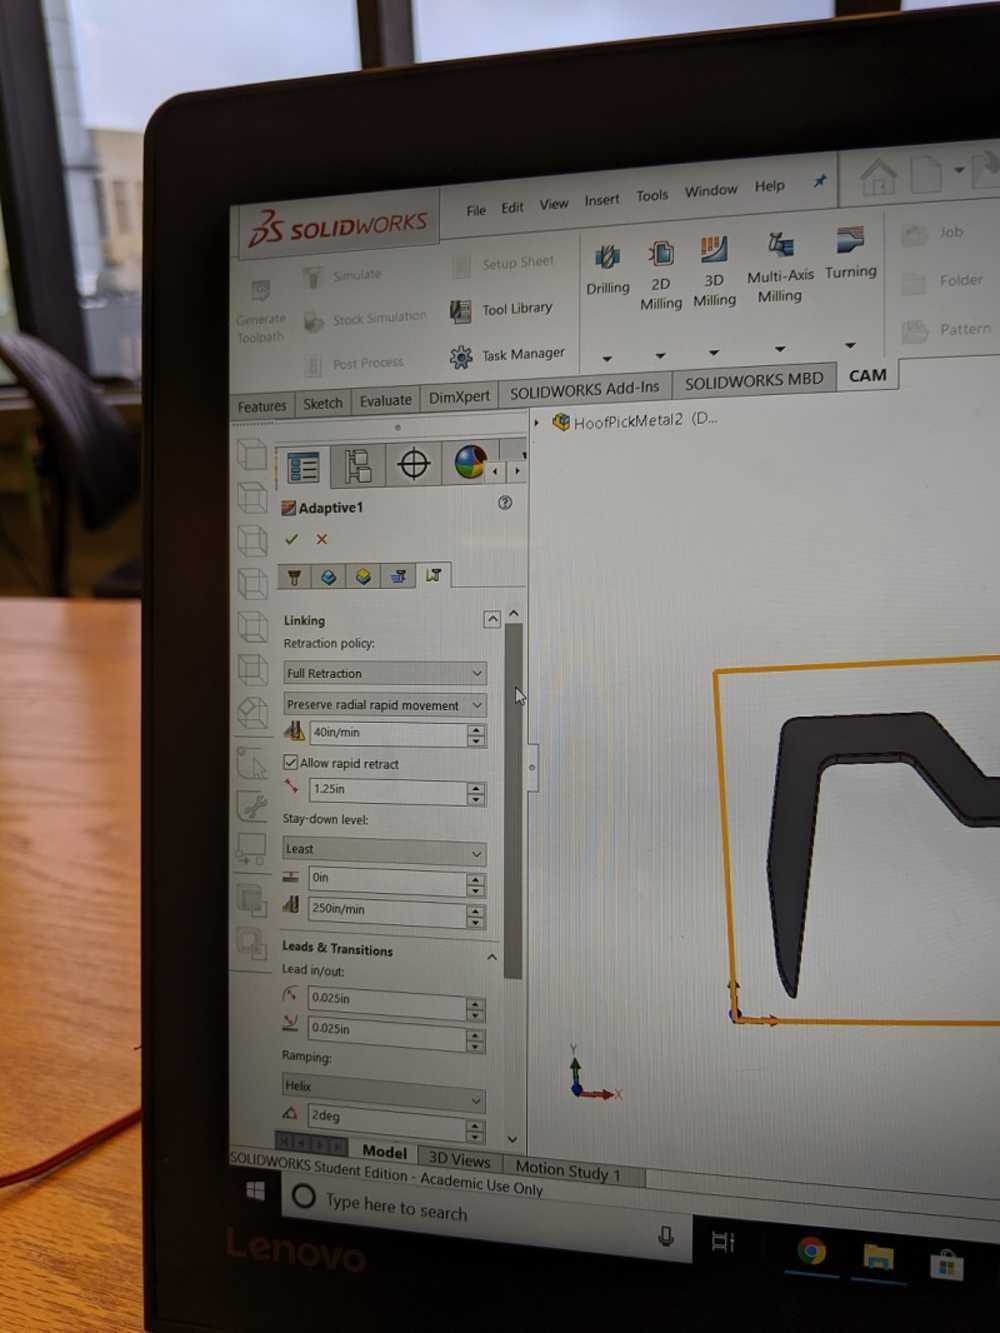
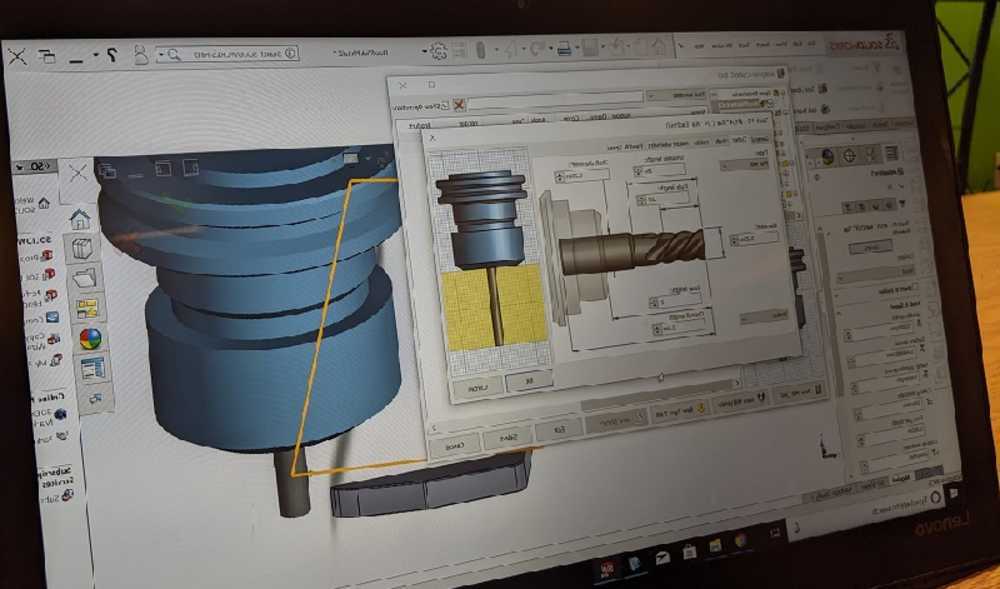
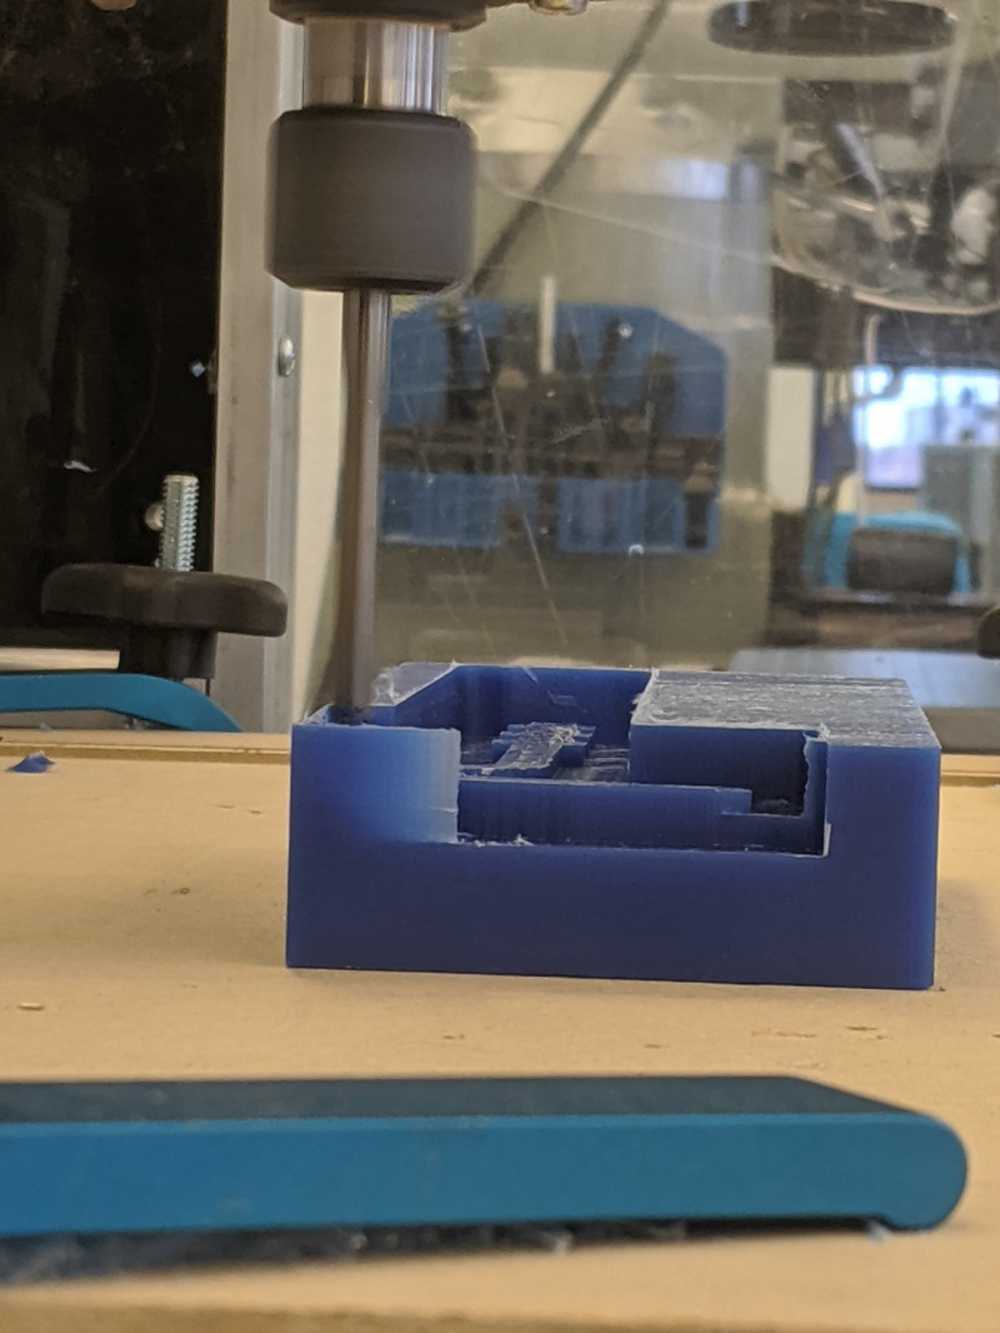
- Tool Path Review
- - The first pass was a brute force removal of the material.
- - Next a finer tool was used to start removing excess material.
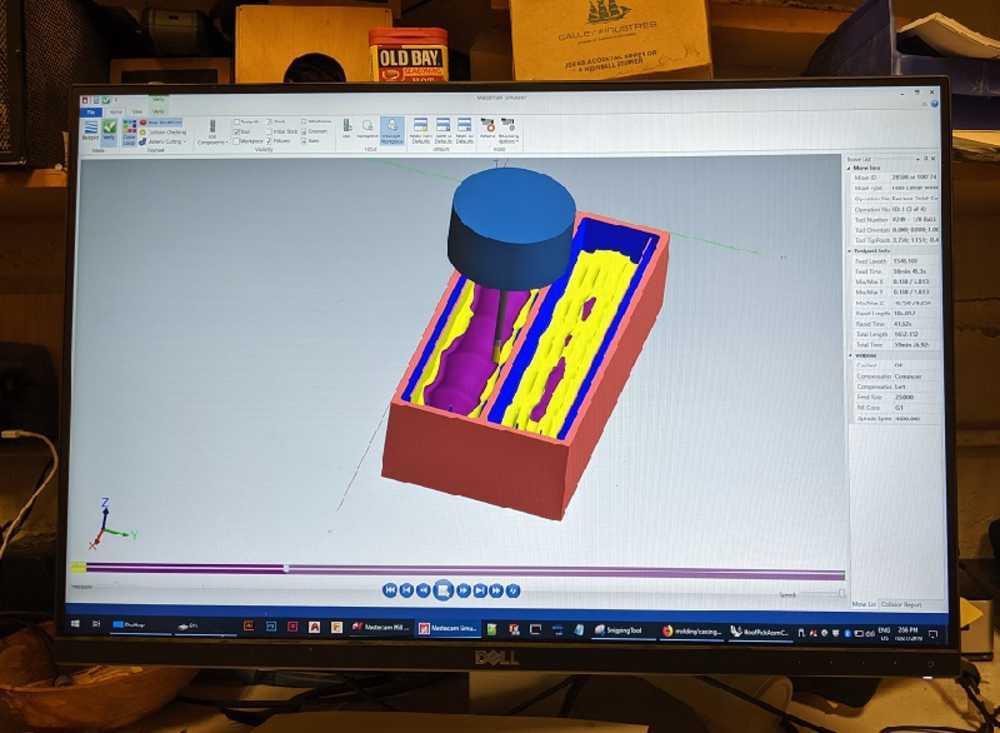
- - The purple path really started in on the filleted areas of the handle.
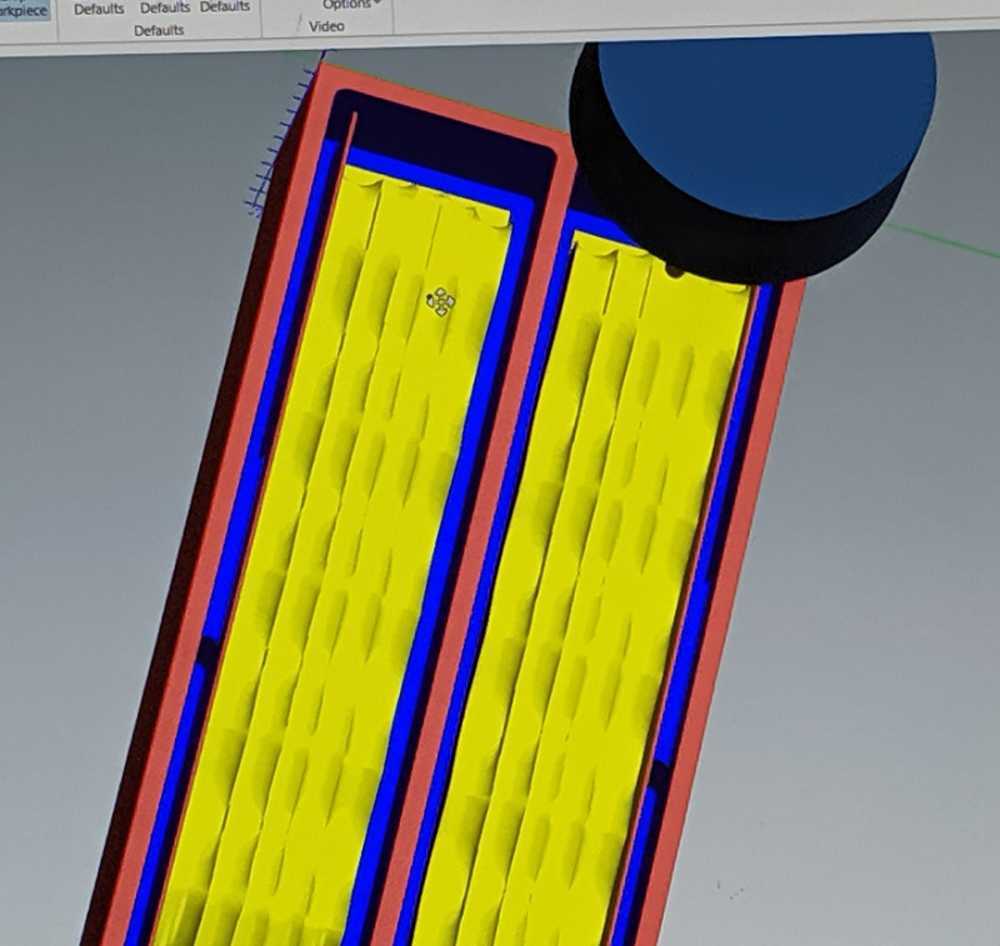
- - The right and left side were mirrored images of one another. Here is a step showing one side completed on this step and the other just finishing.
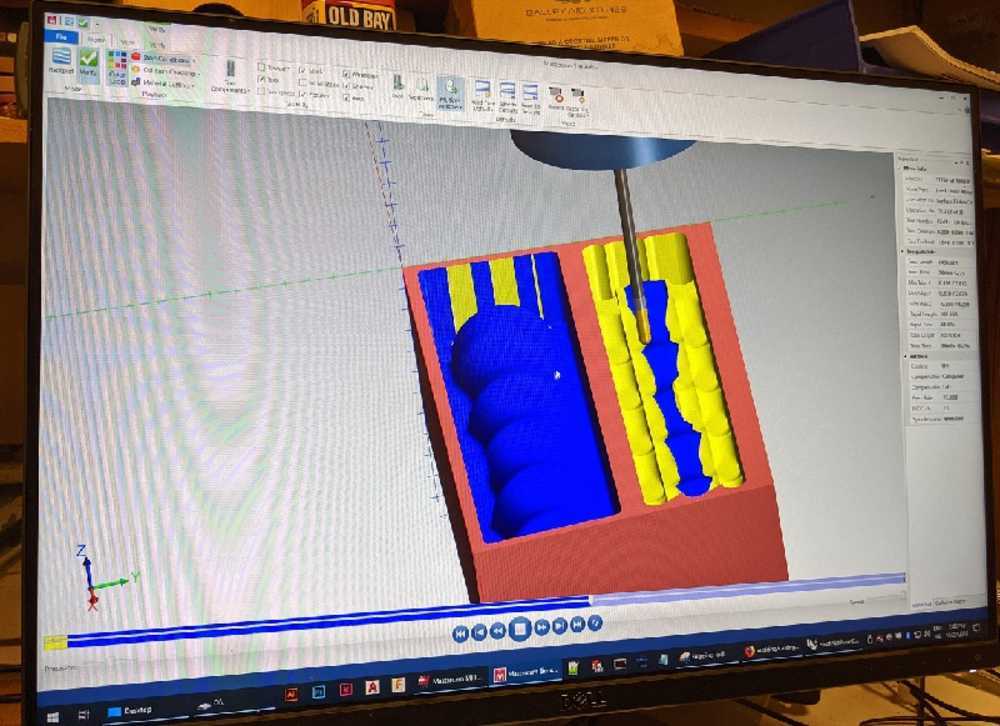
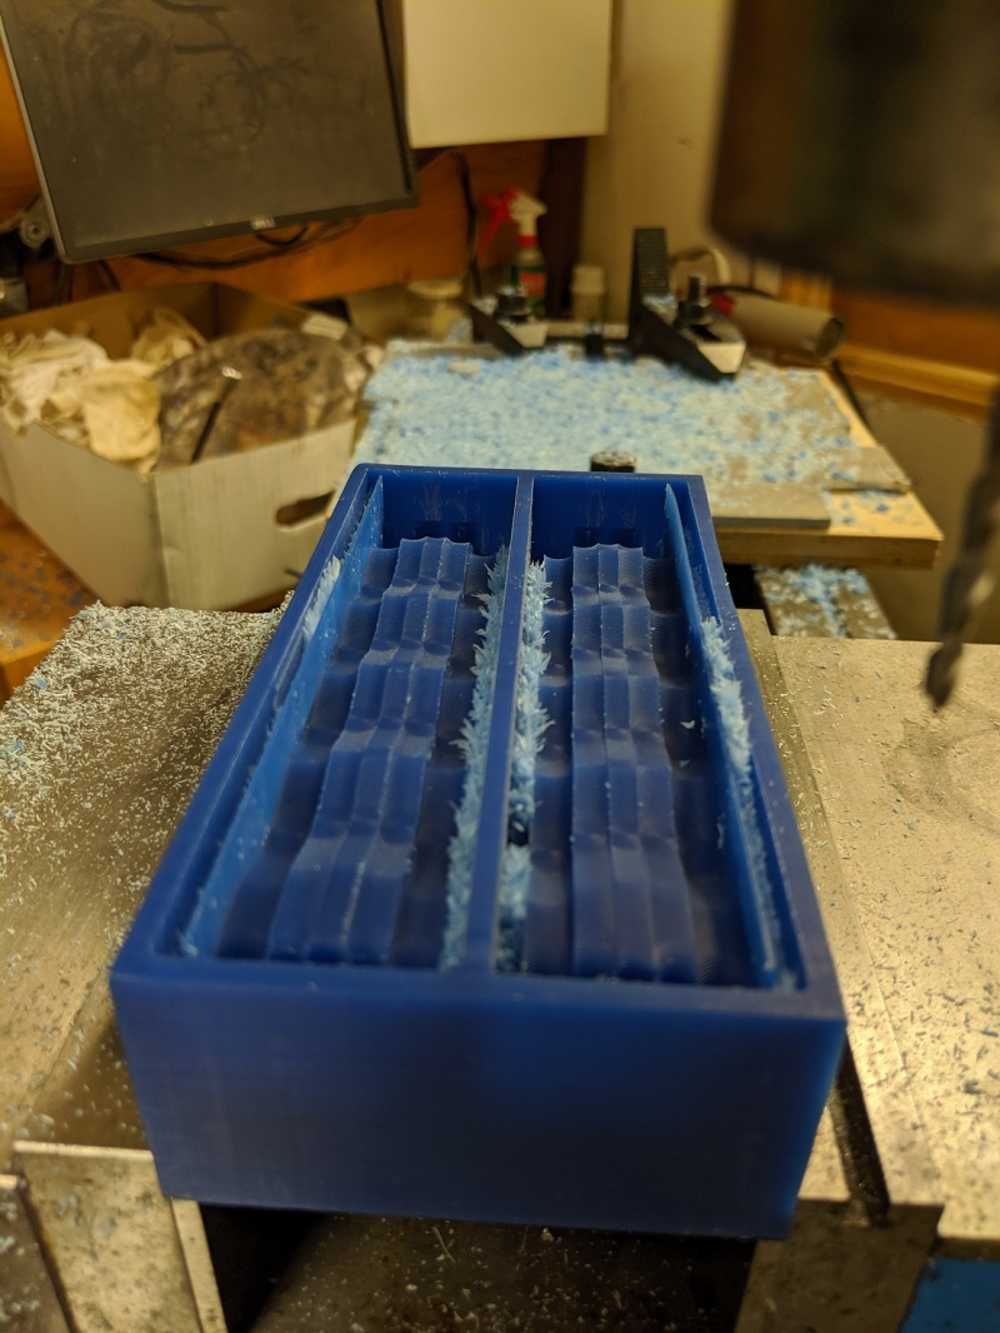
- - One final clean up pass, and it should be good to go!
- - Next a finer tool was used to start removing excess material.


Group Assignment Type Stuff