Week 10


Output Devices


Accelerometer and Such

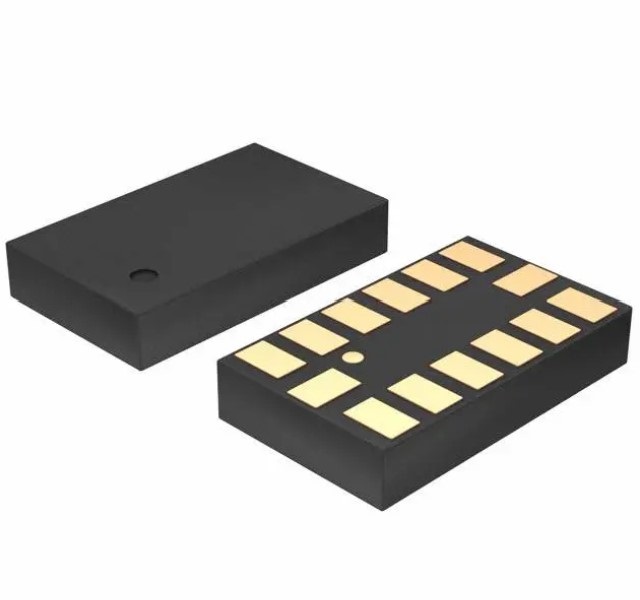
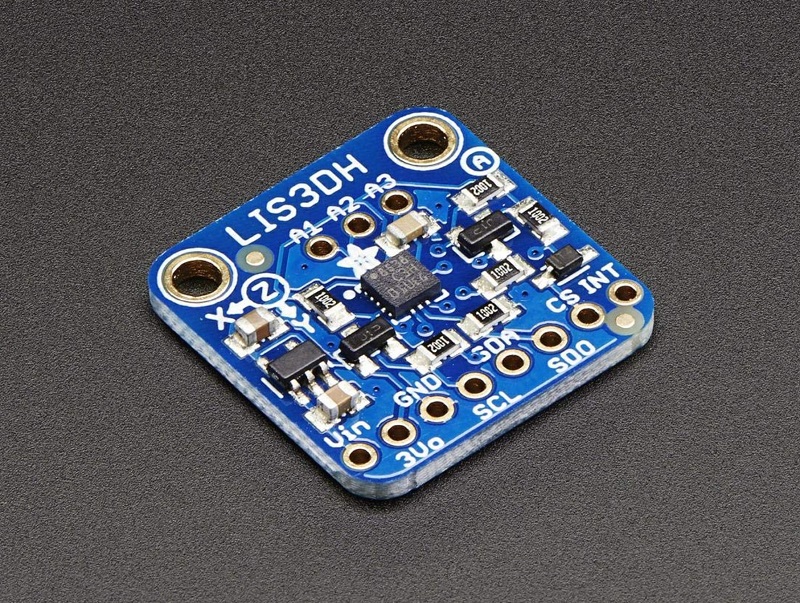
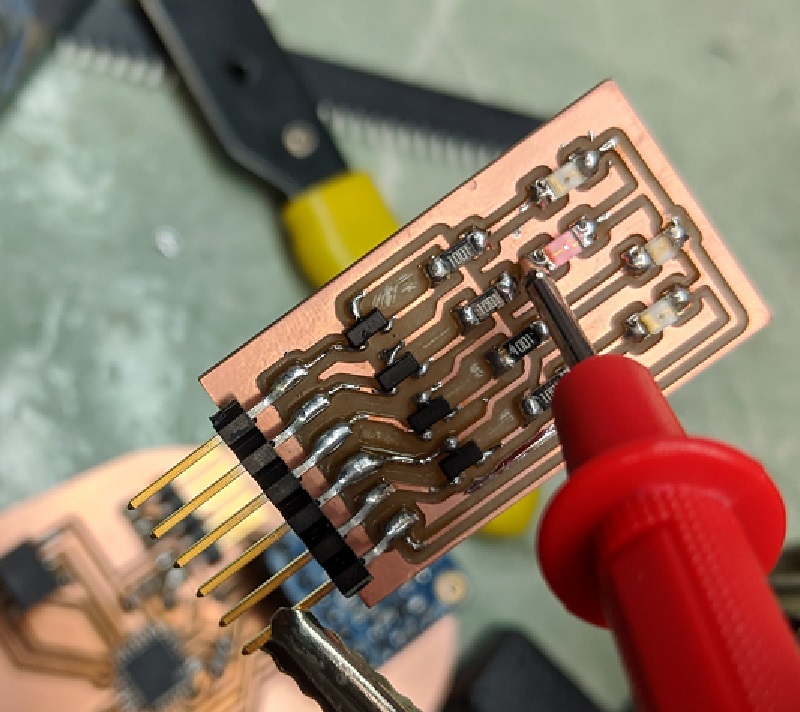
I wanted to use the accelerometer provided by the shop. I kept running into soldering difficulties. I ended up deciding on ordering an accelerometer. I had basically the board 3 or 4 times and decided that the cost versus time of buying an accelerometer made sense.


I had initially started my board design with an ADXL343BCCZ-ND. Using solder paste I was able to attach the chip and continue with attempting to program. After hours of troubleshooting and finding errors in the drawings that I had made (swapped two pin connections) I finally had a working board.


I had the worst time trying to communicate with the chip. Not only was I using a different microcontroller than the website originally had for the circuit, but I also had to figure out how to use ICE to program with.


In the process of trying to figure out what was going on, I made a sketch of what I thought was happening. This ended up pointing out where I had incorrectly soldered parts of my board.

After an immense amount of struggle, I was finally able to see that G-Forces do infact exist!

The next question I had to answer was, "Which accelerometer do I want to use?" You might think that the simple answer is the one supplied by the class, but I decided that buying one would save me on time. $6.97 later and I had and Adafruit LIS3DH Triple-Axis Accelerometer.


So how would I output this information? LIGHTS!


I ended up using a different to do final light testing, but this was a good start to understanding MOSFETs and LEDs.


Sometimes you gotta do what you gotta do to get things done.


Lights are on!


Further progress on this will be documented on my Final Project page!