Week 12 - Machine Week
My Contributions
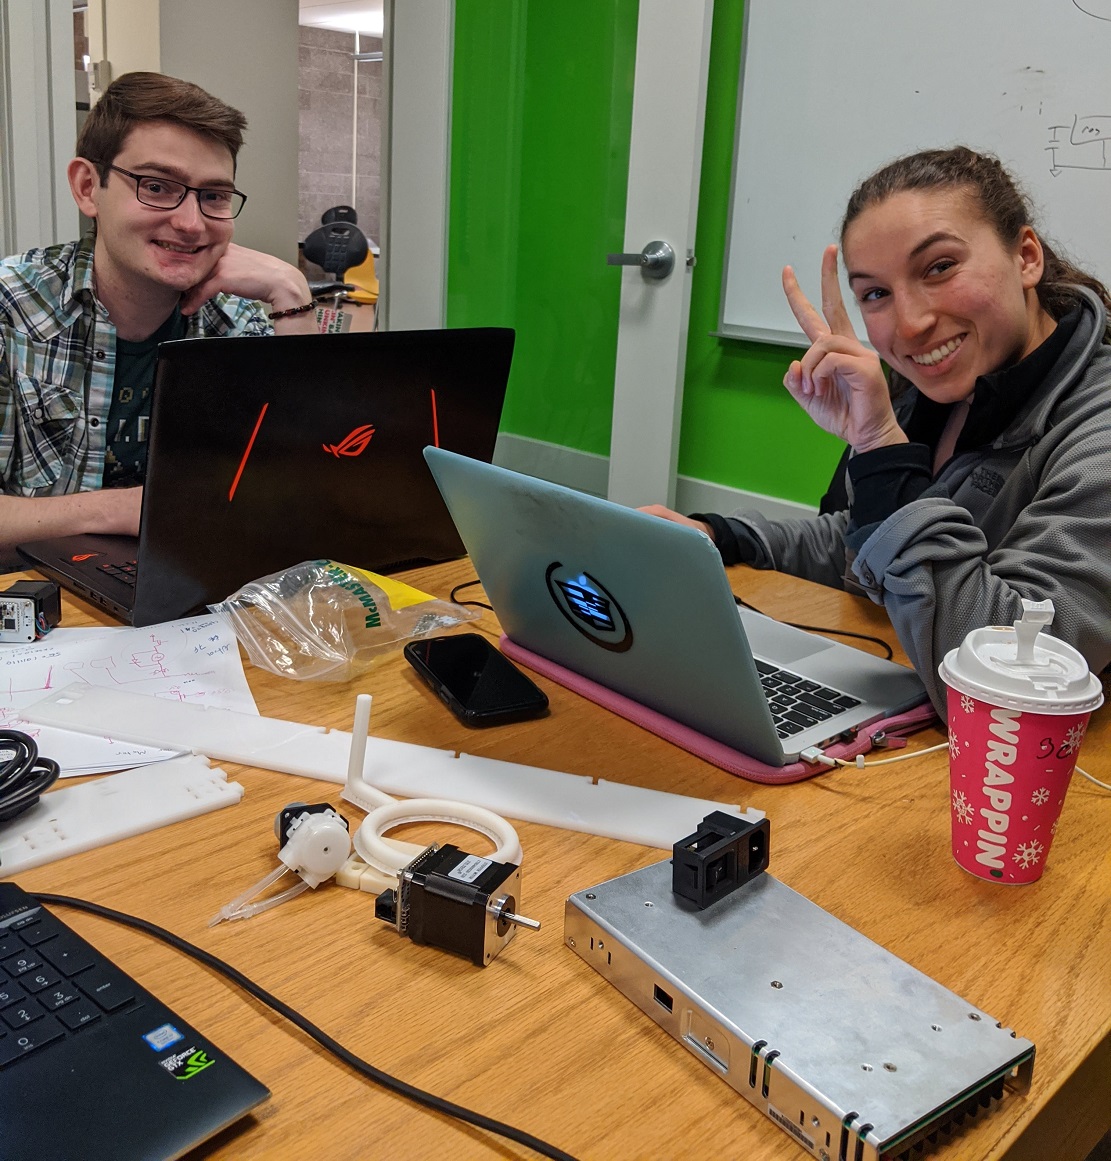
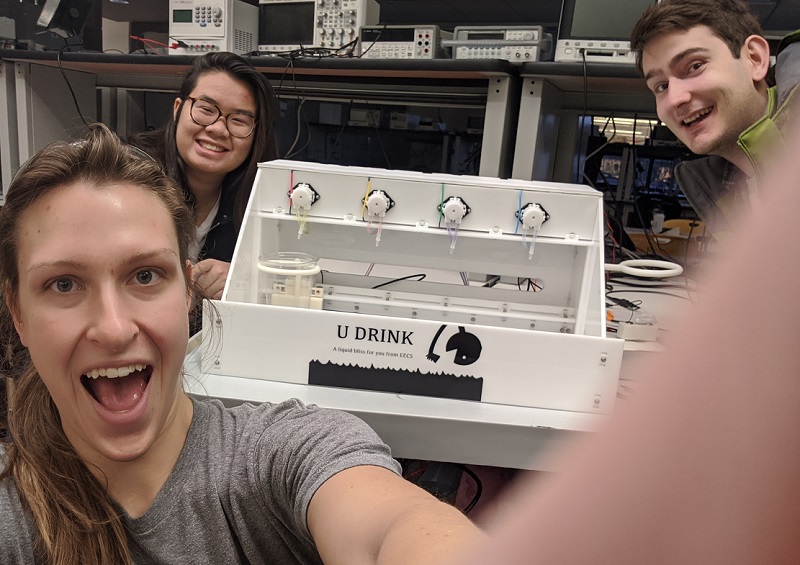 The morning crew just before delivery!!!
I felt horrible when we first started this project. All my time was consumed as
it was the second week of performances for The One You Feed. On the plus side, this
also meant that I was done. It was a great experience, but consumed too much of my
time. Fortunately, my team was great and went through the initial design and
planning phase without me.
 So I was put incharge of part organization. That may have been a mistake, but let me tell
you that those parts were organized to a 't'. In a storage bin with 12 dividers I sorted the parts.
Each part got a description that matched a list I had created.
The parts each started in little white baggies. Although they had some part numbers
and some part descriptions on these, they were not all linked to the P/N that Jake had
put on his sight. After some quick research everything fell into place.
So I was put incharge of part organization. That may have been a mistake, but let me tell
you that those parts were organized to a 't'. In a storage bin with 12 dividers I sorted the parts.
Each part got a description that matched a list I had created.
The parts each started in little white baggies. Although they had some part numbers
and some part descriptions on these, they were not all linked to the P/N that Jake had
put on his sight. After some quick research everything fell into place.
 I wanted to make a list that we could all reference if there were any questions. This
way work could be done regardless of who was working on it. It never came to fruition as
the box that I put all the small hardware in seemed to do the trick.
I was actually fairly pleased with how this turned out eventhough there was
no tangible result on the final product from this.
I wanted to make a list that we could all reference if there were any questions. This
way work could be done regardless of who was working on it. It never came to fruition as
the box that I put all the small hardware in seemed to do the trick.
I was actually fairly pleased with how this turned out eventhough there was
no tangible result on the final product from this.
 The labels above were written while I was waiting for the board to mill. It turned out quite
simple and nice. The numbers reference the list I made.
The labels above were written while I was waiting for the board to mill. It turned out quite
simple and nice. The numbers reference the list I made.
 Eventhough we were only using a single side of a board I decided that I would use the
OtherMill. I prefer it for some reason, even with the mosquito noise.
Eventhough we were only using a single side of a board I decided that I would use the
OtherMill. I prefer it for some reason, even with the mosquito noise.
 A board freshly milled. I did run into a minor issue that once switching the bit I had to
restart that portion of the job, because it started running it without running the actual mill.
This put us ever so slightly past OH, but the over instruct was extremely kind and waited a few
minutes for it to finish.
So what else could I possible add to the project? Well, I tried to do any of the minimal but
tedious tasks that needed to be done, but that no one else really wanted or considered to do.
A board freshly milled. I did run into a minor issue that once switching the bit I had to
restart that portion of the job, because it started running it without running the actual mill.
This put us ever so slightly past OH, but the over instruct was extremely kind and waited a few
minutes for it to finish.
So what else could I possible add to the project? Well, I tried to do any of the minimal but
tedious tasks that needed to be done, but that no one else really wanted or considered to do.
 The screw holes for the pump did not align properly with the laser cut acrylic. This worried me
quite a bit. Now a very brittle material had to be altered. I started hunting for the right tool.
Finding a drill I heavily considered the potential outcome of this. Upon asking for a more professional
opinion, I was handed a Drummel. That was a better choice but absolutely terrifying when it came to
boring the holes.
The screw holes for the pump did not align properly with the laser cut acrylic. This worried me
quite a bit. Now a very brittle material had to be altered. I started hunting for the right tool.
Finding a drill I heavily considered the potential outcome of this. Upon asking for a more professional
opinion, I was handed a Drummel. That was a better choice but absolutely terrifying when it came to
boring the holes.
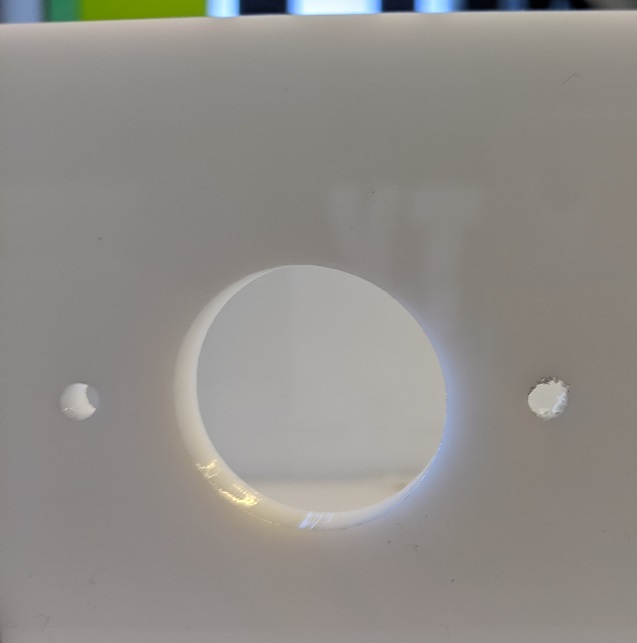 With only a minor blowout, the holes were made wider and I was able to securely fasten the
pumps in. I made sure to use washers on the side against the acrylic for added support.
With only a minor blowout, the holes were made wider and I was able to securely fasten the
pumps in. I made sure to use washers on the side against the acrylic for added support.
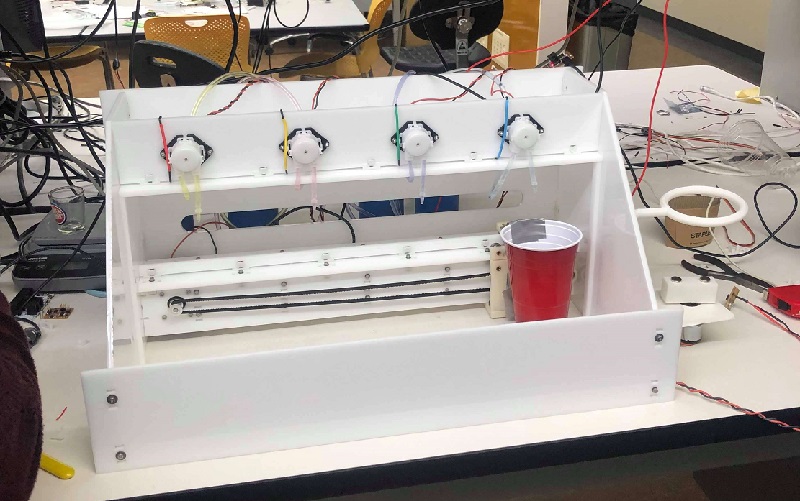
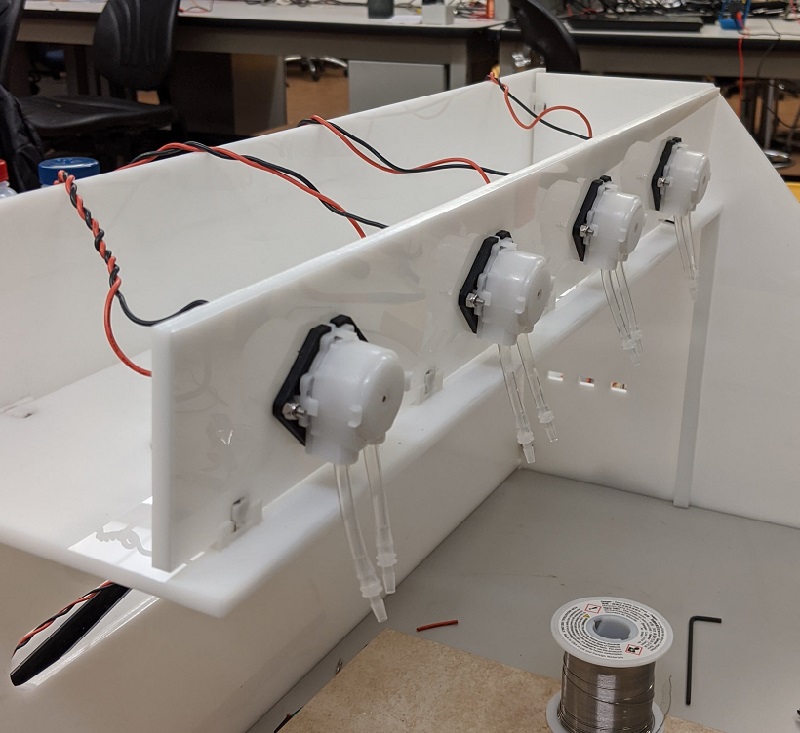
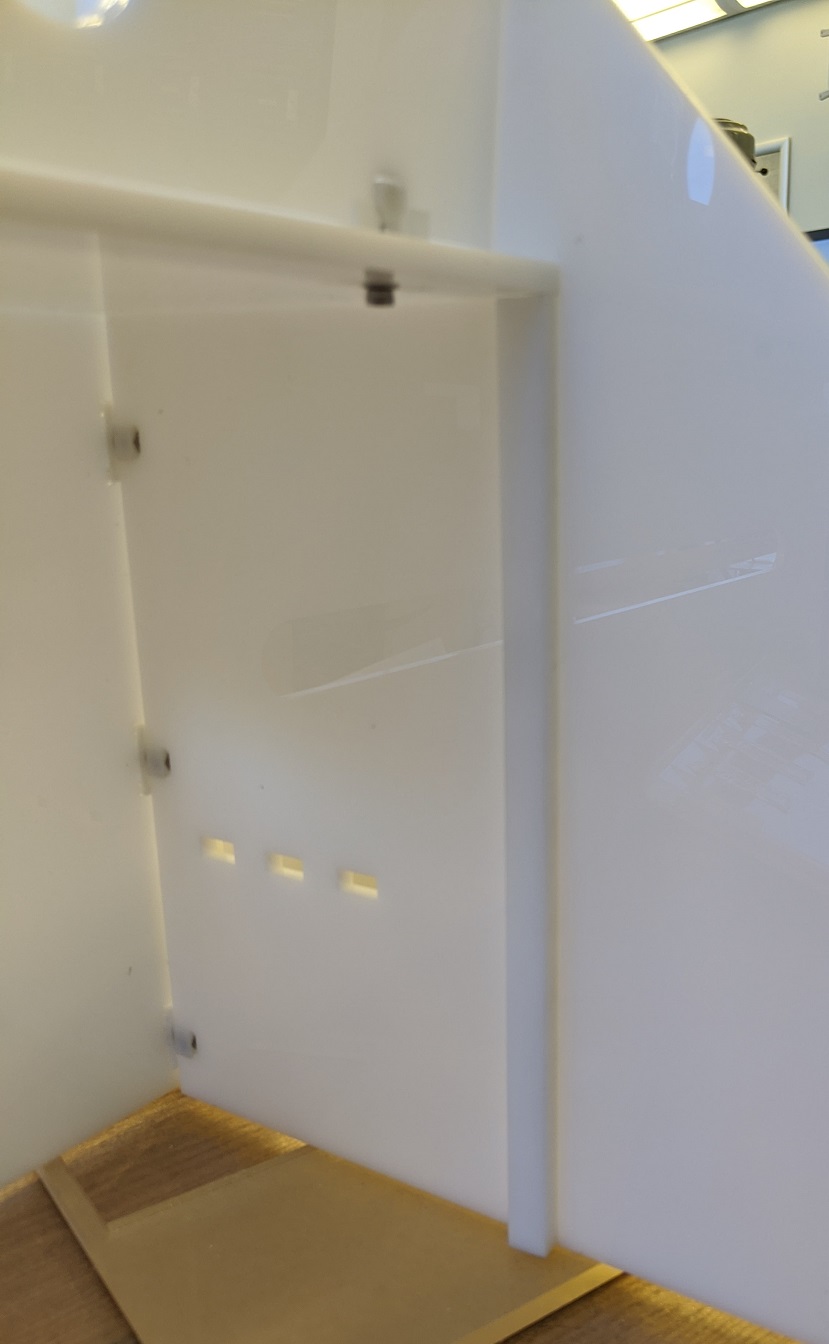 While messing with the pumps, I noticed a minor deficiency to the ledge that supported
them. There was no side or front structural support. I added thin columns on either side of
the beam to ensure there was a weight bearing support there. I attached it with hot glue after
roughing the surface a bit with coarse sandpaper. This piece was attached to allow for dissassembly
of the machine. The second support was added later after the track was installed.
While messing with the pumps, I noticed a minor deficiency to the ledge that supported
them. There was no side or front structural support. I added thin columns on either side of
the beam to ensure there was a weight bearing support there. I attached it with hot glue after
roughing the surface a bit with coarse sandpaper. This piece was attached to allow for dissassembly
of the machine. The second support was added later after the track was installed.
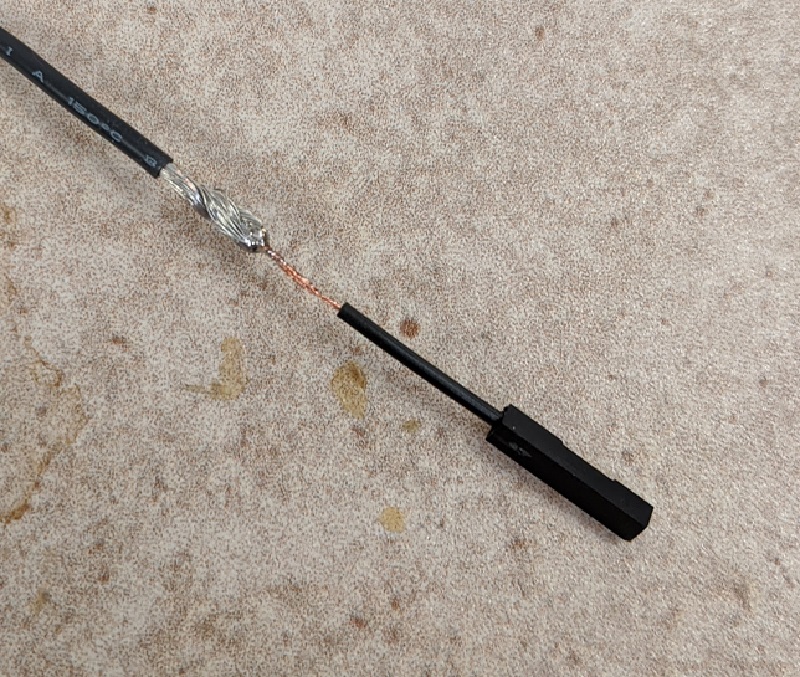
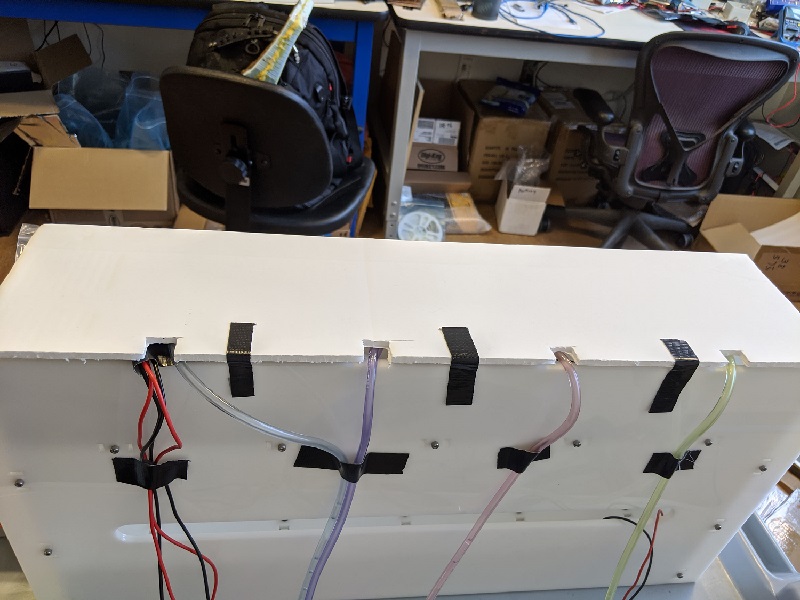
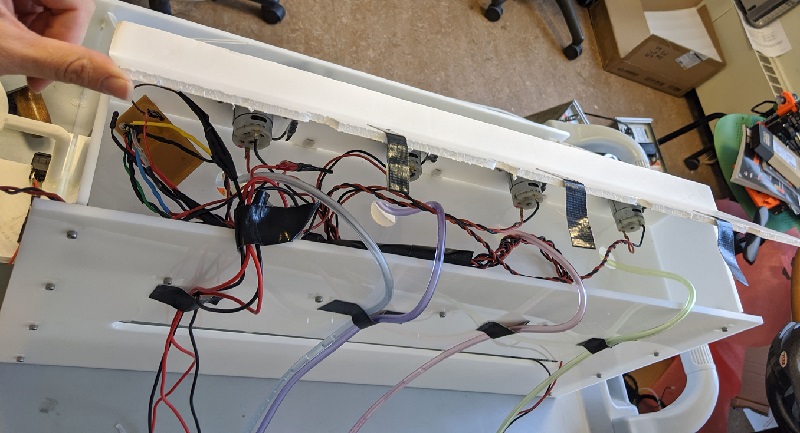
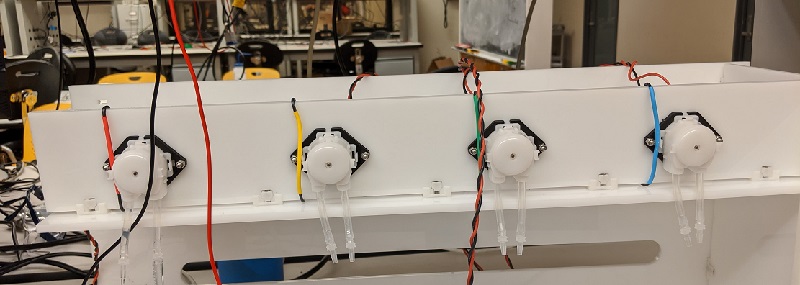 I soldered the leads onto the pumps and added connectors to them as well. You might notice
the wire coated with colored shrink wrap on the front of the U Drink. The ends of the positive
leads has a coordinating color to allow for more precise hookup and troubleshooting.
I soldered the leads onto the pumps and added connectors to them as well. You might notice
the wire coated with colored shrink wrap on the front of the U Drink. The ends of the positive
leads has a coordinating color to allow for more precise hookup and troubleshooting.
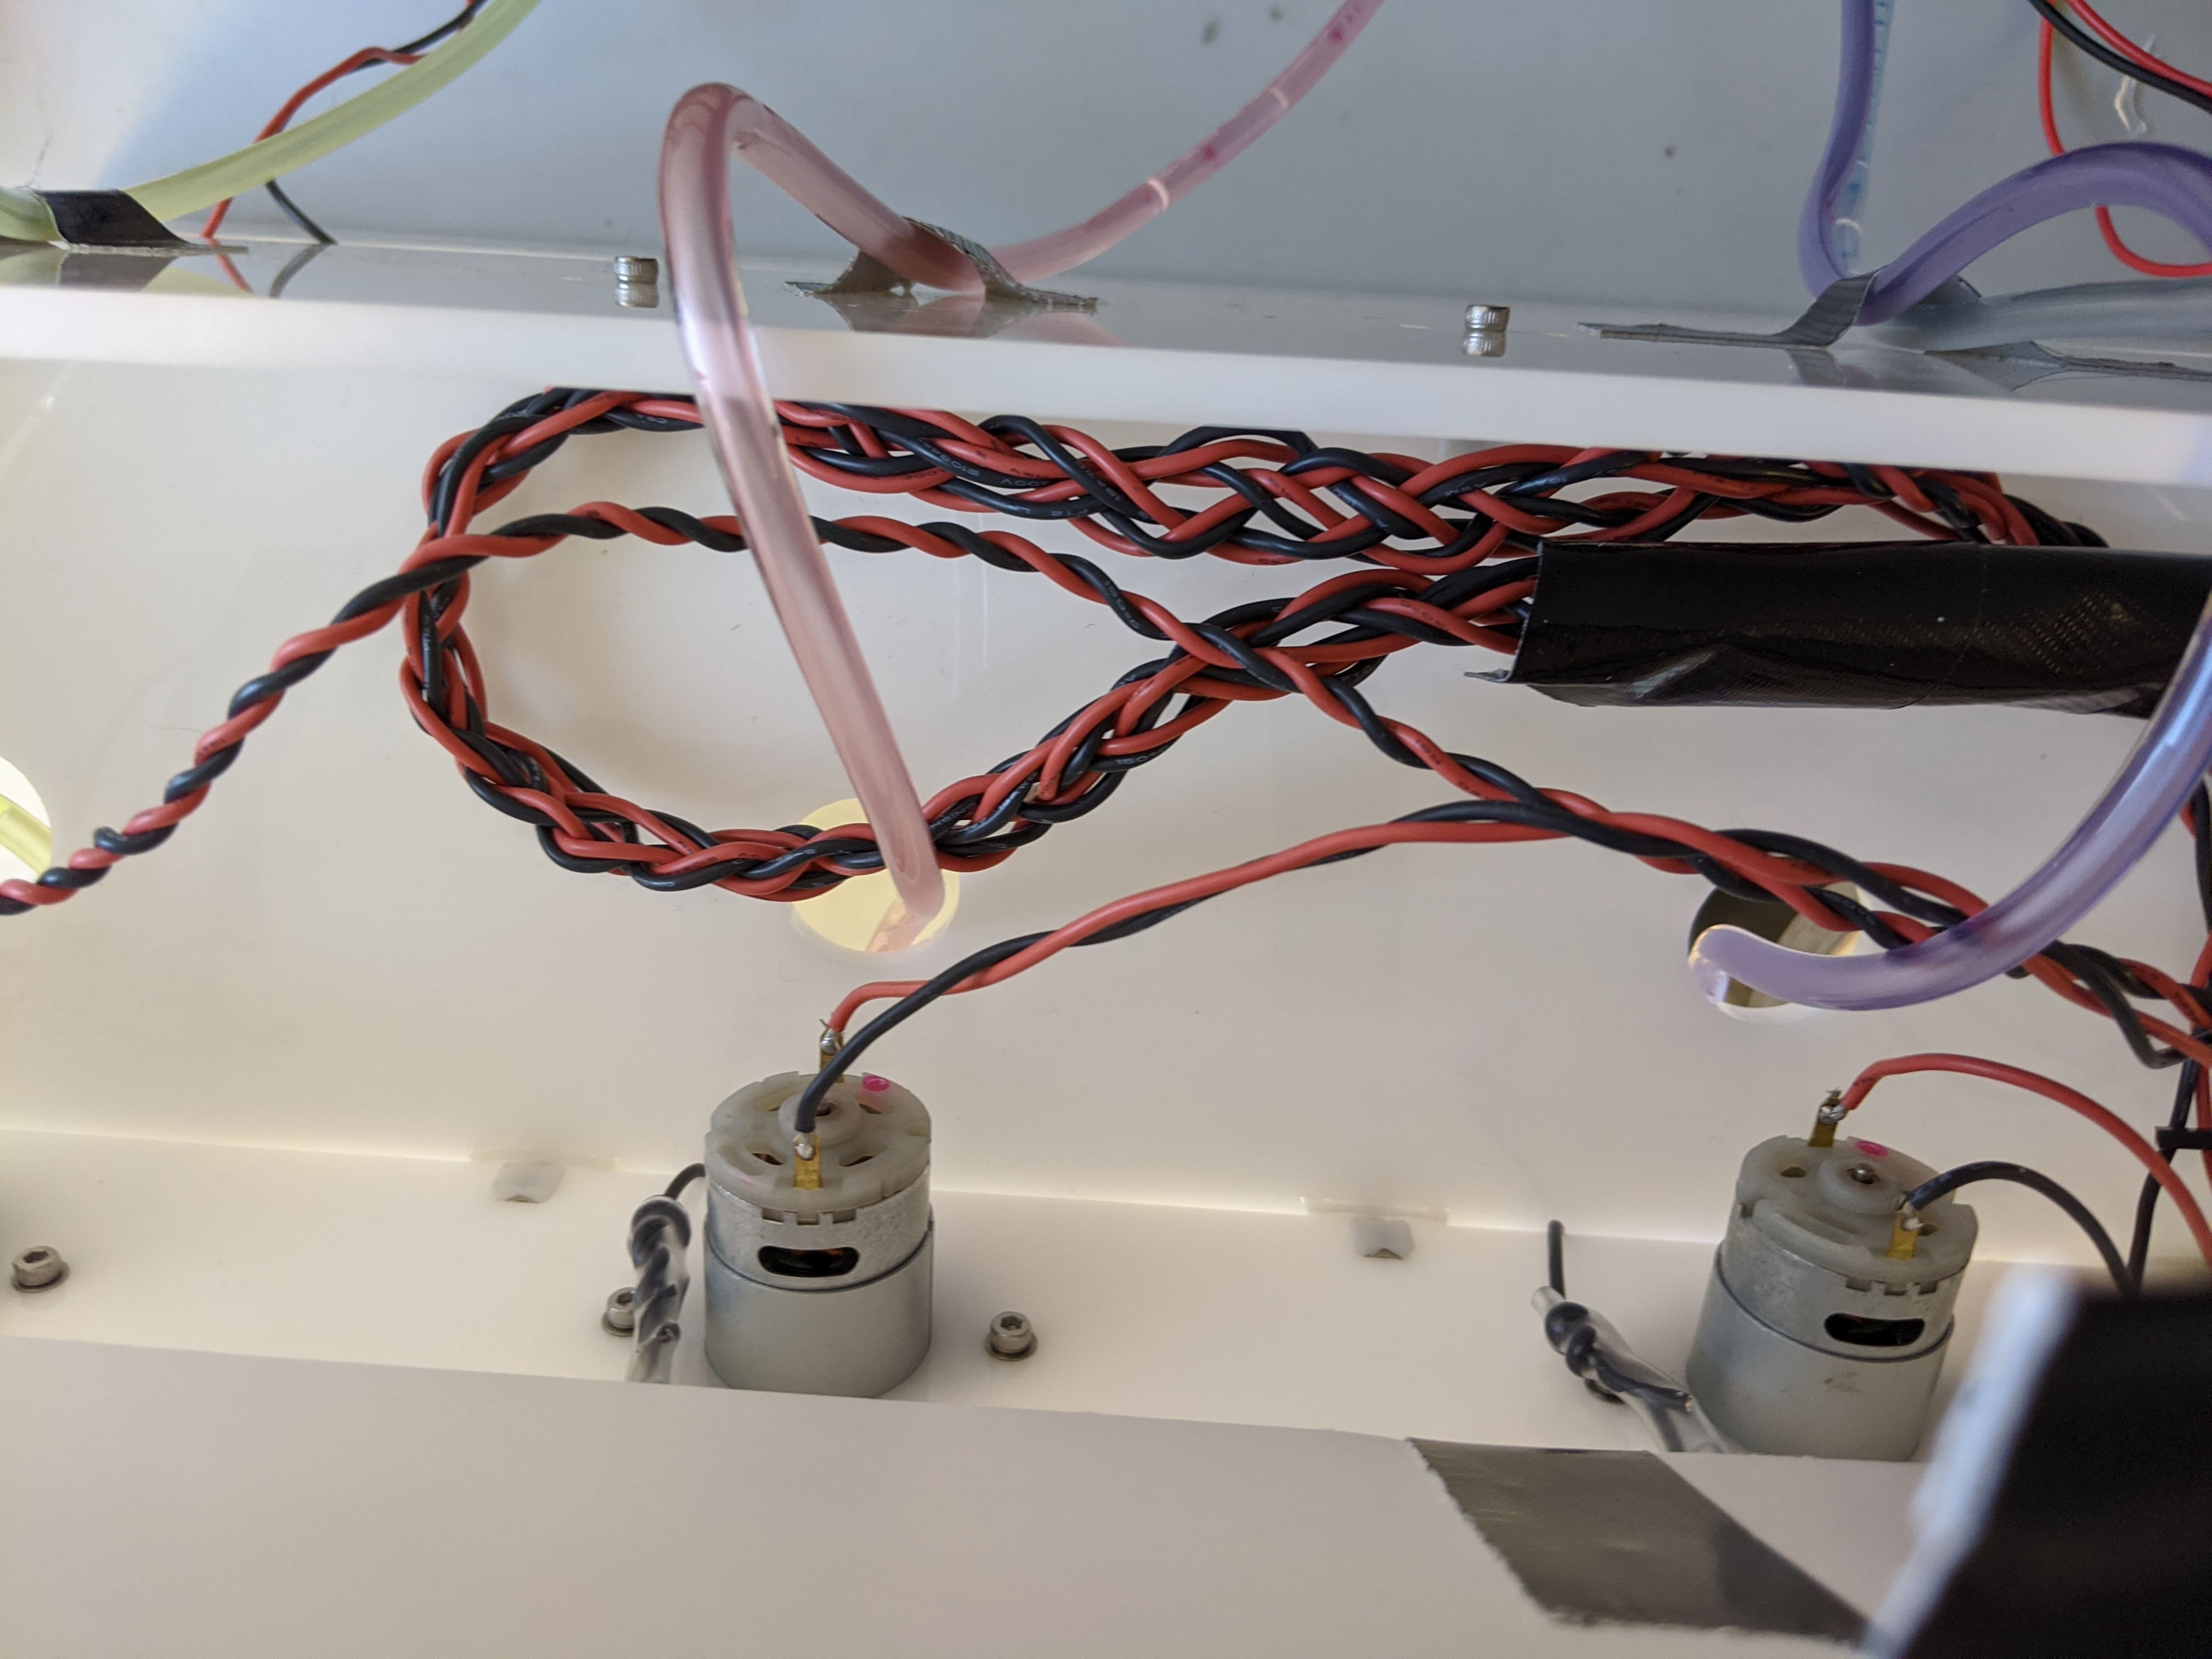
 Each set of positive/negative leads were twisted together using a handheld drill. I was sure
to be gentle with this so I didn't ruin the leads or soldered ends. In hindsight I should have
twisted the ends. Fortunately, everything went well though.
Each set of positive/negative leads were twisted together using a handheld drill. I was sure
to be gentle with this so I didn't ruin the leads or soldered ends. In hindsight I should have
twisted the ends. Fortunately, everything went well though.
 I started by hand twisting, but that was too time intensive.
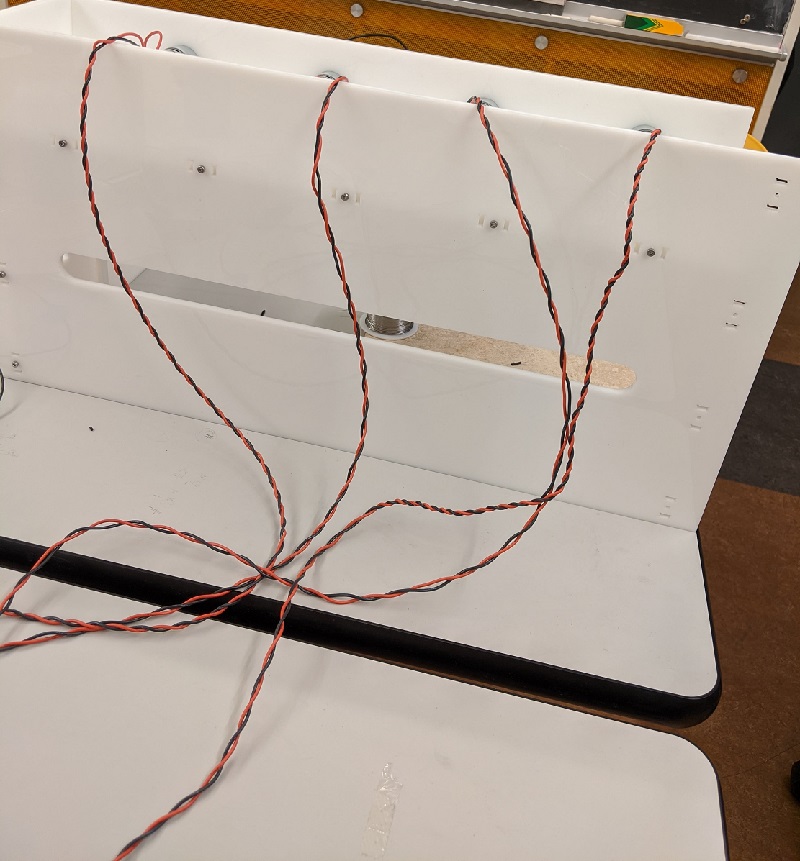 All four sets are twisted successfully!
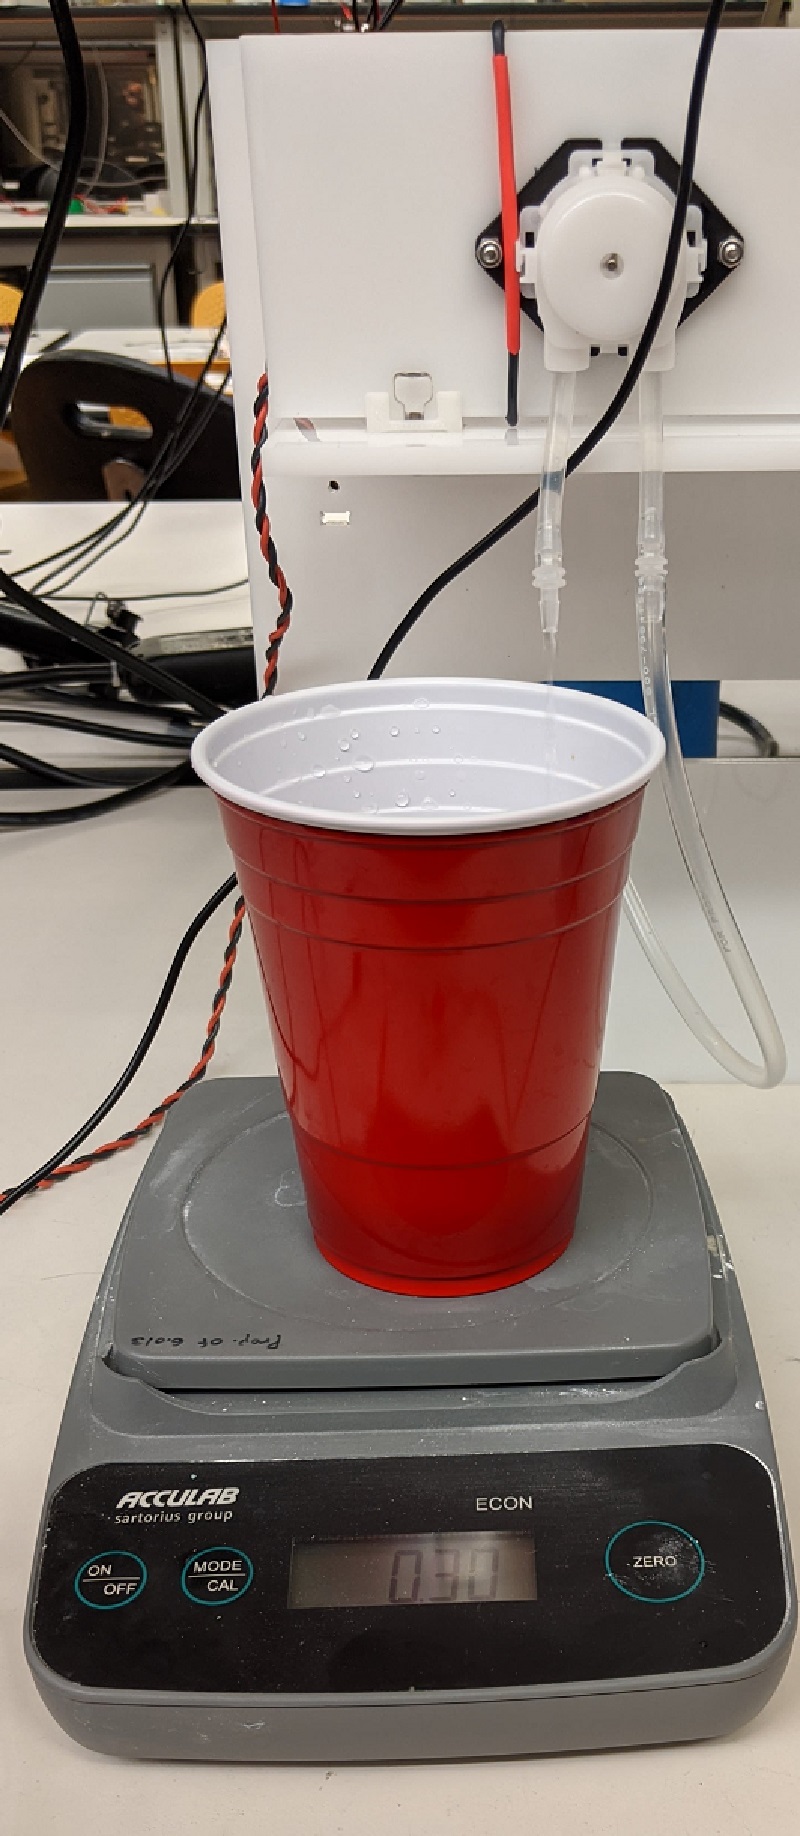
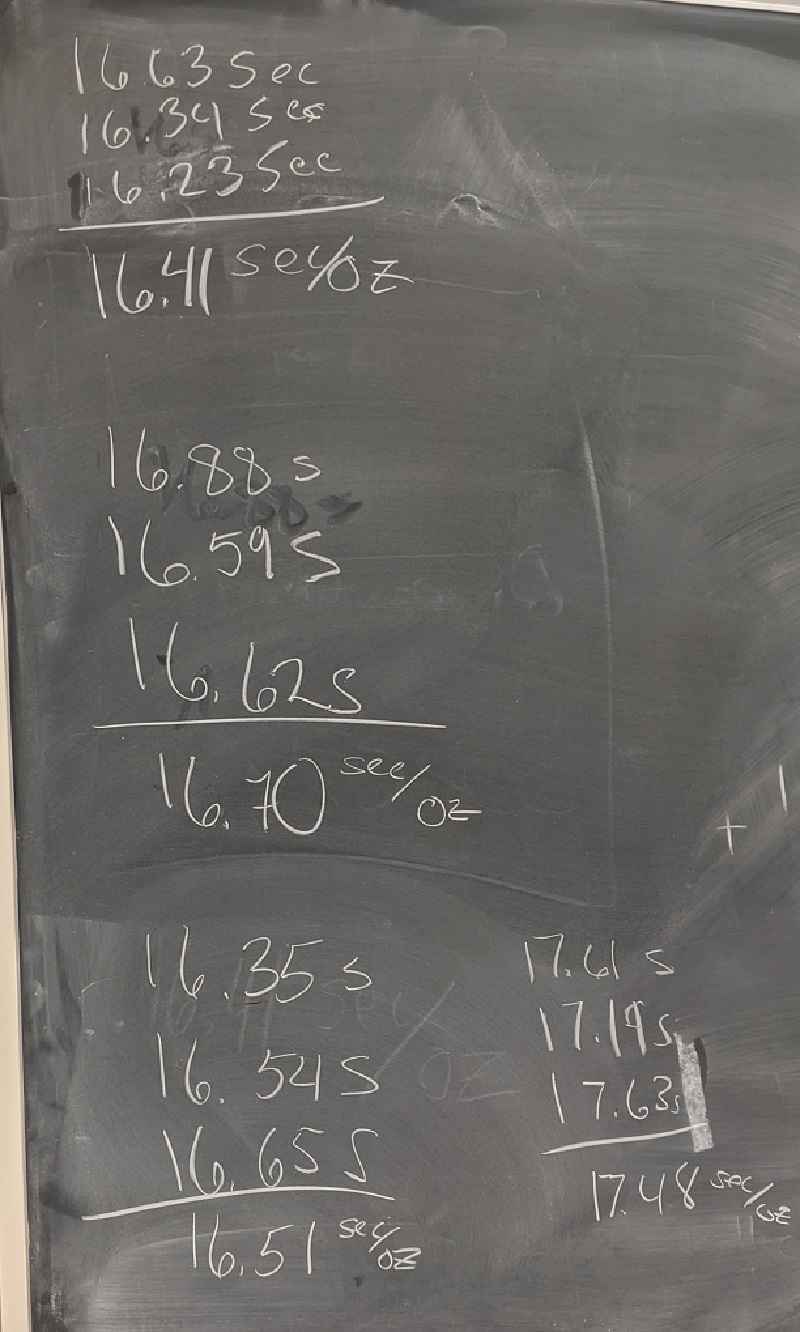
I had one more task that I could do to help. To ensure that all the pumps were adequately exact, I measured
the time it took each pump to fill an ounce. To do proper scientific method, I took the average of 3 test runs
for each.
All four sets are twisted successfully!
I had one more task that I could do to help. To ensure that all the pumps were adequately exact, I measured
the time it took each pump to fill an ounce. To do proper scientific method, I took the average of 3 test runs
for each.
 The next morning I went one step further and braided the leads. It really organized and
cleaned up the design.
The next morning I went one step further and braided the leads. It really organized and
cleaned up the design.
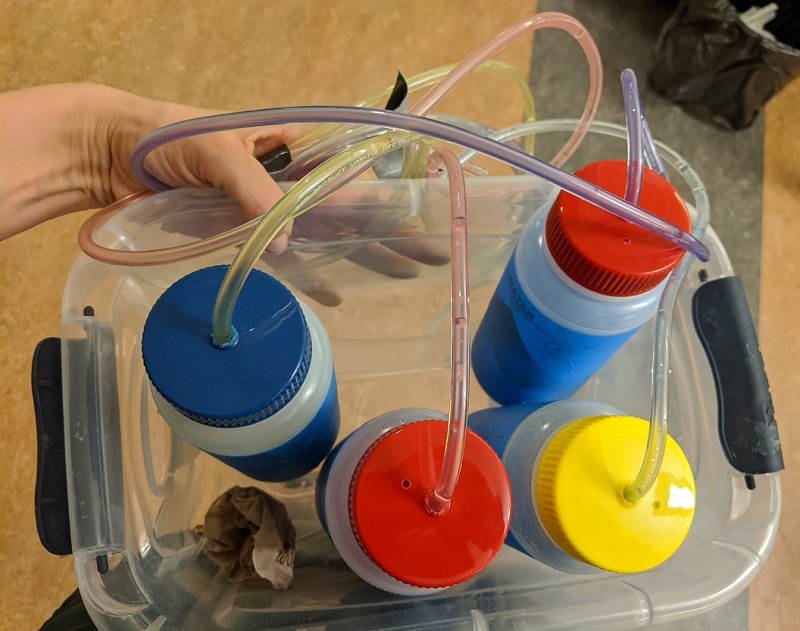 I also went on a hunt for bottles that would work as liquid holders. Using *new* chemical
squeeze bottles I was able to clip the nozzles off and forcefully shove the tubing in. I was
also sure to drill air holes into the lids so the pumps would not have to work against a
vacumn.
I also went on a hunt for bottles that would work as liquid holders. Using *new* chemical
squeeze bottles I was able to clip the nozzles off and forcefully shove the tubing in. I was
also sure to drill air holes into the lids so the pumps would not have to work against a
vacumn.
 My pup was not feeling all that well and I ran home around midnight to let her out.
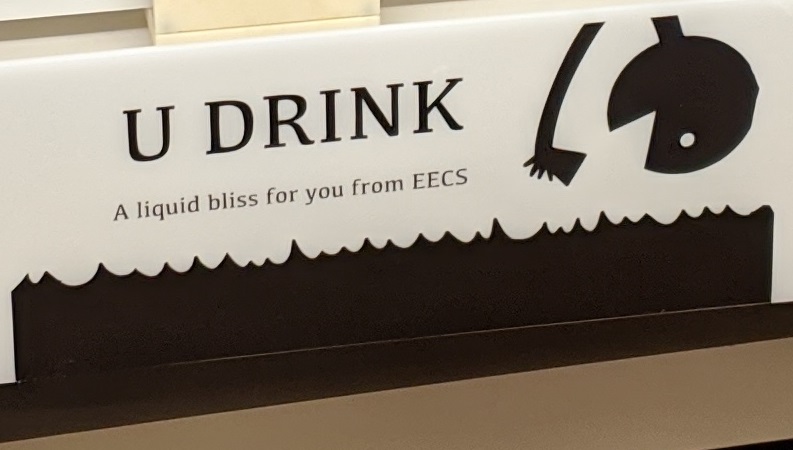
I was not longer contributing to the project in any tangible manner (I cannot yet code, and
only so many hands can code at a time.) I was sent and was placed on the morning shift. I was
responsible for the last minute details. This included the U Drink vinyl found on the front
slab of acrylic.
My pup was not feeling all that well and I ran home around midnight to let her out.
I was not longer contributing to the project in any tangible manner (I cannot yet code, and
only so many hands can code at a time.) I was sent and was placed on the morning shift. I was
responsible for the last minute details. This included the U Drink vinyl found on the front
slab of acrylic.
 I also finished the top portion of the machine by adding a hinged lid, and
duct tape closures. This housed the electronics and hid some of the excess tubing.
I also finished the top portion of the machine by adding a hinged lid, and
duct tape closures. This housed the electronics and hid some of the excess tubing.
 I had noticed that the Stirrer Support had started becoming unglued. So I found a
small bin that was the right height to add support below/around the motor. I also removed
the old hot glue, scored both the acrylic and 3D Print material and reattached it with hot
glue.
I had noticed that the Stirrer Support had started becoming unglued. So I found a
small bin that was the right height to add support below/around the motor. I also removed
the old hot glue, scored both the acrylic and 3D Print material and reattached it with hot
glue.
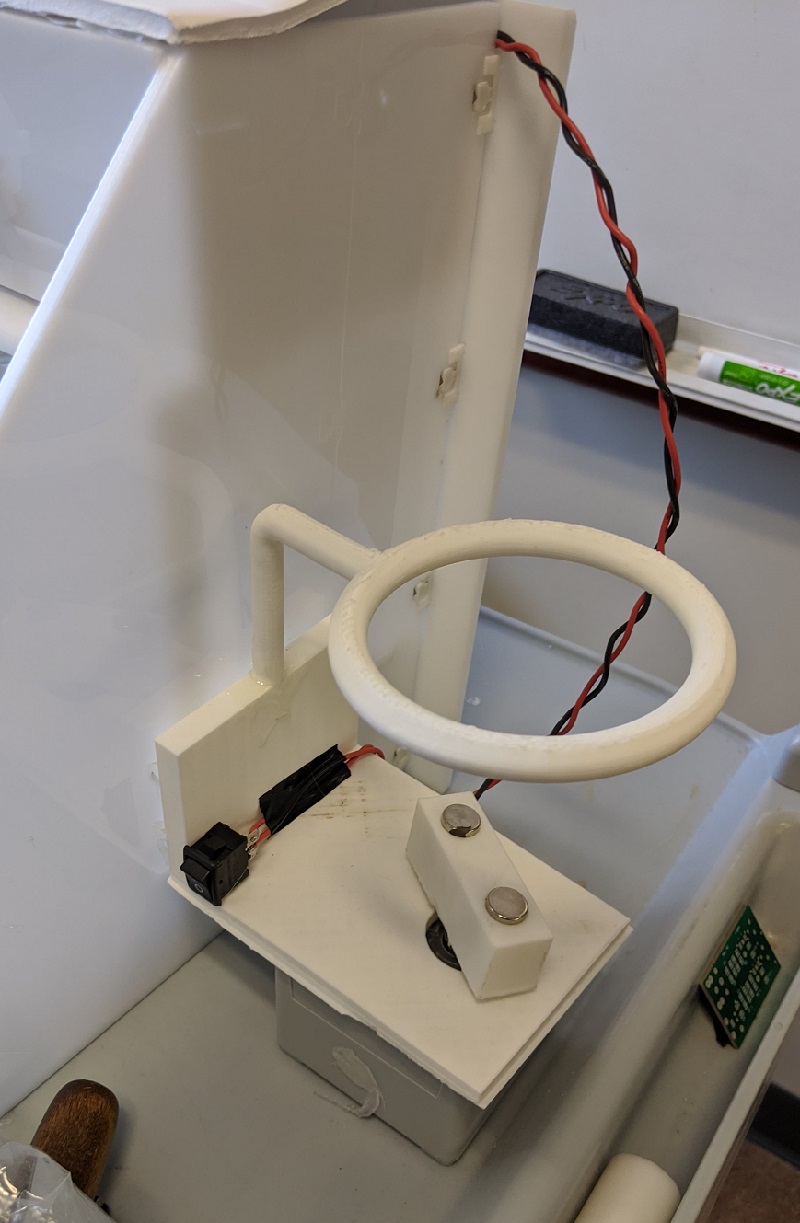
 One very vital task I was given in the morning was to attach the cup holder to the track.
After being pulled from the bath, I hunted down some longer screws in the backroom and
attached it with 2 screws. As I was initially removing the screws from the plate, I
noticed that the track was beginning to shift with the removal of the third screw. I very
quickly reinserted it and decided to only use two screws. Even the longest screws would not
extend through the layers, so Dave helped me drill holes into the most forward plate as to get
a secure structure. I hot glued the cup ring as well.
My minor additions made everything look somewhat streamlined.
One very vital task I was given in the morning was to attach the cup holder to the track.
After being pulled from the bath, I hunted down some longer screws in the backroom and
attached it with 2 screws. As I was initially removing the screws from the plate, I
noticed that the track was beginning to shift with the removal of the third screw. I very
quickly reinserted it and decided to only use two screws. Even the longest screws would not
extend through the layers, so Dave helped me drill holes into the most forward plate as to get
a secure structure. I hot glued the cup ring as well.
My minor additions made everything look somewhat streamlined.
 Don't tell Premila that this is here, she might murder me...