Week 14
Excitement! Finally the frame will get to come together!
Ok well, soon the frame will all come together! But in the meantime, let's review
some composite work. Looking at the wild card topics, I really was quite interested in many of them
but the one most applicable to my final was Composite. Isabel was awesome and made
sure that I knew the process. After a tutorial I was ready to start!
 How might we get from a pile of material, to a strong supportive material
that has the best of both worlds? Not only is it hard, but it is also strong. It is
rigid, but is less prone to impact damage.
Well one might start with the following steps.
How might we get from a pile of material, to a strong supportive material
that has the best of both worlds? Not only is it hard, but it is also strong. It is
rigid, but is less prone to impact damage.
Well one might start with the following steps.
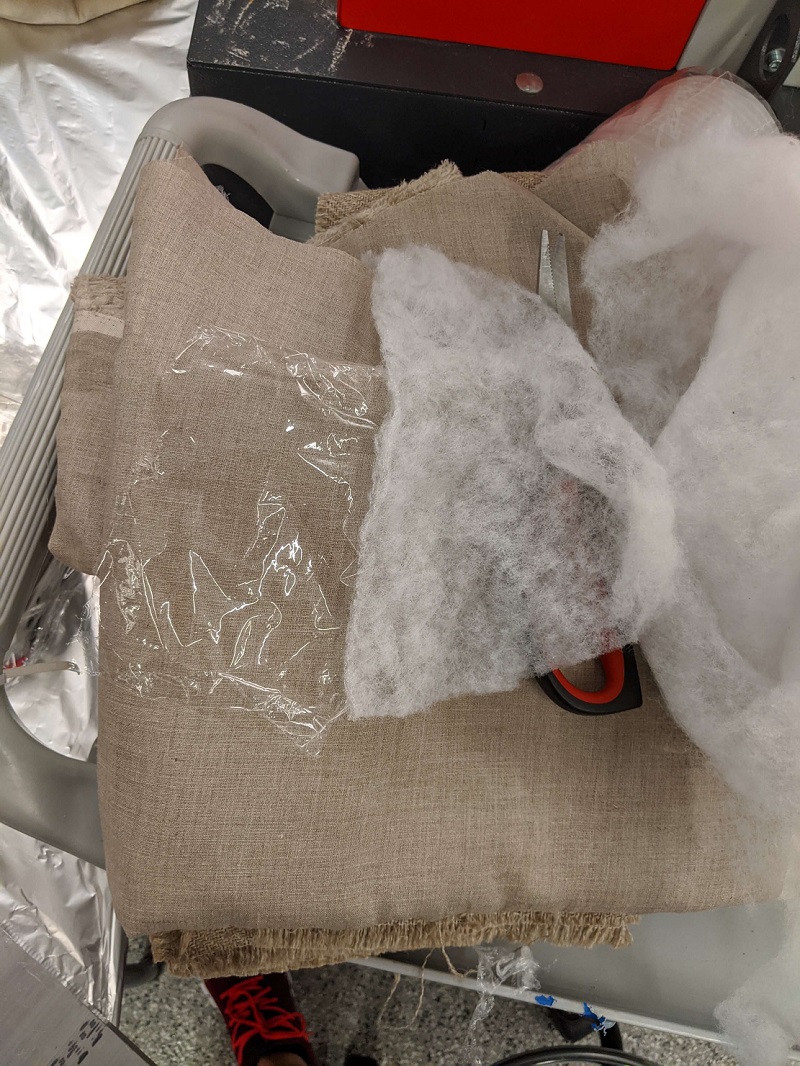
- Tutorial of Composite
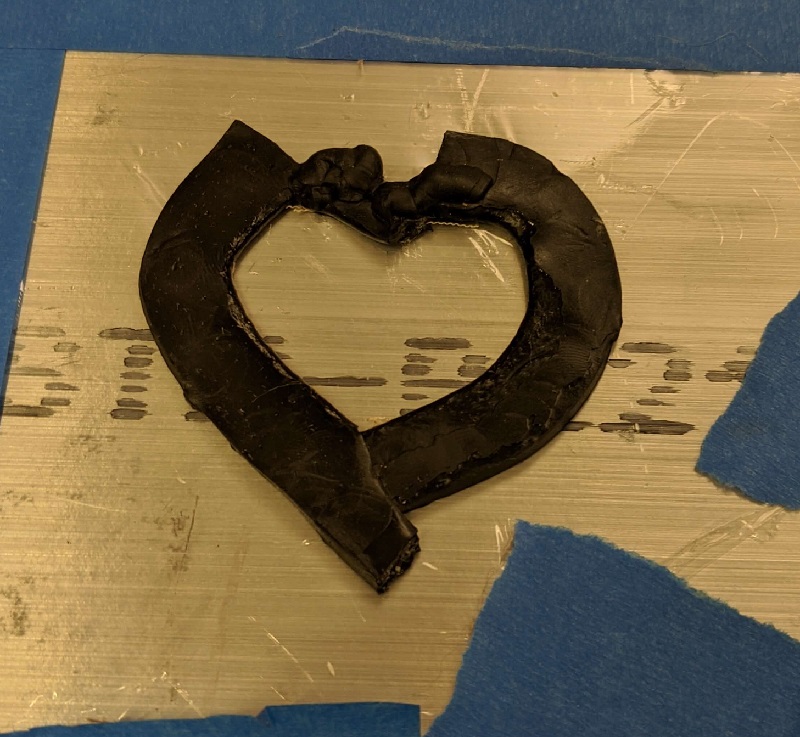
- - After placing a metal sheet on a fully foiled and plastic wrapped table,
I then saran wrapped the metal sheet and designed a 'heart' outline to place
my material in. I did cut the shape prior to placing the sticky tape down.
- - Next a bit of epoxy was poured into the divet. Then a layer of linen. This
was repeated for a total of 4 times. Over the final linen layer, an epoxy layer
was fully poured. The key was ensuring that the material was thoroughly soaked.
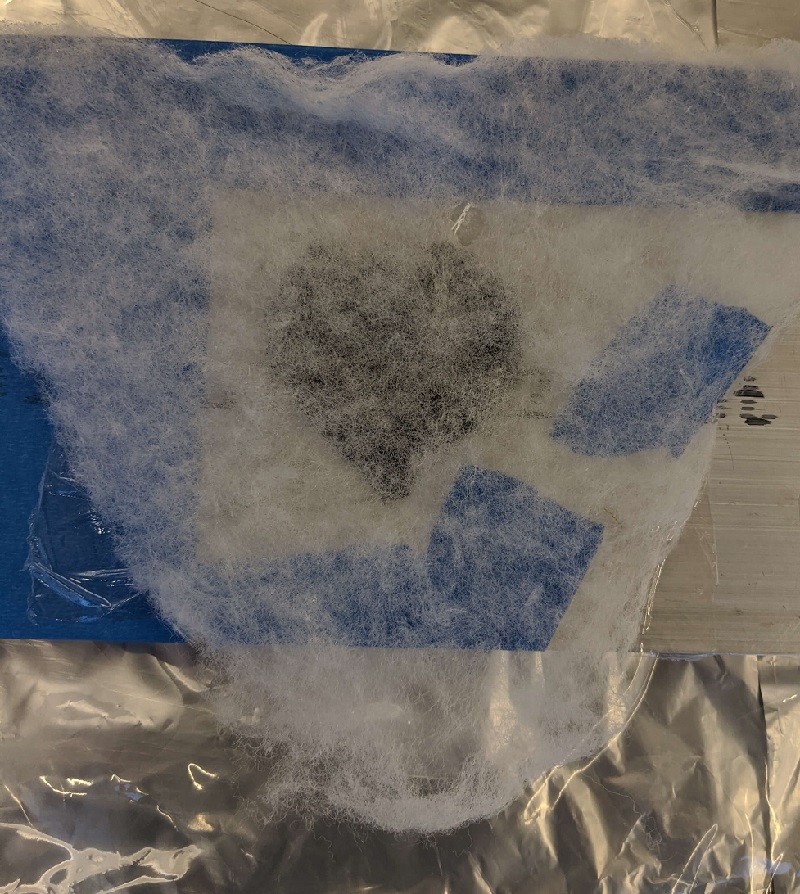
- - A layer of plastic wrap and breather were then gently placed over the heart.
I did my best to ensure the plastic wrap did not create wrinkles, as this would
have created permanent lines on the heart's surface.
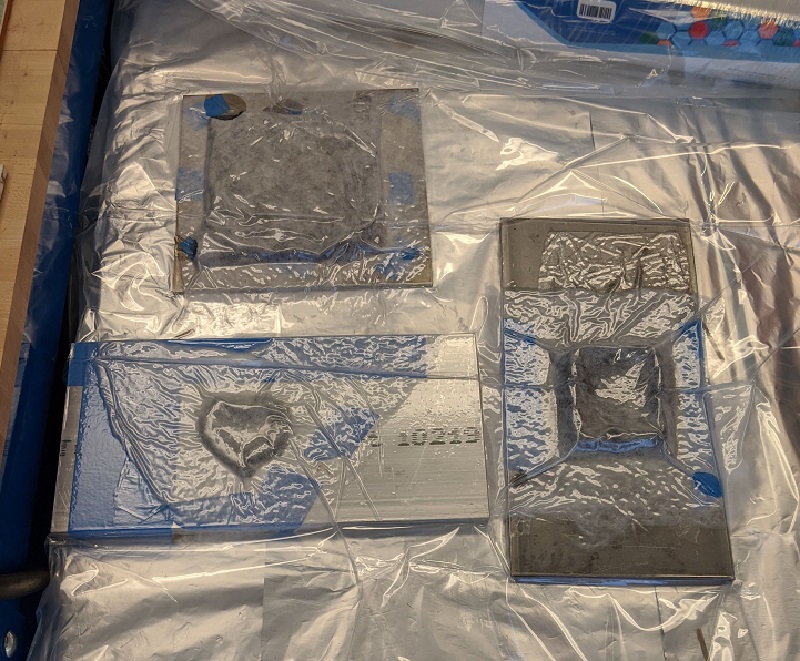
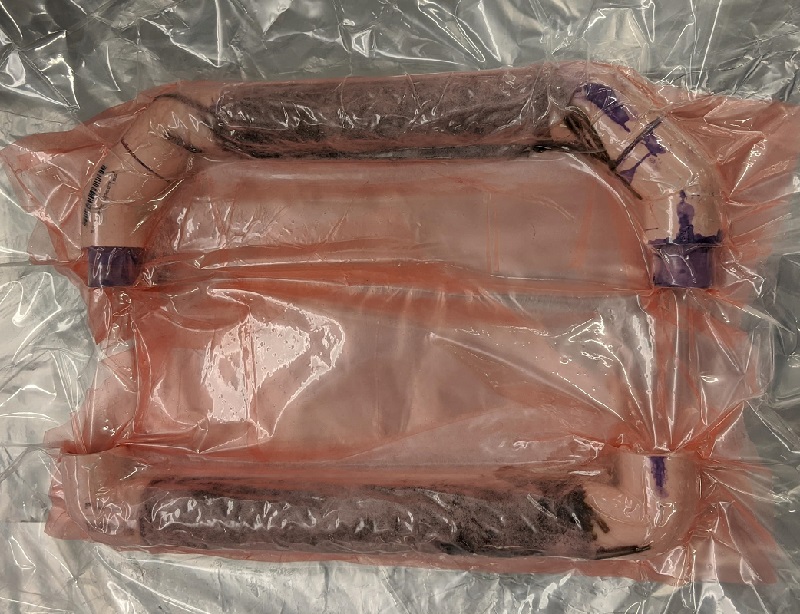
- - The final step was to place the composite into a bag that would be vacumned.
As the bag tightened, I did my best to flatten out any wrinkles on the surface of
the heart.
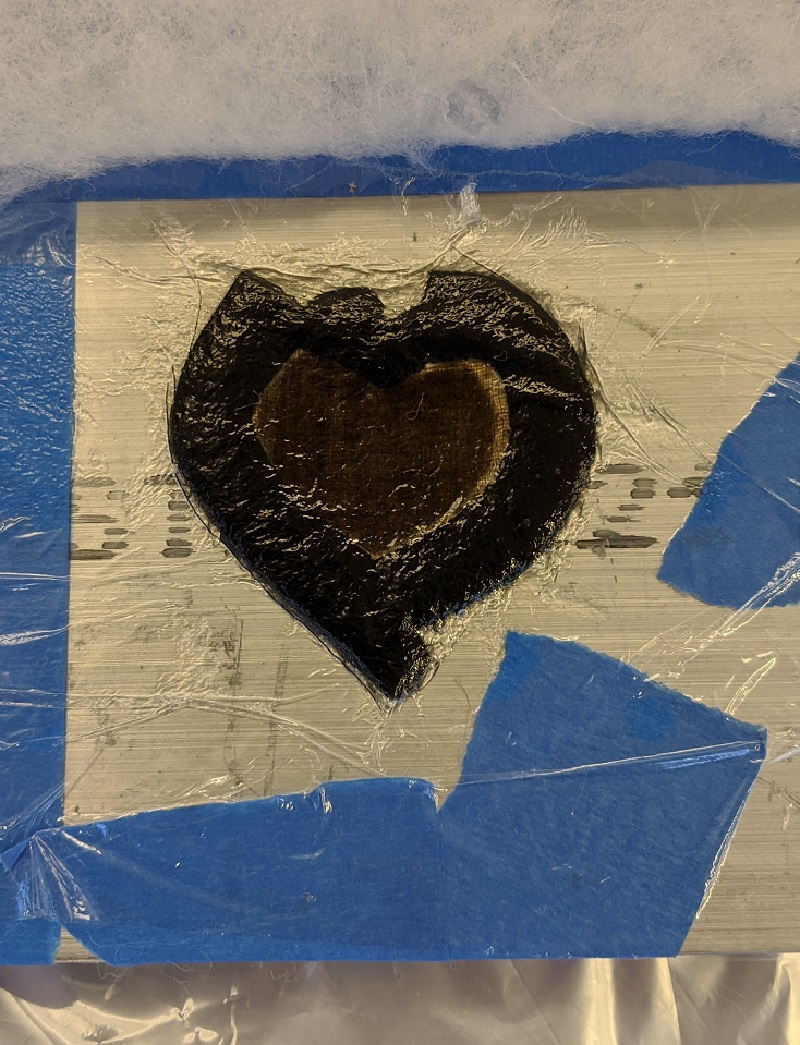
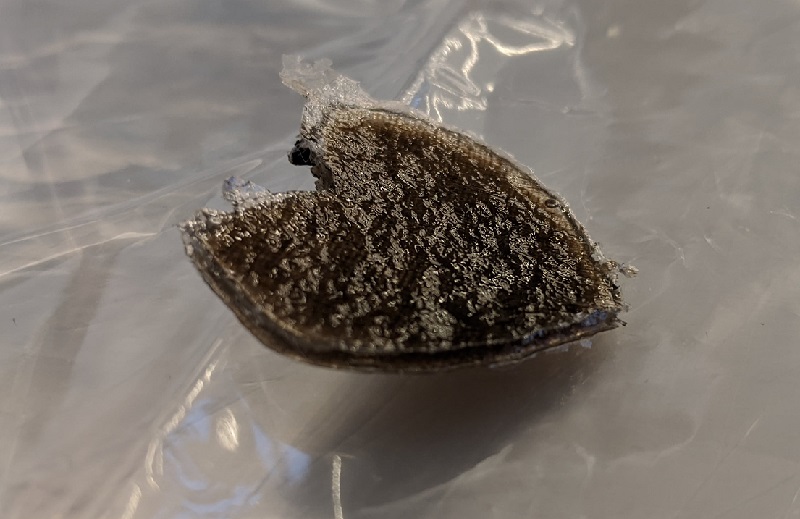
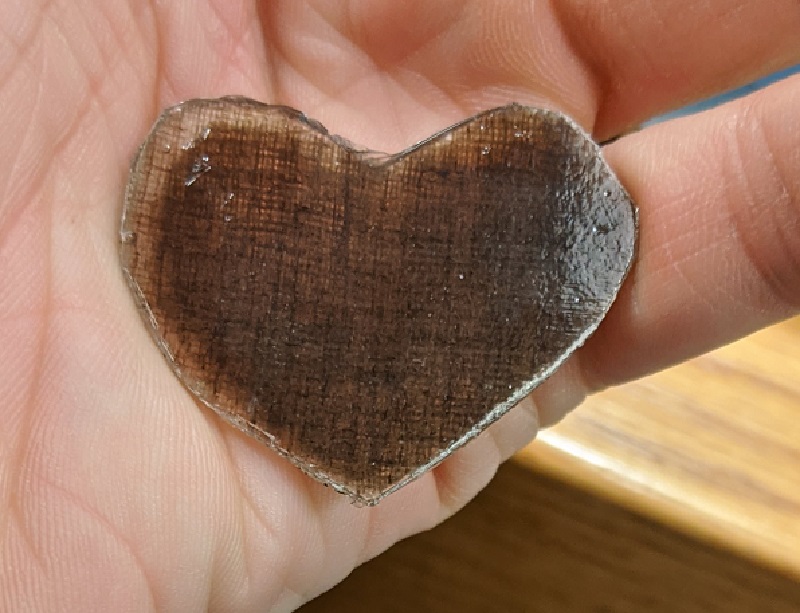
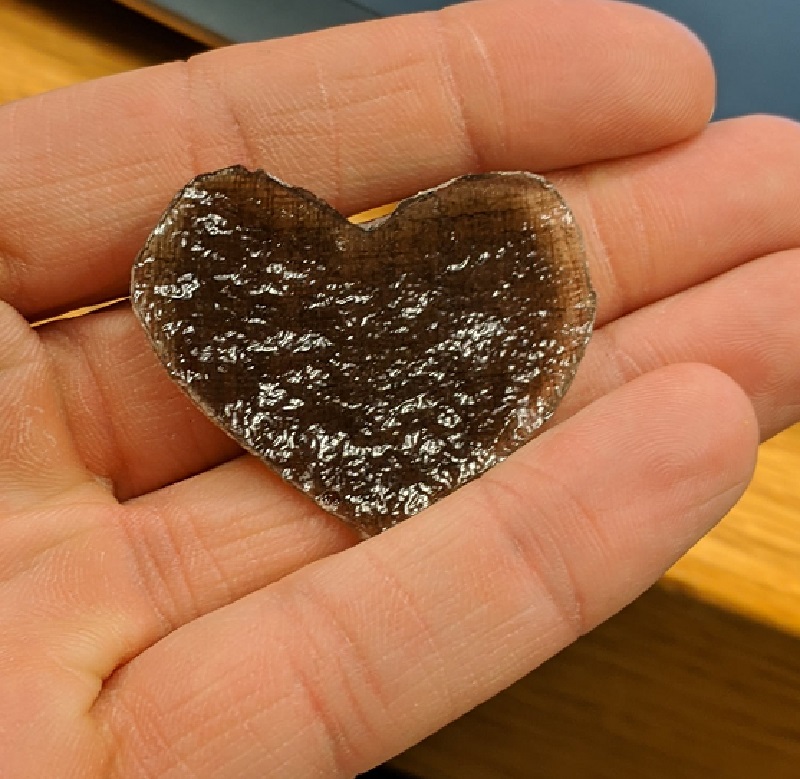
After initially pulled the test composite out of the molds, the edges were
significant rough. These photos above show the textures fairly well. On the left is the
portion that was against the metal sheet, so it turned out very smooth. On the right, you will
see an uneven surface. It's likely that if different topping materials were used, then the surface
would have a smoother surface.
After some snipping and filing, the edges became fairly smooth and flat.
Overnight the tester cured to a semi-flexible solid. Over the following 24 hours
the heart went to its true solid state.
Frame Work
It is time to get into the composite of the wheelchair! YAY! So I tried to get
photos, but if you have ever worked with a messy, and permanent substance, you
will understand why I kept my phone fairly far away from everything happening.
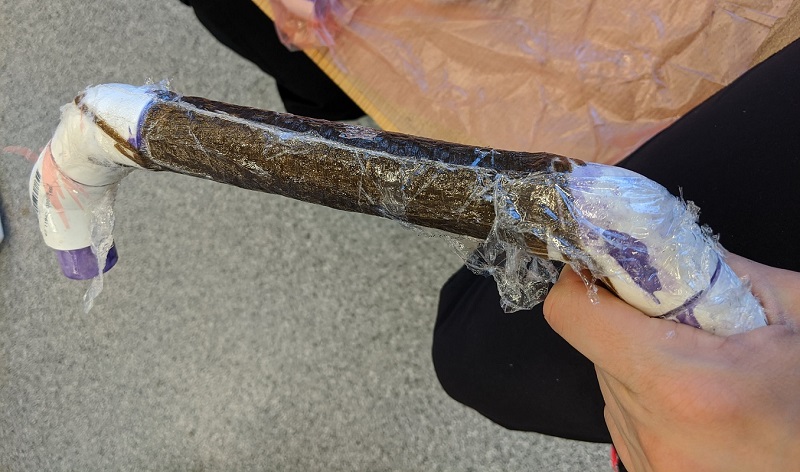
I really wanted to use the flax to wrap the wheel chair with. On the flat epoxy examples
it created an almost carbon fiber look. But, when it came to the wrapped sample, it
did not come through clearly.
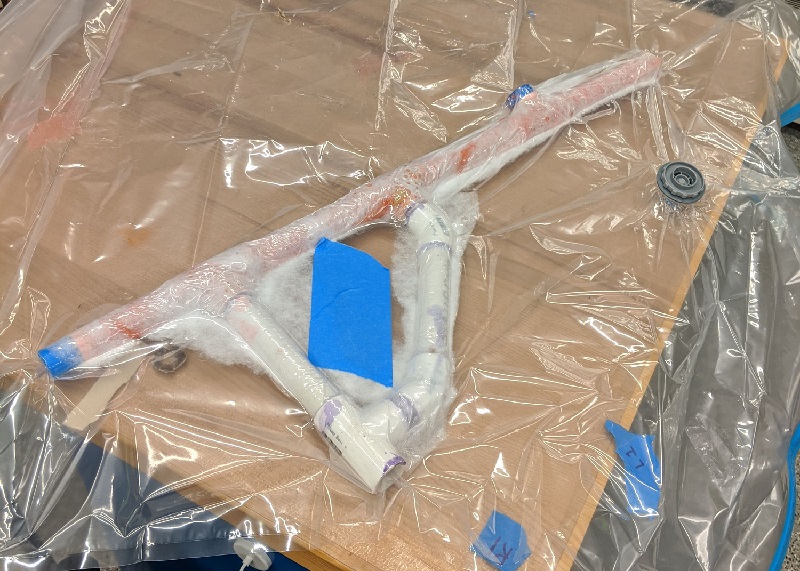
After curing, it was time to unveil my creation! I pulled the release film off.
I then peeled the breather layer off, and finally I spent far too long removing the
plastic wrap off of the brace bars. The amount of time it took to get that all settled
made me think of different ways I could do this for following pieces.
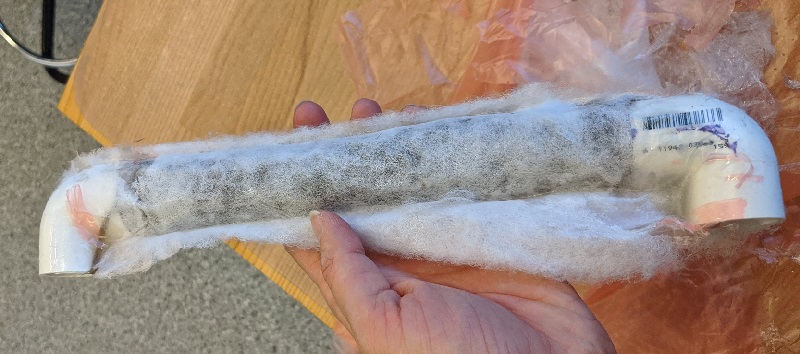
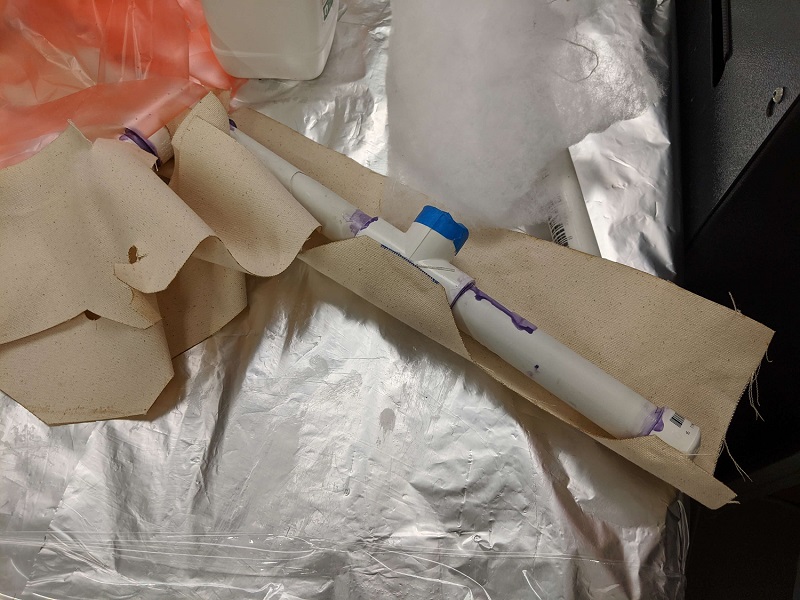
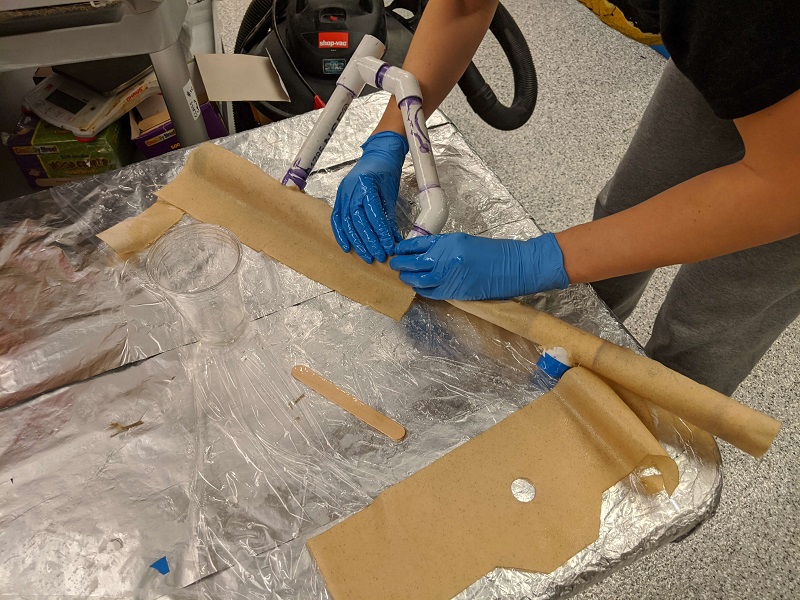
I had laser cut the pieces of flax out to match the tube size. That went really
smoothly, but the pieces were too thick to really 'stick' to the PVC as I was applying
the epoxy. I tried double sided tape, but that actually released the flax as soon as
liquid was applied to it. Finally, for the second brace piece, I hotglued the edge of the
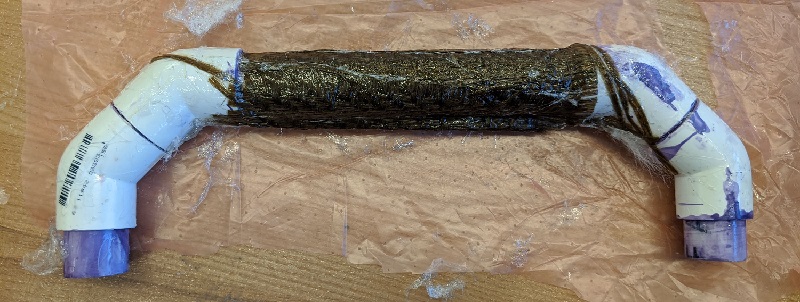
flax to the pipe, and then followed that up by applying the epoxy and wrapping around
the tube at that point. I did two layers of the flax.
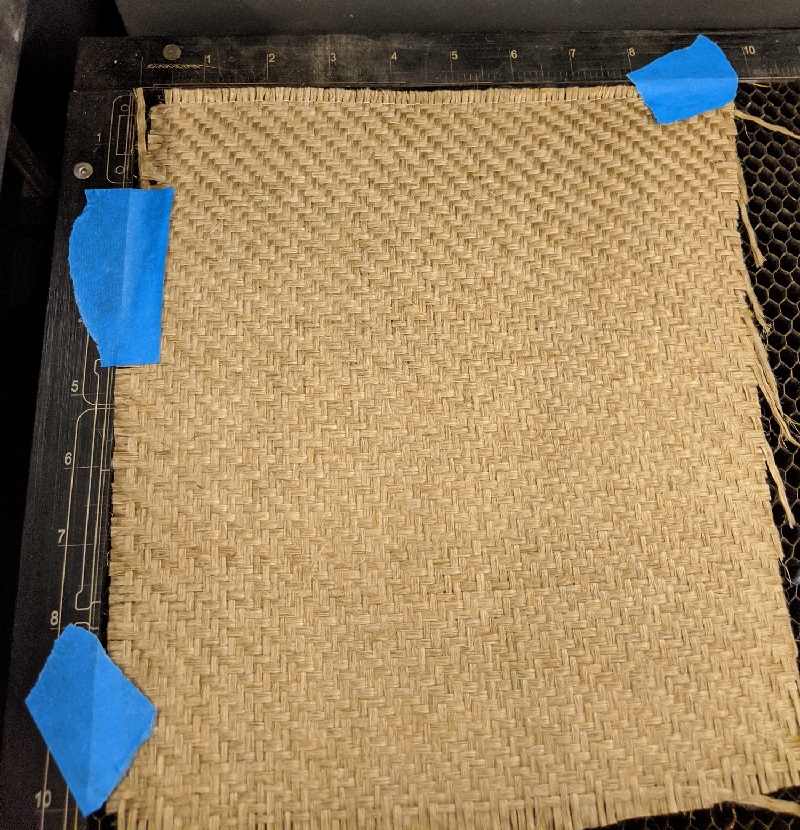
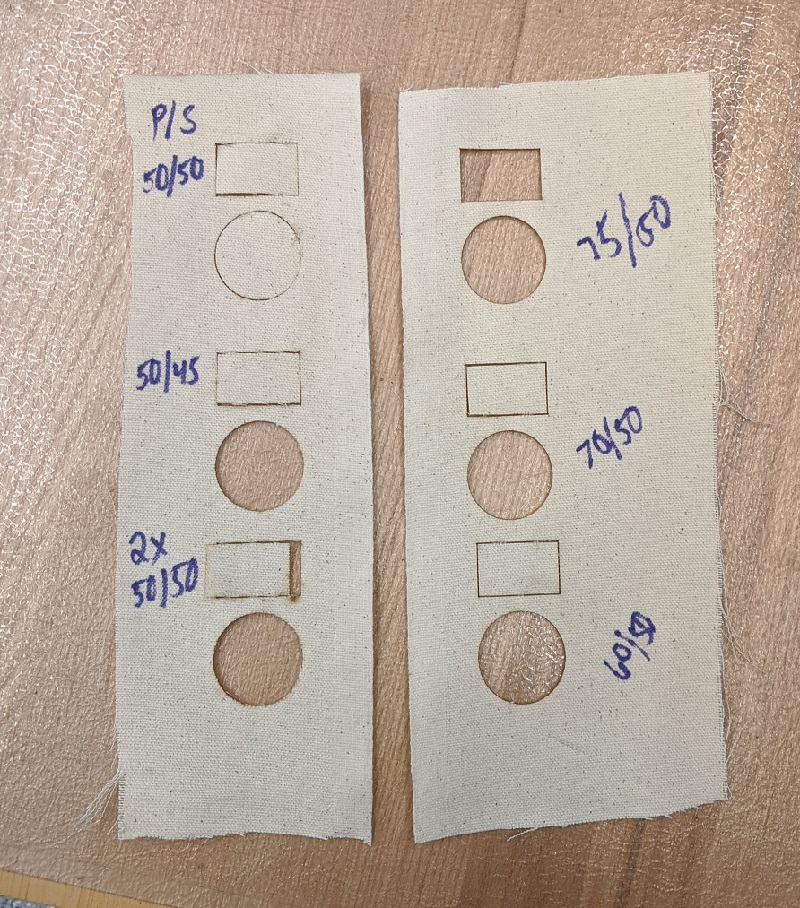 After fighting with the flax, I knew that I needed a different (thinner)
material. I stepped to the canvas to be my new material. After testing laser
settings, I was able to decide that 75% Power with 50% Speed was the best option
for this material. Eventhough it is a natural fiber, it still had minor "melting"
on the edges that helped keep the woven bits together.
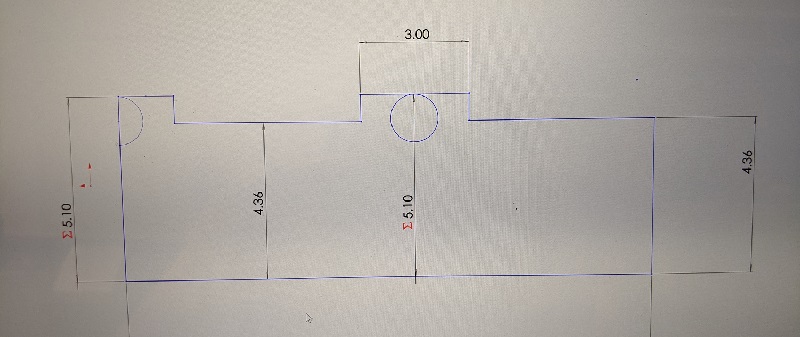
Both sides of the wheel chair were at slightly different angles, so when it
came to laser cutting fabric for the side pieces I was forced to do some thinking.
SolidWorks came through for me and I was able to measure and plan ahead of schedule
to get a decent cut. I did add about an extra inch to the height of the cut so my
fabric would overlap on the pipes.
After fighting with the flax, I knew that I needed a different (thinner)
material. I stepped to the canvas to be my new material. After testing laser
settings, I was able to decide that 75% Power with 50% Speed was the best option
for this material. Eventhough it is a natural fiber, it still had minor "melting"
on the edges that helped keep the woven bits together.
Both sides of the wheel chair were at slightly different angles, so when it
came to laser cutting fabric for the side pieces I was forced to do some thinking.
SolidWorks came through for me and I was able to measure and plan ahead of schedule
to get a decent cut. I did add about an extra inch to the height of the cut so my
fabric would overlap on the pipes.
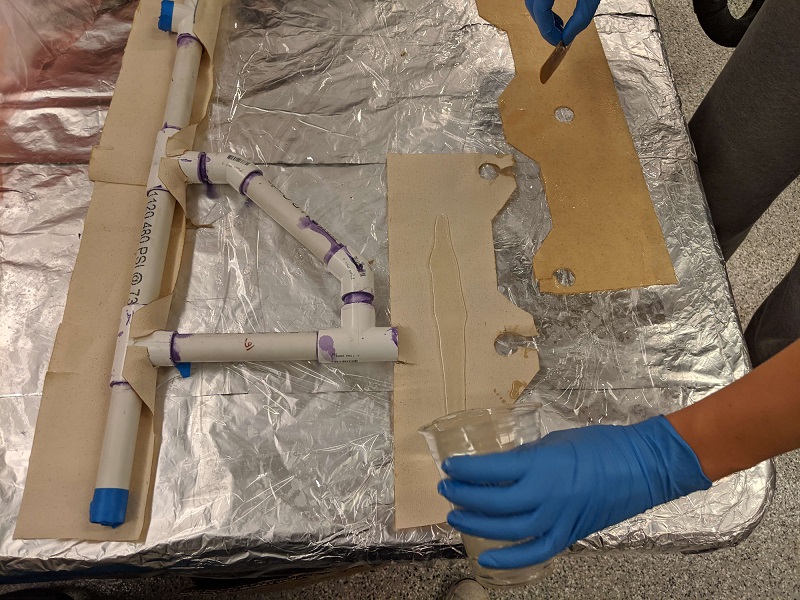
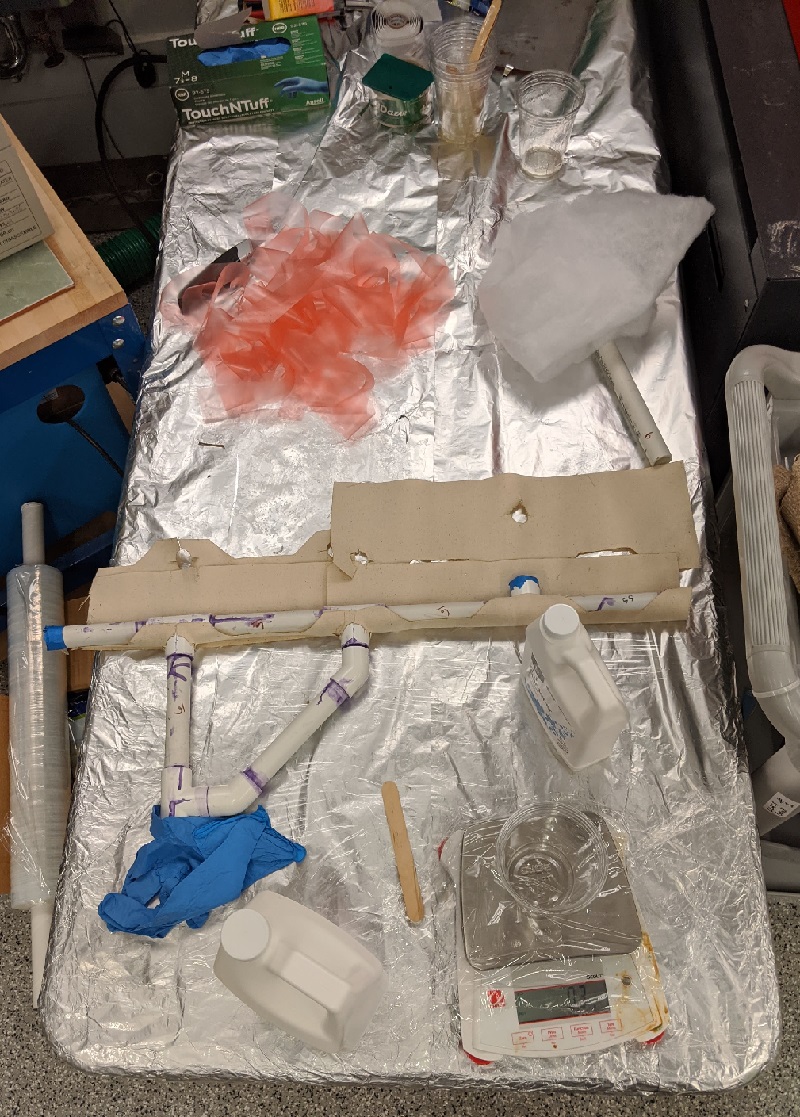 My work station setup.
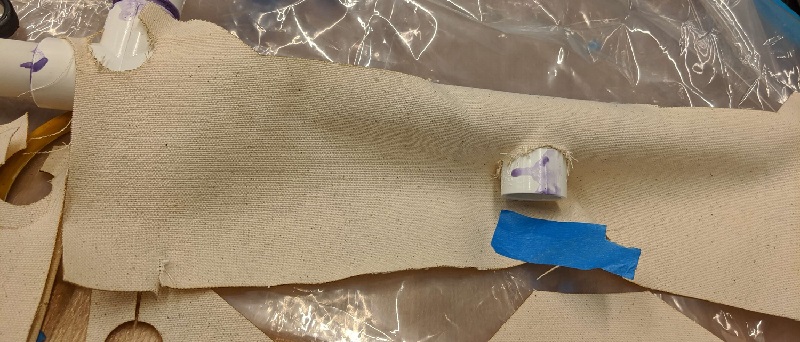
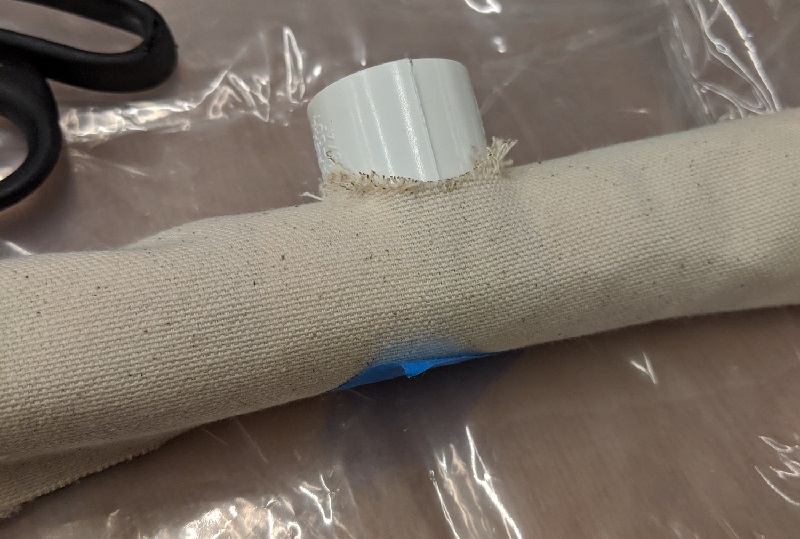
I took my time with test fitting the fabric. I wanted to make sure that I
had everything sufficiently aligned and working.
I was very happy with my decision to prewrap and check for any required changes.
Since, I originally intended on using flax, I had cut smaller holes as the flax was more
flexible as it was more loosely woven. But, with the linen, I was unable to get a
"comfortable" fit with these holes. After a minor adjustment (cutting) I was able to
readily slide the fabric over the fittings.
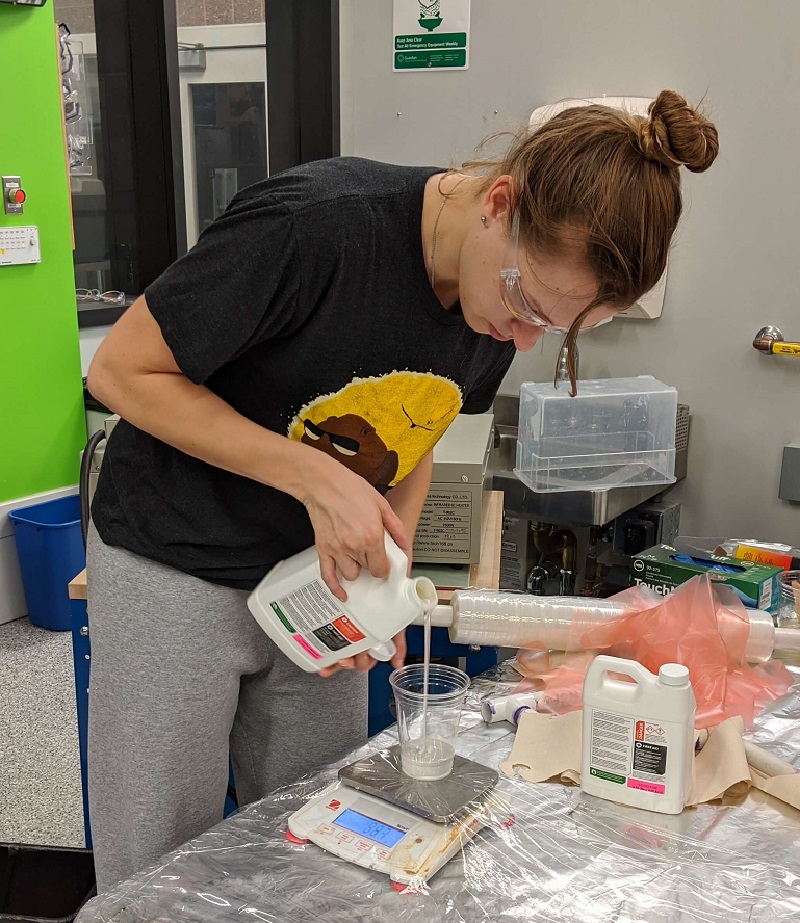
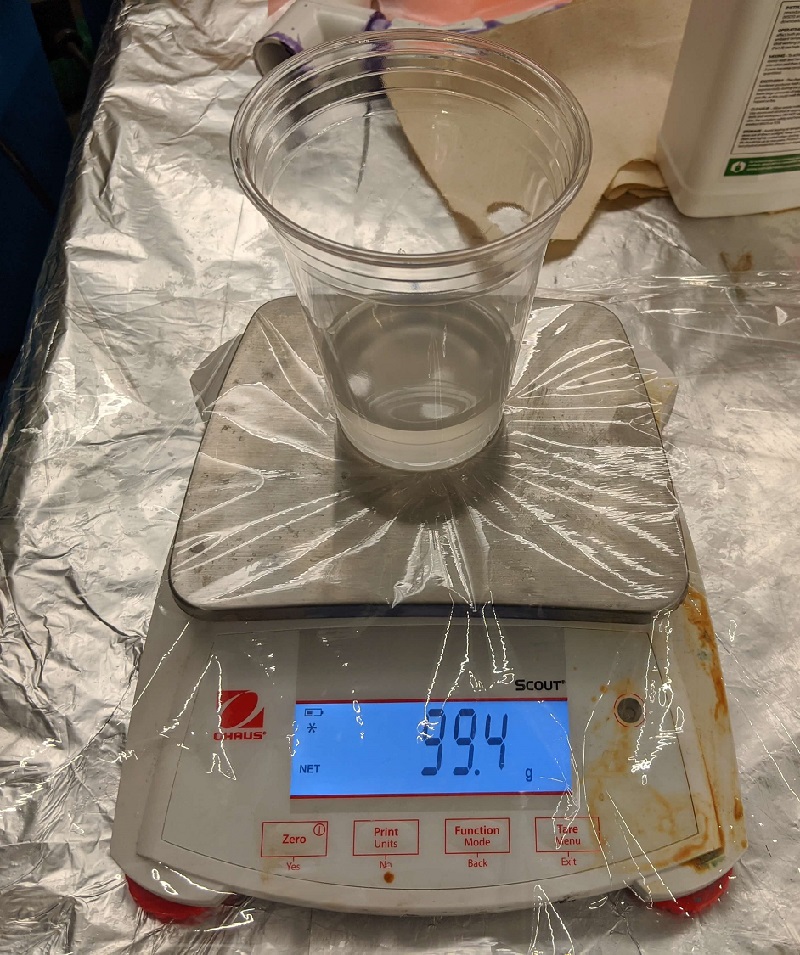
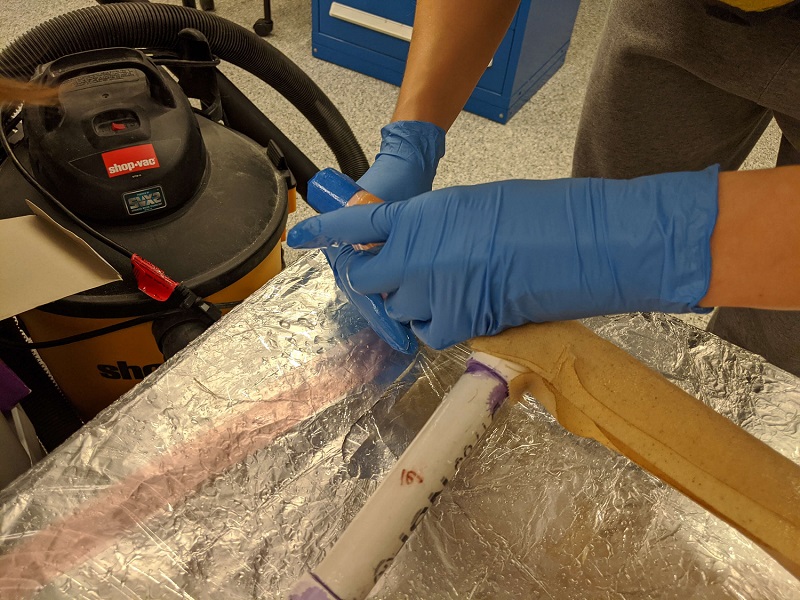
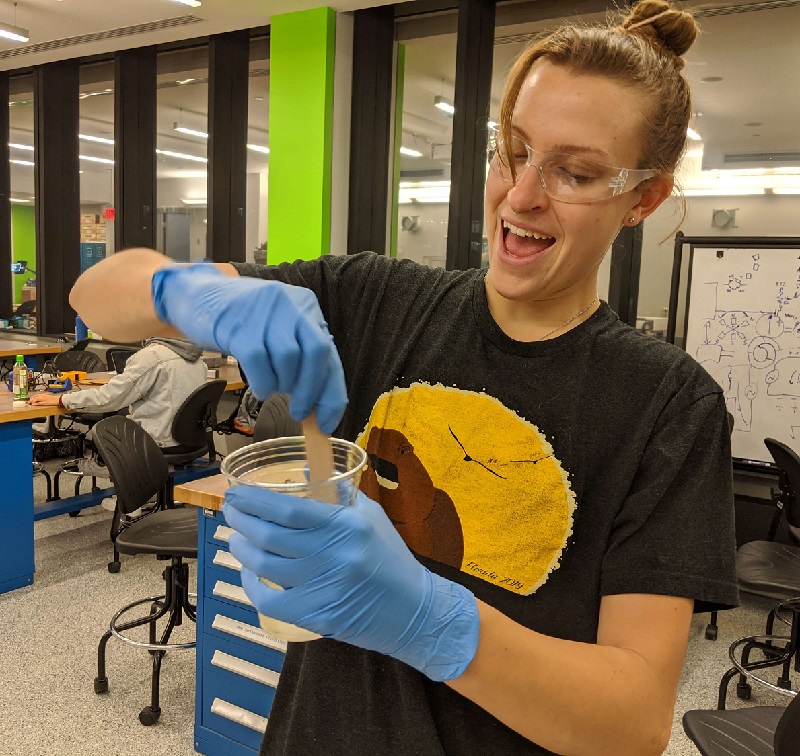
The mix was 101:47 in weight. I am not the best pouring, but it turned out a litte
bit off from the amounts was okay.
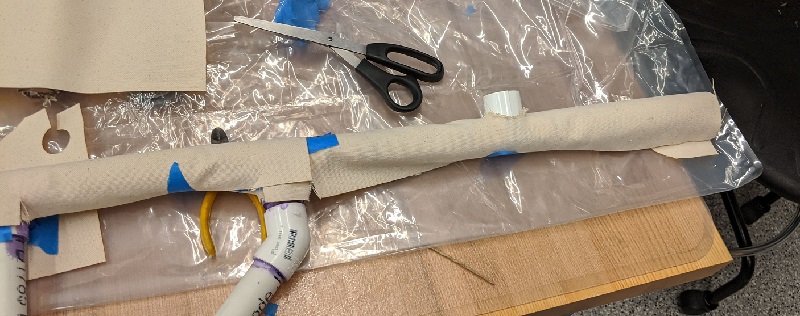
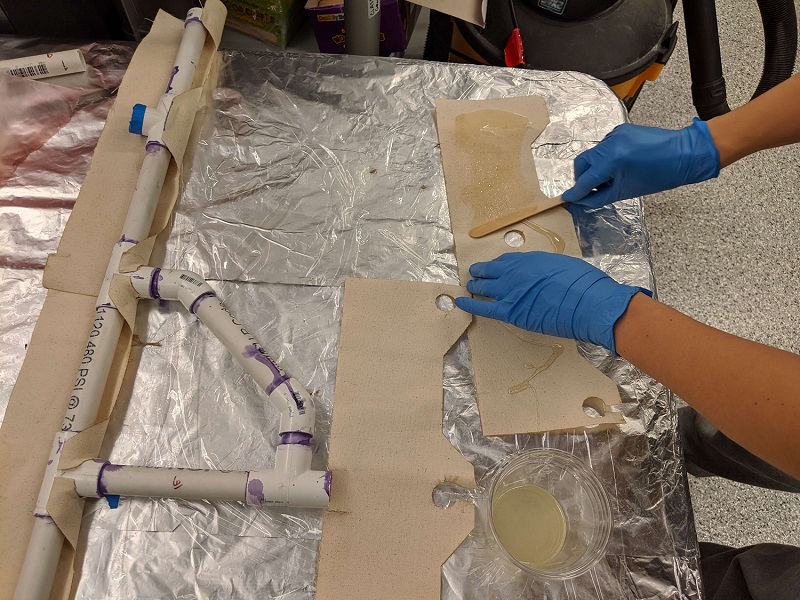
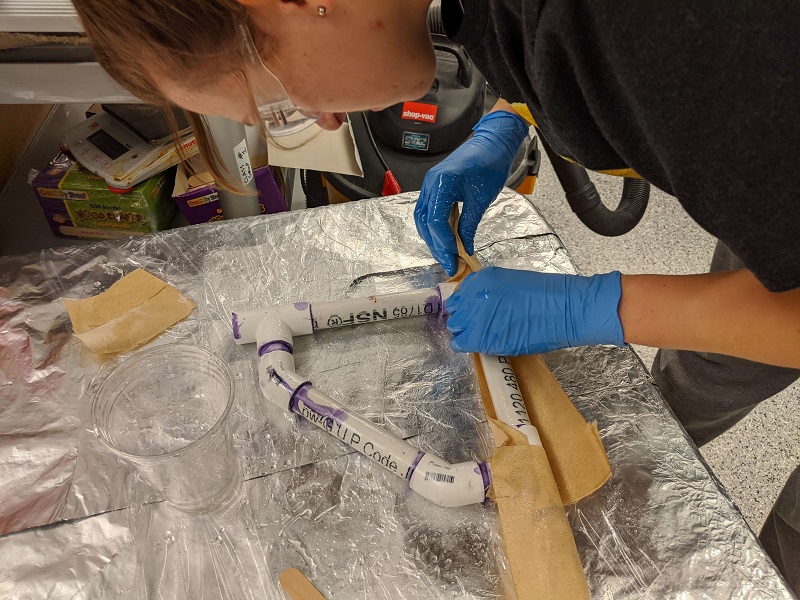
I applied the epoxy on and completely soaked the canvas before applying it.
The canvas that is already on the PVC is actually hot glued by a strip onto it. This
was a significant improvement from the test runs where I had not done this.
My work station setup.
I took my time with test fitting the fabric. I wanted to make sure that I
had everything sufficiently aligned and working.
I was very happy with my decision to prewrap and check for any required changes.
Since, I originally intended on using flax, I had cut smaller holes as the flax was more
flexible as it was more loosely woven. But, with the linen, I was unable to get a
"comfortable" fit with these holes. After a minor adjustment (cutting) I was able to
readily slide the fabric over the fittings.
The mix was 101:47 in weight. I am not the best pouring, but it turned out a litte
bit off from the amounts was okay.
I applied the epoxy on and completely soaked the canvas before applying it.
The canvas that is already on the PVC is actually hot glued by a strip onto it. This
was a significant improvement from the test runs where I had not done this.