Week 7: Molding and Casting
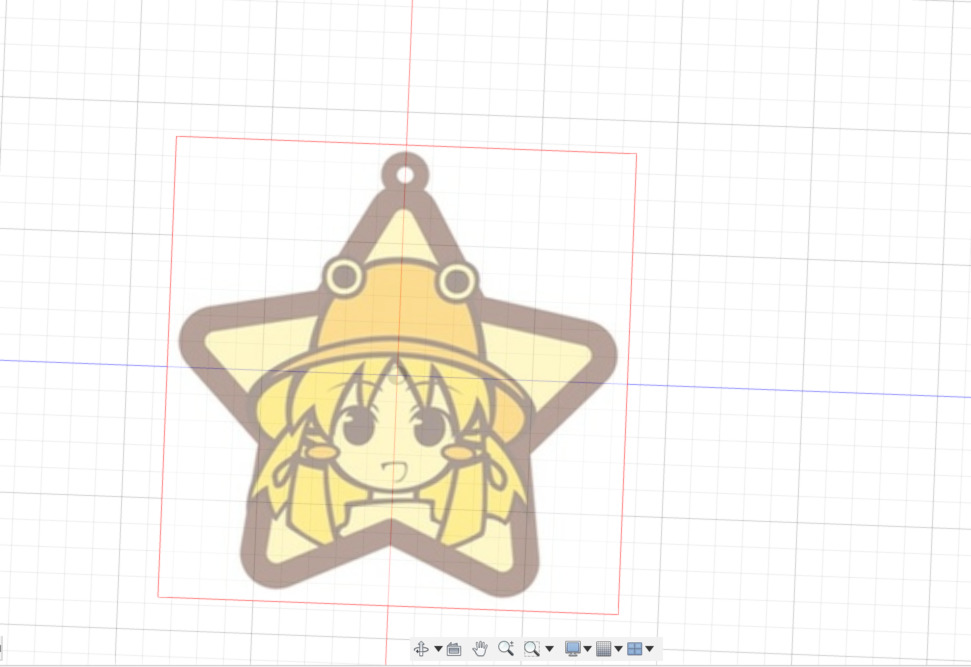
This week was molding and casting! Using a three-step process, we were tasked with designing a 3D object to mill out of wax, which we would then create a plastic mold out of. Once the mold was made, we could use plaster to make as many copies we wanted! I wanted to create a pin of my favorite character Suwako. Starting from a simple graphic, I began drawing the outlines of a simple design in Fusion.
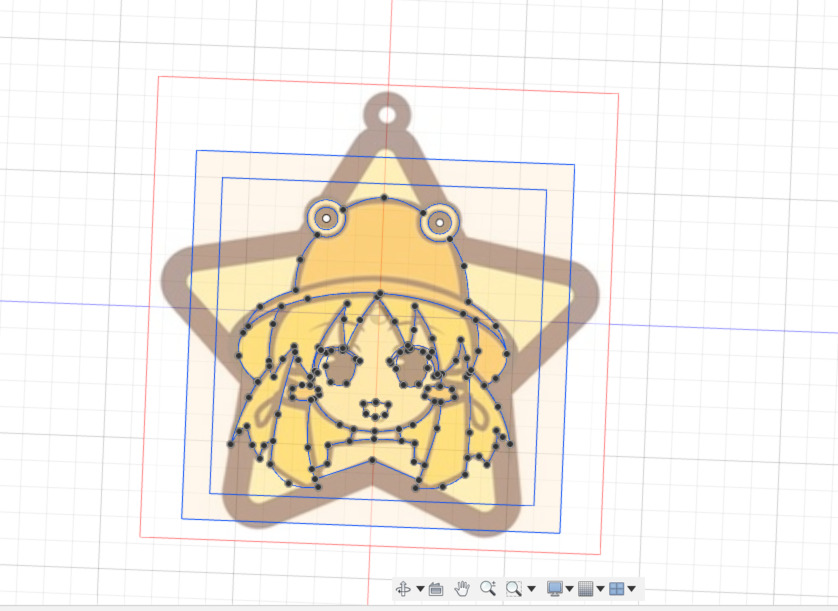
Creating the actual 3D model was a bit different than just making the desired object. Since we would be using a plastic mold, I created my pin inside a little trough so that I could simply pour the plastic material into the negative space. In Fusion, I used the extrusion tool to add depth to the design, choosing depths with a difference of 0.25mm.
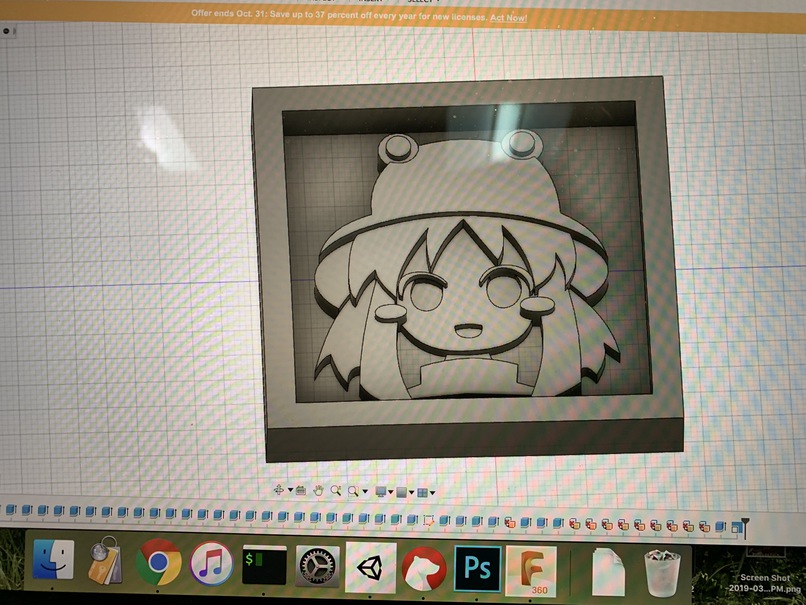
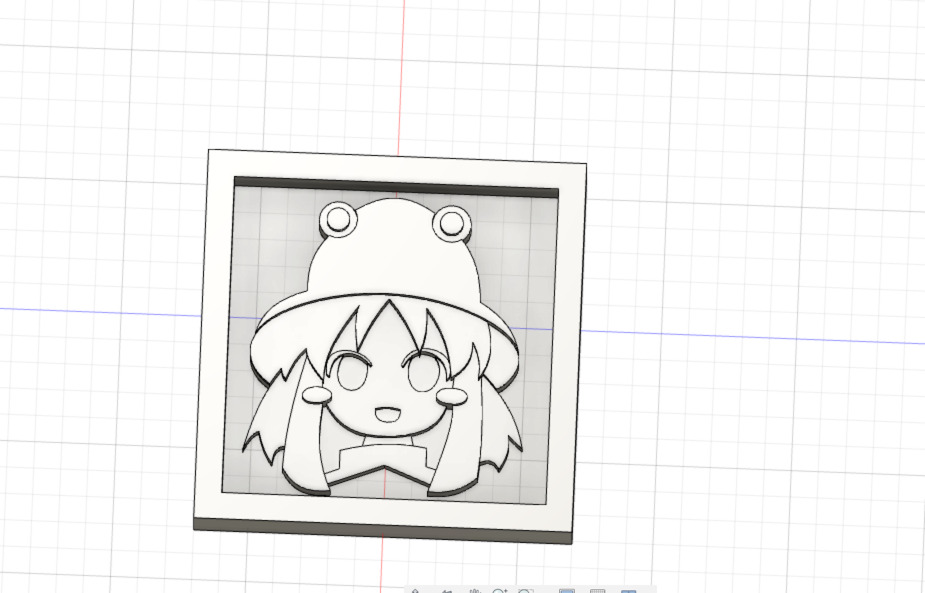
Here is the final model! I am quite happy with how this process went. The vector curve tool on Fusion is quite intuitive and easy to work with. The hardest trouble came when extruding, it was important to extrude the higher levels first, when I didn't, I ended up with some weird wall behaviors which made importing into SolidWorks annoying.
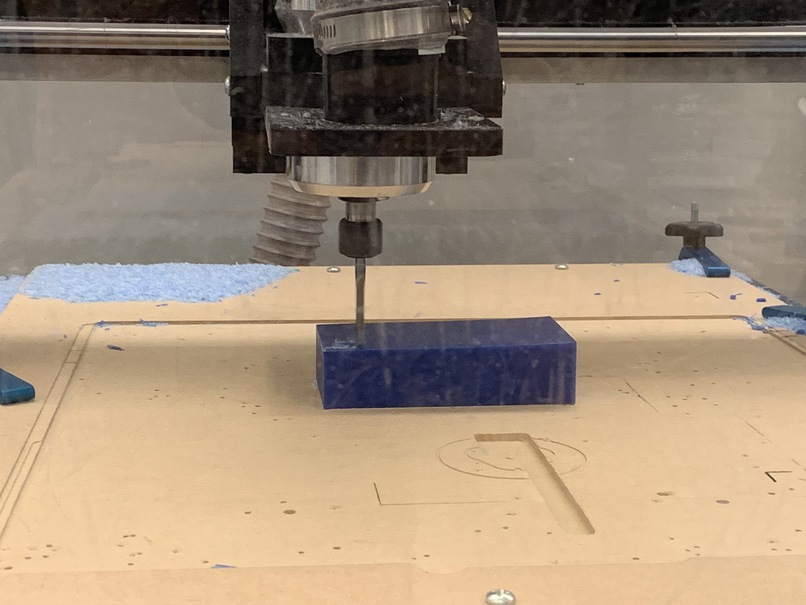
On the ShopBot, I started milling out the 3D wax block! The machine takes a gcode CAM which was created in SolidWorks. The basic idea was to do a rough to get a lot of the material removed, and then come back for a second finer pass to capture more of the finer details.
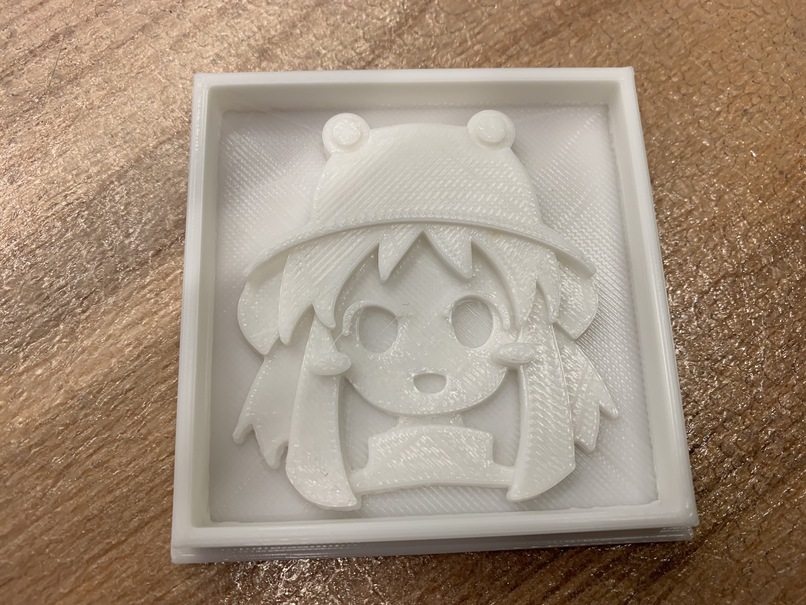
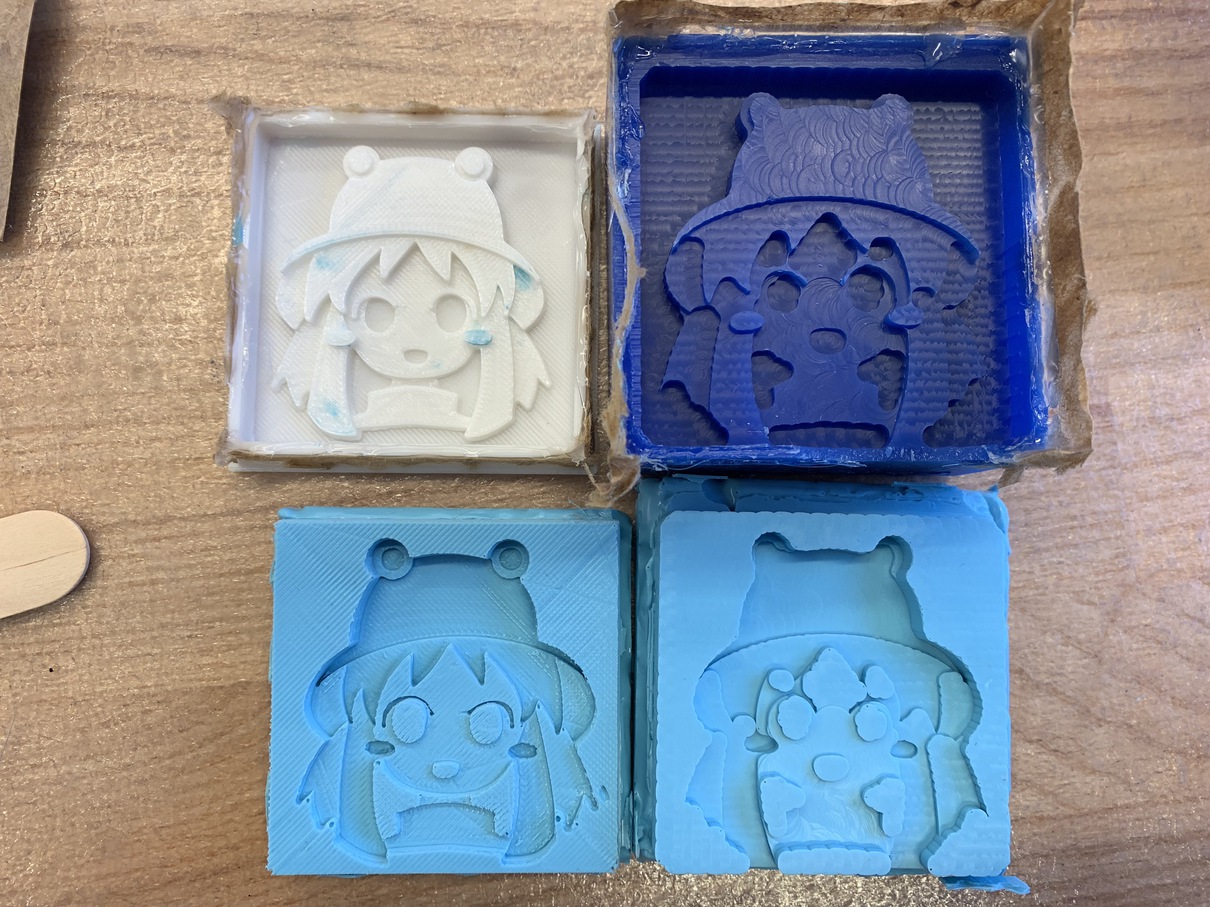
Since the bit we used was 1/8 of an inch, it meant that any gaps that were less than 1/8 of an inch could not be cut. This is especially obvious in things like sharp corner indents, where the bit could only create round spaces instead of clean corners. To compare, I 3D printed the same design with the 3DWox, which took a much longer time (2 hrs v. 25 mins), but retained a lot more of the finer features of my design.
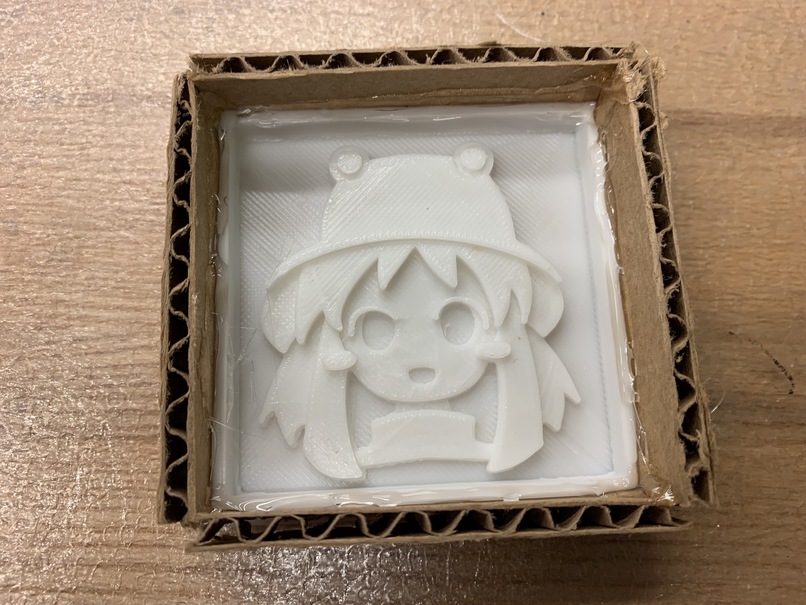
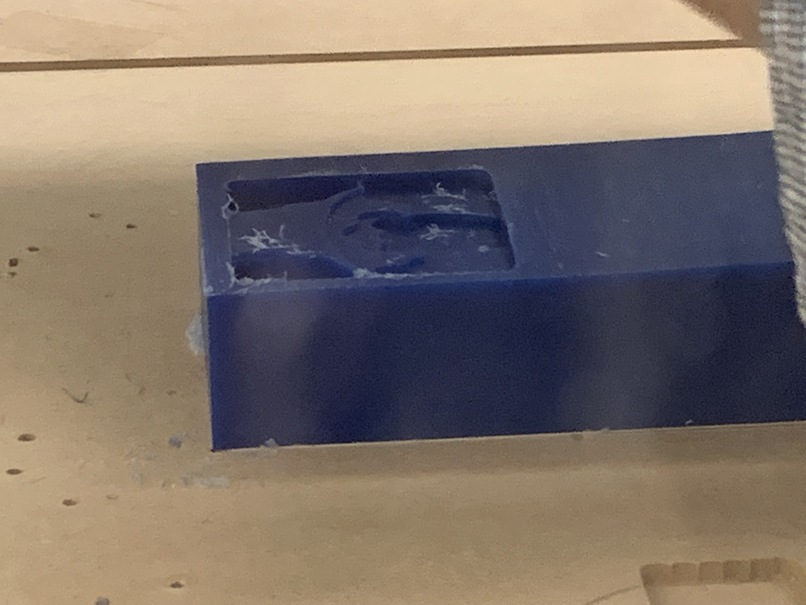
Now it's time to mix the plastic mold mixture and cast the negative. Since I forgot to make the walls high enough I had to hot glue some cardboard to the sides to contain the liquid.
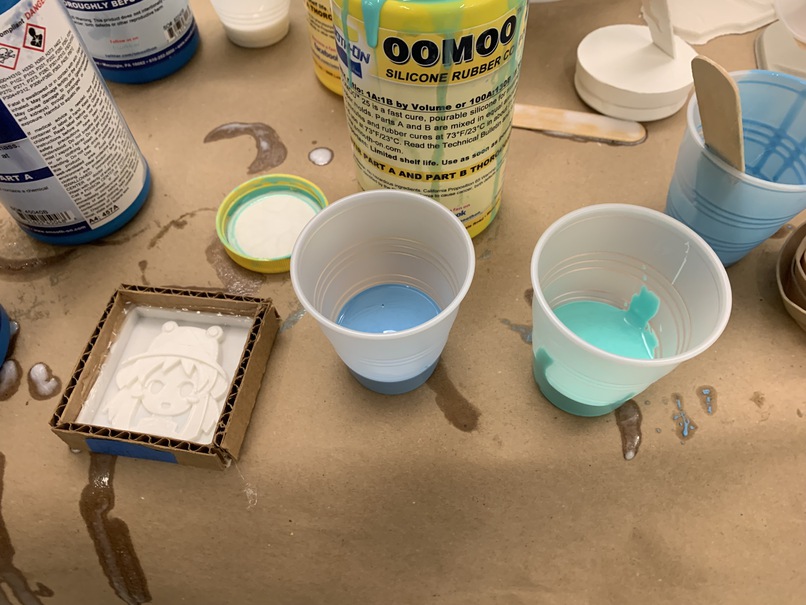
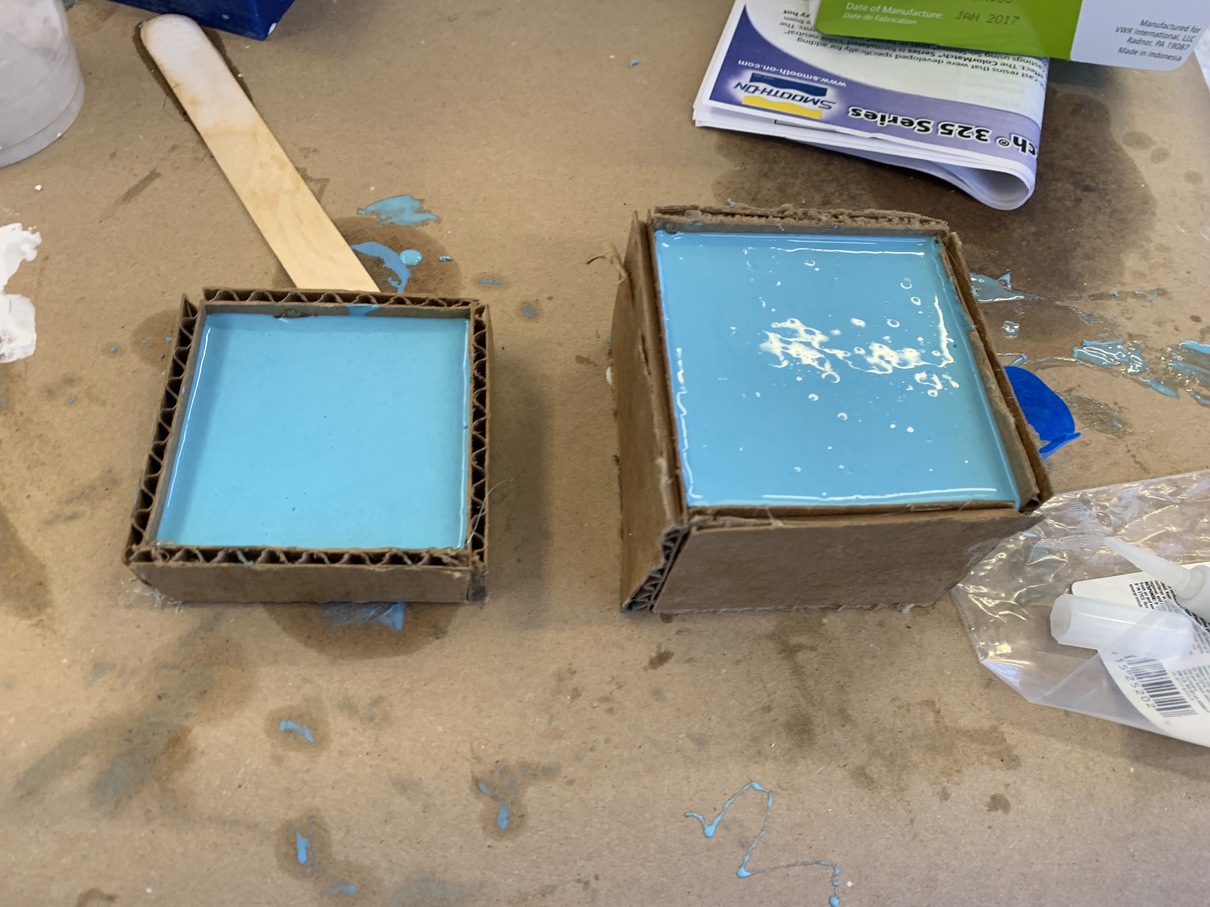
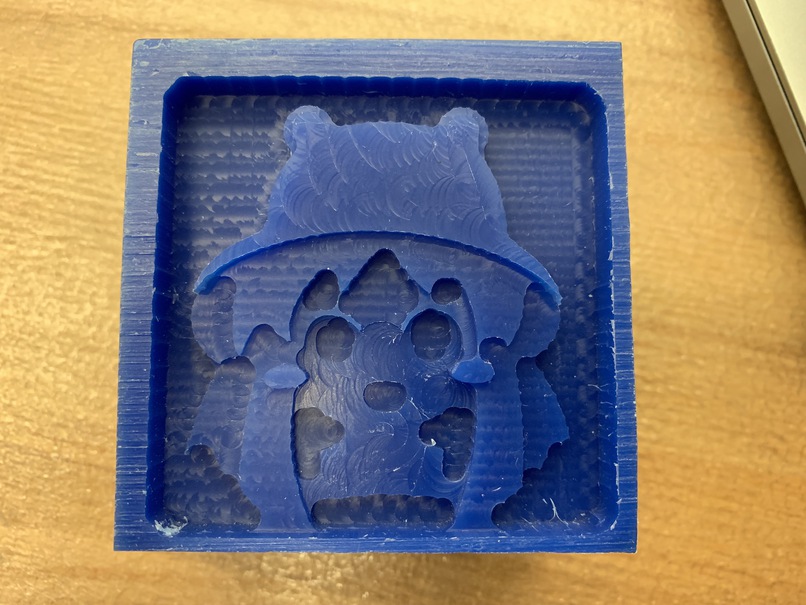
The OOMOO mixture is stored in two parts, and when the parts are mixed together, a chemical reaction occurs that causes the mixture to quickly solidify into a somewhat jello-like plastic. Before the mixture solidified, I poured it into the two molds I had made, and shook them for a few minutes to get rid of any air bubbles that formed. The texture was thick like a gravy so it filled all the space easily.
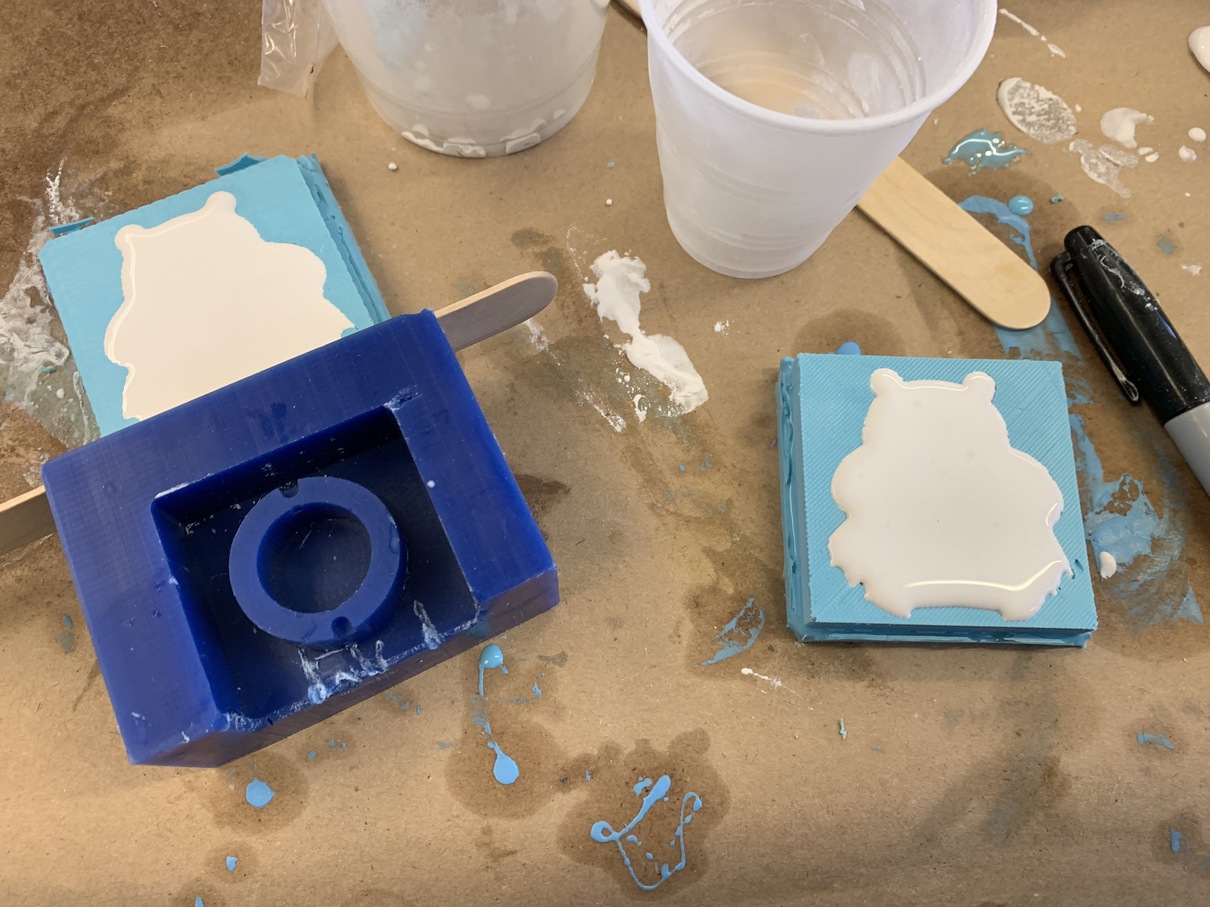
Once the OOMOO plastics had dried, I pried them out of the wax molds and laid them flat on the table. Using these negatives, I could now cast the final plaster parts. I used the Drystone casting material, which is a gray powder which is mixed with water to create a plaster. The instructions called for a 20% ratio of water to powder by weight, but it seemed very runny, so I just kind of eyeballed the mixture until it was thick enough to spread but not solid.
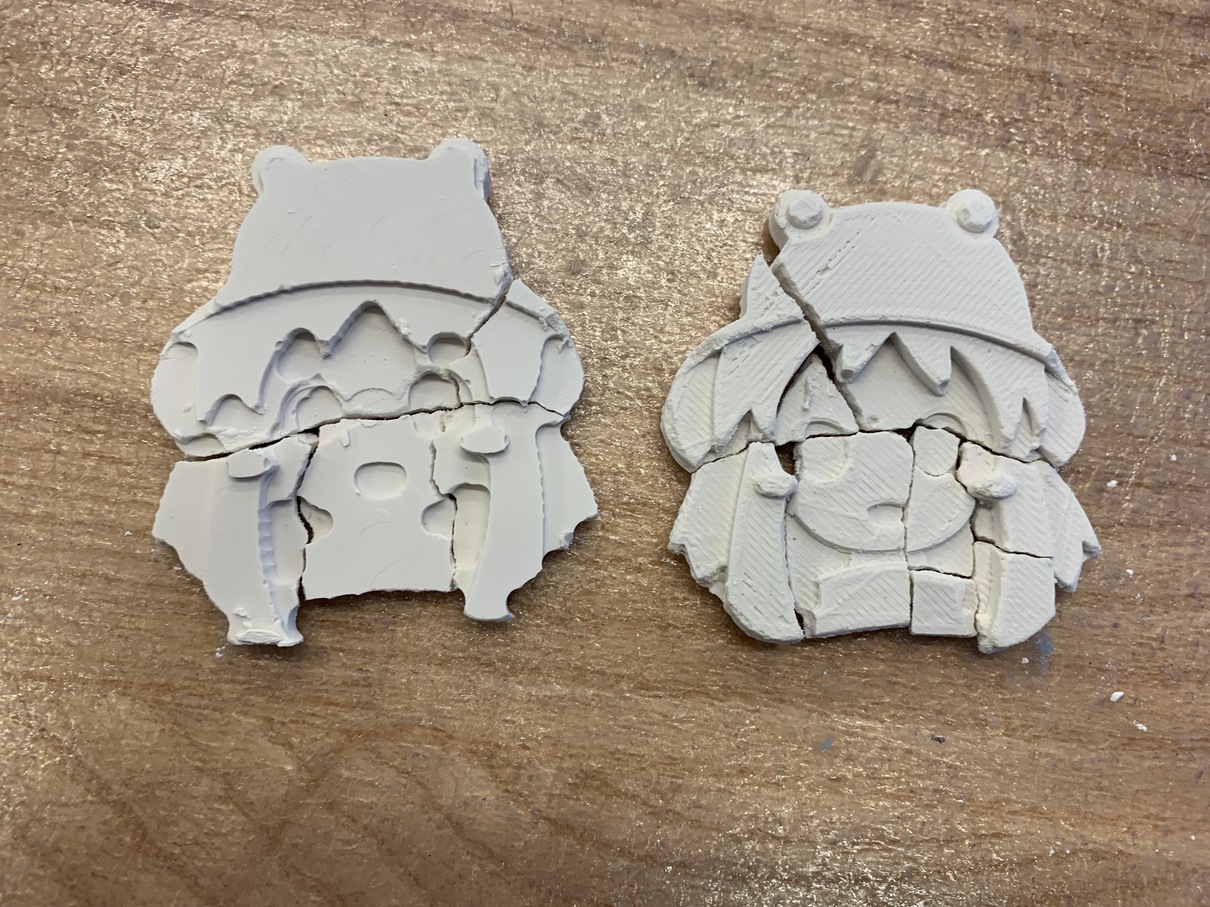
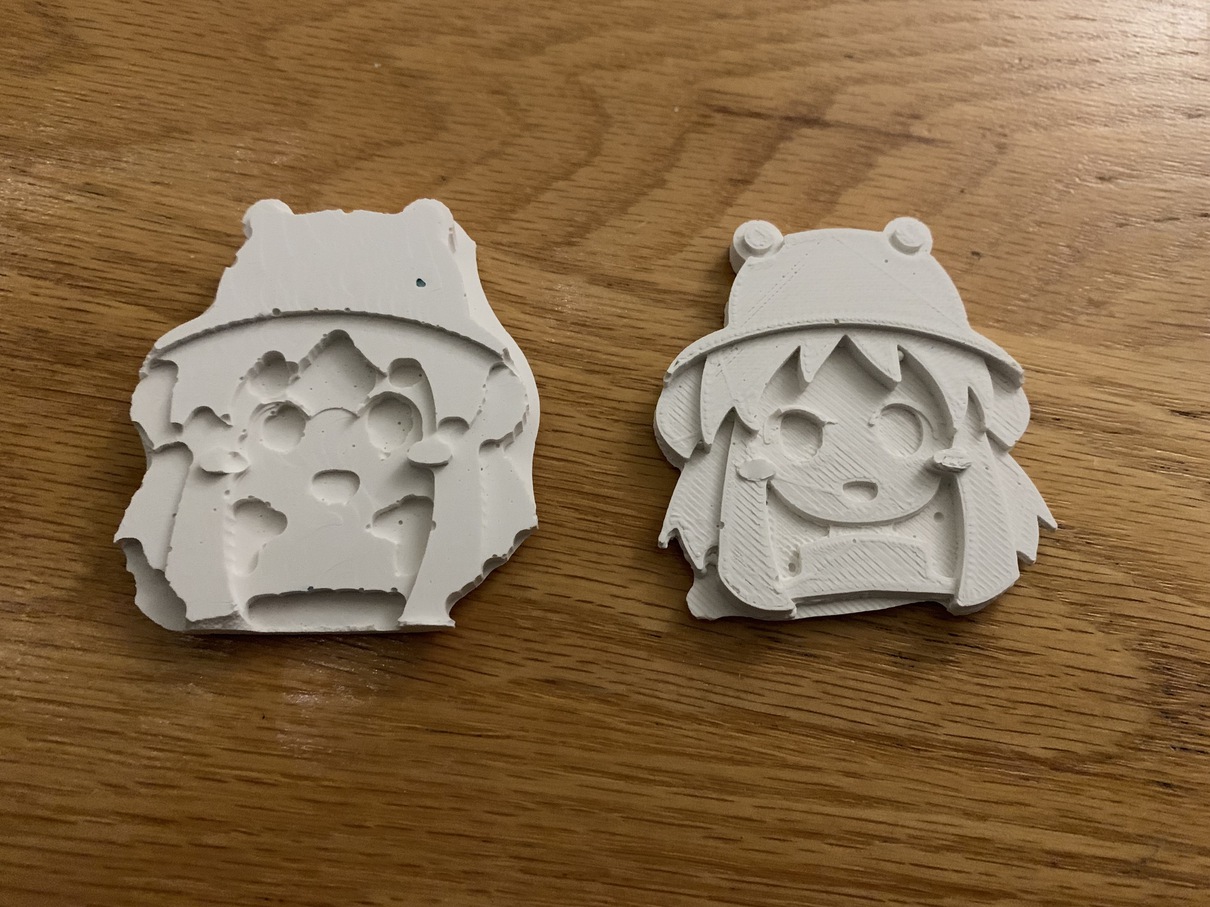
Finally, here are the end result plaster casts! The first iteration broke when I took it out of the plastic negative, so I had to do a second run and left it in there overnight to dry before removing it. The cast on the left is from the milled wax, and the cast on the right is from the 3D printed version. The printed version is a lot cleaner -- it turns out that any defects made in the original milling phase are very easily seen in the final product so it is important to be careful every step of the process.