POSTS
Week 8: Molding and Casting
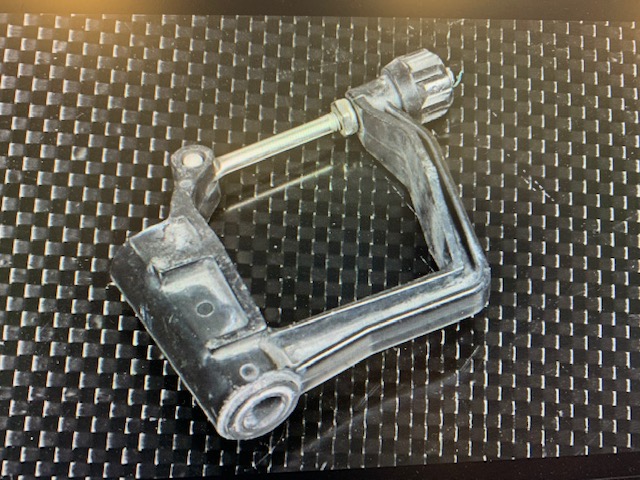
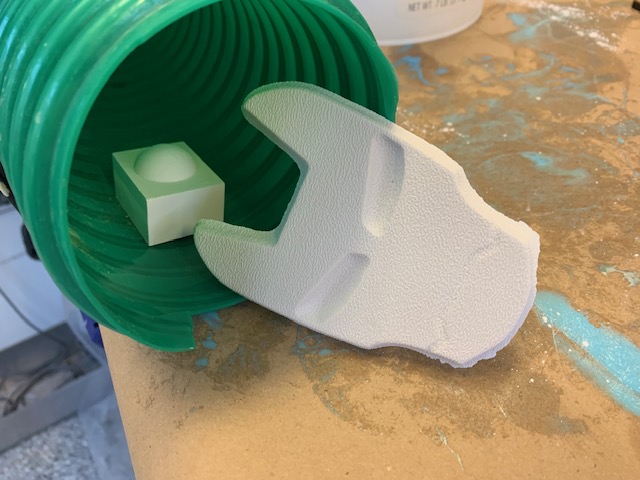
I wanted to mold and cast an “oarlock”, which a piece necessary for my final project. An oarlock is the fixture that the oar is placed in, the sensor to detect force and angle is placed on the oarlock, which moves coincidentally with oar.
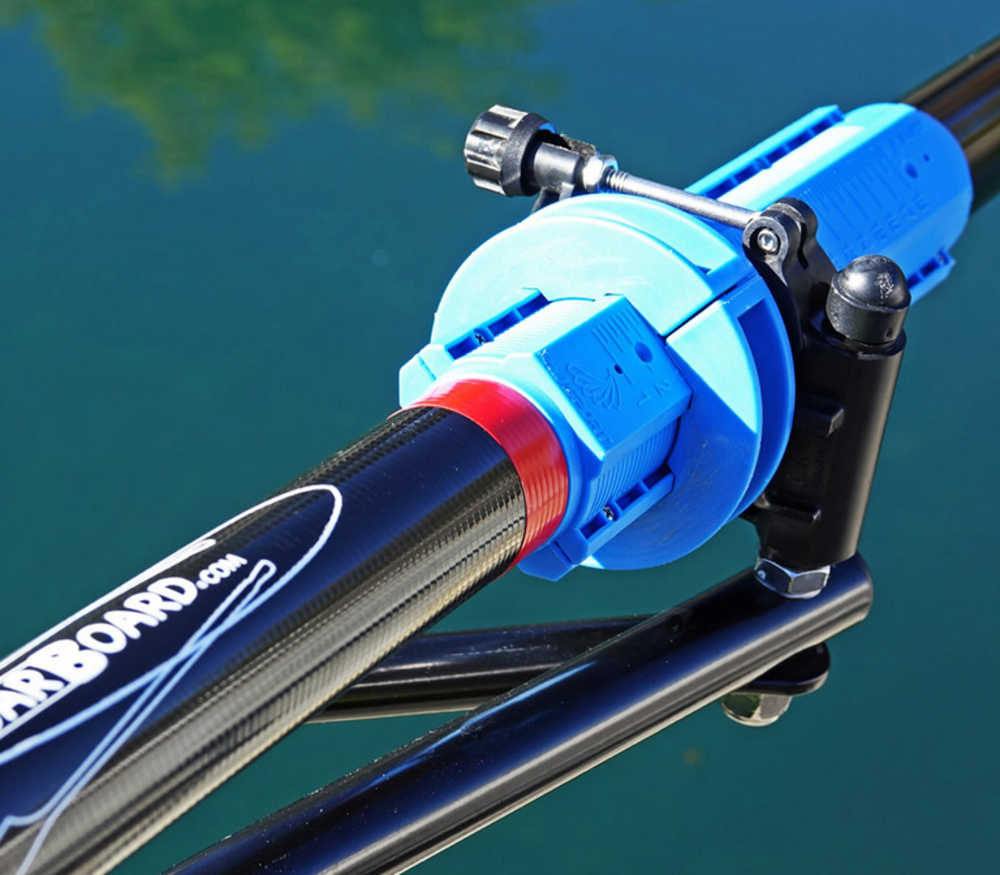
I used solidworks to CAD the oarlock, a very simple but functional design and then exported to HSM to do all the toolpathing before exporting to the machine.
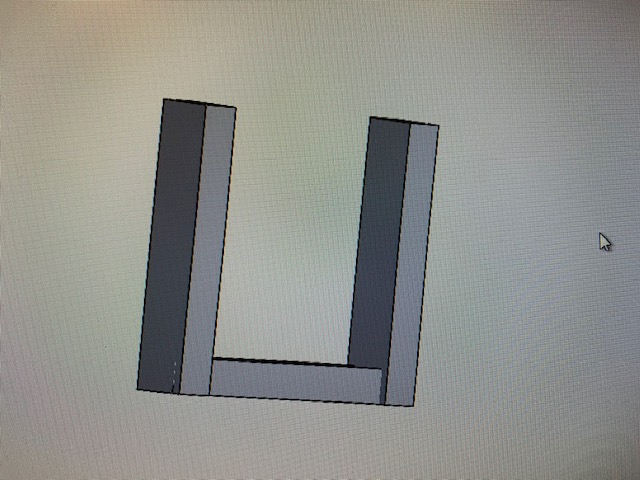
I decided to cad the actual piece itself, then make a mold around then, cast the mold, and then cast parts again using that mold. Oomoo is a better casting material which is why I chose the 3 step process. It was around 35,000 yards of cutting because of the cylindrical cuts which was around a 37 minute job.
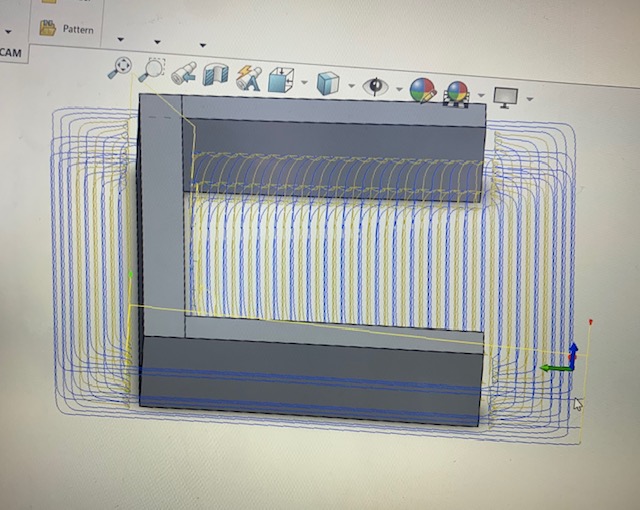
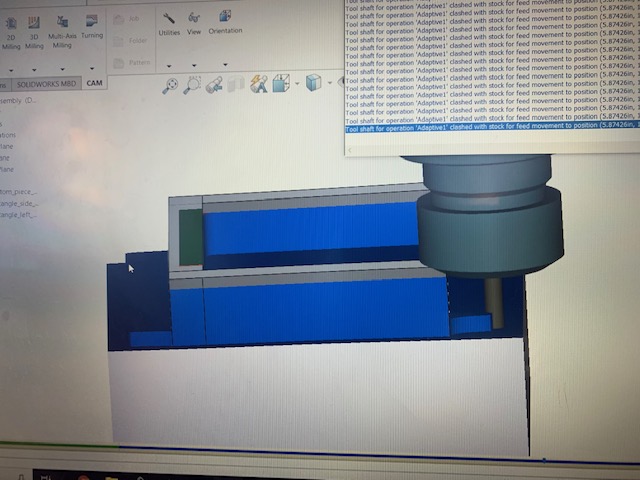
HSM can also simulate the cuts for you which was useful to see.
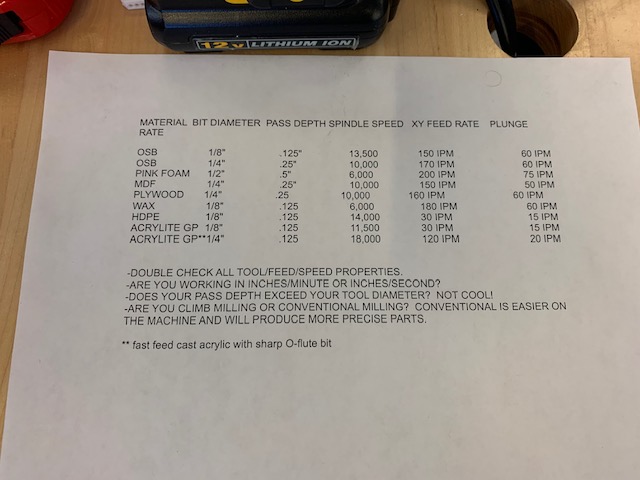
I also found a chart that showed feeds and speeds for different types of material, although this list seemed a little aggressive.
Here’s the 6 by 6 inch piece of wax I used:
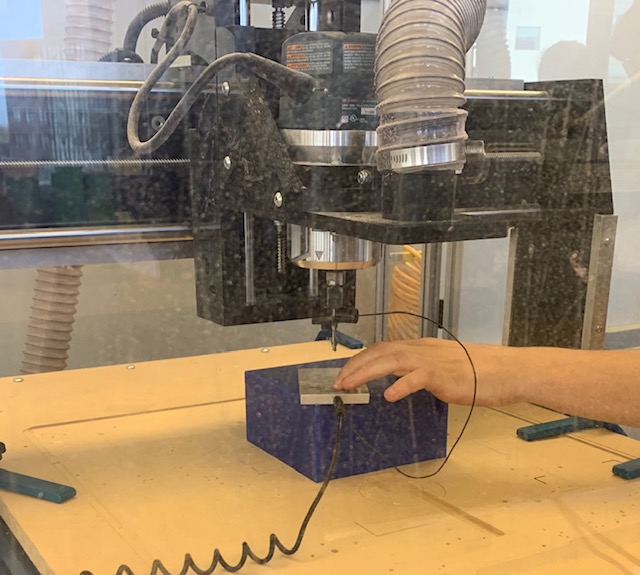
I used the shark machine because I needed to use a 6 by 6 inch piece of wax and neither the othermill or the rolland would fit that size.
I used the shark touch plate to set the z-axis: the machine brings the mill bit down until it touches the plate(the machine knows the width of the plate) and then figures out exactly where the material is.
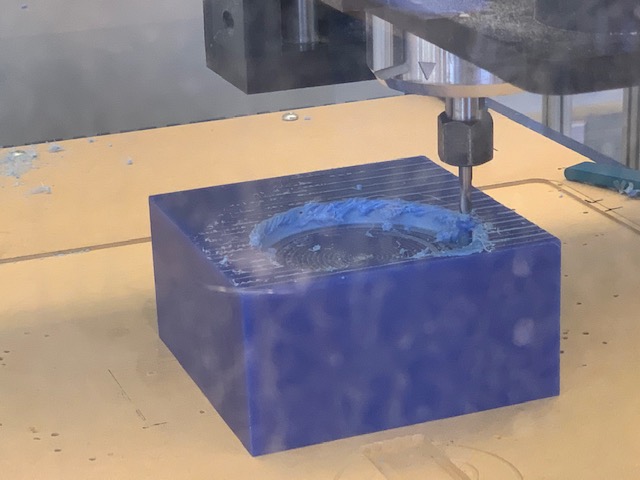
In HSM, I had the machine do a first layer that flattens the top surface in case the wax is not flat (cut 1⁄10000” deep).
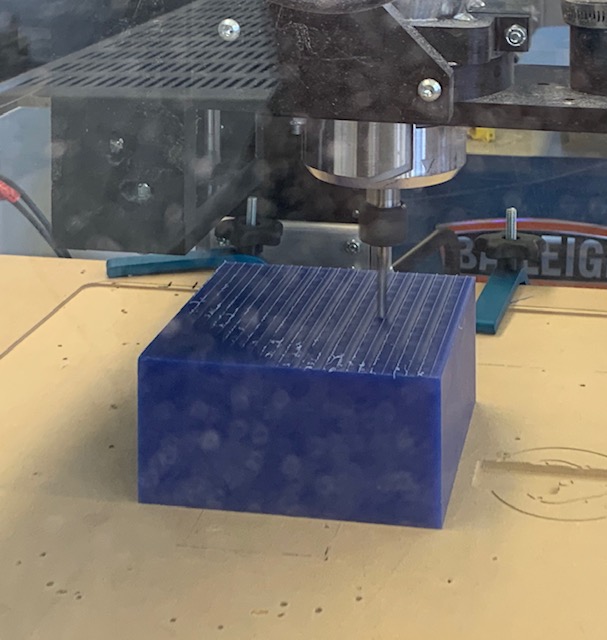
Helix down making cyclinders, instead of cutting in a straight line, goes in circles (it’s better for the tool). This is called triochoidal milling- circular cutting, less radial engagement, loading tool less heavily than a straight line.
I wanted to feed to be 23,000 rpm, but the shark takes values from 1-6, so I estimated 6 for feed.
The feed rate ended up being too slow and melted my wax, so I had to re-run the Gcode a second time. I increased the feed rate and then tried again, and the climb cutting worked well but then the conventional cutting direction was still melting…unclear why that is. I then went back to HSM and only used climb cutting to avoid that. Luckily I paused my job and then stopped it so everything was saved and I was able to just restart the job without resetting x,y,z again after adjusting in HSM.
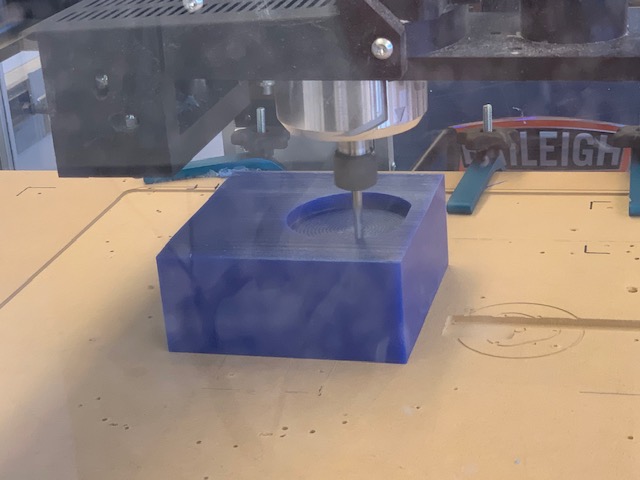
I cutoff the bad layer where my wax melted.

But, I still found that when the mill was concentrated in one area, the wax still melted, so I switched the bit out for an upcut mill as opposed to downcut mill.
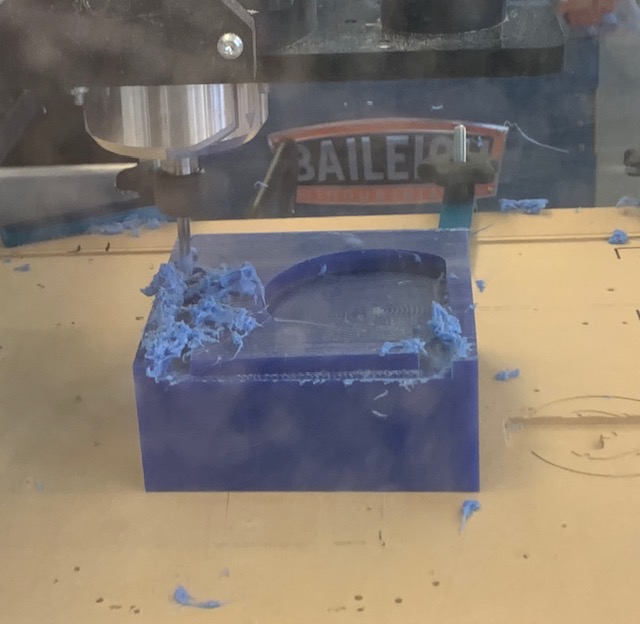
The wax mold came out pretty good after tuning the mill and I was able to pour the oomoo parts A and B into it to cast my oarlock.
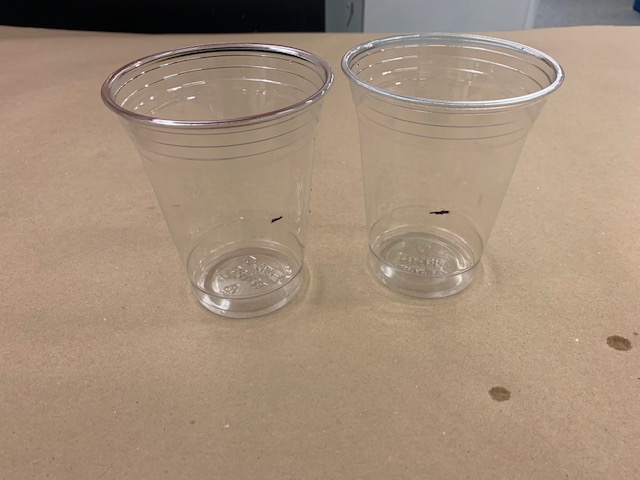
To measure oomoo ratios I just poured water in my wax to measure how much volume I need and then pour that volume into a cup, split it in half and then mark where those volumes were and then poured parts a and b respectively into those cups, mixed, and poured into the wax.
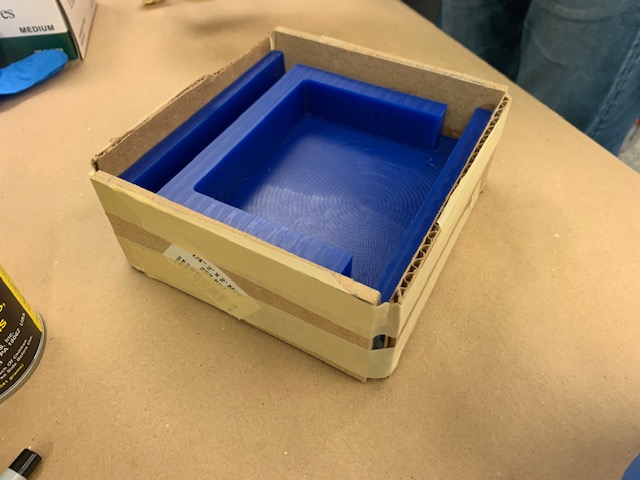
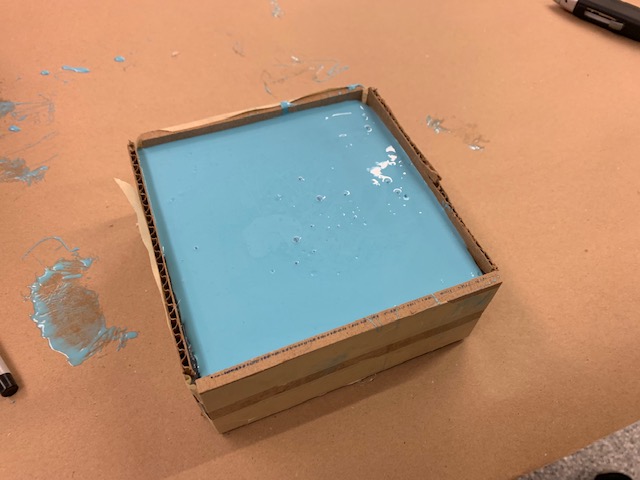
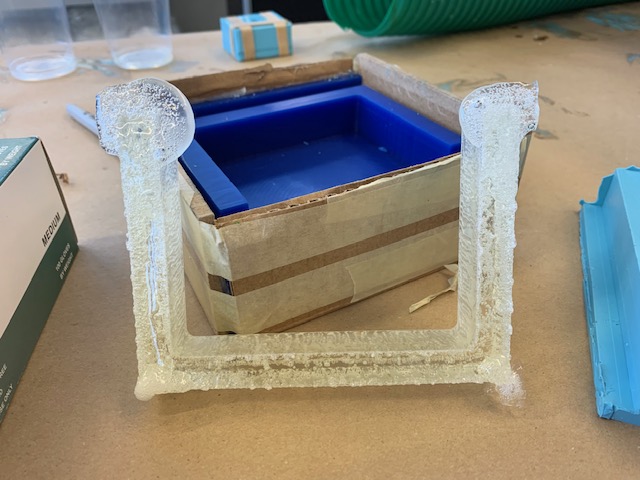
In order to actually pour the oomoo in I had to block off the sides that were exposed (two sides were exposed because in order to fit my oarlock on the 3 by 6 inch wax the ends came really close to the edge and instead of having the mill deal with super close cuts, I just hot glued and taped cardboard/wood to the sides)
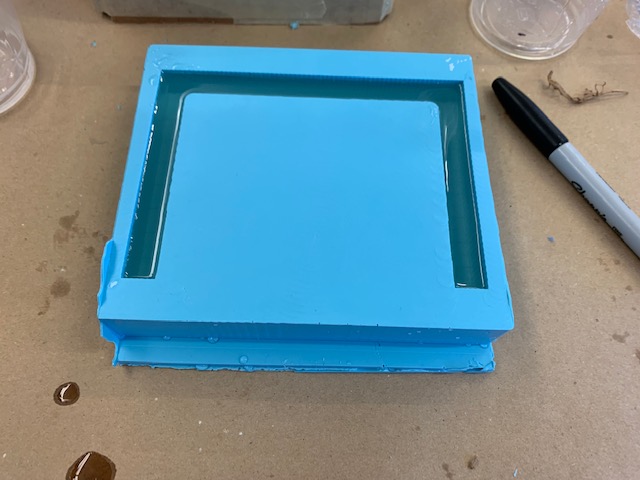
After letting it sit for around 3 hours, I pulled the mold out of the wax, which was really difficult because of the glued sides, the oomoo poured into the holes and it was hard to pull it out and the oomoo mold was pretty ripped up by the end, but a little bit of super glue fixed it so I could use it again if needed.
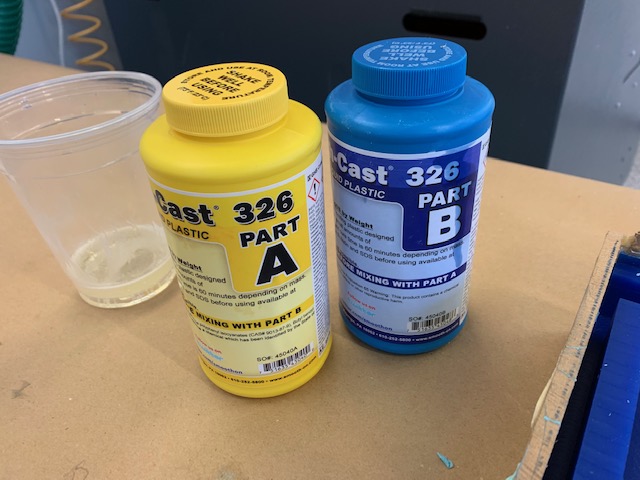
I used the same measuring technique to mix parts A and B of smooth on liquid plasic 326 (clear) and then poured that into the oomoo mold I made.
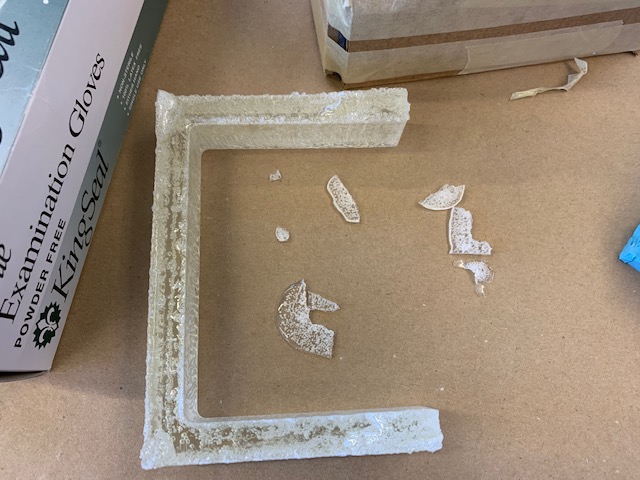
After waiting around 30 minutes, the final product came out like this. There were a few rough edges, but the plastic wasn’t super hard so it was easy to break pieces off and clean it up.
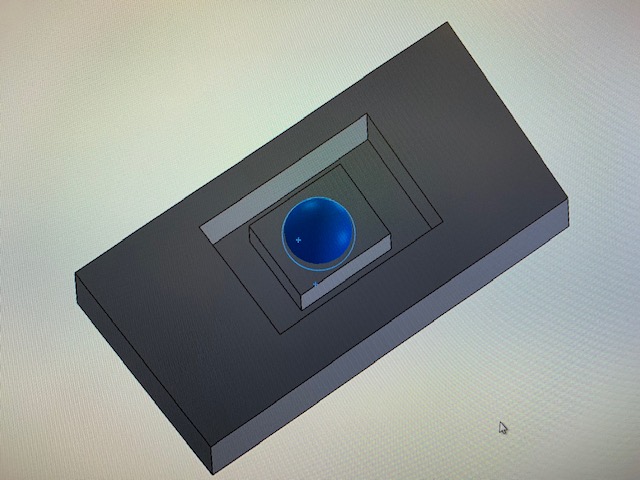
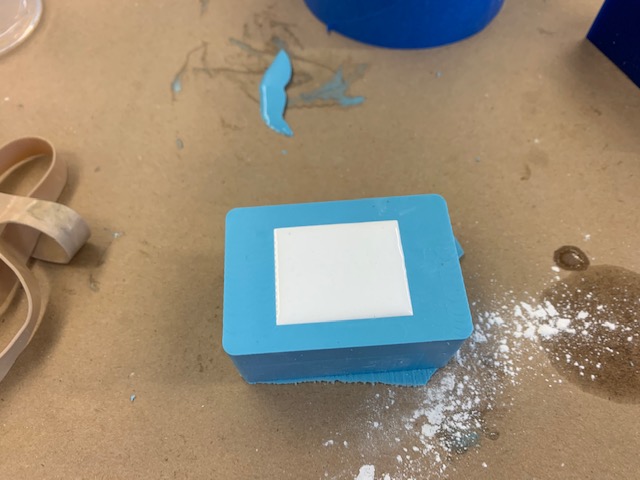
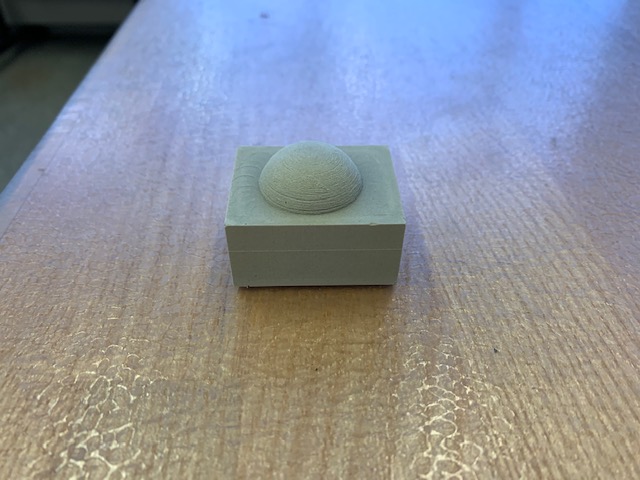
I wanted to experiment with different materials and a 3D object, so I drew up a simple MIT dome in solidworks, processed toolpath in HSM, and then created a mold in oomoo for it to then test with different casting materials.
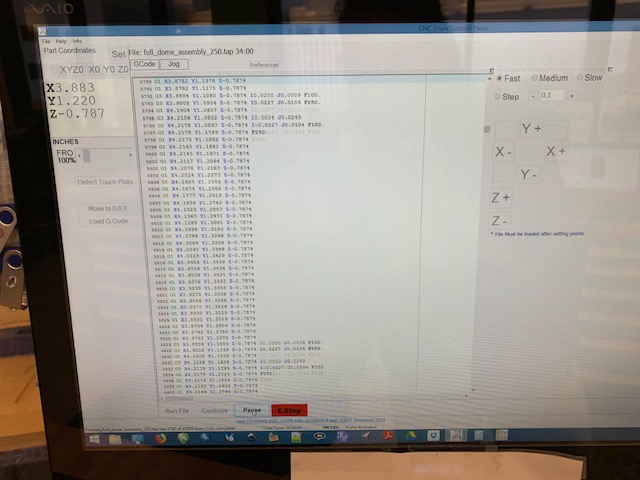
I milled the dome, which was pretty straightforward except at one point the mill got stuck on a line of gcode so I paused it, deleted the line and then continued from that point and it worked fine.
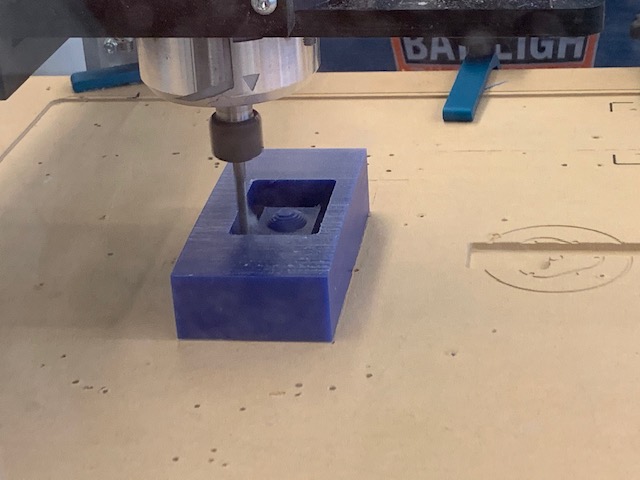
It came out really smooth with a nice surface finish (in hsm I made it so the toolpath would do a rough cut of the dome and the square part and then do a nicer surface finish- specifically radial).
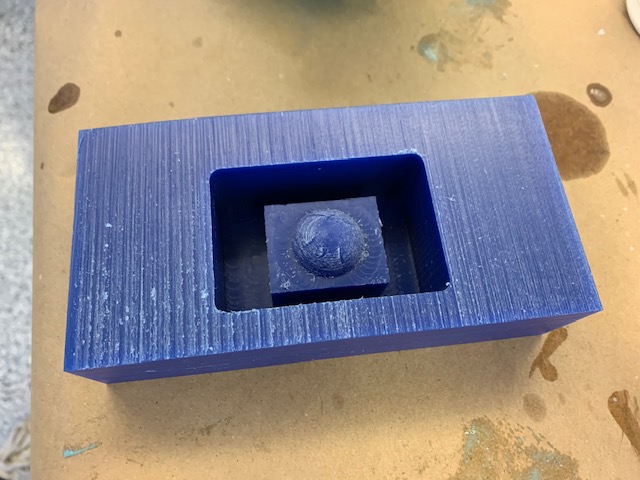
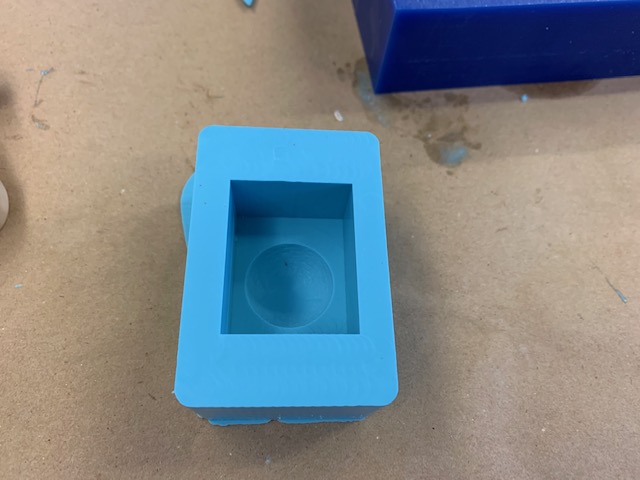
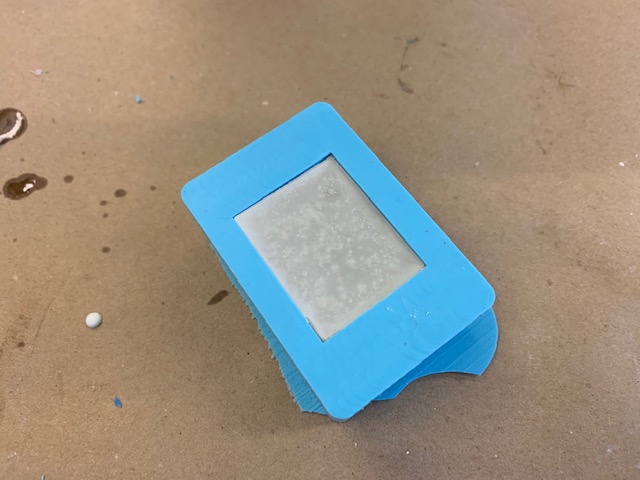
I poured oomoo parts into the wax and made a mold, which was easy to pull out because the wax surrounded the oomoo on all four sides.
Waited a few hours, came back pulled it out and it looked like this.
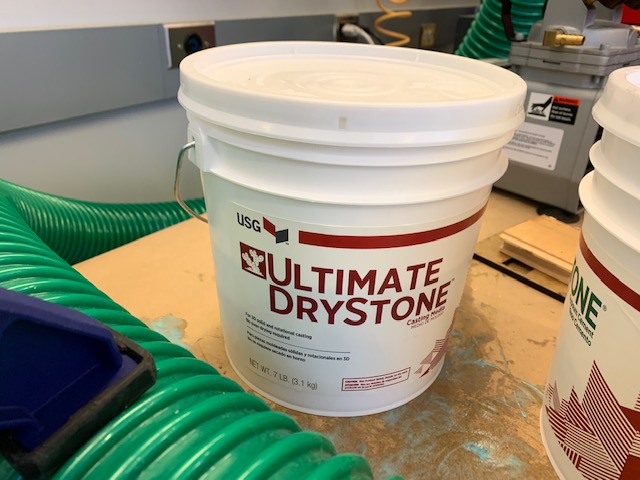
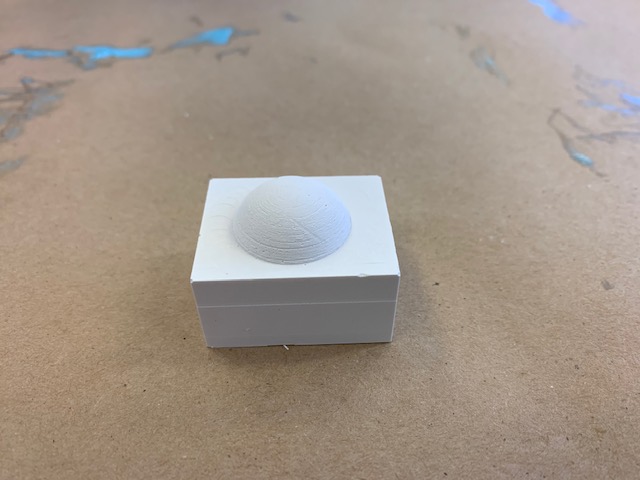
I filled the oomoo with ultimate drystone, which is a white ish material. To mix it you use 20 parts water, 100 parts drystone, so I used a scale to get that ratio and stirred it up and poured. Far less messy than the oomoo.
I placed the final cast in front of an airway to help cure it better..not sure why this works well.
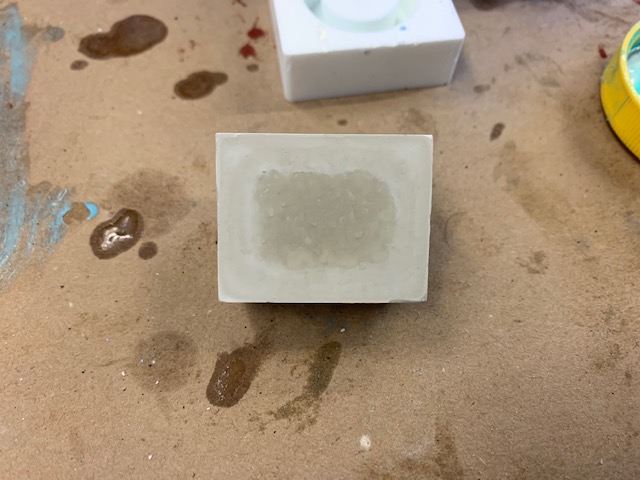
I experimented with hydrostone next, a more grayish material, to mix you use 22 parts water and 100 parts hydrostone, so pretty similar.
I tried pulling it out after an hour and it was stil pretty powder-y, so apparently hydrostone takes longer to set than drystone.
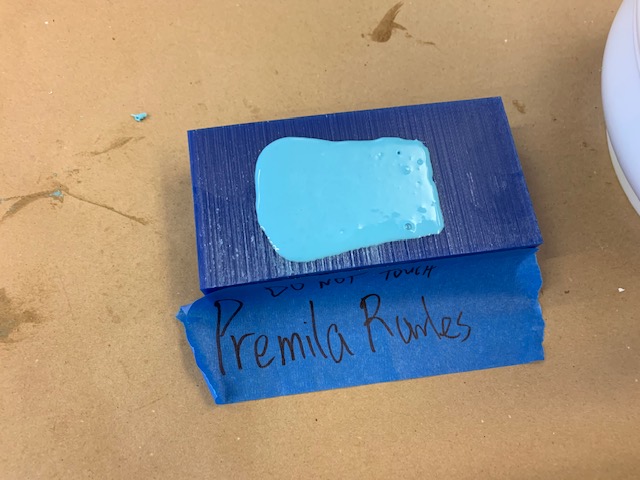
Again, put it under airflow and it came out like this:
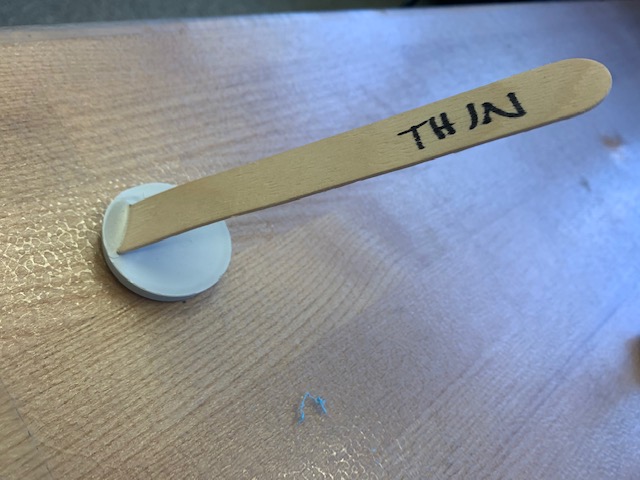
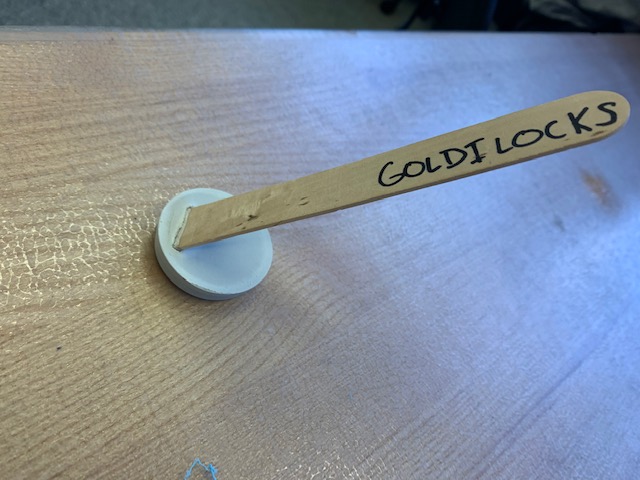
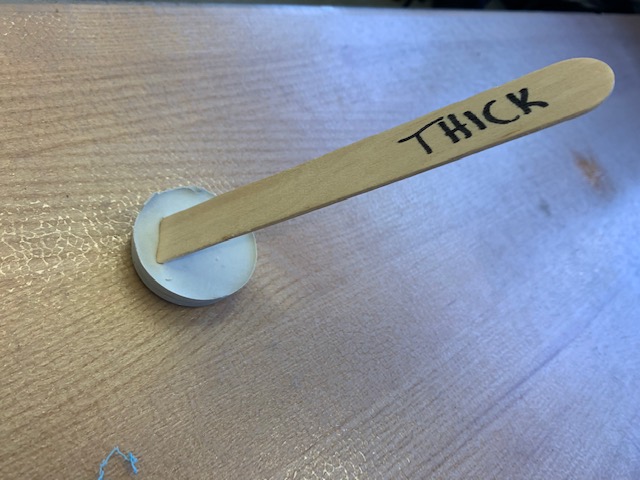
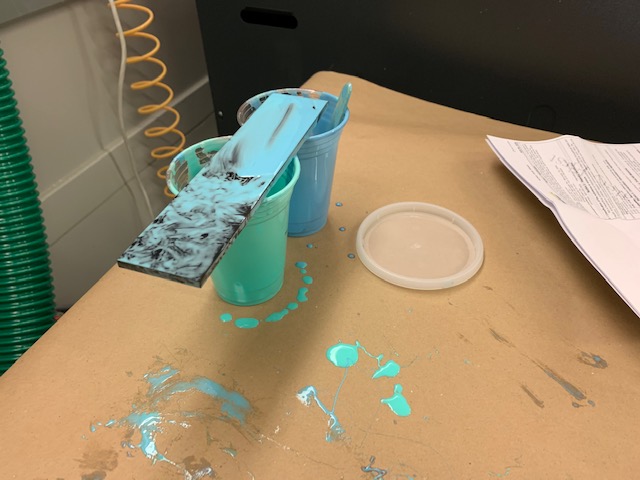
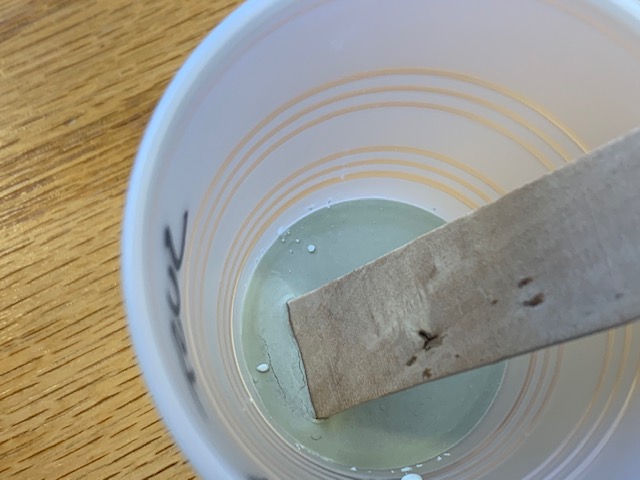
For the hydrostone, we tried mixing different ratios and testing which worked best- the cup labels are hypothesis on the results.
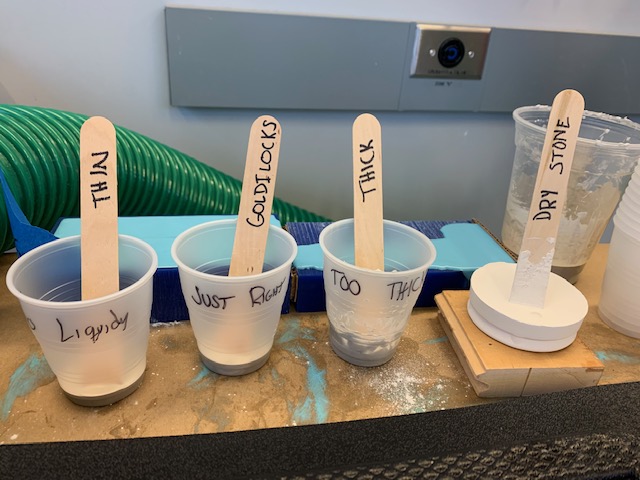
Hydrostone even after around two hours didn’t fully set and was still a little moist in the center. We also tested the remaining solution in a cup and the edges were set and the middle was unset, which is clear in the coloration difference.
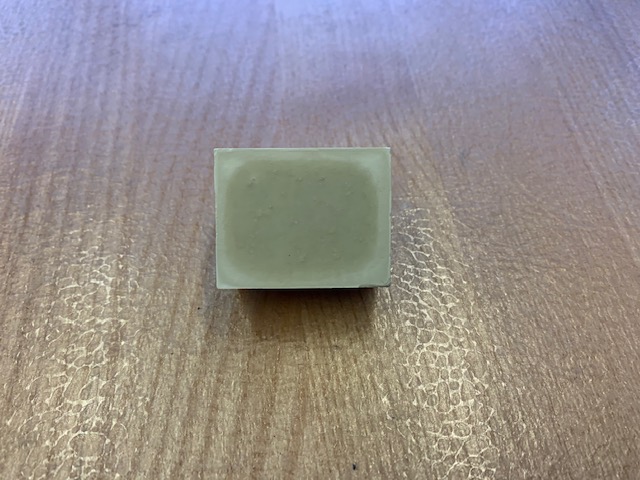
I came back the next day (24 hrs later ish) and checked on the hydrostone, and the center of the dome piece was still fairly moist.
I also checked out the test pieces and it looks like the ‘too thin’ hydostone solution we made actually turned out to be the best looking one.