Week 4: 3D Scanning and Printing
Characterizing the Printer
We were asked to print many sample parts to characterize different aspects of the printer. The EDS has 3 different 3D printers: UPrint, Sindoh, and was setting up the Prusa. Most of the parts were printed using the UPrint so that we could queue up parts as a group and switch them out throughout the week. Some of the parts we printed were:
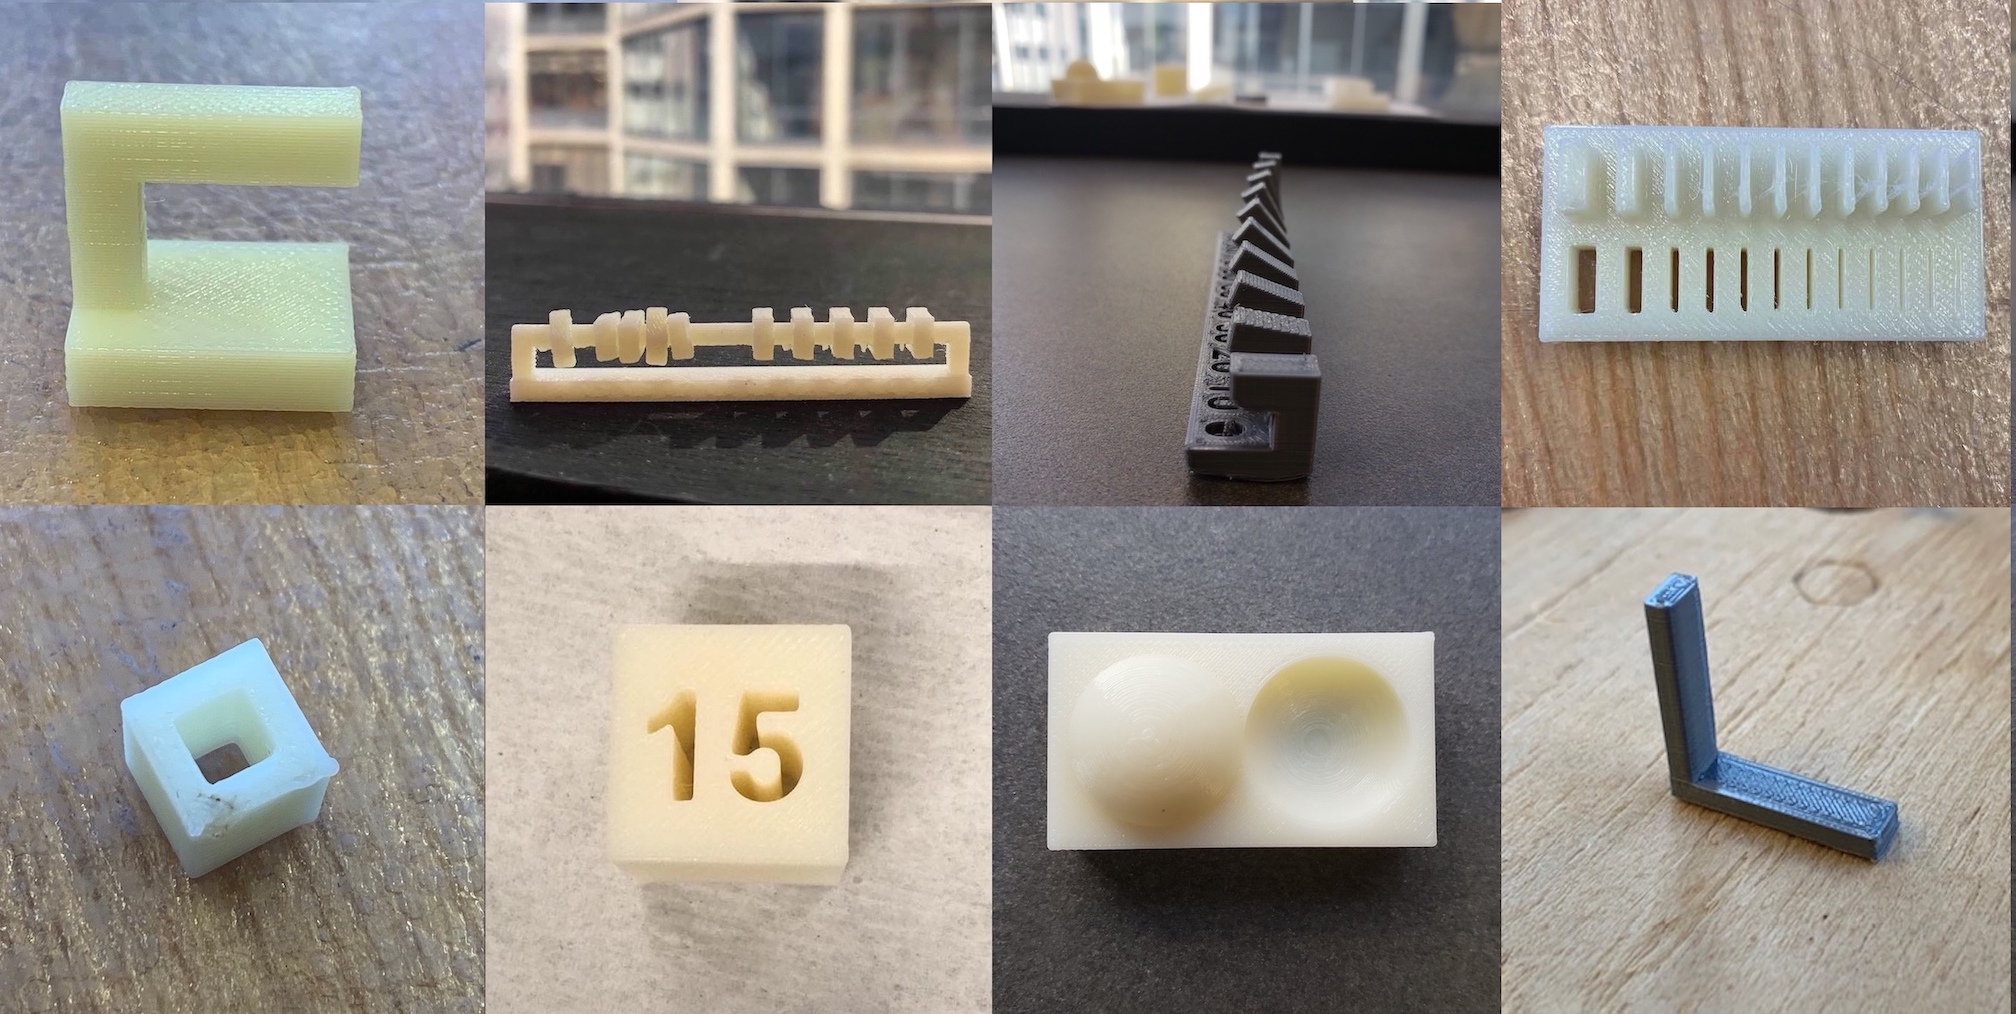
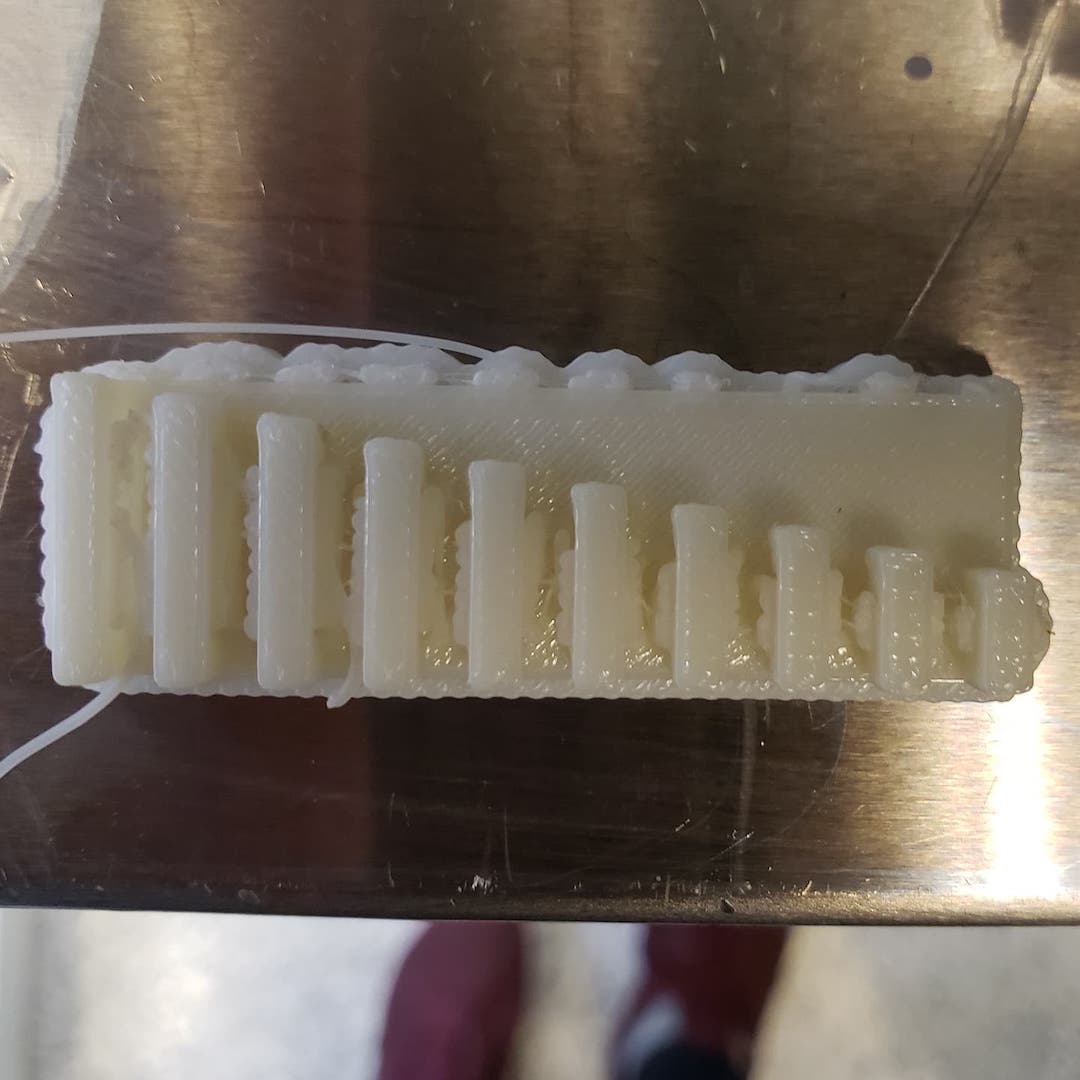
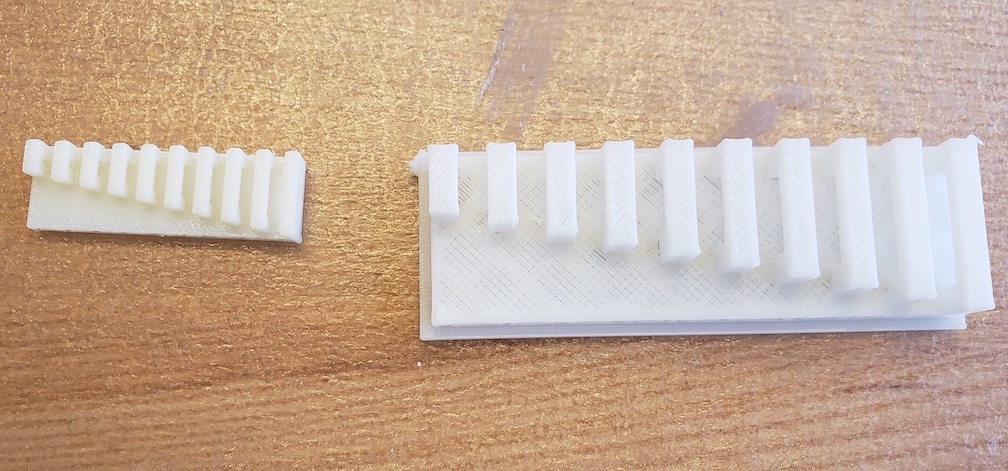
The piece on the right was made on the Sindoh. Even without support, we were able to print out even the longest bar.
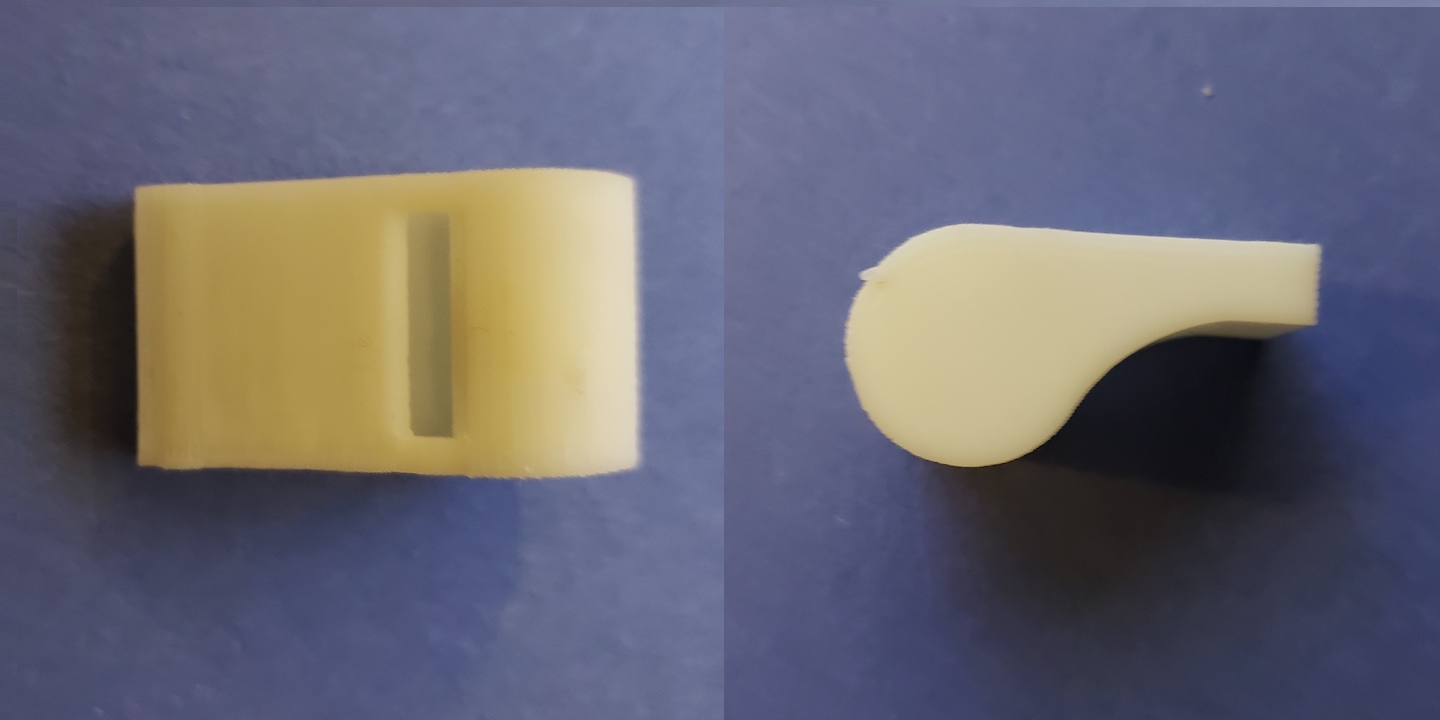
CADing the Whistle
I wanted to design and print a whistle that had a ball inside. I used Fusion360 to CAD up my design. The .stl file is here.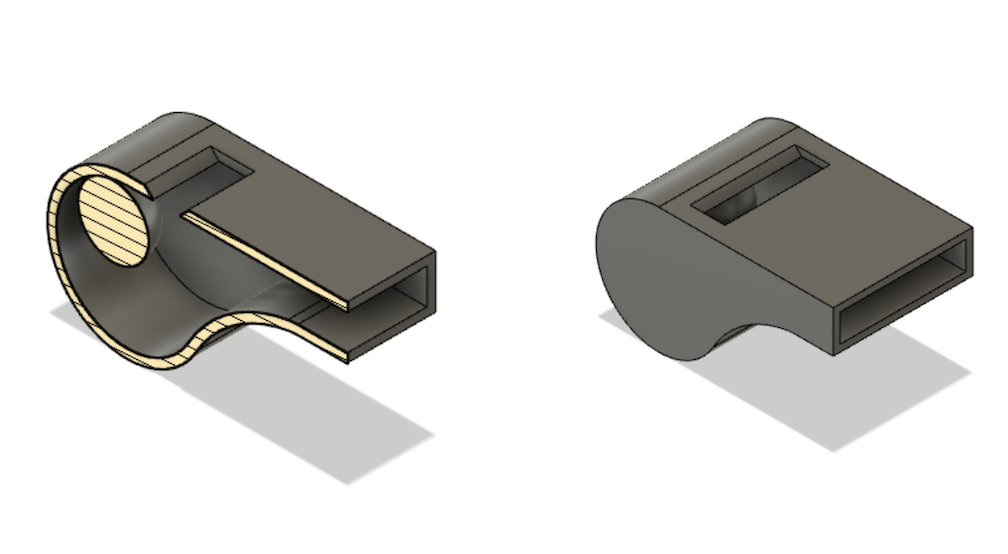
Printing the Whistle
I used the UPrint to print out my whistle. The software had the option for auto orienting my piece. In this screenshot,
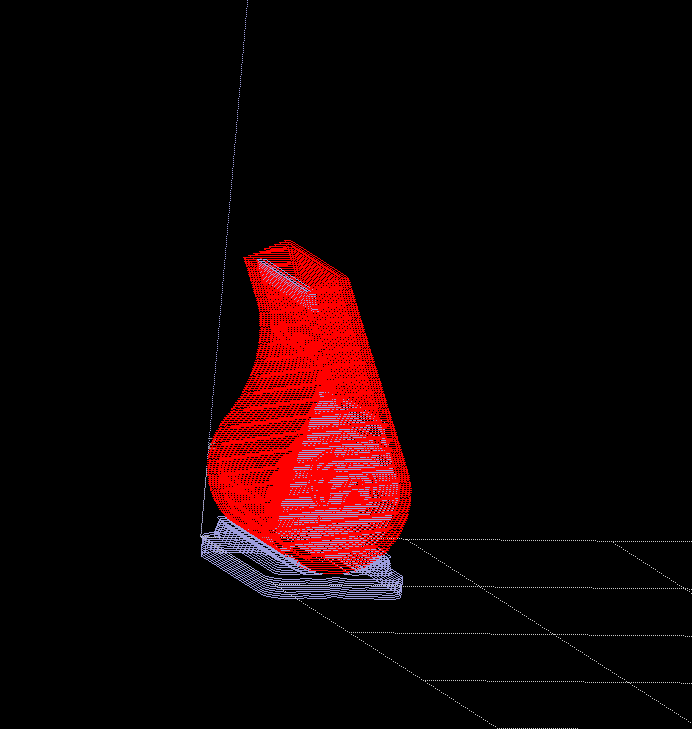
the red shows where the material will be deposited and white is where support material will be deposited. The piece took around 55 minutes to print and ended up looking like this:
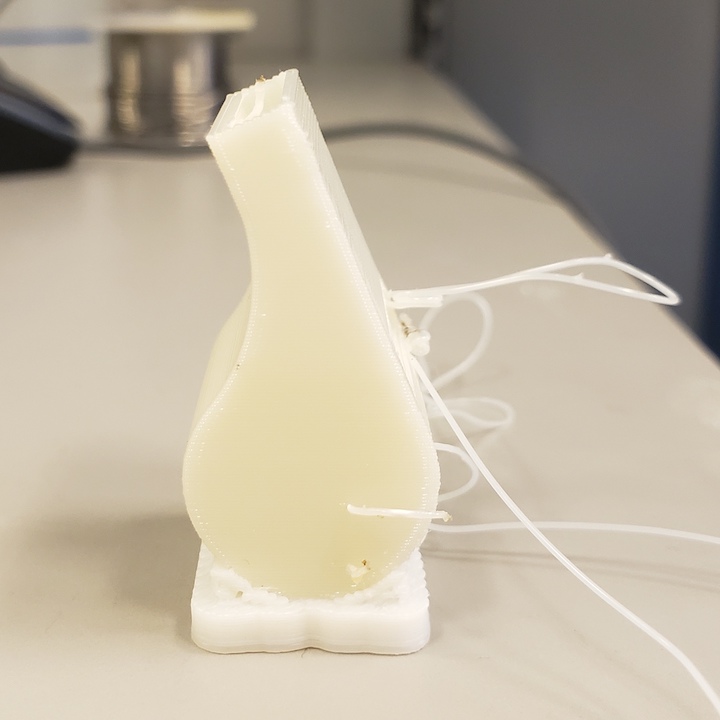
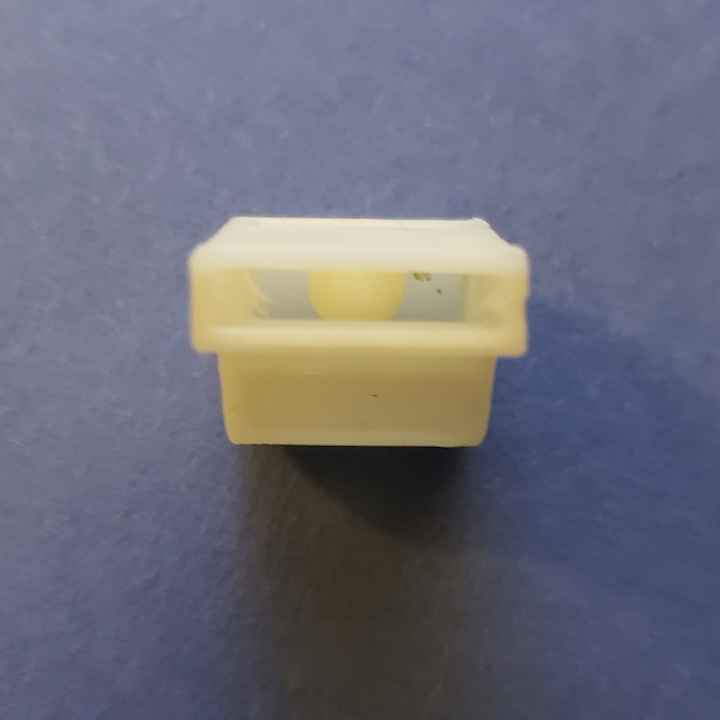
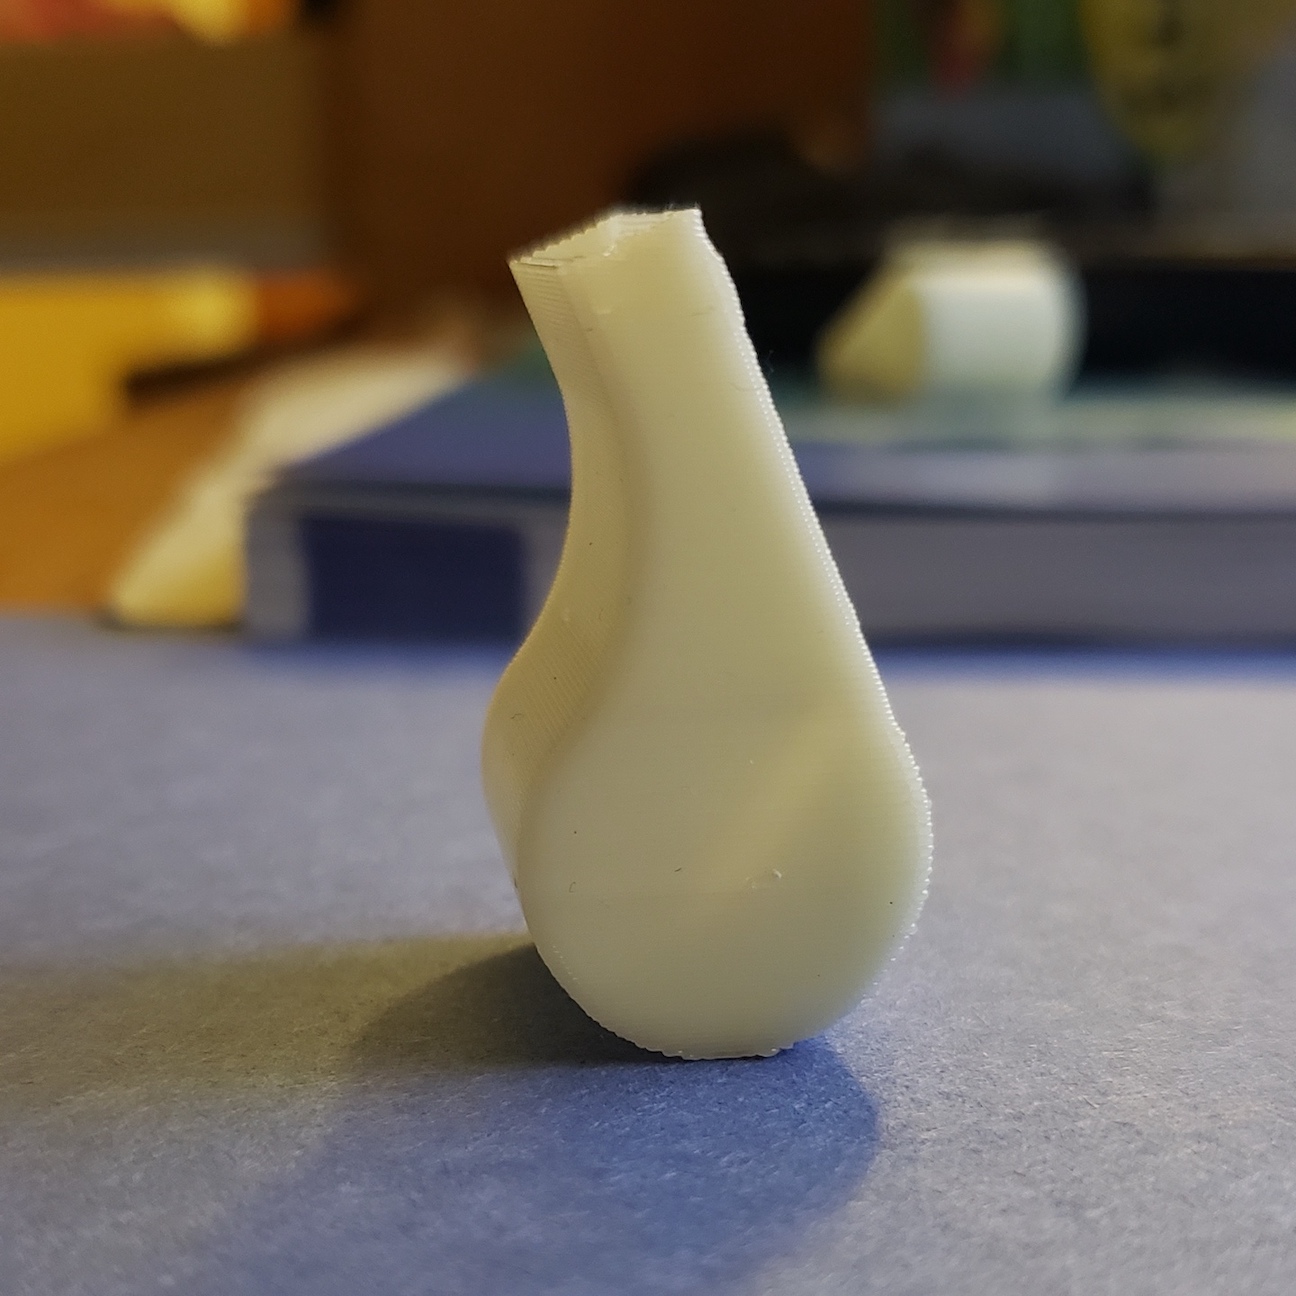
The bath,

dissolved all the stringy bits left from the printer and the support at the base and inside the whistle. The bead was attached inside but was easily removed with a flathead screwdriver.
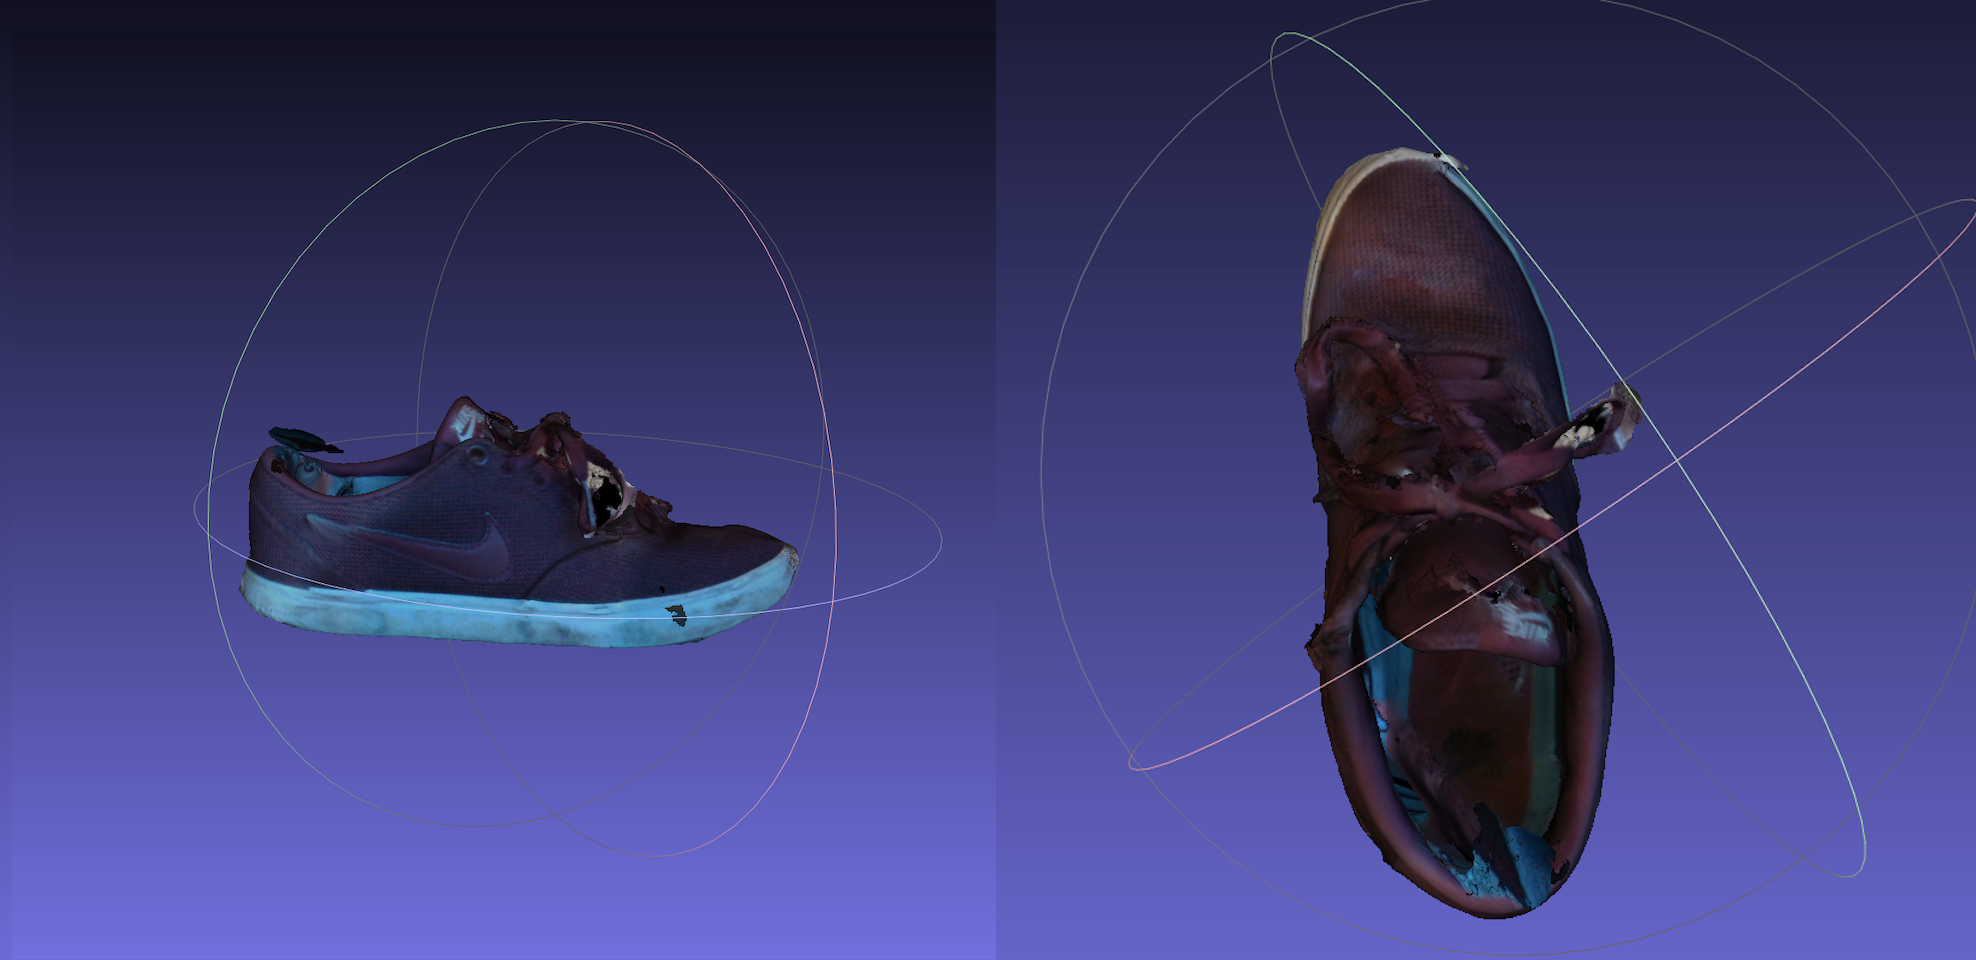
Scanning
Many of the objects I tried scanning (matte black headphones, lime) would not work on the Sense3D scanner because the material was too reflective. The first object that I had success with was my shoe. The software for the scanner had a "Repair" and "Erase" tool that helped me get rid of the excess scanned area and fill in the bottom of the shoe. All of my 3D objects were rendered using Meshlab.
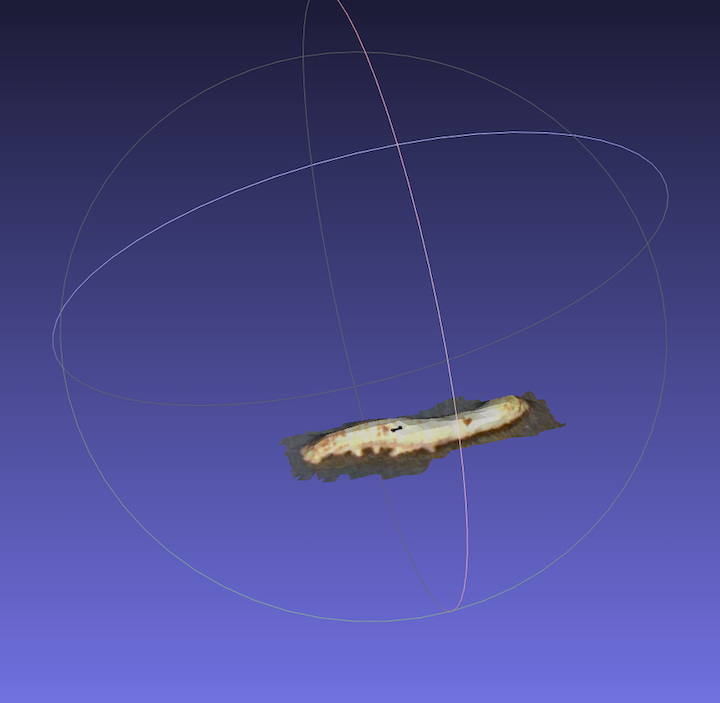
I also scanned in a silk worm (.obj file here), which was much more succesful than I anticipated given the size and the likelihood that the worm would move around.