week twelve
interfaces and application programming
I tried to use PyQT and worked through this tutorial I found online. I got a window with clickable buttons to pop up and could change the aesthetics of the window. However, after looking through this page explaining serial connection through PyQT, I still didn't really understand how the two communicate/how I could get my board to talk to the interface I created in PyQT and vice versa.
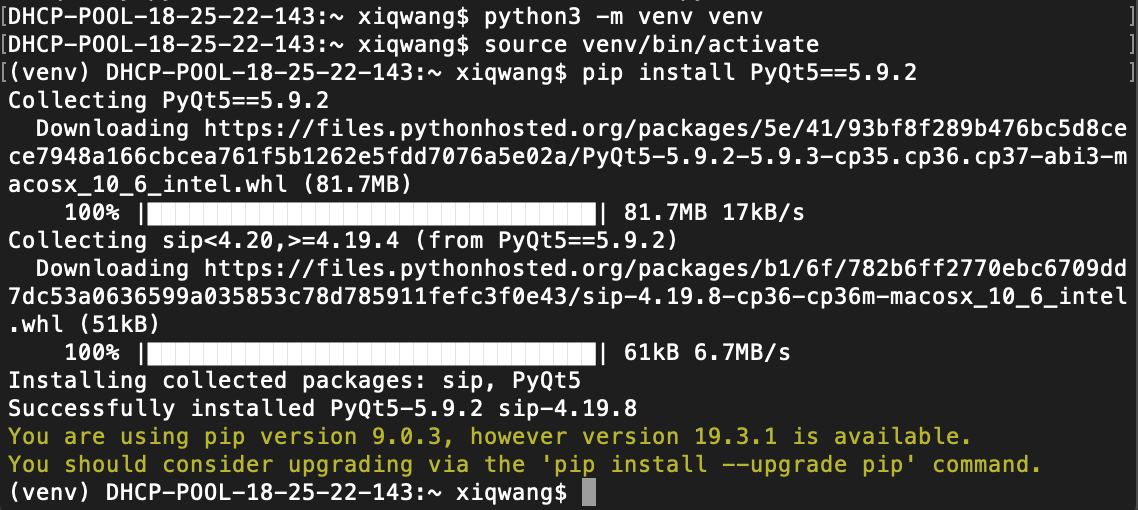
installing PyQT
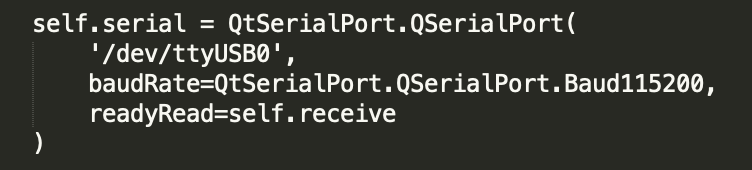
serial port stuff in PyQT?
The final project took my priority, so I decided to leave this for another day ;P Upon a recommendation, when I picked this week up later, I also switched gears and decided to use Processing instead of pursuing PyQT.
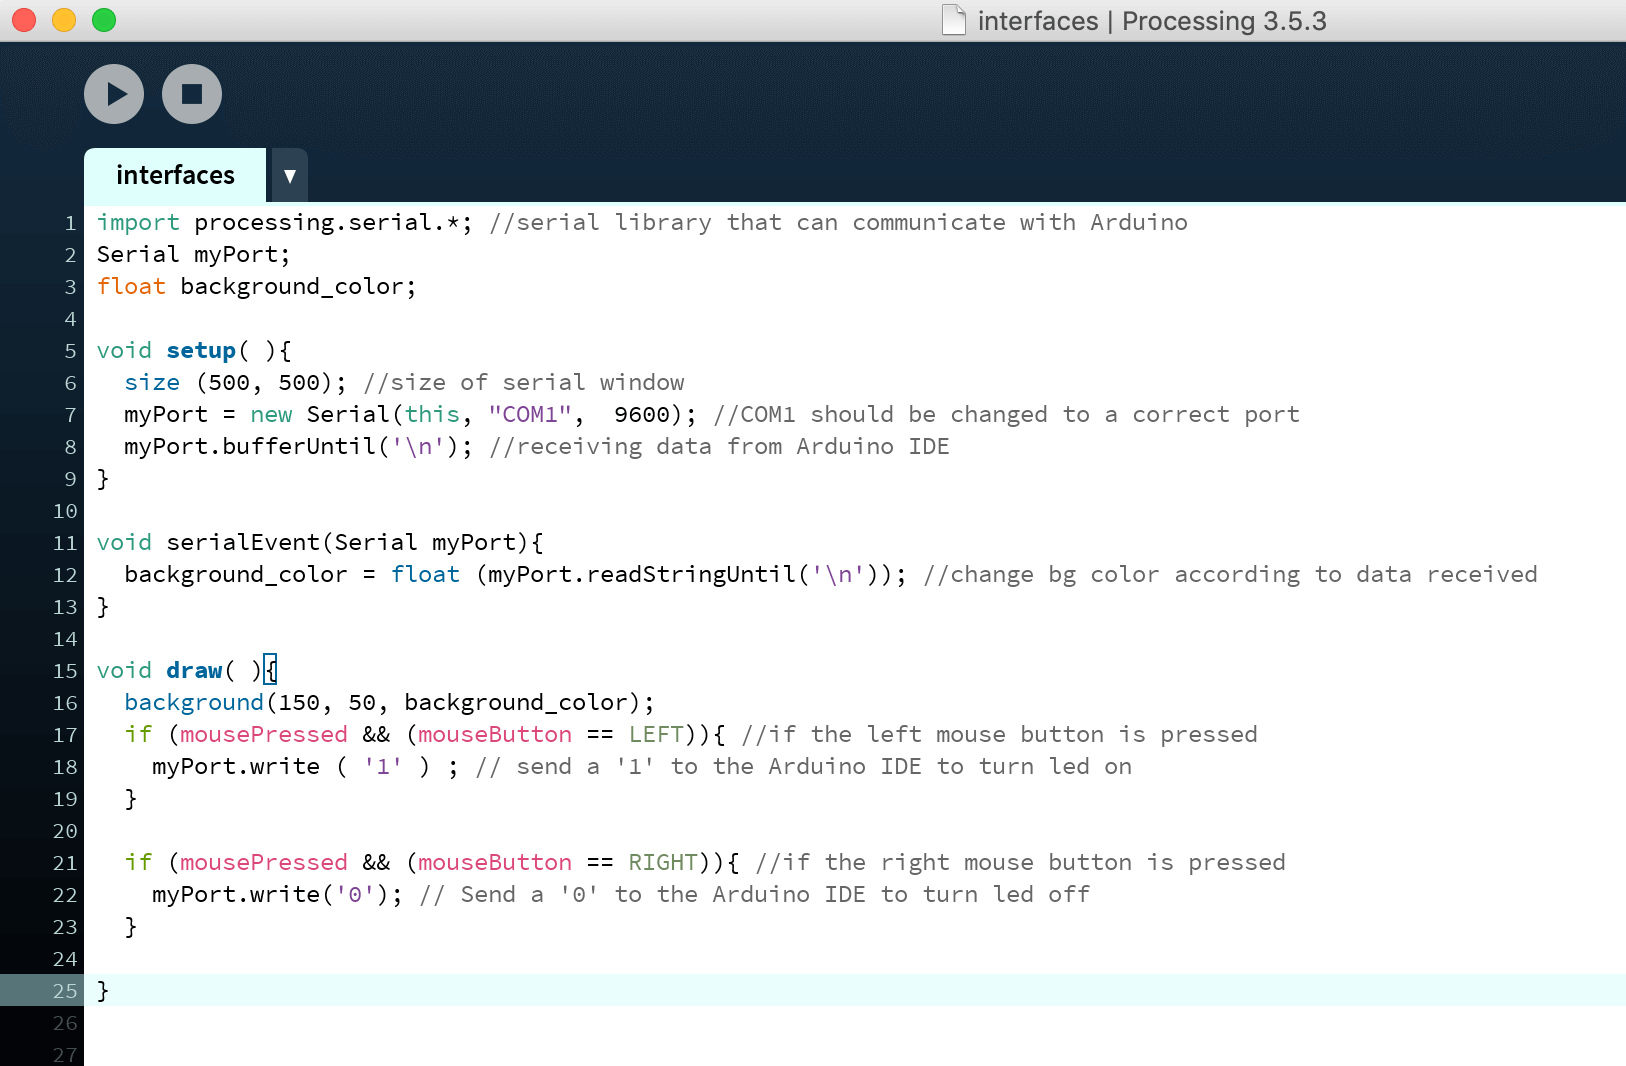
Processing is an open-source graphical library and IDE that allows you to make interfaces pretty easily. According to Wikipedia, the Processing language and IDE were apparently precursor to Arduino? I had never heard of Processing before this week, but the Processing software is super similar to Arduino IDE, which made it pretty easy to use and understand.
I used this super handy Processing tutorial during this process. It's good at laying out how communication happens between Serial on both the Arduino IDE and Processing sides.
Bringing back the week four milk jug board for the purposes of this week. This board already had a button and an led, so I decided to have button pushes change the color of the window (Arduino side->Processing side) and right/left mouse clicks turn the led on my board ON/OFF (Processing side->Arduino side).
Here's what I understand about how it works:
Whatever code you write in Arduino can send information about what you're doing with your physical board to Serial. For this, we can send states as '1' and '0' to Serial based on the physical state of the button (pressed or unpressed). That's where it stops - this alone can't magically change an interface.
So, in order to get a button push to change the color of a window interface, there must be some kind of receptor on that side that can tell the window what to do (change color). That's where Processing comes in.
The information that you send to Serial through Arduino code can be read using the line myPort.readStringUntil('\n');, which will change the window color based on that data received from Arduino. In this case, this will be either '1' or '0'.
On the Processing side, getting mouse clicks to turn the led on and off is a similar process. Instead of mySerial.println(button_state); you'll detect physical mouse button clicks and send states '1' or '0' to myPort using myPort.write('0') or myPort.write('1').
mySerial.read(); allows us to read this data being sent from the myPort.write() commands and digitalWrite() the led pin on the board to HIGH or LOW, turning it physically ON and OFF.
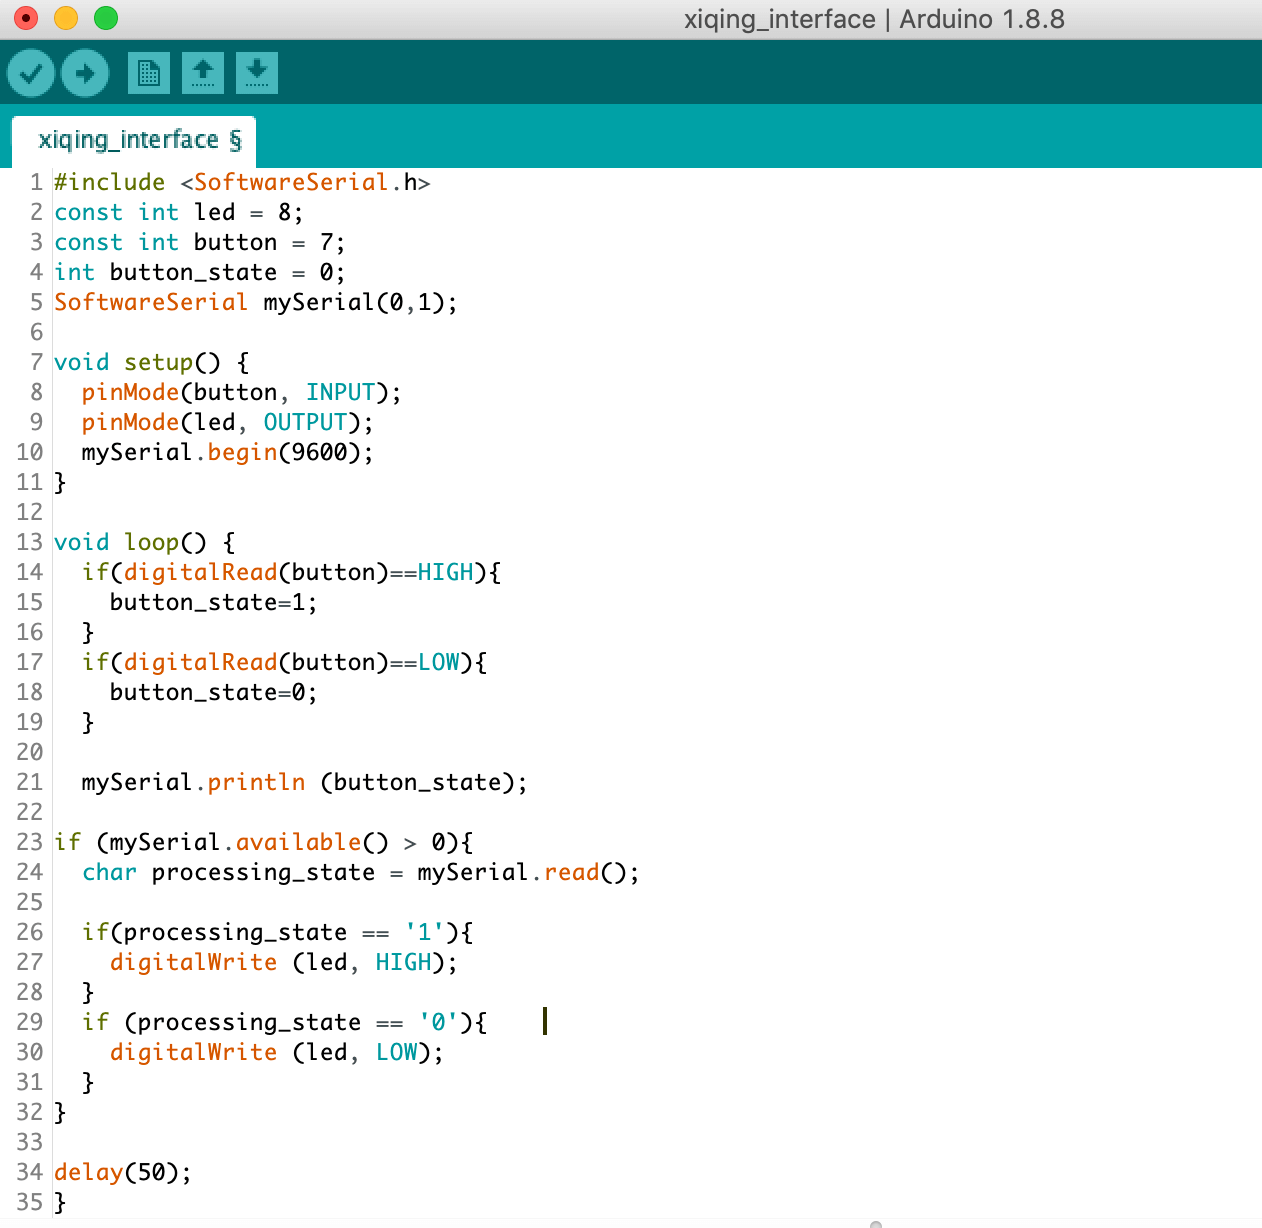
Arduino code
videos: Arduino side button
Processing code