week thirteen
wildcard week - composites
This week, I decided to do composites to make the box structure for my final project. Get ready for an adventure.
the tutorial
Composites are useful because they combine the best features of two kinds of materials - epoxy and some kind of fiber. Epoxy is quite hard, but it sucks in tension; fabric/fibers, on the other hand, are great in tension. So, composite structures are usually really, really durable. Fun fact (that I at least did not know before this week): carbon fiber is a composite!
Here are the general steps I gathered:
1. Cut fabric to size. You'll want multiple layers (at least 4).
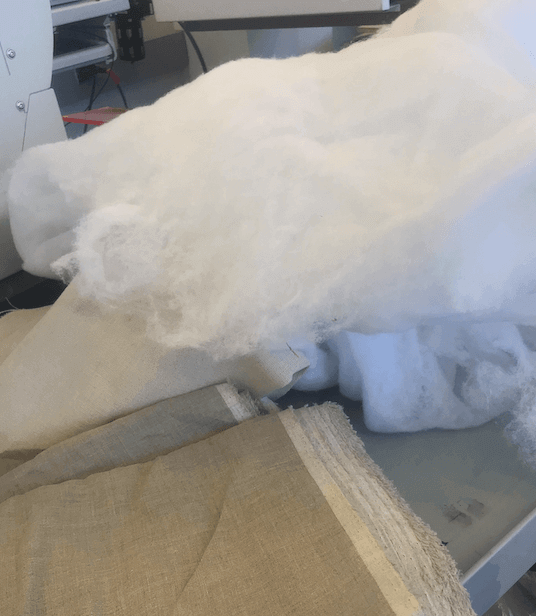
some materials used: fabric (left) and breather for step 8 (right)
2. Cover metal plate with release film and tape.
3. Measure and mix epoxy parts in an A:B, 2:1 ratio (where B is the hardener)
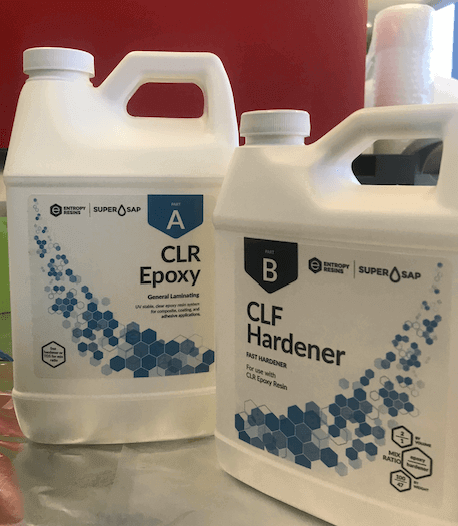
2 part epoxy used
4. Place a fabric piece on the film and create an outer wall/barrier around it so the epoxy doesn't seep. We used mastic tape because there wasn't anything else, but Isabel mentioned using cork in the past.
5. Use the epoxy mix to saturate the layer.
6. Place another piece of burlap onto the previous layer and saturate again. You want to end up with all layers saturated but not sopping in epoxy. Repeat until you've reached your desired number of layers.
8. Cover with release film and breather (this white stuffing-like material). You want to try and make everything as smooth as possible.
9. Place composite in vaccuum bag and pull the vaccuum, making sure to smooth out wrinkles or at least move them to a less visible spot.
10. Wait and let cure! Then, you can pull everything off and reveal your composite.
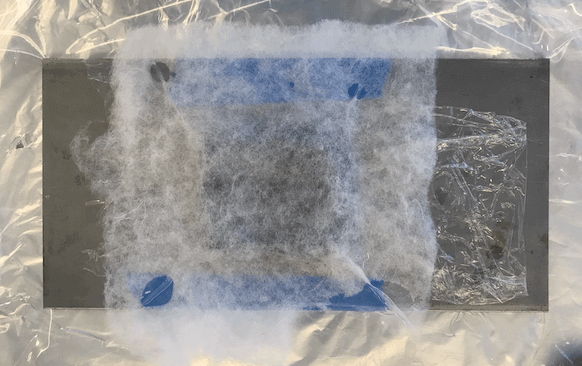
what process looks like after step 8
I just made a simple square, but a lot of the release film and mastic tape would not budge from the fabric/epoxy after I tried to collect my composite after curing. I didn't think much of it at the time (though I really should've, in retrospect).
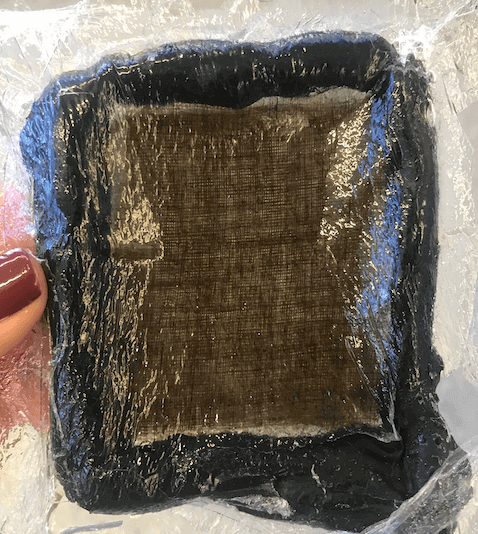
composite after curing
making a mold
Before going through the composite process, I needed to first make a positive mold. Basically, this mold just needed to be a cube that I could lay fabric/epoxy over to form a composite of a hollow box with 4 sides - what I would ultimately use in my final project.
The foam that was available was 2" thick, so I modeled slices of foam that would glue along the flat faces to make a box shape. I used a fillet on the end piece so the back of the box would look smoother.

end piece (this is the part I milled)

middle pieces
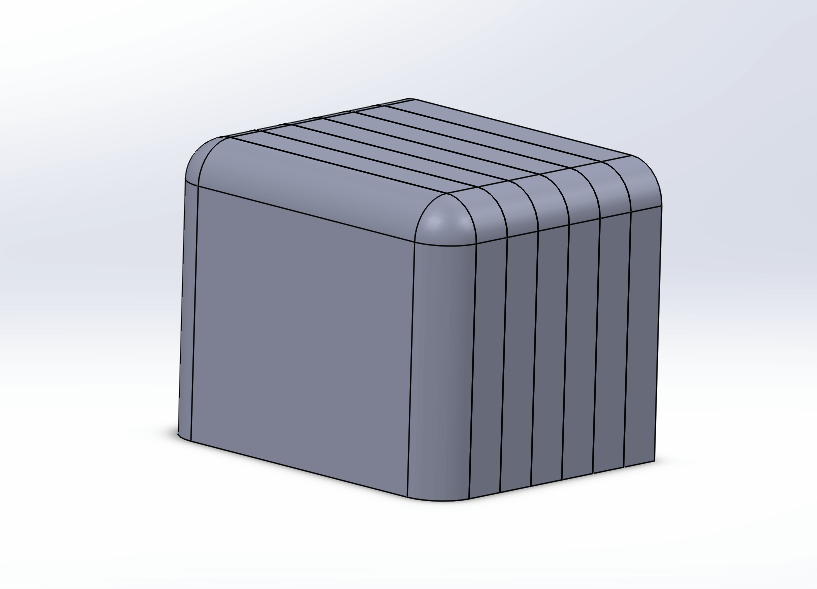
box mold assembly (1 end piece + 6 middle pieces)
While it might've been faster cut and shape the foam pieces by hand (or wire cutter), there needed to be some form of digital fabrication to fulfill this week's task, so I decided to cut one of the pieces (the rounded end piece) with the Shark mill. Anthony helped me use the Shark during molding and casting week, and I never actually documented thorough steps on how to use the Shark mill and Pirahna post-processor, so I'll do it now!
In Pirahna, I was able to see the x-axis and y-axis measurements - 14 and 18, respectively - of my job. I got a large sheet of foam and cut away seven 14"x18" pieces with a knife (since the sheet of foam was too large for the band saw). This was so tiring ;(
I took one of these cut pieces and stuck it to the Shark platform using double sided tape, and we were ready to mill.
videos: milling end piece
milled end piece
the step down fillet on the mill
putting the mold together
I ran the 14"x18" pieces of foam through a bandsaw to cut and round the corners a bit to match the fillet on the rounded end piece. Then, using hot glue, I stuck the pieces together and started sanding the crap out of the cube to try and get the edges of the pieces to align better.
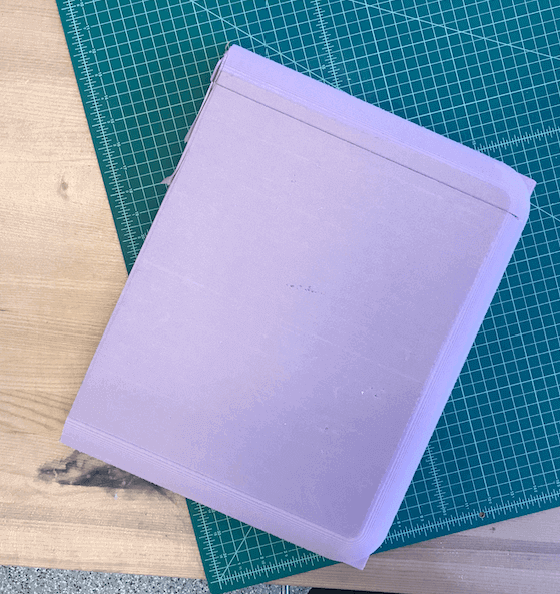
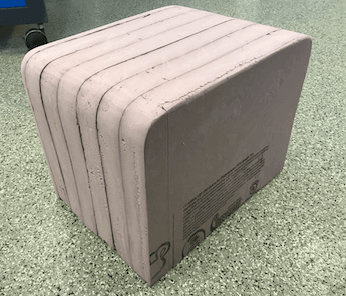
mold before sanding
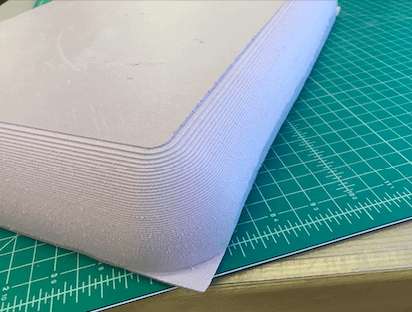
I managed to get the surface of the foam mold to a smoothness that I was happy with, but there were still some gaps between the pieces.
I managed to get the surface of the foam mold to a smoothness that I was happy with, but there were still some gaps between the pieces.
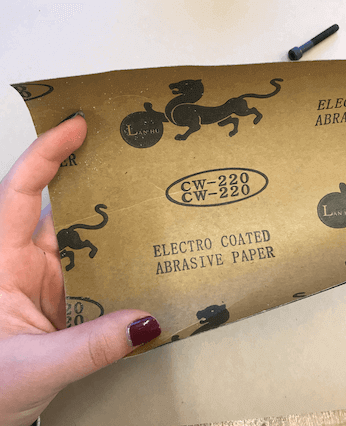
the most effective sandpaper in EDS for this purpose
mold after sanding
Because I had successfully used hot glue on the faces of the foam blocks, I thought that I could also use it to fill in these gaps. I was wrong...There must be some plastic or heat resistant material on the face of the foam, because when the hot glue touched the exposed foam, it melted right through. Also, apparently the fumes of melting foam are extremely toxic. Good to know in the future, I guess?
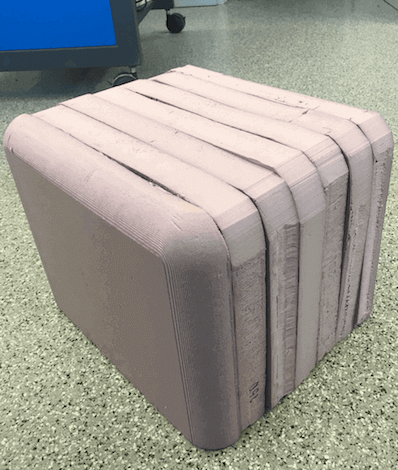
The EDS had some leftover mastic tape that was used for the composites demo (note: mastic tape is normally not used for composites, we macgyvered it to fit our needs). Since it has a pretty sticky/playdough-like consistency, I decided I would give it a go. It filled in the gaps pretty well, and I ended by wrapping the mold in tape in an effort to smooth everything down. Retrospectively, I'm not sure how much the mastic tape helped, since I suspect that just taping over the gaps would've been fine (since our vaccuum wasn't the strongest anyway.
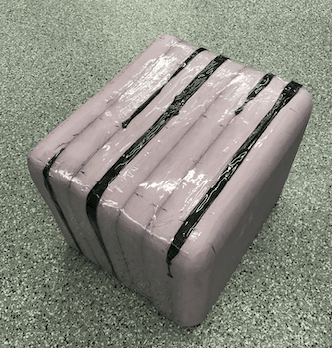
mold after using mastic tape and clear tape
making a spa box composite
Here are the steps I took in making my box composite:
1. Cut burlap to size. I chose to use long strips to cover the three vertical walls of my mold and one smaller rectange to cover the top.

cutting burlap strips
2. Cover mold with release film and tape.
release film wrapped around mold
3. Use double sided tape to stick the inital layer of burlap onto the mold.
4. Measure and mix epoxy. Saturate the first layer by pouring and using scraper.
6. Place another piece of burlap onto the previous layer and saturate again. Repeat for 4 layers.
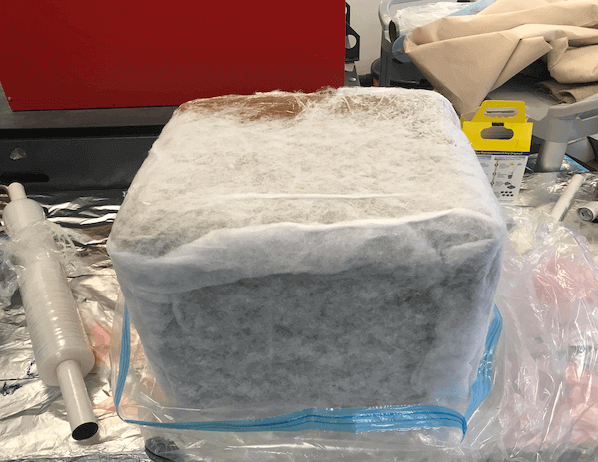
7. Wrap entire thing in release film and breather.
8. Pull vaccuum bag, smoothing out wrinkles to the face on my mold that would eventually be the opening of the box).
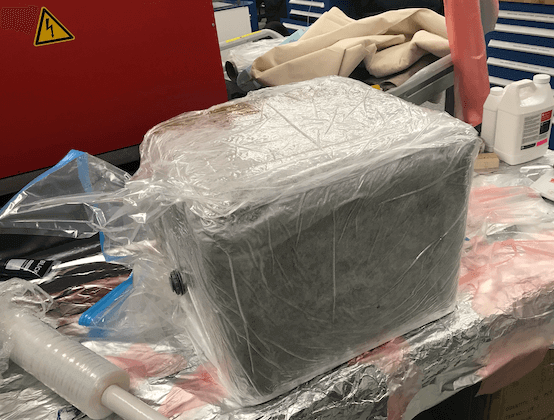
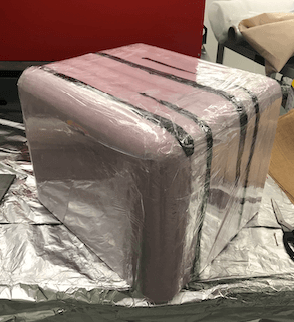
composite curing in vaccuum bag
This was an interesting process, to say the least. I had to use a massive amount of epoxy to saturate all of the layers of burlap, but I was also trying to use small amounts of epoxy at one time because of the heat released and working time. While I was applying the last couple layers of burlap, I definitely felt the cube getting warmer, and by the time I was placing it in the vaccuum bag, the whole thing was similar to a radiator.
For a general idea of the curing time: I finished around 10PM, and Isabel told me to wait until the next afternoon to take a look.
videos: composite process
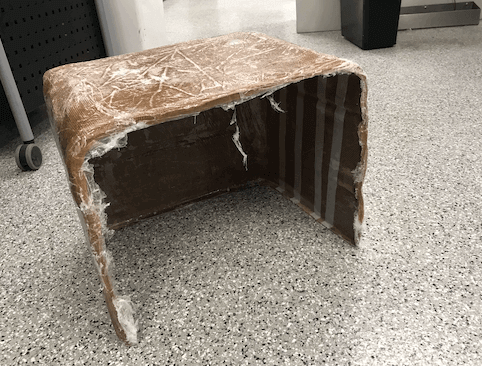
removing the mold
composite released from the vaccuum bag
The physically tiring thing has become a bit of a trend with this week. I wanted to sand the film/tape off and refine the surface of my box before popping out the mold, but the EDS doesn't have an electric sander, so I did this by hand. I gave it my best go, but was too tired to continue and gave up on this quest. But, removing the composite from the mold was also an arduous process. The release film I used was actually pretty terrible (note to self to use the perforated sheet next time) and stuck so much to the epoxy that it was nearly impossible to remove. Also, the tape that I had used around my mold was stronger than anticipated, which made it difficult to try and remove the foam blocks piece by piece. To top it all off, I had actually curled some of the excess around the edges of my box, so though the box was only supposed to have 3 vertical walls, this lip I created effectively made it a closed box.
In theory, I shouldn't have needed to cut my mold, but that was the only option in this case. Muscling the mold out didn't work, so I started trying to cut the lip of burlap from the foam with a knife. This was taking forever, so I then switched to trying to cut the foam out with a knife. Anthony swung by with a hacksaw, but this wasn't working very well either, as the hacksaw can only go so deep. At this point, Anthony definitely just took pity on me, and ended up removing the foam mold for me using a hammer and metal bar (as a crowbar). Thank you Anthony part 1478479123847918! In case you wanted to know what a struggle this was:
videos: anthony v. foam mold
At the end of it all, the box was released. During the mold removal process, the composite was bent to such a degree that I was really afraid it was going to break, but it never did. That stuff is surprsingly strong.
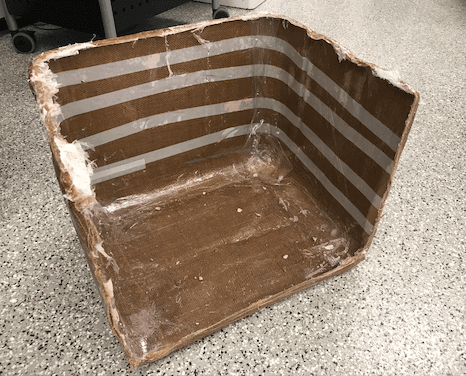
composite box
There's some bumps and lines where the release film and tape never came off, but overall, it does its job and I learned a lot about the do's and don'ts of composites along the way. So, now I had a box, but there was still a lot of integration and finishing to do on my final project in regard to the composite itself. Wow, who would've ever thought composites would be the longest, most tiring part of this project?