week three
3d scanning and printing
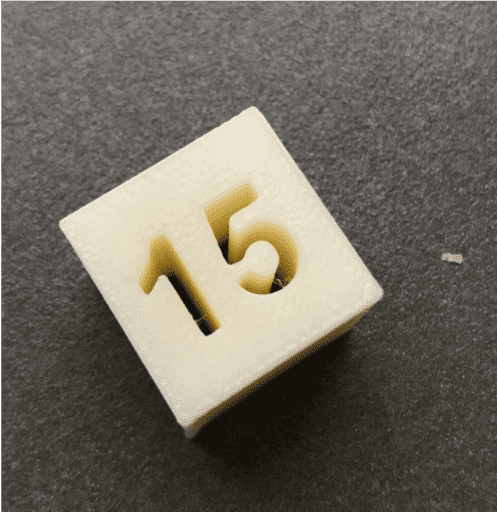
testing 3d printer design rules
The eecs section decided to divide and conquer for this group project to print all of the given contraint.stl files. Seeing all of the parts allowed us to get a better sense of the constraints of the 3d printers to better inform design decisions made down the line.
Constraint examples printed:
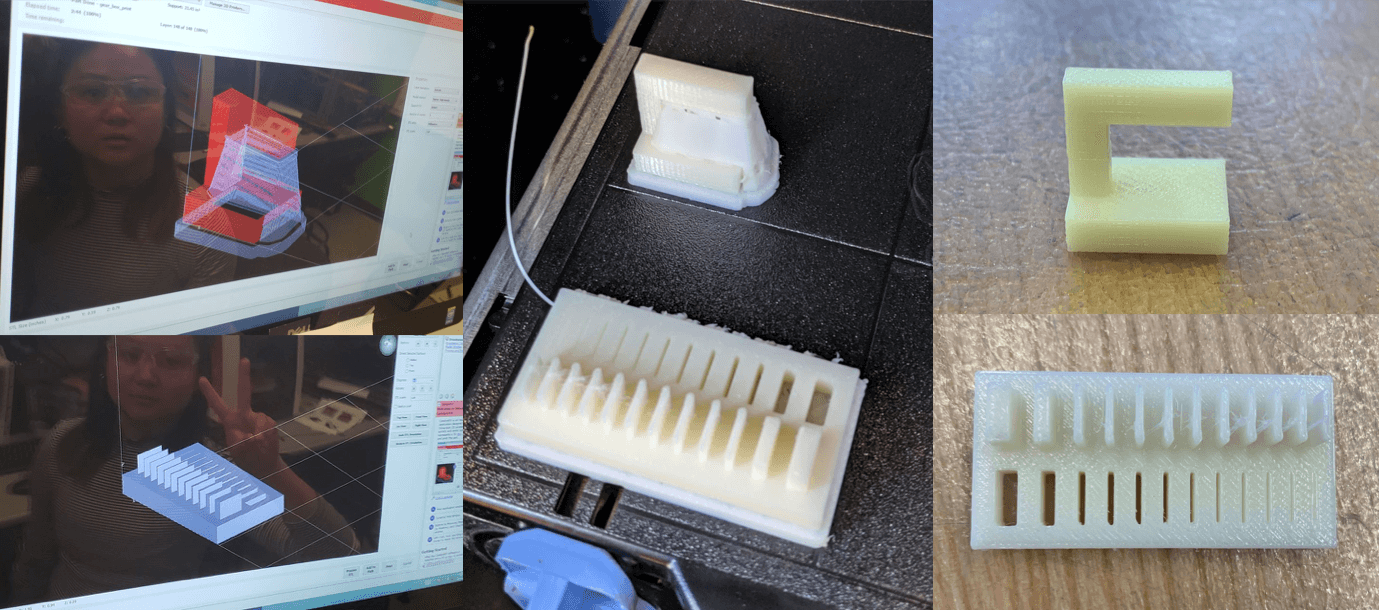
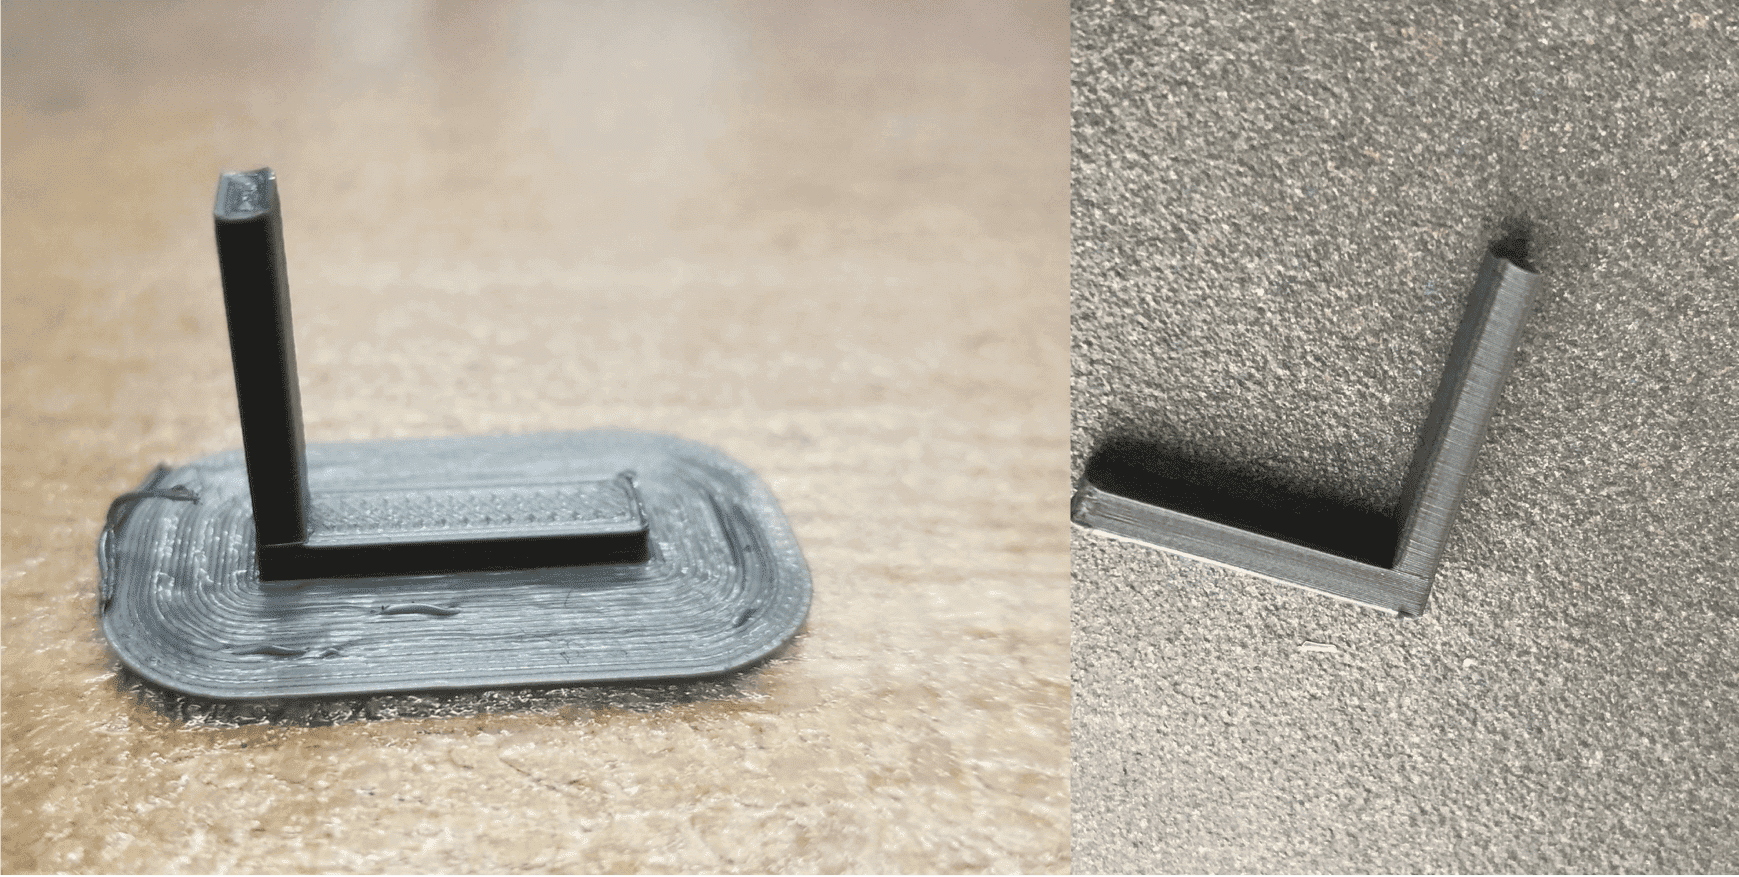
supported overhang and wall thickness
supported anchored overhang
We also printed the supported anchored overhang explicitly without support material.
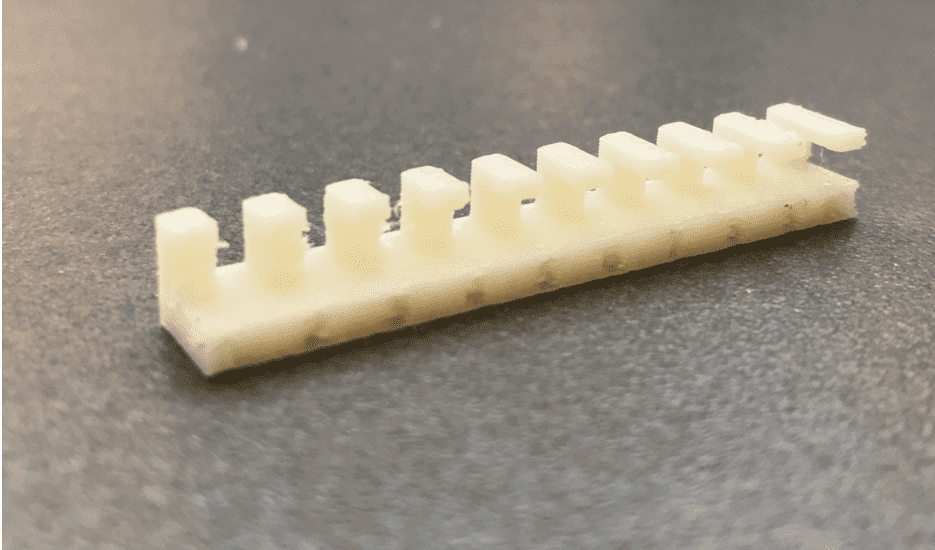
supported v. unsupported anchored overhang
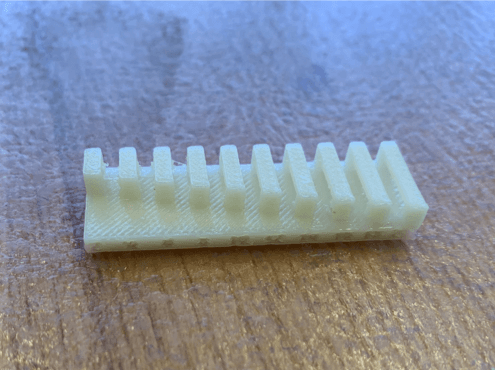
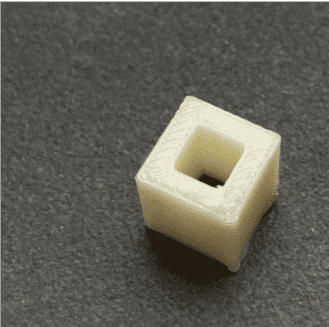
supported clearance
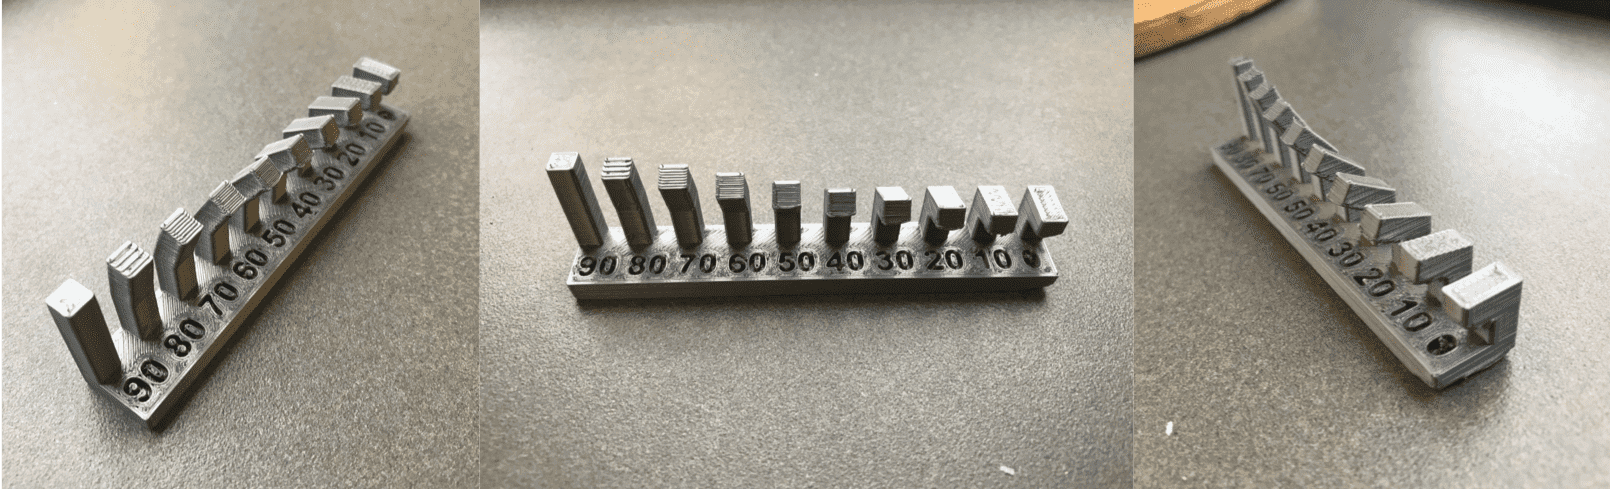
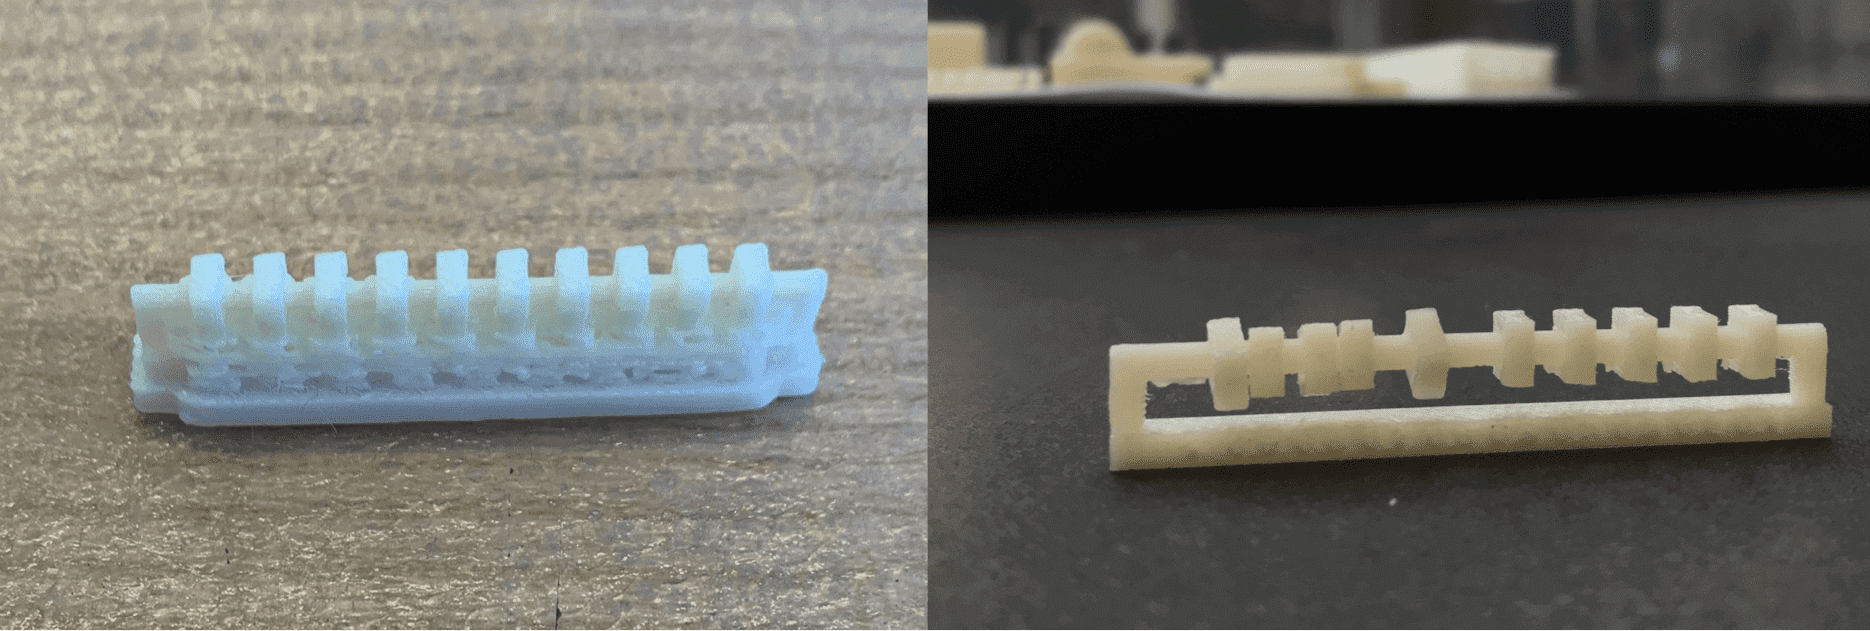
unsupported angle
unsupported free overhang
anisotropy
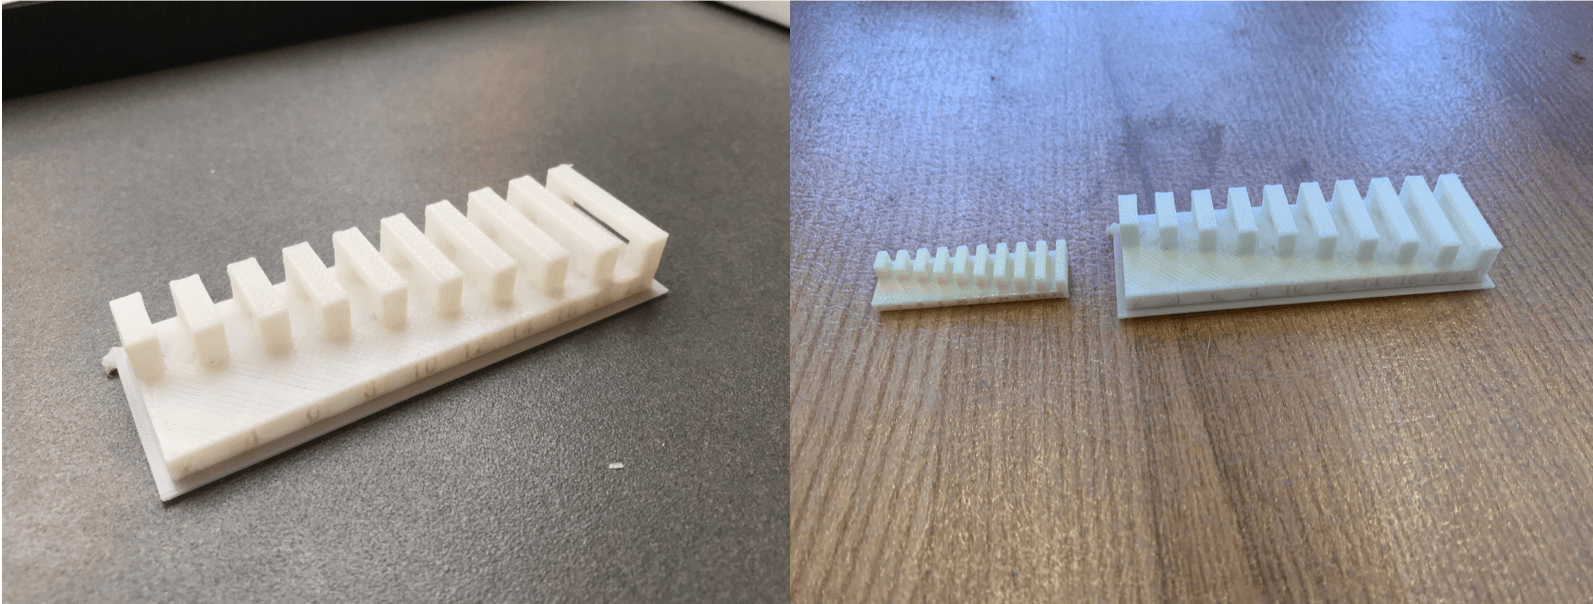
dimensions
infill

surface finish
3d printing
family portrait of a low poly elephant, a chicken named "ducky", and a guitar
using blender for the first time
videos: modeling low poly elephant
I used blender for the first time this week. I wanted to make a low poly animal figure, and followed a tutorial. The tutorial only outlined how to make a symmetrical giraffe, but I wanted to make a figurine of an elephant walking, so I had to figure a couple parts out on my own. The video above will give a more detailed explanation on my process modeling in blender.
To create a low poly animal in blender, you first need a couple reference photos. I chose the following side and front views of an elephant to use for my model.

reference photo for front view of elephant
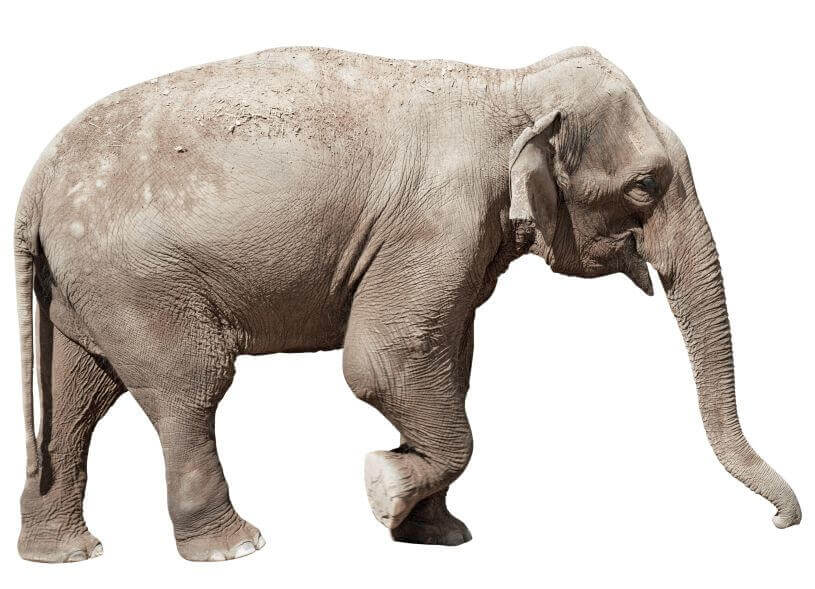
reference photo for side view of elephant
The part that really took the longest wasn't modeling the general shape of the elephant but rather figuring out how to manipulate the mesh into something that looked prettier and more elephant-like. During this, I moved around a bunch of points, edges, and faces, in addition to using sculpting tools in the process of trying to get to an elephant shape, so I really wasn't sure about the integrity of the mesh (we can talk about it later in this post).
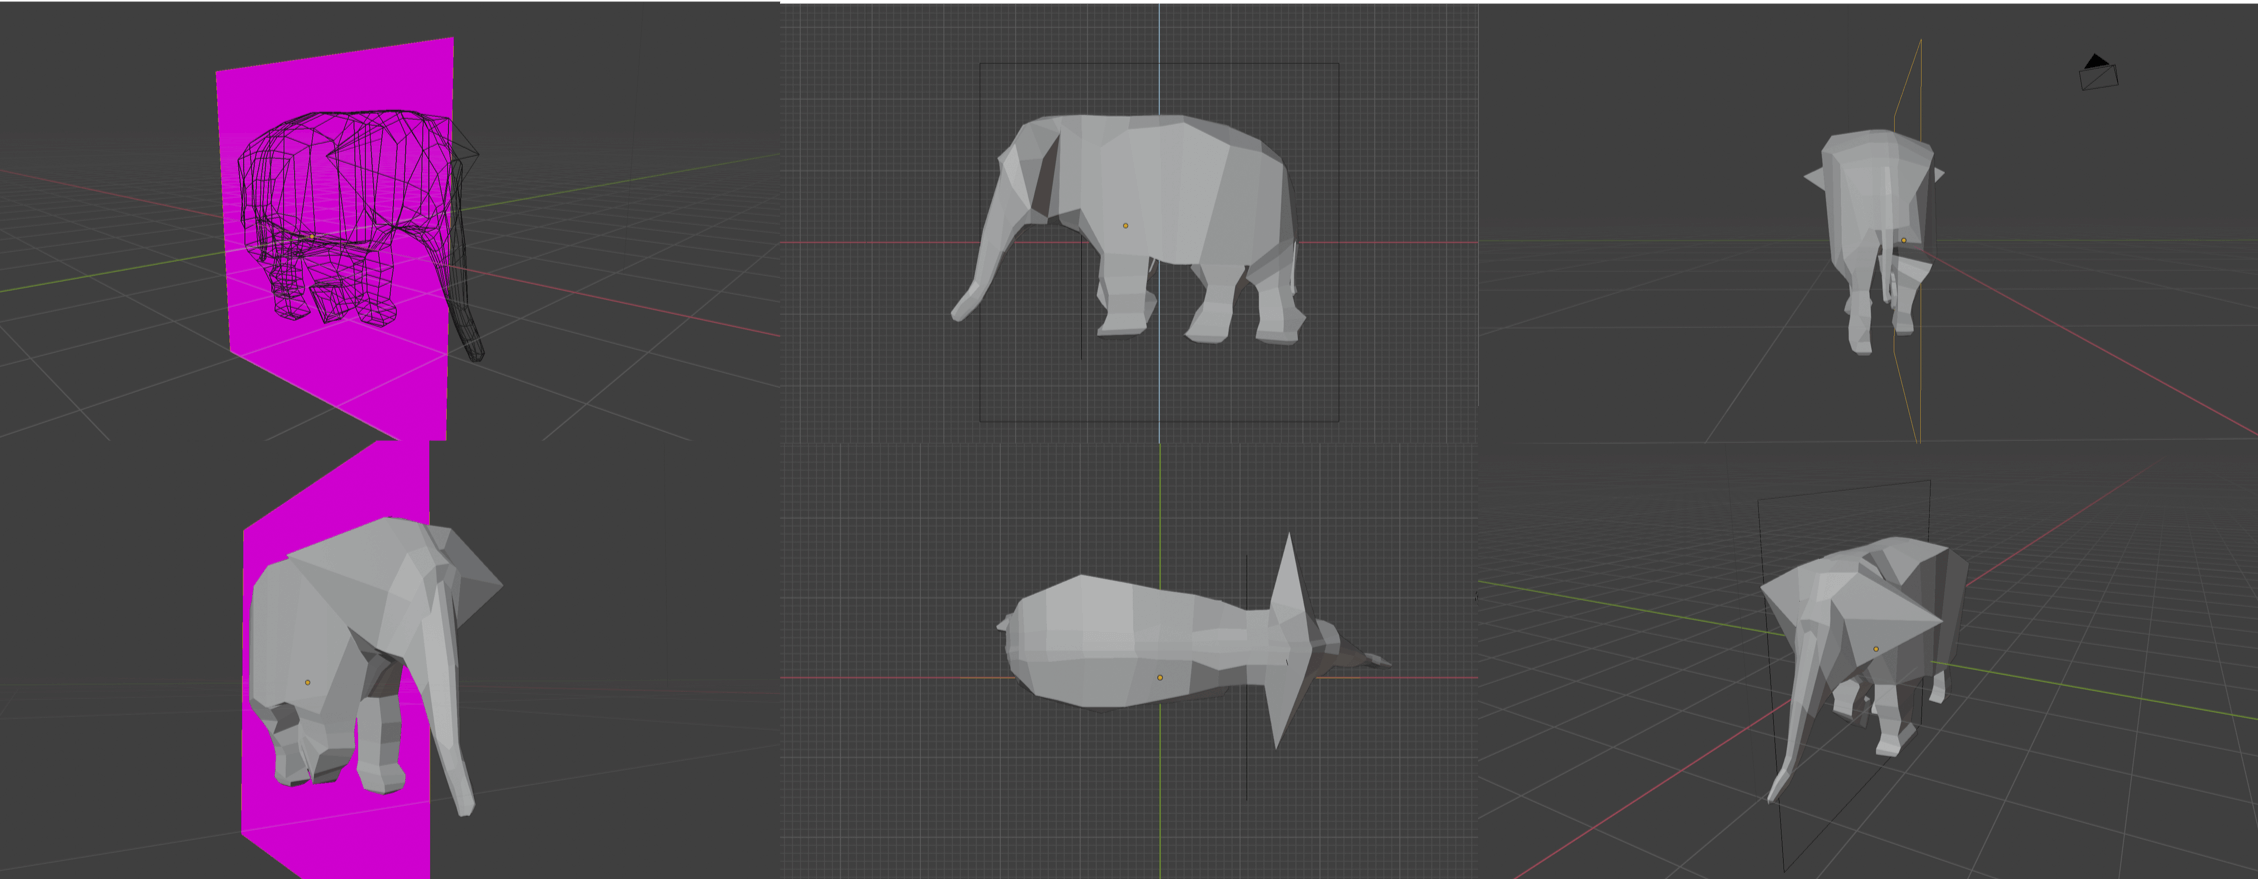
views of elephant made in blender
To give me something to fall back on, I also decided to using the sculpting tools in blender to quickly make a chicken - which I call "ducky" (or just "duck" for short).
ducky made in blender
views of ducky made in blender
Making ducky took less than 5 minutes and modeling the elephant took 2+ hours (and I definitely gave up at the ears), but I did enjoy learning how to use blender and plan to use it more in the future!
printing elephant and ducky
videos: printing elephant + ducky
I first tried printing elephant and ducky using the prusa printer. The prusa is a very speedy FDM printer that yields support material that you have to peel off. The software used for printing on the prusa is nice, too; it detected the problems in the elephant mesh and there was a button I clicked that solved all of the errors for me.
Unfortunately, though, the print failed. The raft made under the pieces didn't adhere to the platform well, which could be attributed to the width between paths on that initial pass or the high speed of the prusa. The pieces started moving around the platform attached to the nozzle of the 3d printer.
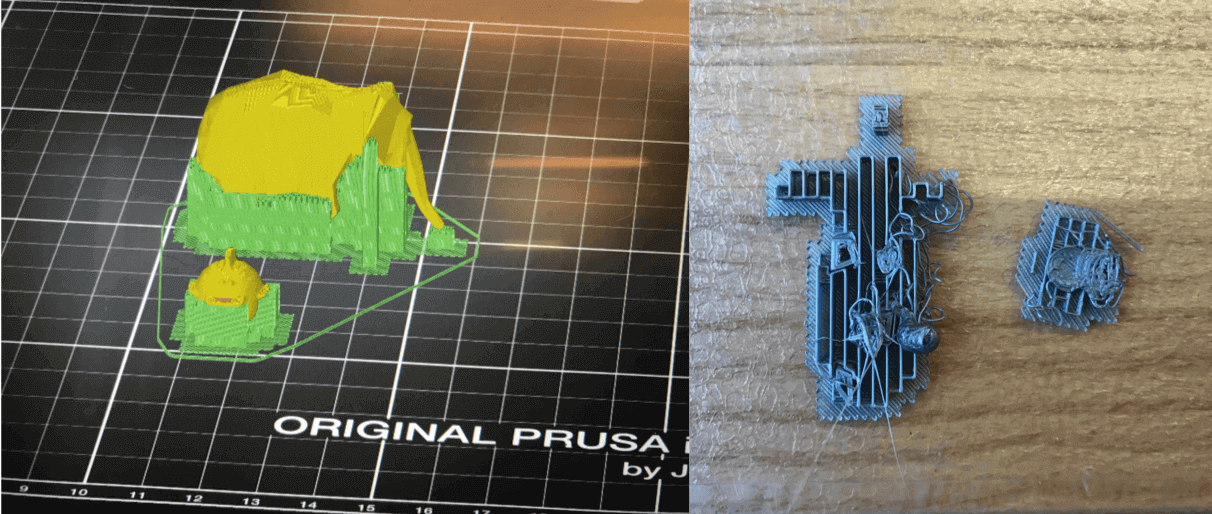
failed print on the prusa
Moving along, I decided to try printing again with the 3d wox. This is another printer where the support material is peeled off.
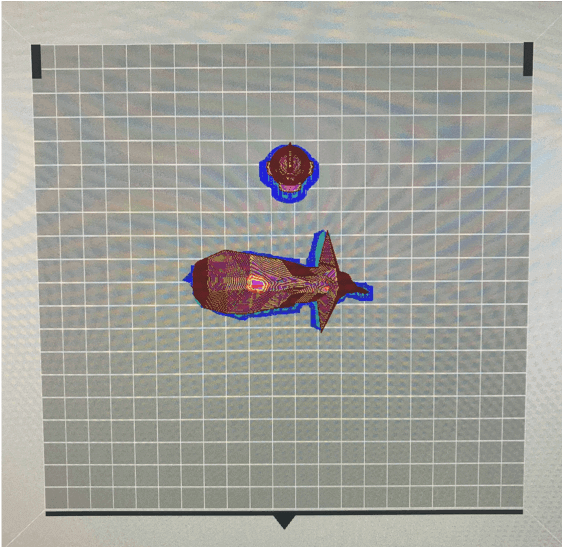
3d wox printer screen
The software used to print on the 3d wox wasn't so kind. There was no function that was sort of a catch-all mesh-problem solver. Anthony helped me fix most of the mesh - something about non-manifold edges - so that the elephant was passable to 3d print.
Printing both the elephant and ducky took a little over 2 hours. Then, I worked on removing the support material from the pieces.
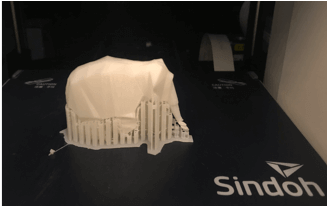
elephant with support material attached
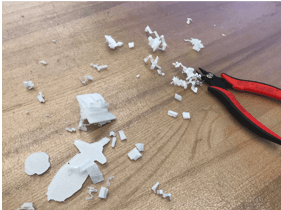
all of the support materials that was peeled from the elephant and ducky
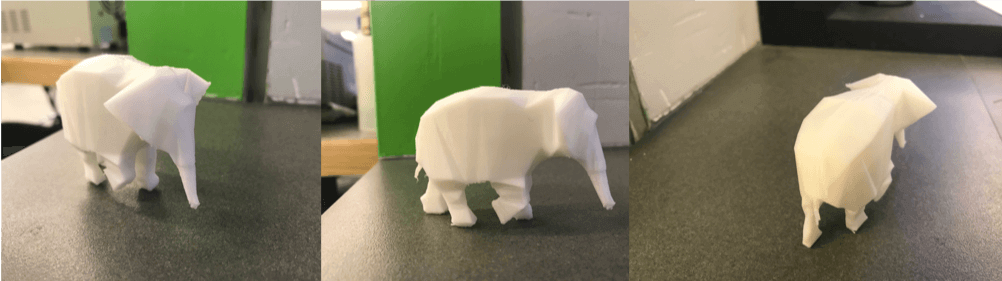
3d printed low poly elephant
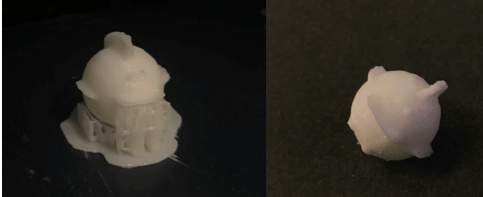
ducky with support material attached + ducky freed
Both the prusa and the 3d wox printing softwares detected problems in the mesh of the elephant model. I had premonitioned this (hence, ducky) but even after patching up the mesh, the elephant still printed with some flaws, both due to mesh issues and the support material.
There is a dent in the head where the ear is attached, an odd lump on the side of the elephant (which may or may not just be support material I could get off), and the tail ended up ripping off with the support material around it. Because of the upright orientation of the print, the support material created some rough texture on the belly of the elephant. That being said, I am admittedly still very happy with the way that it turned out!
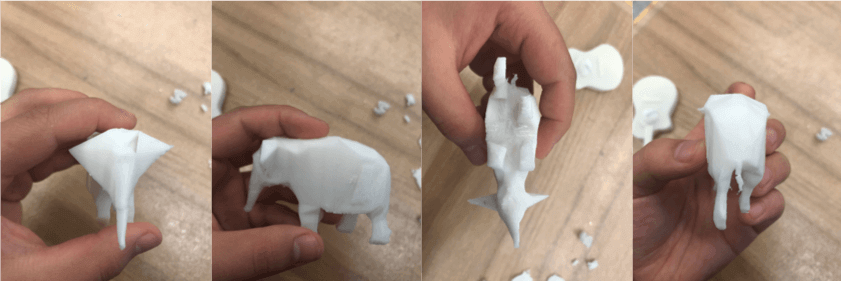
flaws in the 3d printed elephant
I originally thought organic shapes may not be easily made subtractively...but apparently they can be. I guess this makes sense, as they are both just solid objects that could even just be wittled out of a wood block. So, the elephant and ducky ended up as fun pursuits in 3d modeling and printing, but I needed to figure something else out to fulfill the assignment at hand!
something that can't be made subtractively
videos: 3d printed mini-guitar process
I was furiously thinking about objects that could more be made subtractively, and figured things that are enclosed but hollow would fall into that category. I've made a couple vases and bottles in solidworks before and wanted to try something new. So, despite the fact that I haven't touched or even really thought about a guitar since middle school, somehow, a guitar popped into my head and I decided, "Why not?" Linked above is a more detailed process video on how I made this model.
First things first, I freely sketched a guitar in solidworks. After a bit of extruding, cutting, and shell-ing, I had a 3d model of a (non-functional) mini-guitar!
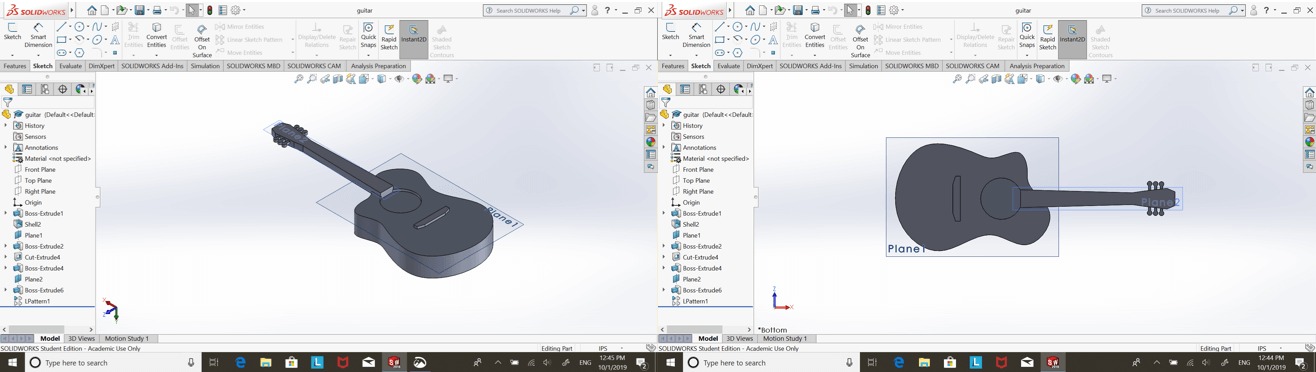
guitar cad in solidworks
I used the uprint, an FDM printer that yields dissolvable support material for this guitar model. The software generates optimal orientations and support material for you. I chose the orientation where the guitar is laying flat on its back, did a quick size check and rescaled (each square is about 1"x1"), and sent it to print.
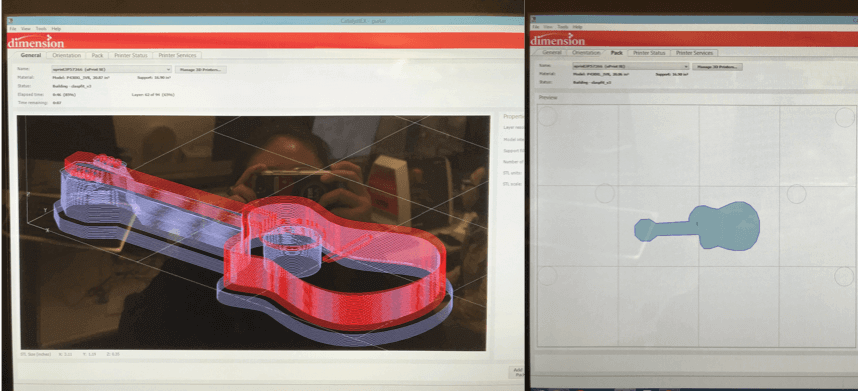
dimension printer screen
The guitar took around an hour to print. There was quite of bit of support material necessary, as there were objects jutting out of the main body, which was also hollowed out.
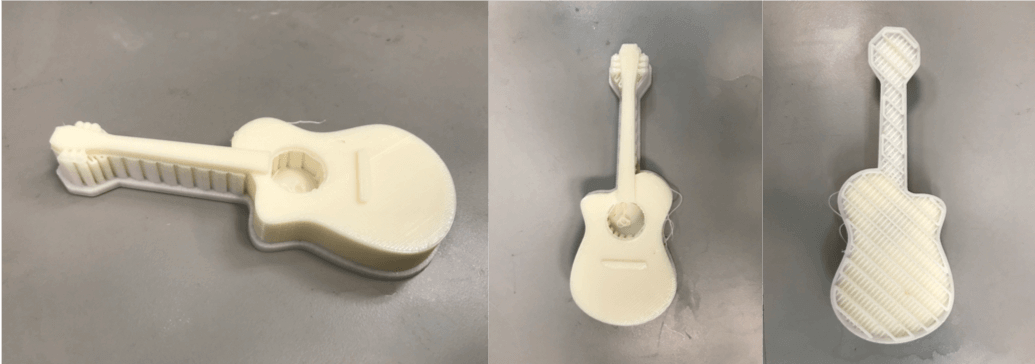
guitar with support material attached
I placed the guitar into the 70 degree citric acid bath and left it there for a couple hours. Note to self: there is a little metal box within the larger metal tank that the pieces normally go into to prevent them from drifting off. When I retrieved my piece from the tank, I was happy with the results. The finish was pretty smooth, and all the features that were in my 3d model printed nicely.
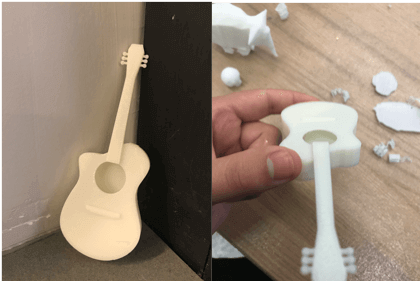
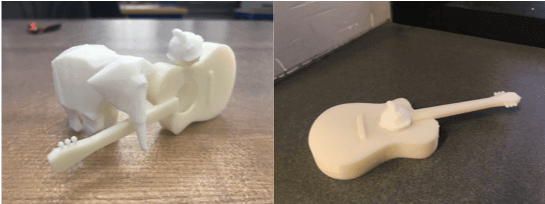
3d printed guitar
This guitar couldn't have been made subtractively (at least not without immense effort), as it would be pretty difficult to get a tool inside of the odd, curvy shape of the body to hollow it out. Perhaps in the future I will make a functional mini-guitar, but that's all for 3d printing this week.
3d scanning
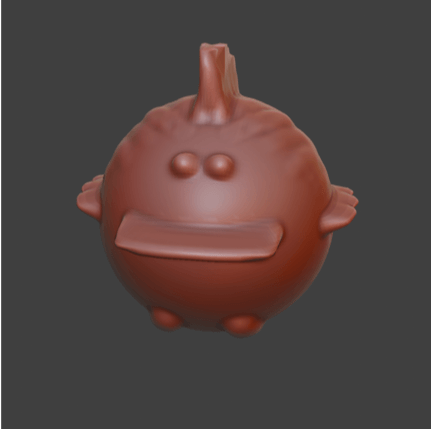
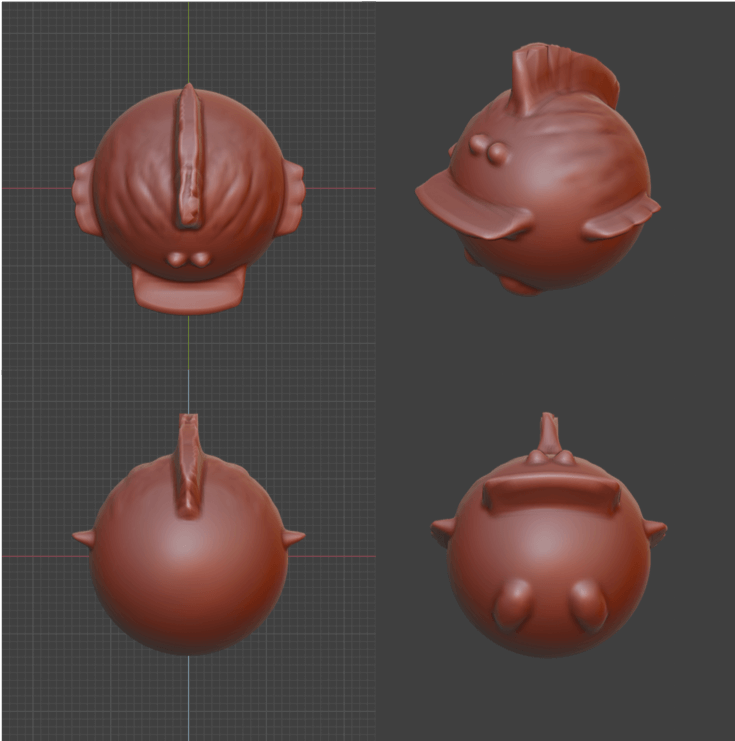
The eecs section used the sense 3d 3d scanner, and I'm still very excited about it. It was just so much fun to use, and a lot of scans resulted in interesting graphics.
I wanted to scan my head and had jenny help me out. While you're technically supposed to hold still and let the scanner rotate around you, we were a bit limited by the setup and the cord length, so this scan was done partially the correct way and partially by me rotating while the scanner was held still.
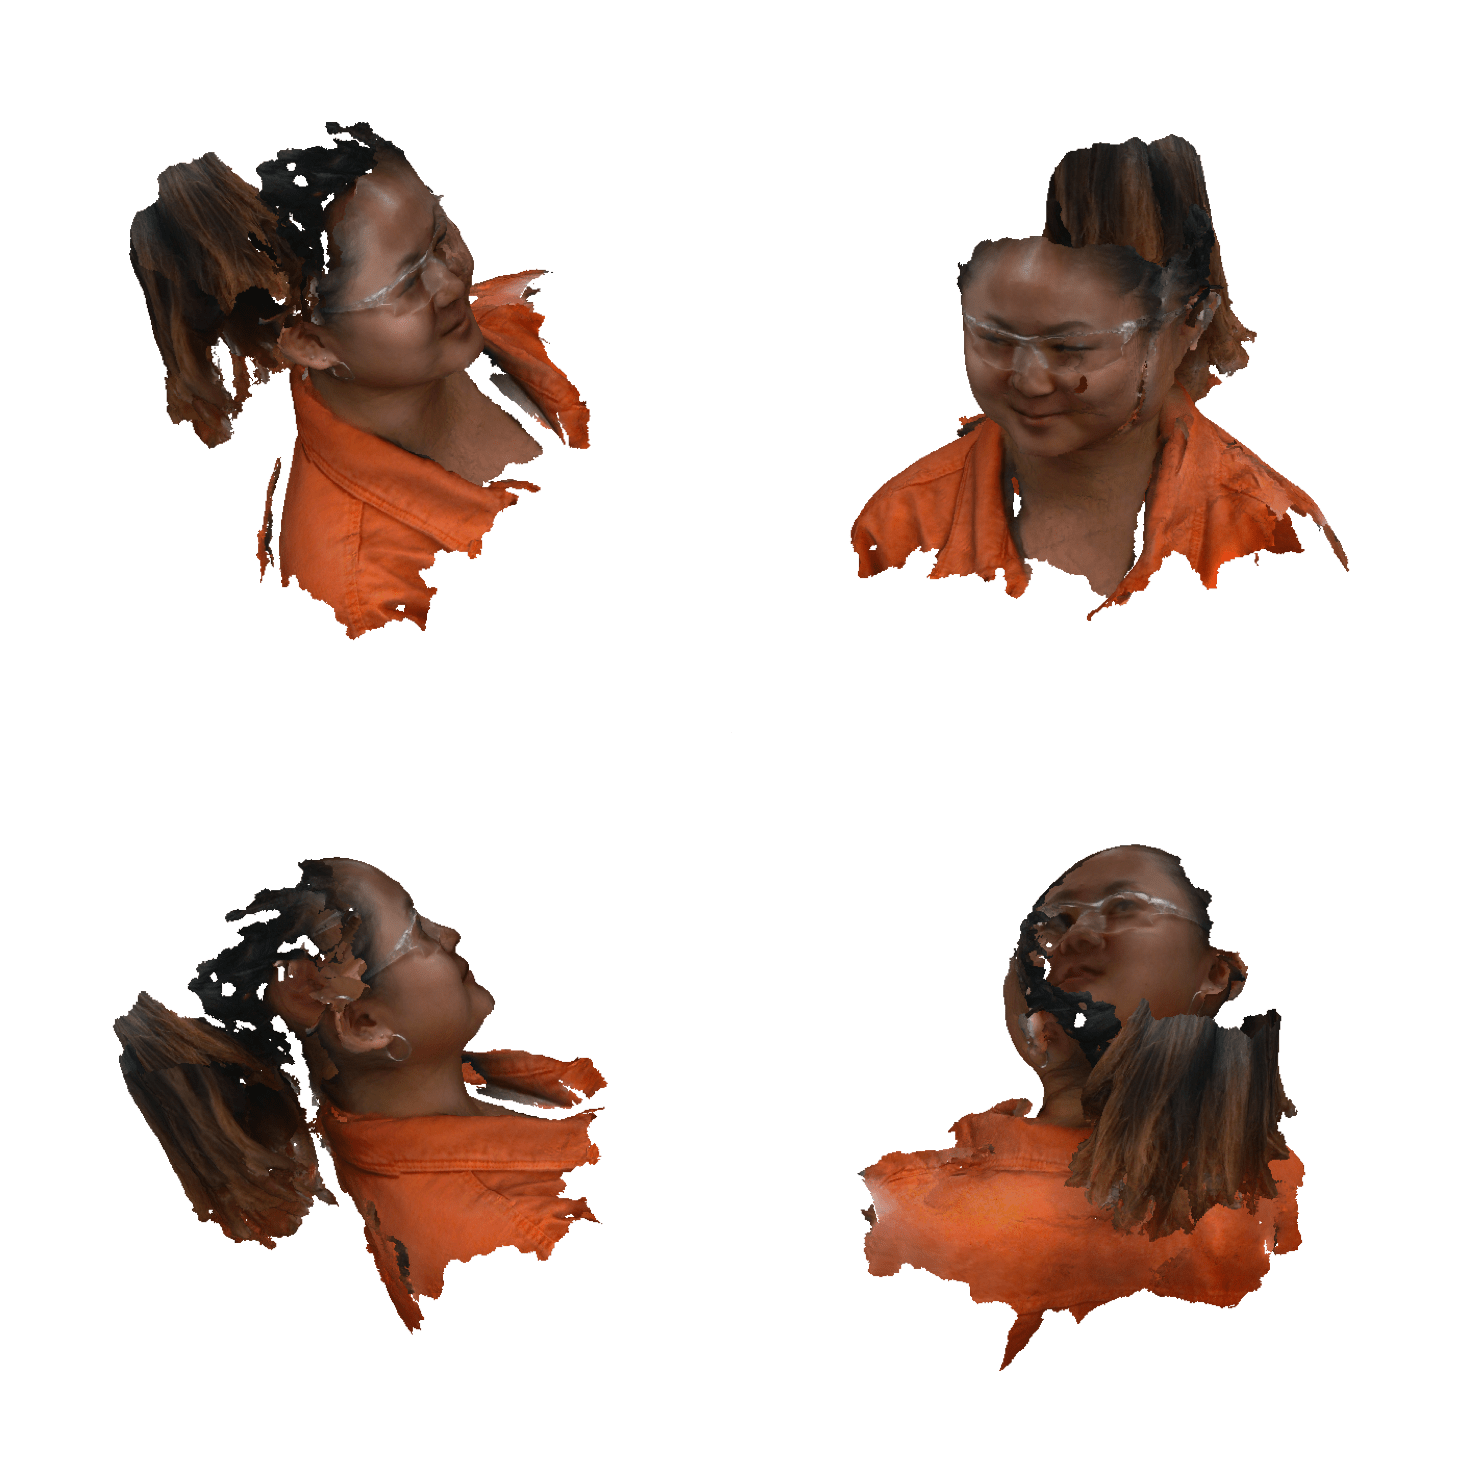
scans of my head (moving scanner)
I then did a scan where I set the scanner on a table top and rotated myself in front of it to capture a body scan. There were times when I tried walking toward the scanner to stop the scans that might've messed the scan up a bit, but I very much enjoy the way that this one turned out, visually.
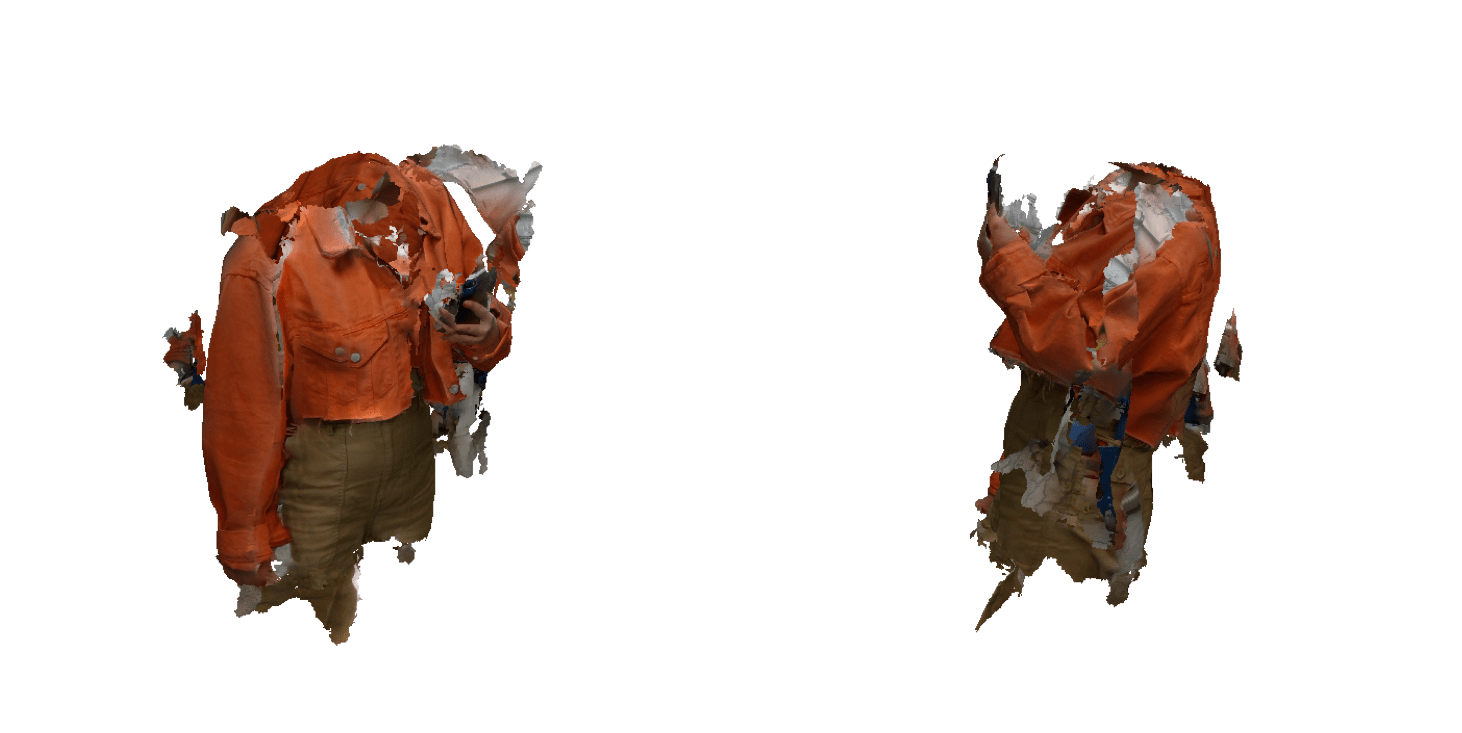
scans of my body (while moving self)
Lastly, I scanned yodahe sitting on the ground. He has completely black hair and was wearing black pants. What we realized during this process was that the scanner isn't very good at picking up dark colors, at least not at night under the eecs lab lighting. Retrospectively, this is probably why the scan of my head only picked up the dyed part of my hair and not the black roots.
In this scan, yodahe's hair and pants are just not there. But, because the scanner didn't read these things, it revealed a heart with his arms, which is pretty cool!
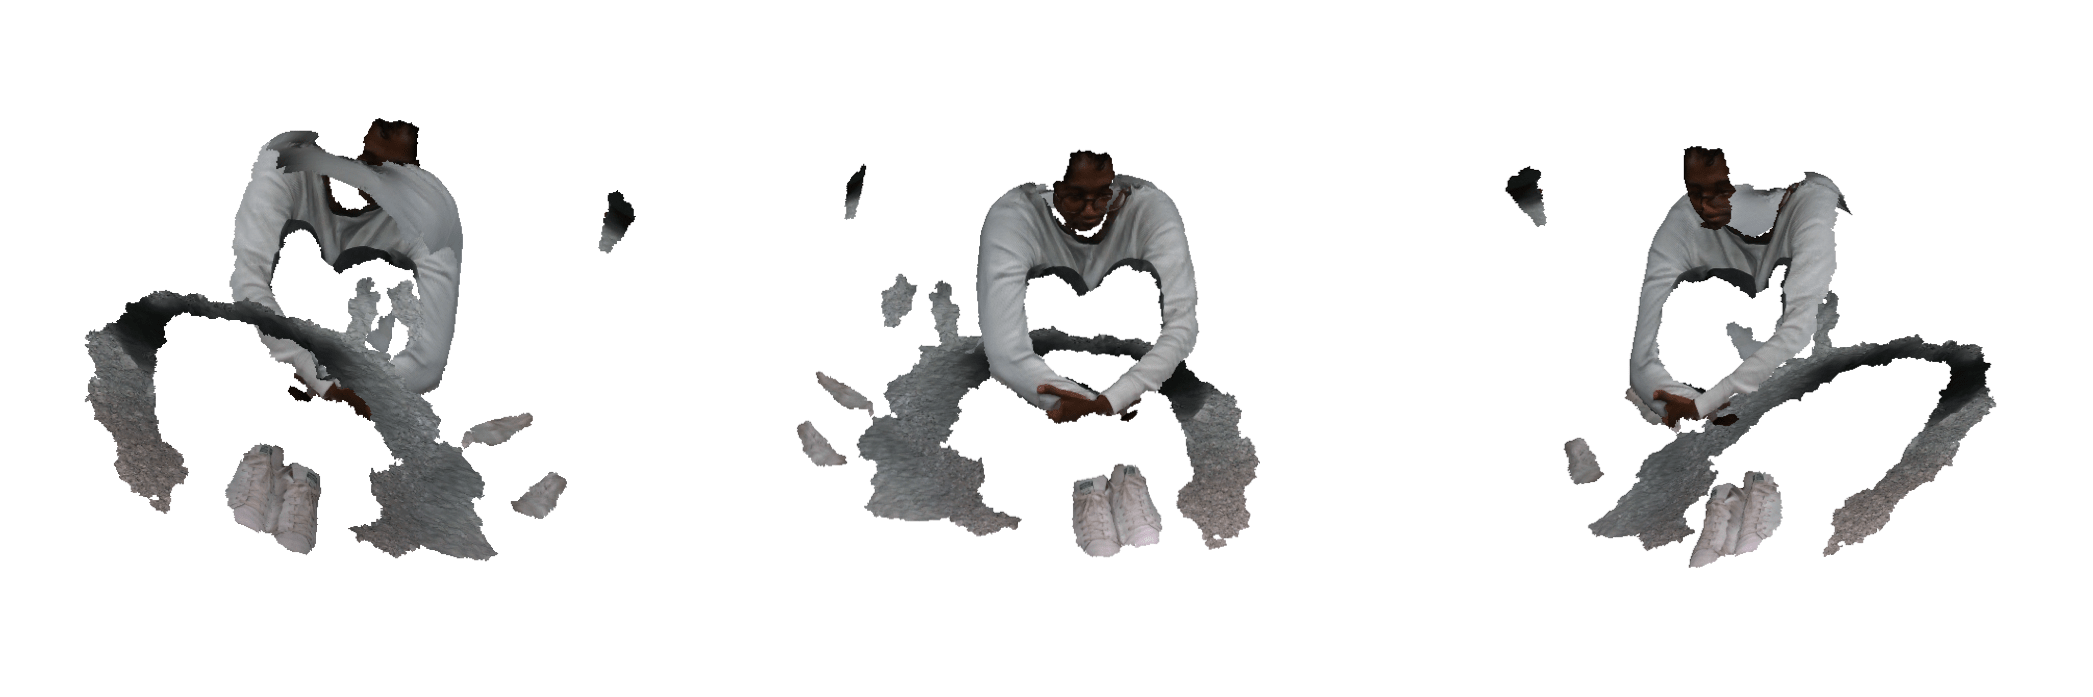
scans of yodahe sitting on ground (moving scanner)