week seven
molding and casting
eggs three ways: wax, silicon, and plastic
The task this week was to design a mold, mill it, and then use it to cast parts.
week seven
molding and casting
eggs three ways: wax, silicon, and plastic
The task this week was to design a mold, mill it, and then use it to cast parts.
what to mold and cast
Initially, I wanted to make a cute figurine (like ducky from week 3 - 3d printing), so I opened blender to try and sculpt a meme-y pikachu.
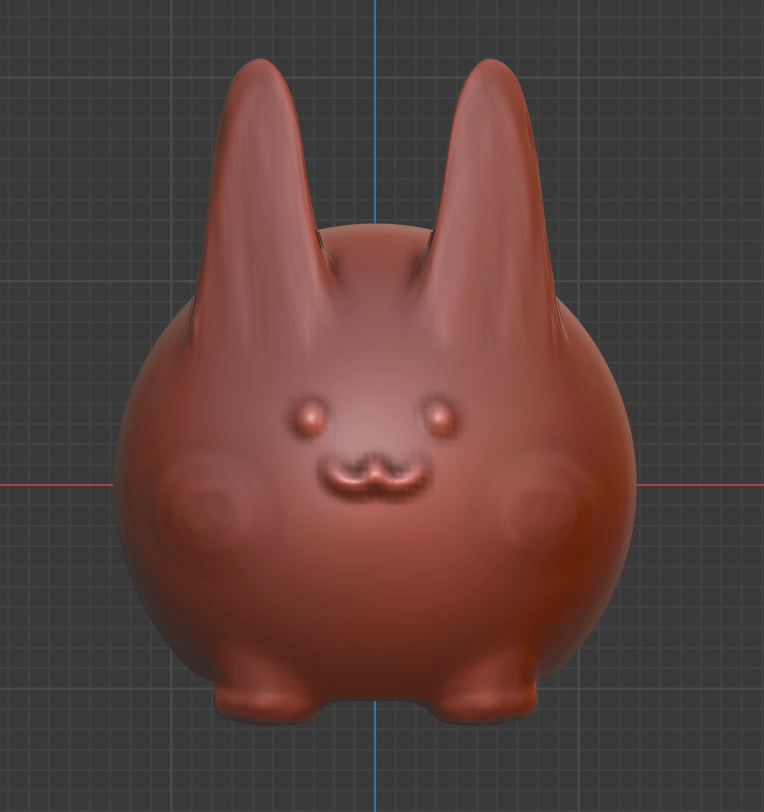
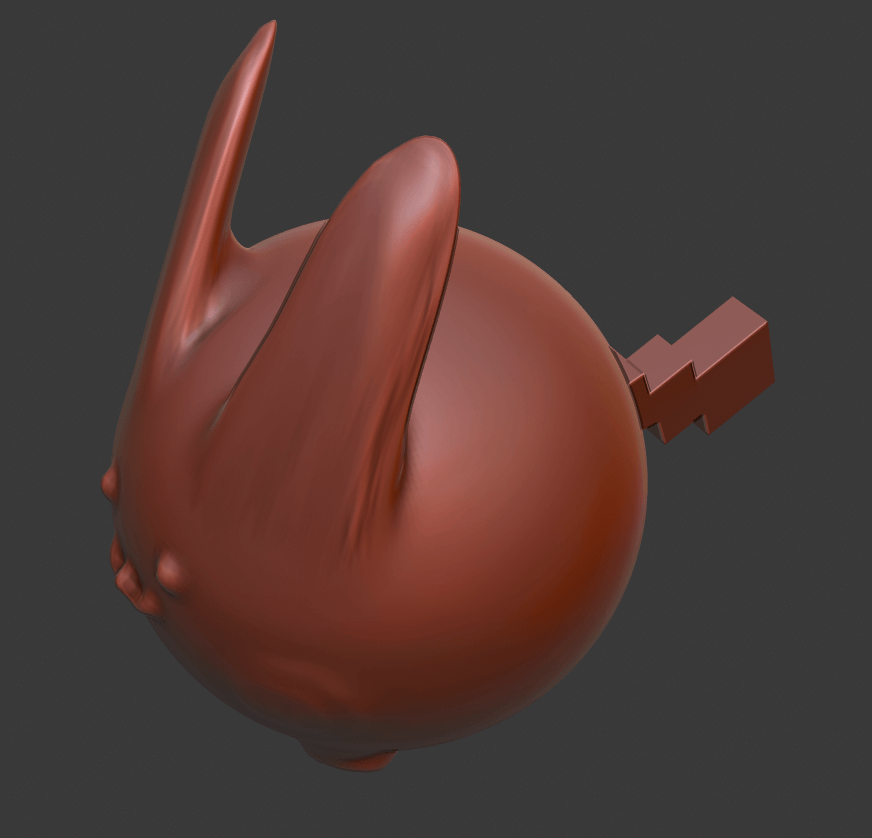
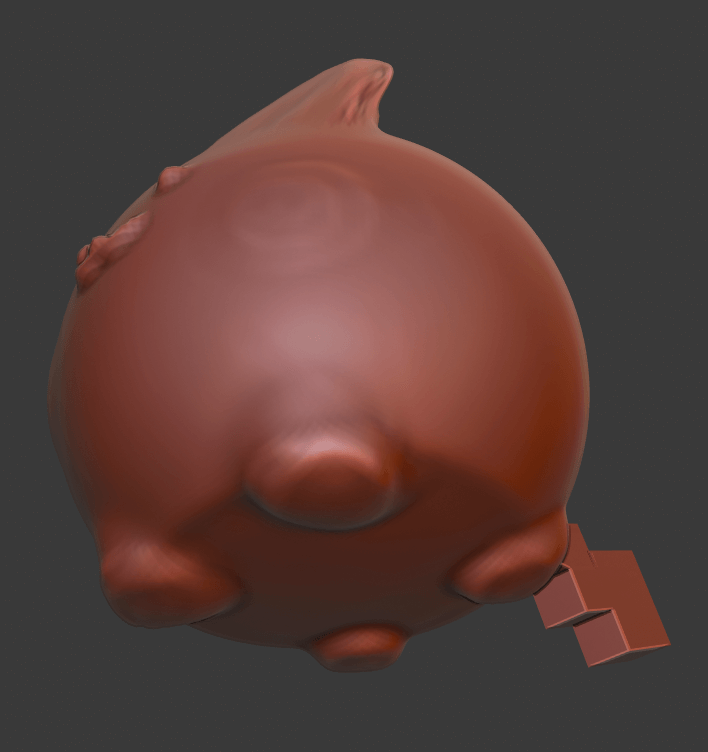
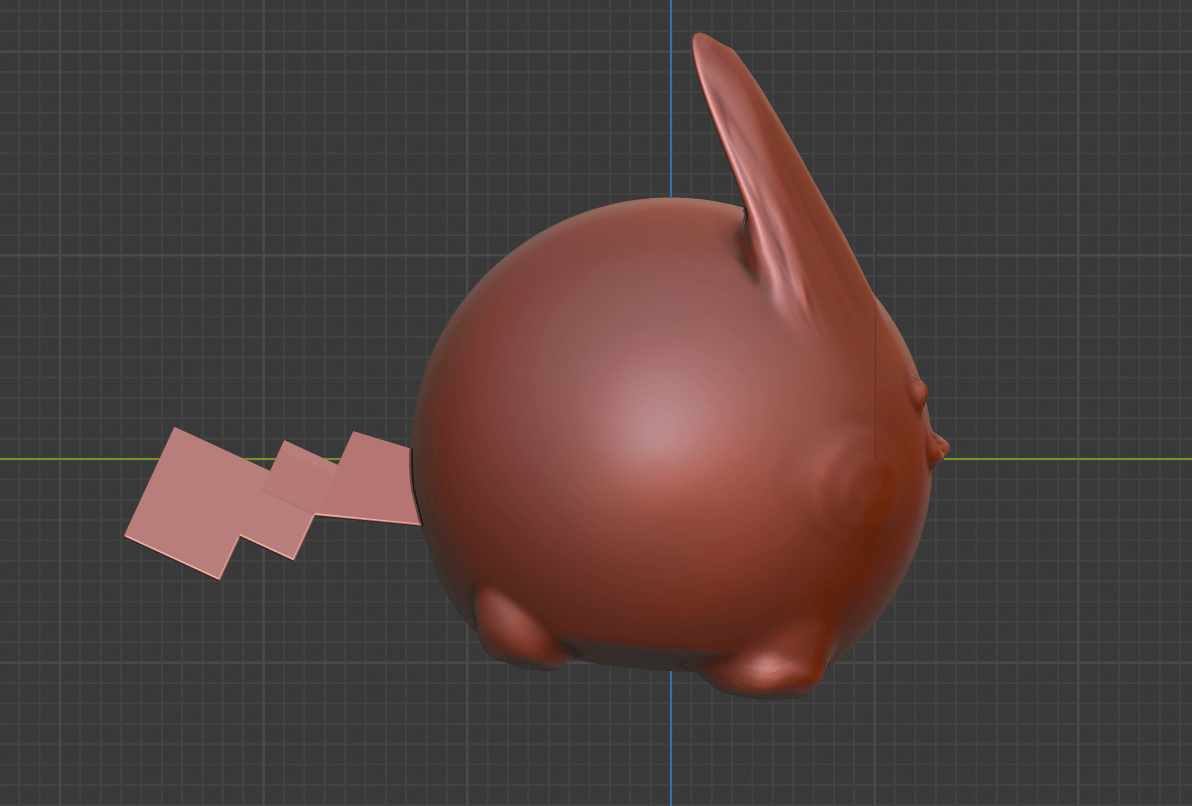
views of meme pikachu in blender
This was again a good exercise in blender, but Anthony informed me that, for molding and casting purposes, it wouldn't turn out well. The ears on the pikachu are an overhang, and some of the features probably would be captured well. Additionally, with the CAM software we would later be using, Solidworks would bode me much better.
So, I decided to switch to the trusty Solidworks (this is starting to resemble week 3 more and more) and quickly modeled a fried egg. Why? I thought the texture of the rubber silicone sample felt extrodinarily egg-y, so I guess that's where my mind went.
making a wax mold for eggs
The process for the molds was a bit difficult to grasp at first. It made a lot more sense whe Anthony showed me the physical molds. Basically, the Solidworks model of the egg mold I designed needed to resemble how I wanted the wax mold to look. Later, we would mill the wax based off of the CAD/CAM of the Solidworks model. Then, silicone rubber would be poured into the wax mold to make another mold. Finally, plastic could be poured into the silicone mold to make a positive cast of the plastic egg.
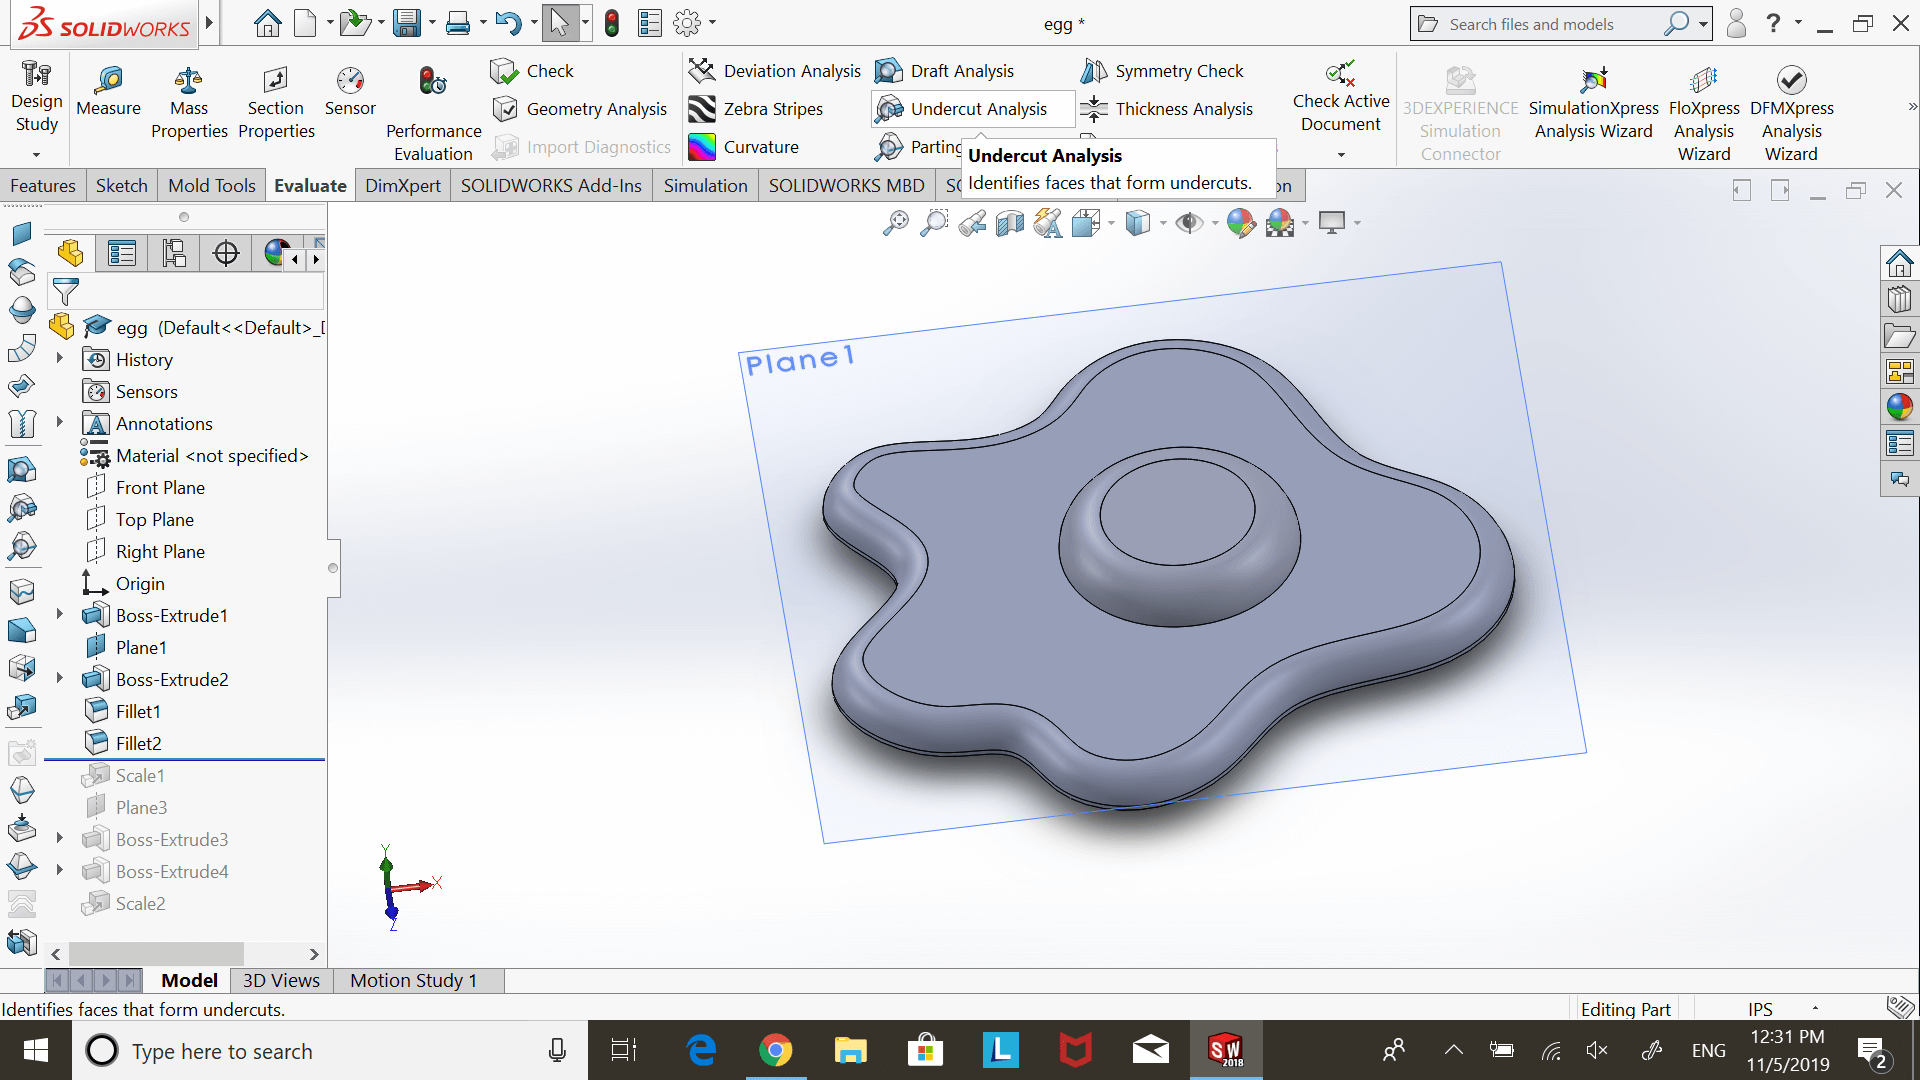
finished egg CAD
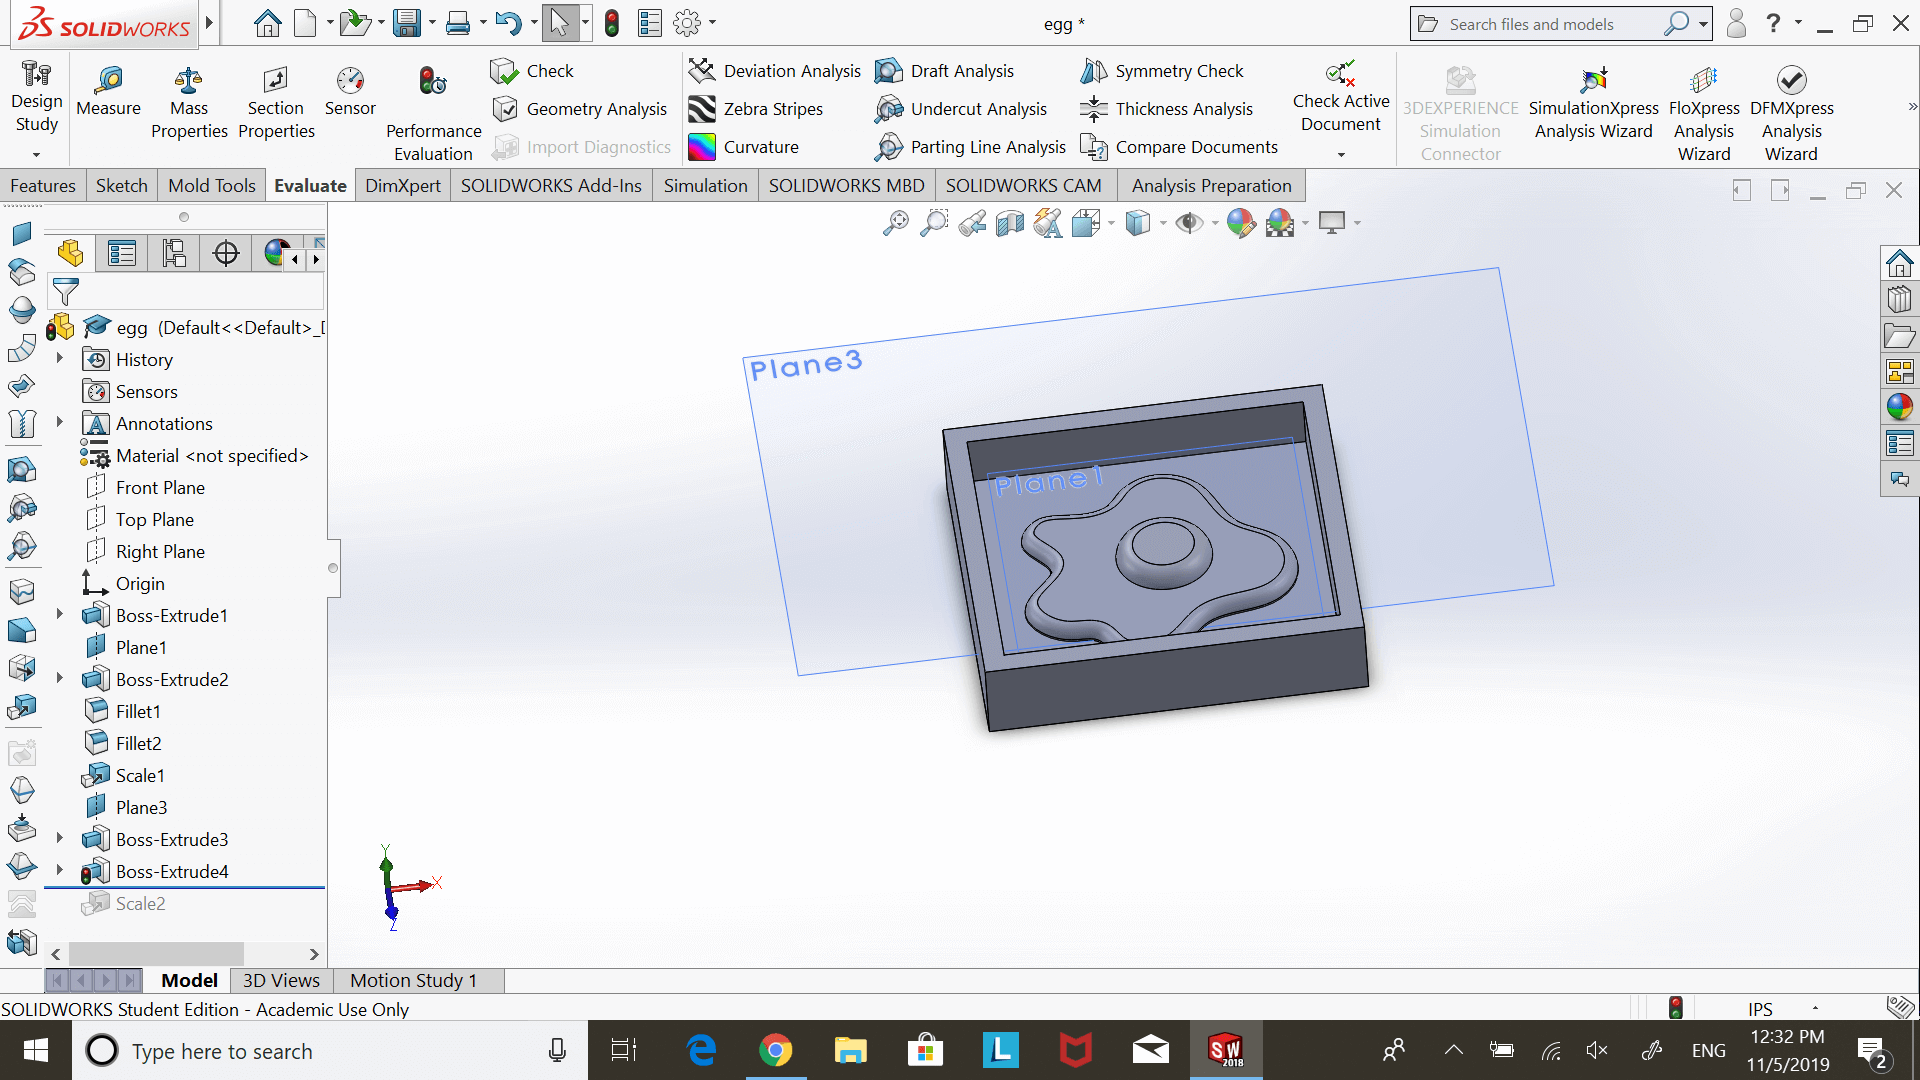
finished CAD of egg mold
After modeling the eggs, I added a base and some walls to similate the base. Then, we using Solidworks' built-in CAM software to prep the model for milling with the Shark mill.
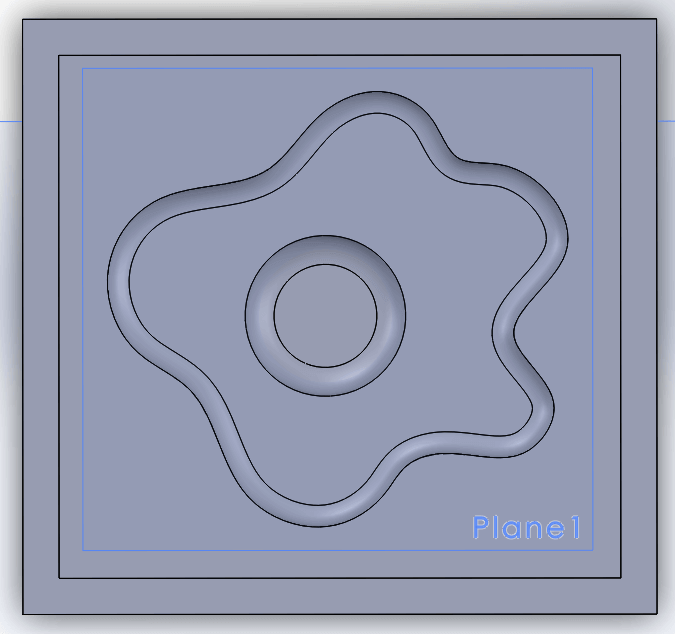
top view of finished egg mold CAD
Anthony helped a bunch with this part. It was pretty cool to just see, since I'd never used the CAM feature on Solidworks before. We put in a roughing cut that got most of the egg milled out, then put a couple finishing cuts on the job so get a smoother finish, especially on some of the more curvy parts of the egg. Then, the egg mold was prepped and ready to be milled from wax!
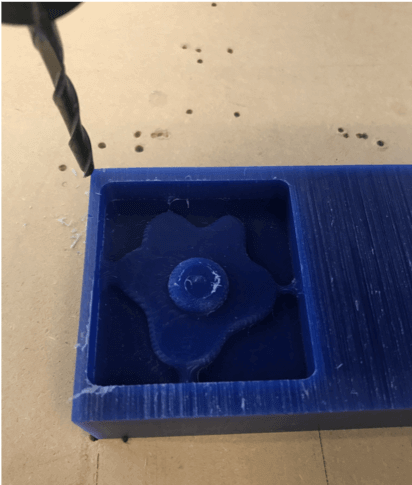
post-first roughing cut on the wax
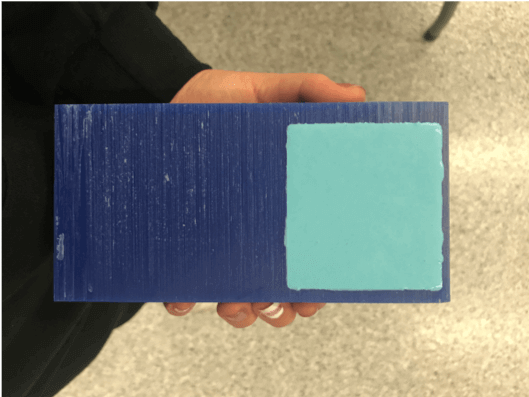
finished wax mold
casting a silicone mold
After the wax mold was finished, it was time to cast silicone rubber to form another mold. For this, I used Smooth-On Oomoo 25 Silicone Rubber. It has a part A and a part B that you need to mix independently then mix together in a 1:1 ratio.
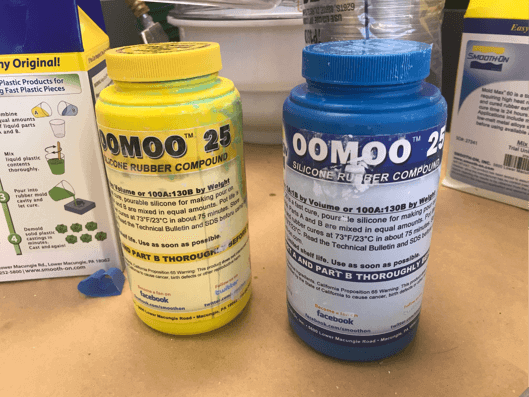
smooth-on oomoo 25 silicone rubber
This next trick seems obvious, but had Anthony not mentioned it, I probably would've tried (and failed) to estimate the volume of oomoo to pour and mix. Instead, I filled the wax mold with water and poured it into a cup to have a reference volume for pouring the oomoo parts.
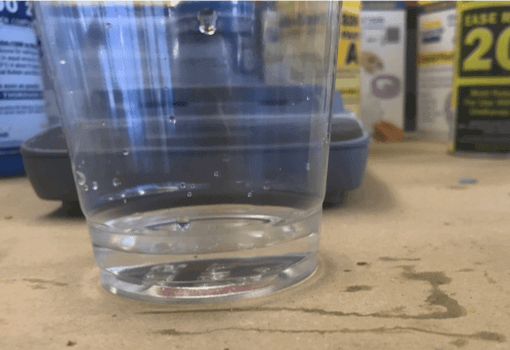
water trick
pouring oomoo 25 into the wax mold
Another trick that seems obvious, but again, had Anthony not mentioned it, I probably wouldn't have thought of it either: keep the cup that you mixed the oomoo in! That way, you don't have to poke at whatever you're trying to cast to check if it's set or not. Instead, you can just check the mixture in the cup ;0
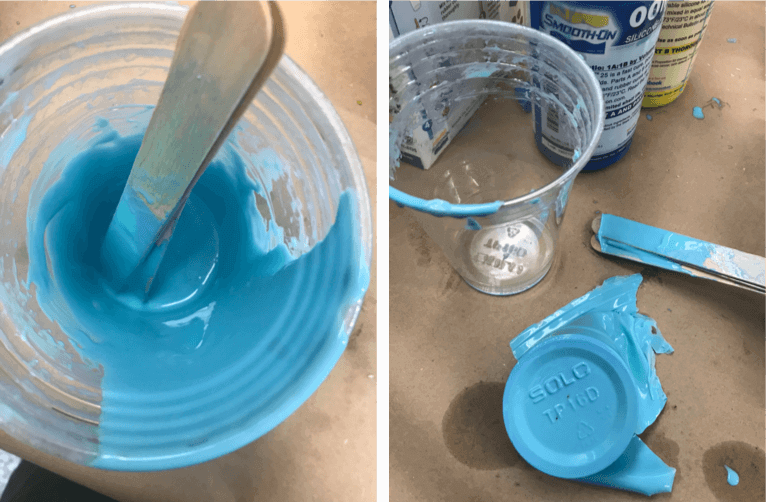
testing if the mixture set
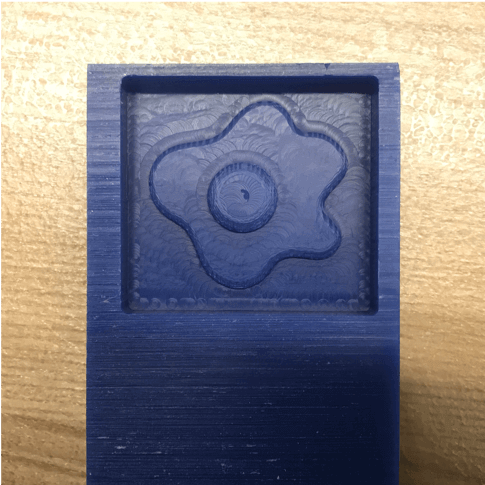
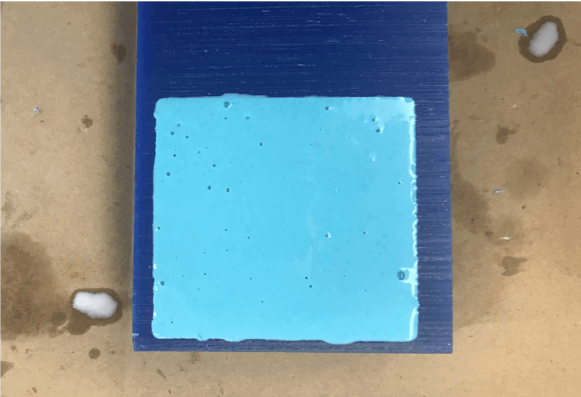
It took around 2-3 hours for the silicone rubber to set. I was happy with how smooth it turned out!
mixture set in the wax mold

finished silicone mold
casting process
The next step was to cast something in this rubber mold. I again used one by Smooth On. It's very similar to oomoo 25 - you just shake the bottles individually then pour and mix together in a 1:1 ratio. The only note I have is that the plastic has a quicker setting time, so you have a more limited time to work with it.
To minimize air bubbles in the plastic egg, I placed the mold into a vaccuum while the plastic mixture was still liquid. Running the vaccuum causes bubbles to rise to the surface, and releasing the pressure causes those bubbles to pop. I was able to do this about 3 times before the plastic had set too much and bubbles stopped popping like they should.
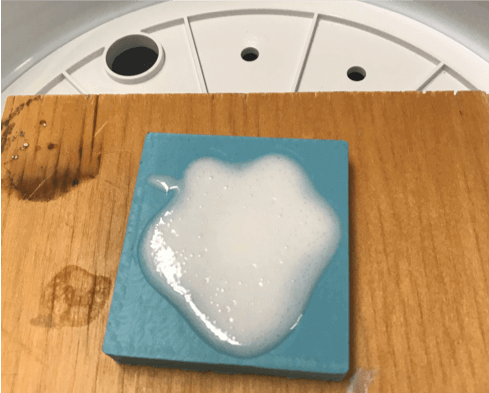
using a vacuum on the plastic mixture
The plastic didn't take very long to harden - 15 minutes or so. I forgot to take a photo of the hardened plastic, but I checked the cup mixture to gauge how much the material had set before touching the actual plastic egg.
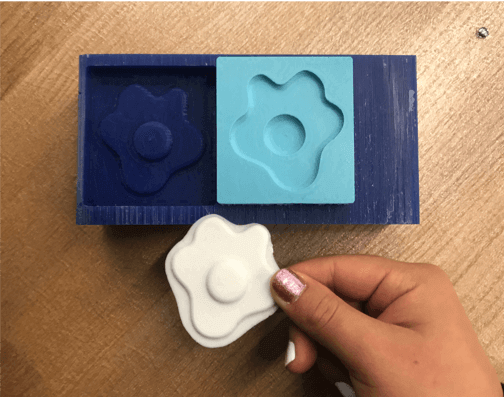
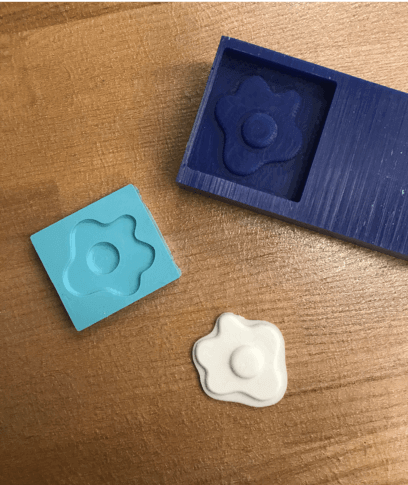
finished wax mold, silicone mold, and plastic egg
In retrospect, I would've casted a different material in the wax mold so I could later cast silicone rubber into that mold to yield floppy, more realistic eggs. Other than that, this was a funny project, and it was an informative experience getting to make positive and negative molds/casts.