For this week's class, I aimed to develop a useful process for producing food-safe molds. Per Neil's suggestion, I immediately searched around on Smooth-On's website for options and settled on the SORTA-Clear 37. This is a food-safe silicone product, which has a work time of 25 minutes and cure time of 4 hours. Furthermore, this was also the only one of the SORTA-Clear products, which had availability on Amazon Prime.
Nonetheless, the objective was to create a one-part ice cube mold/tray... a la the King Cubes and spherical cubes, which have become useful for drinks on the rocks or rock.
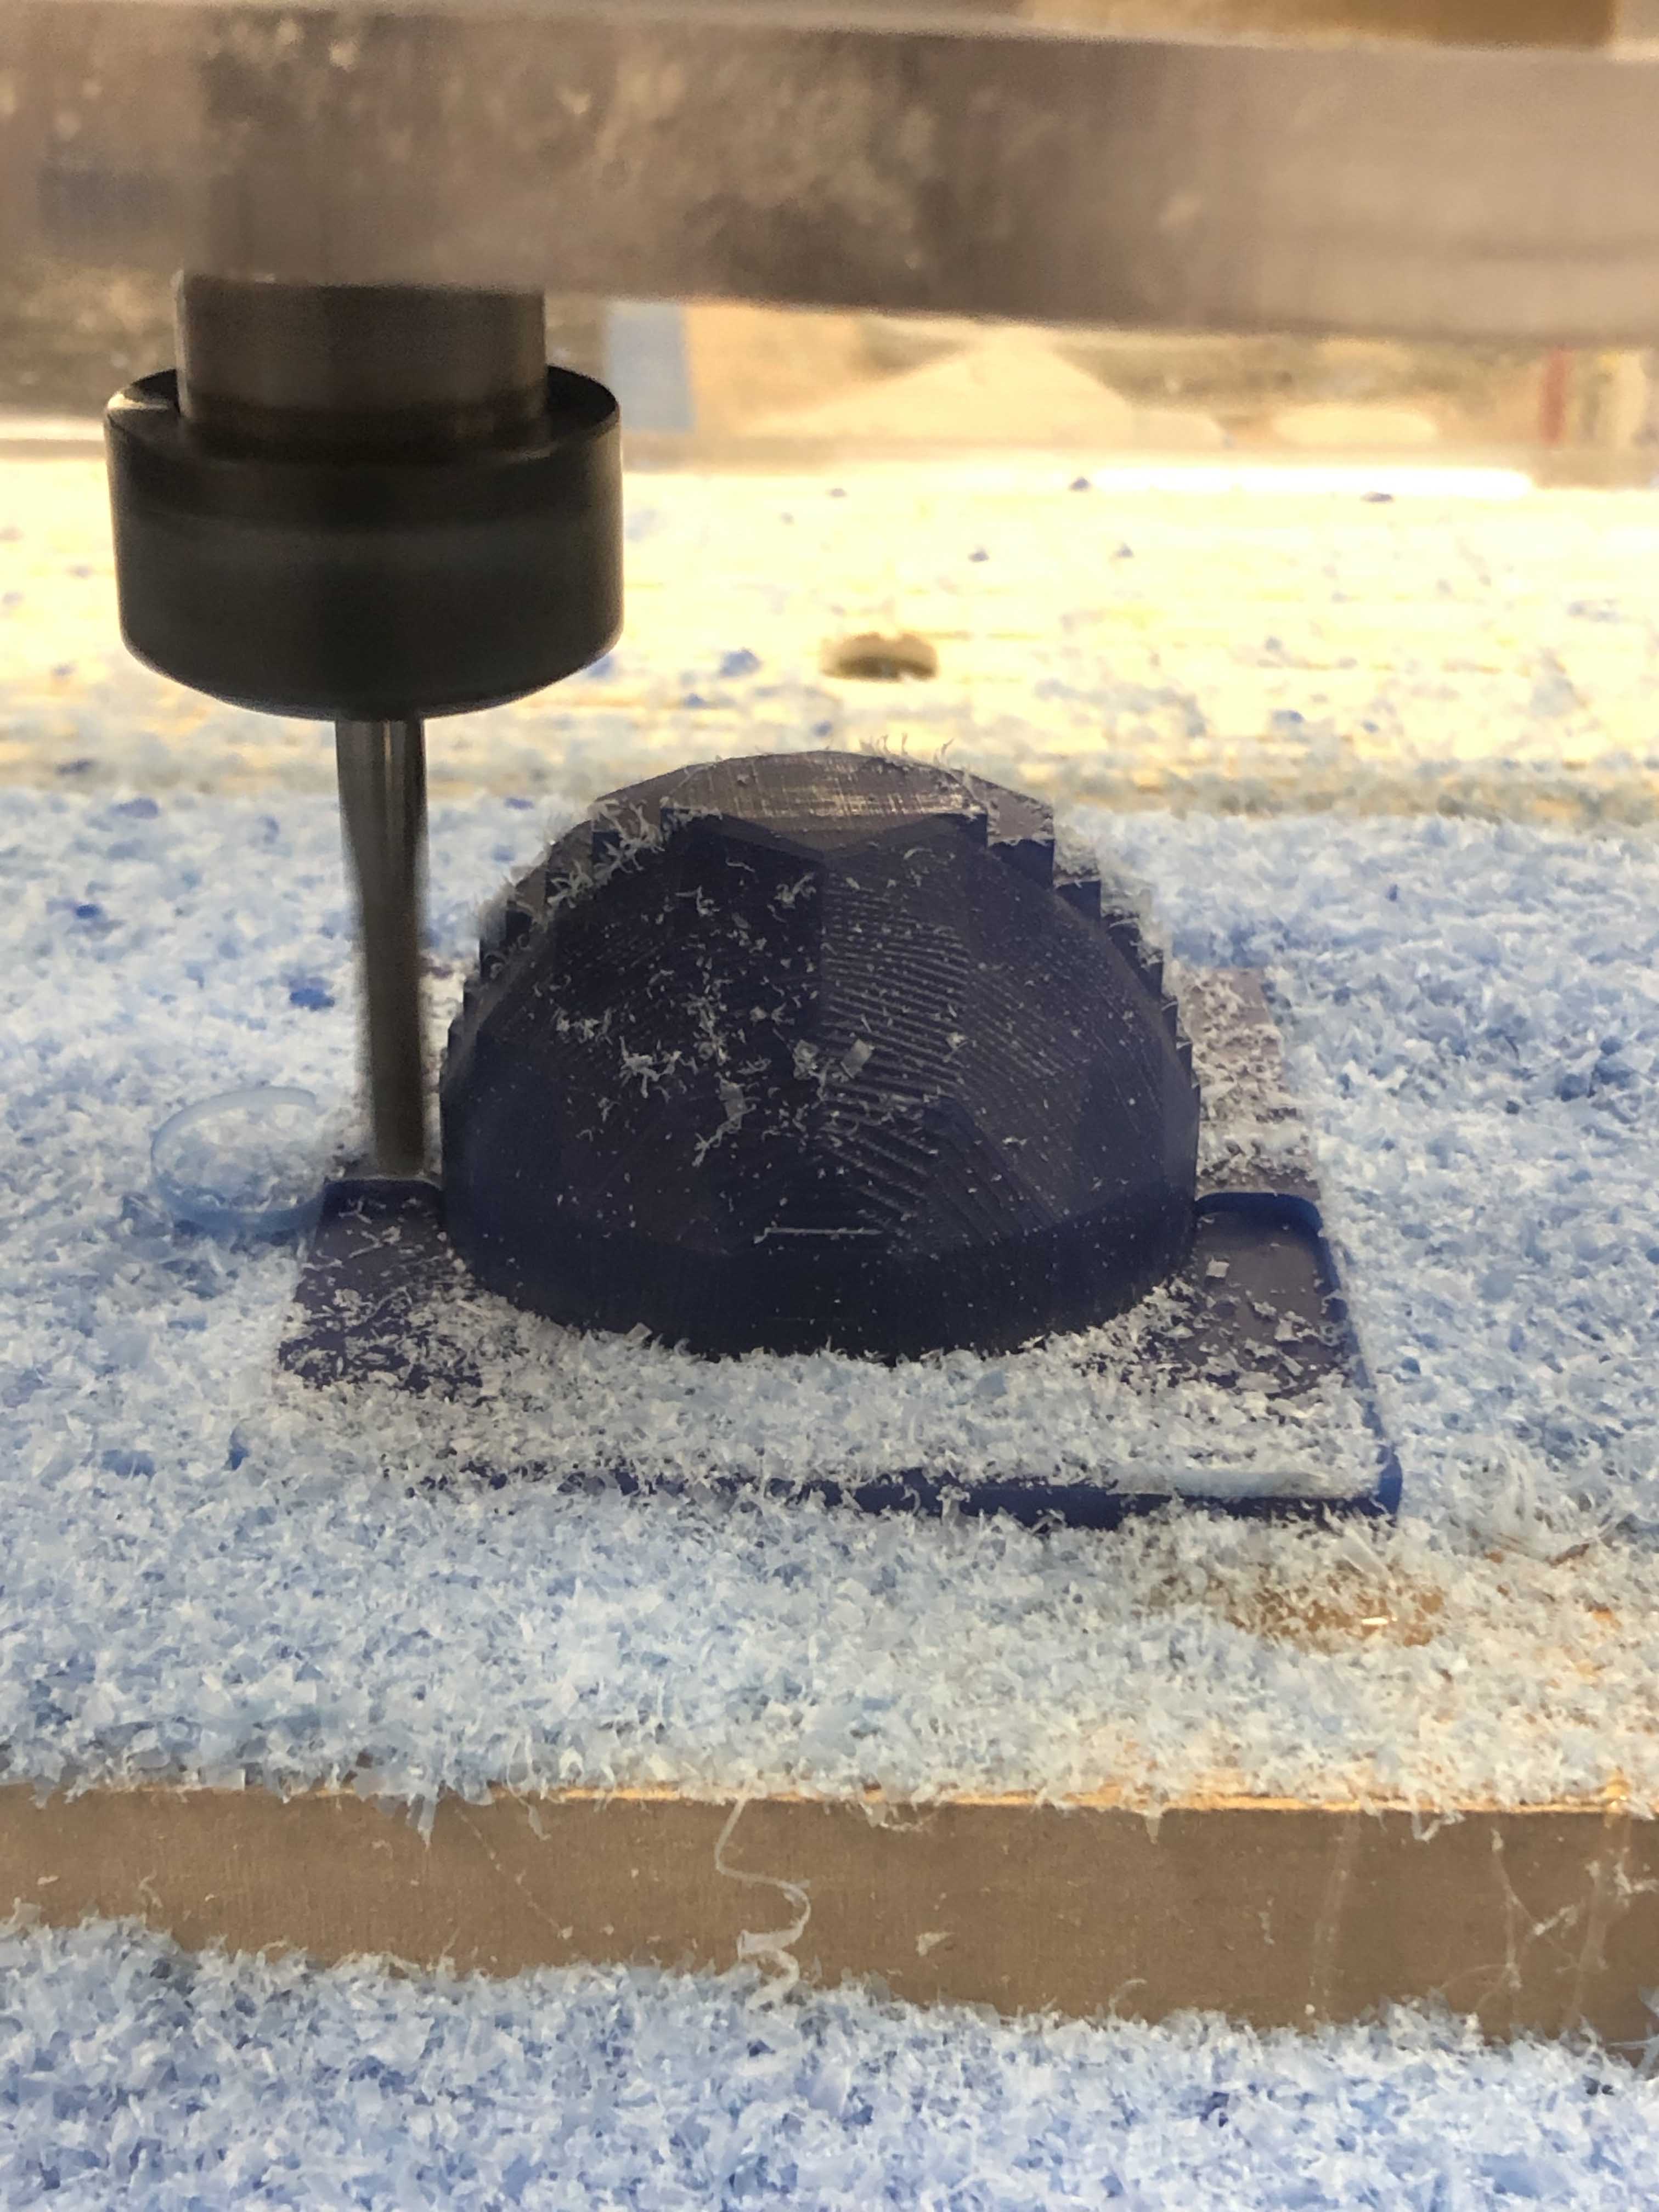
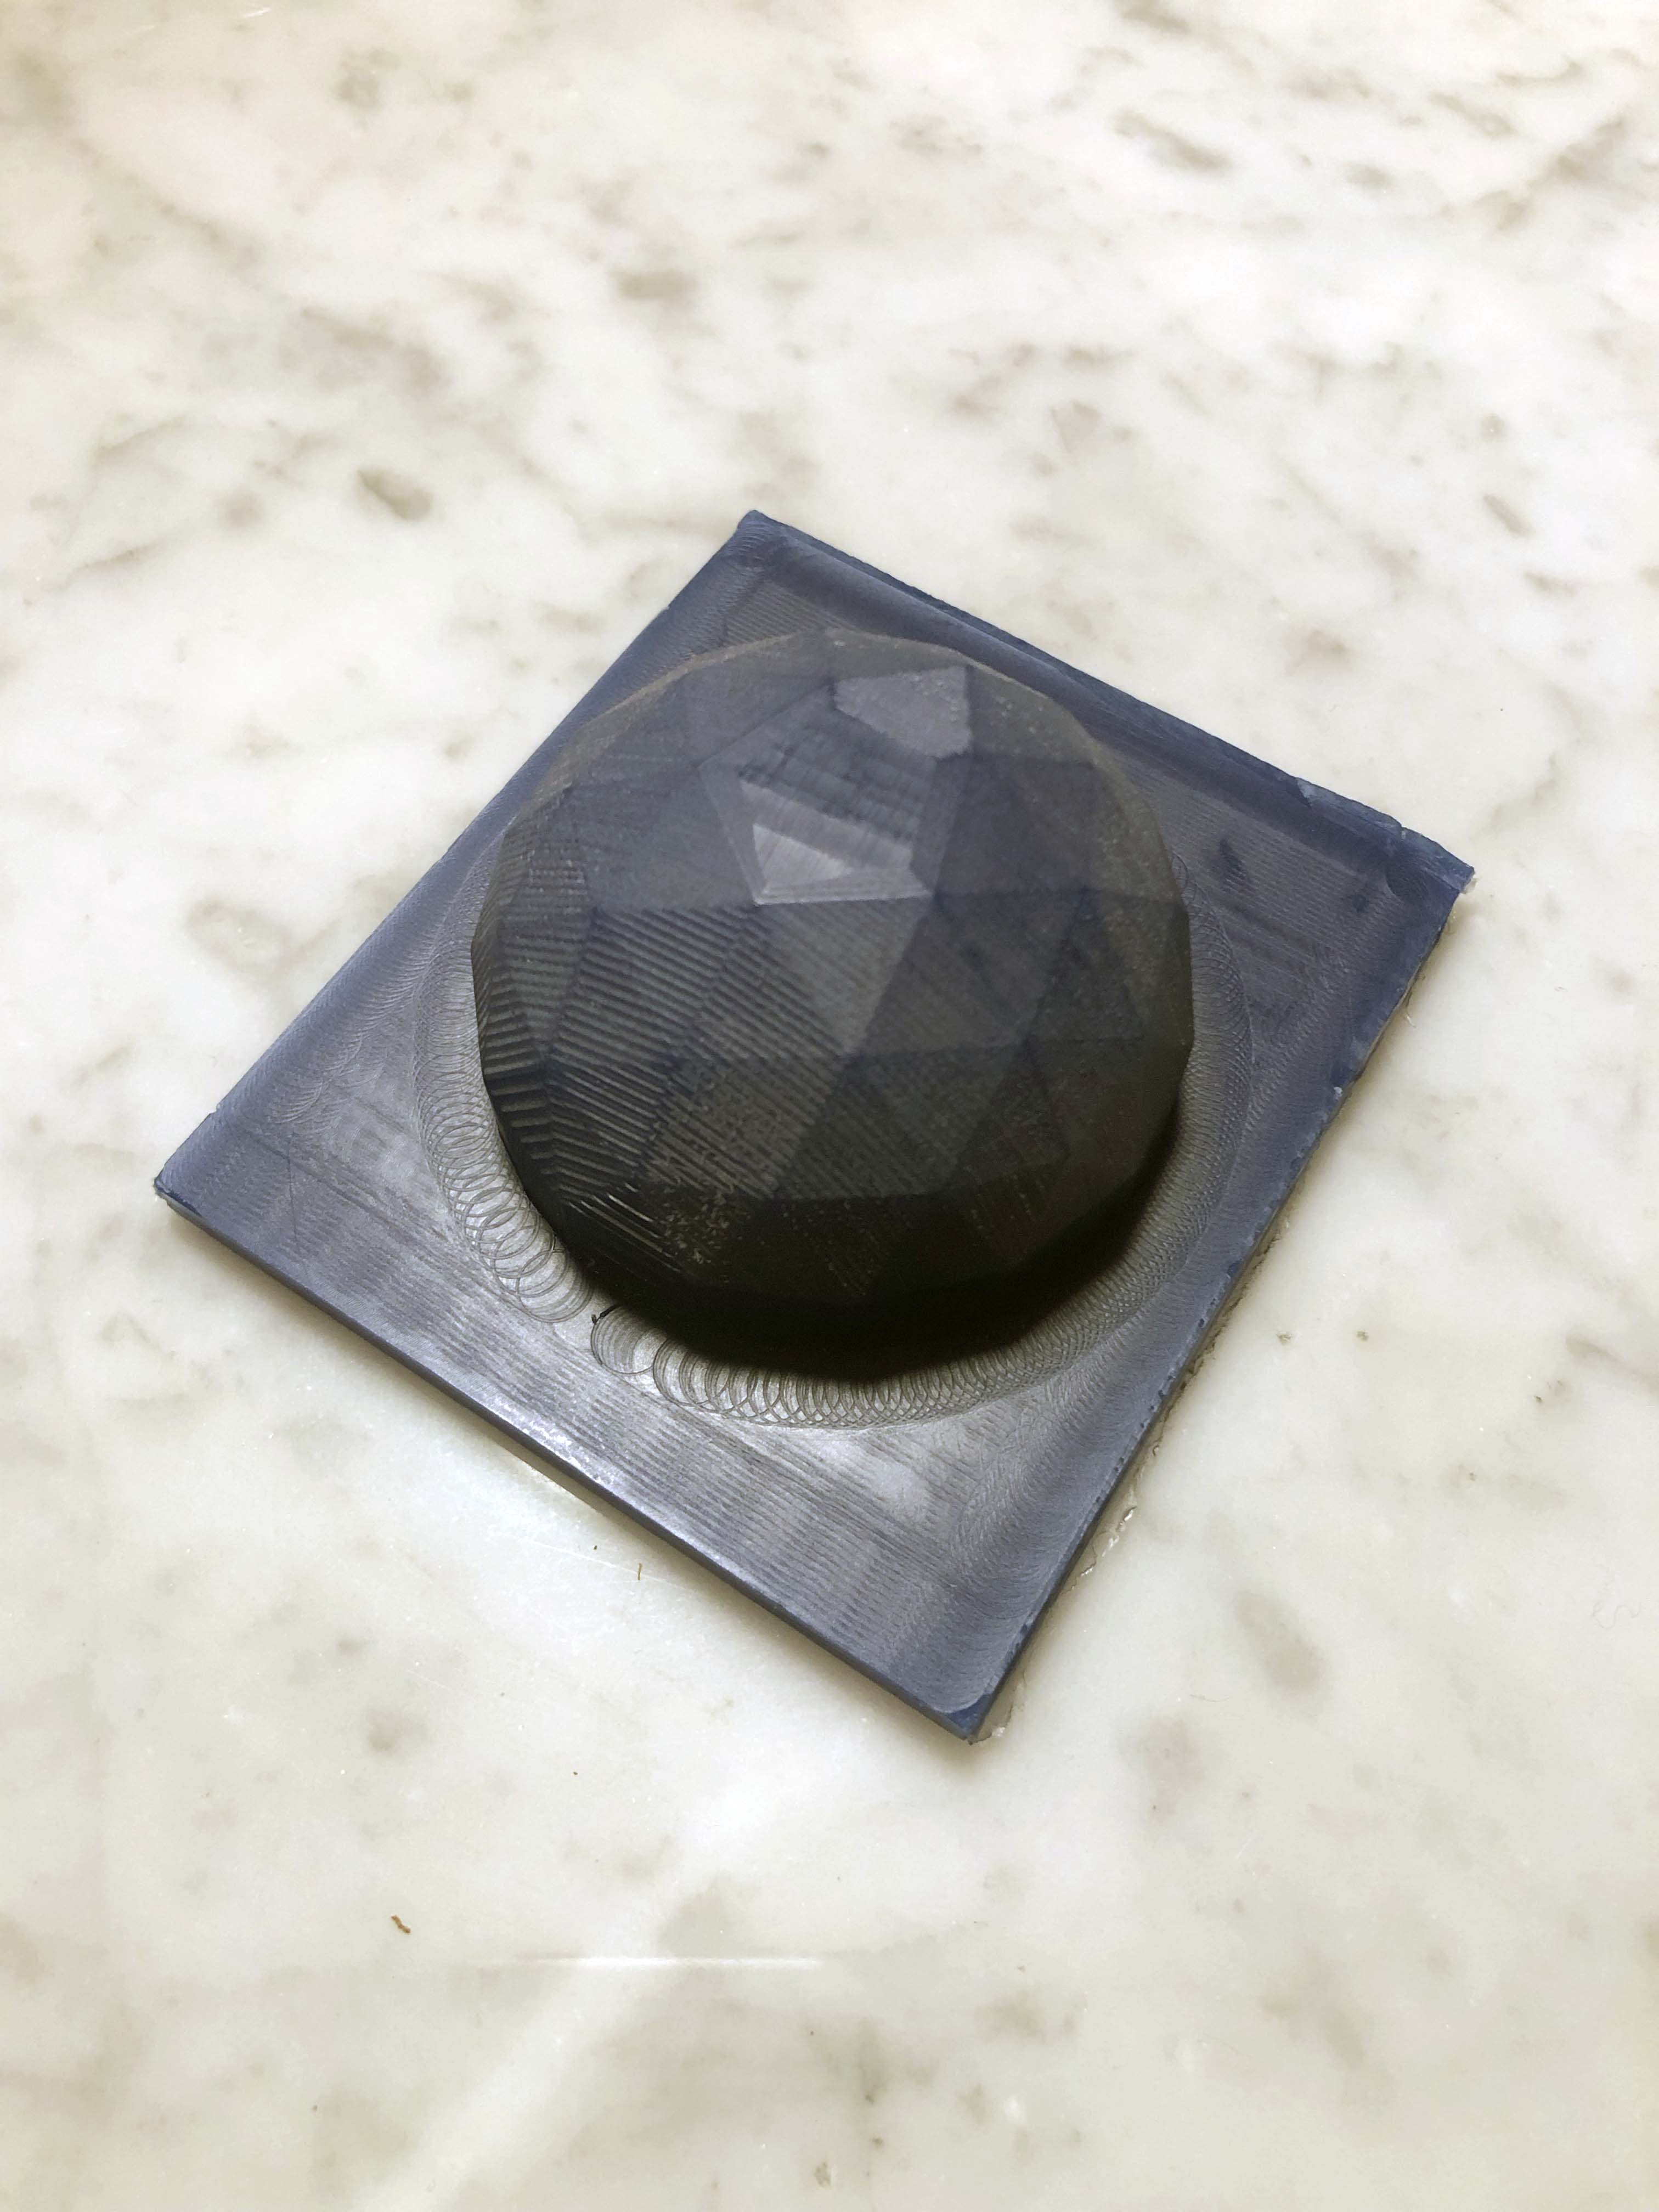
As a theme, I aimed for iconic architectural landmarks. The process of producing a one-part ice-cube tray necessitated a few constraints. As wax was being used as the material for machining, this meant that I wanted to create a mold without undercuts (because we use a 3-axis machine). Possibilities included the Met Breuer, Gherkin, Dymaxion House, Vanna Venturi House, along with others. I settled on the Buckminster Fuller Geodesic Dome, as this would help in showing resolution and would also be a straightforward geometry to mill.
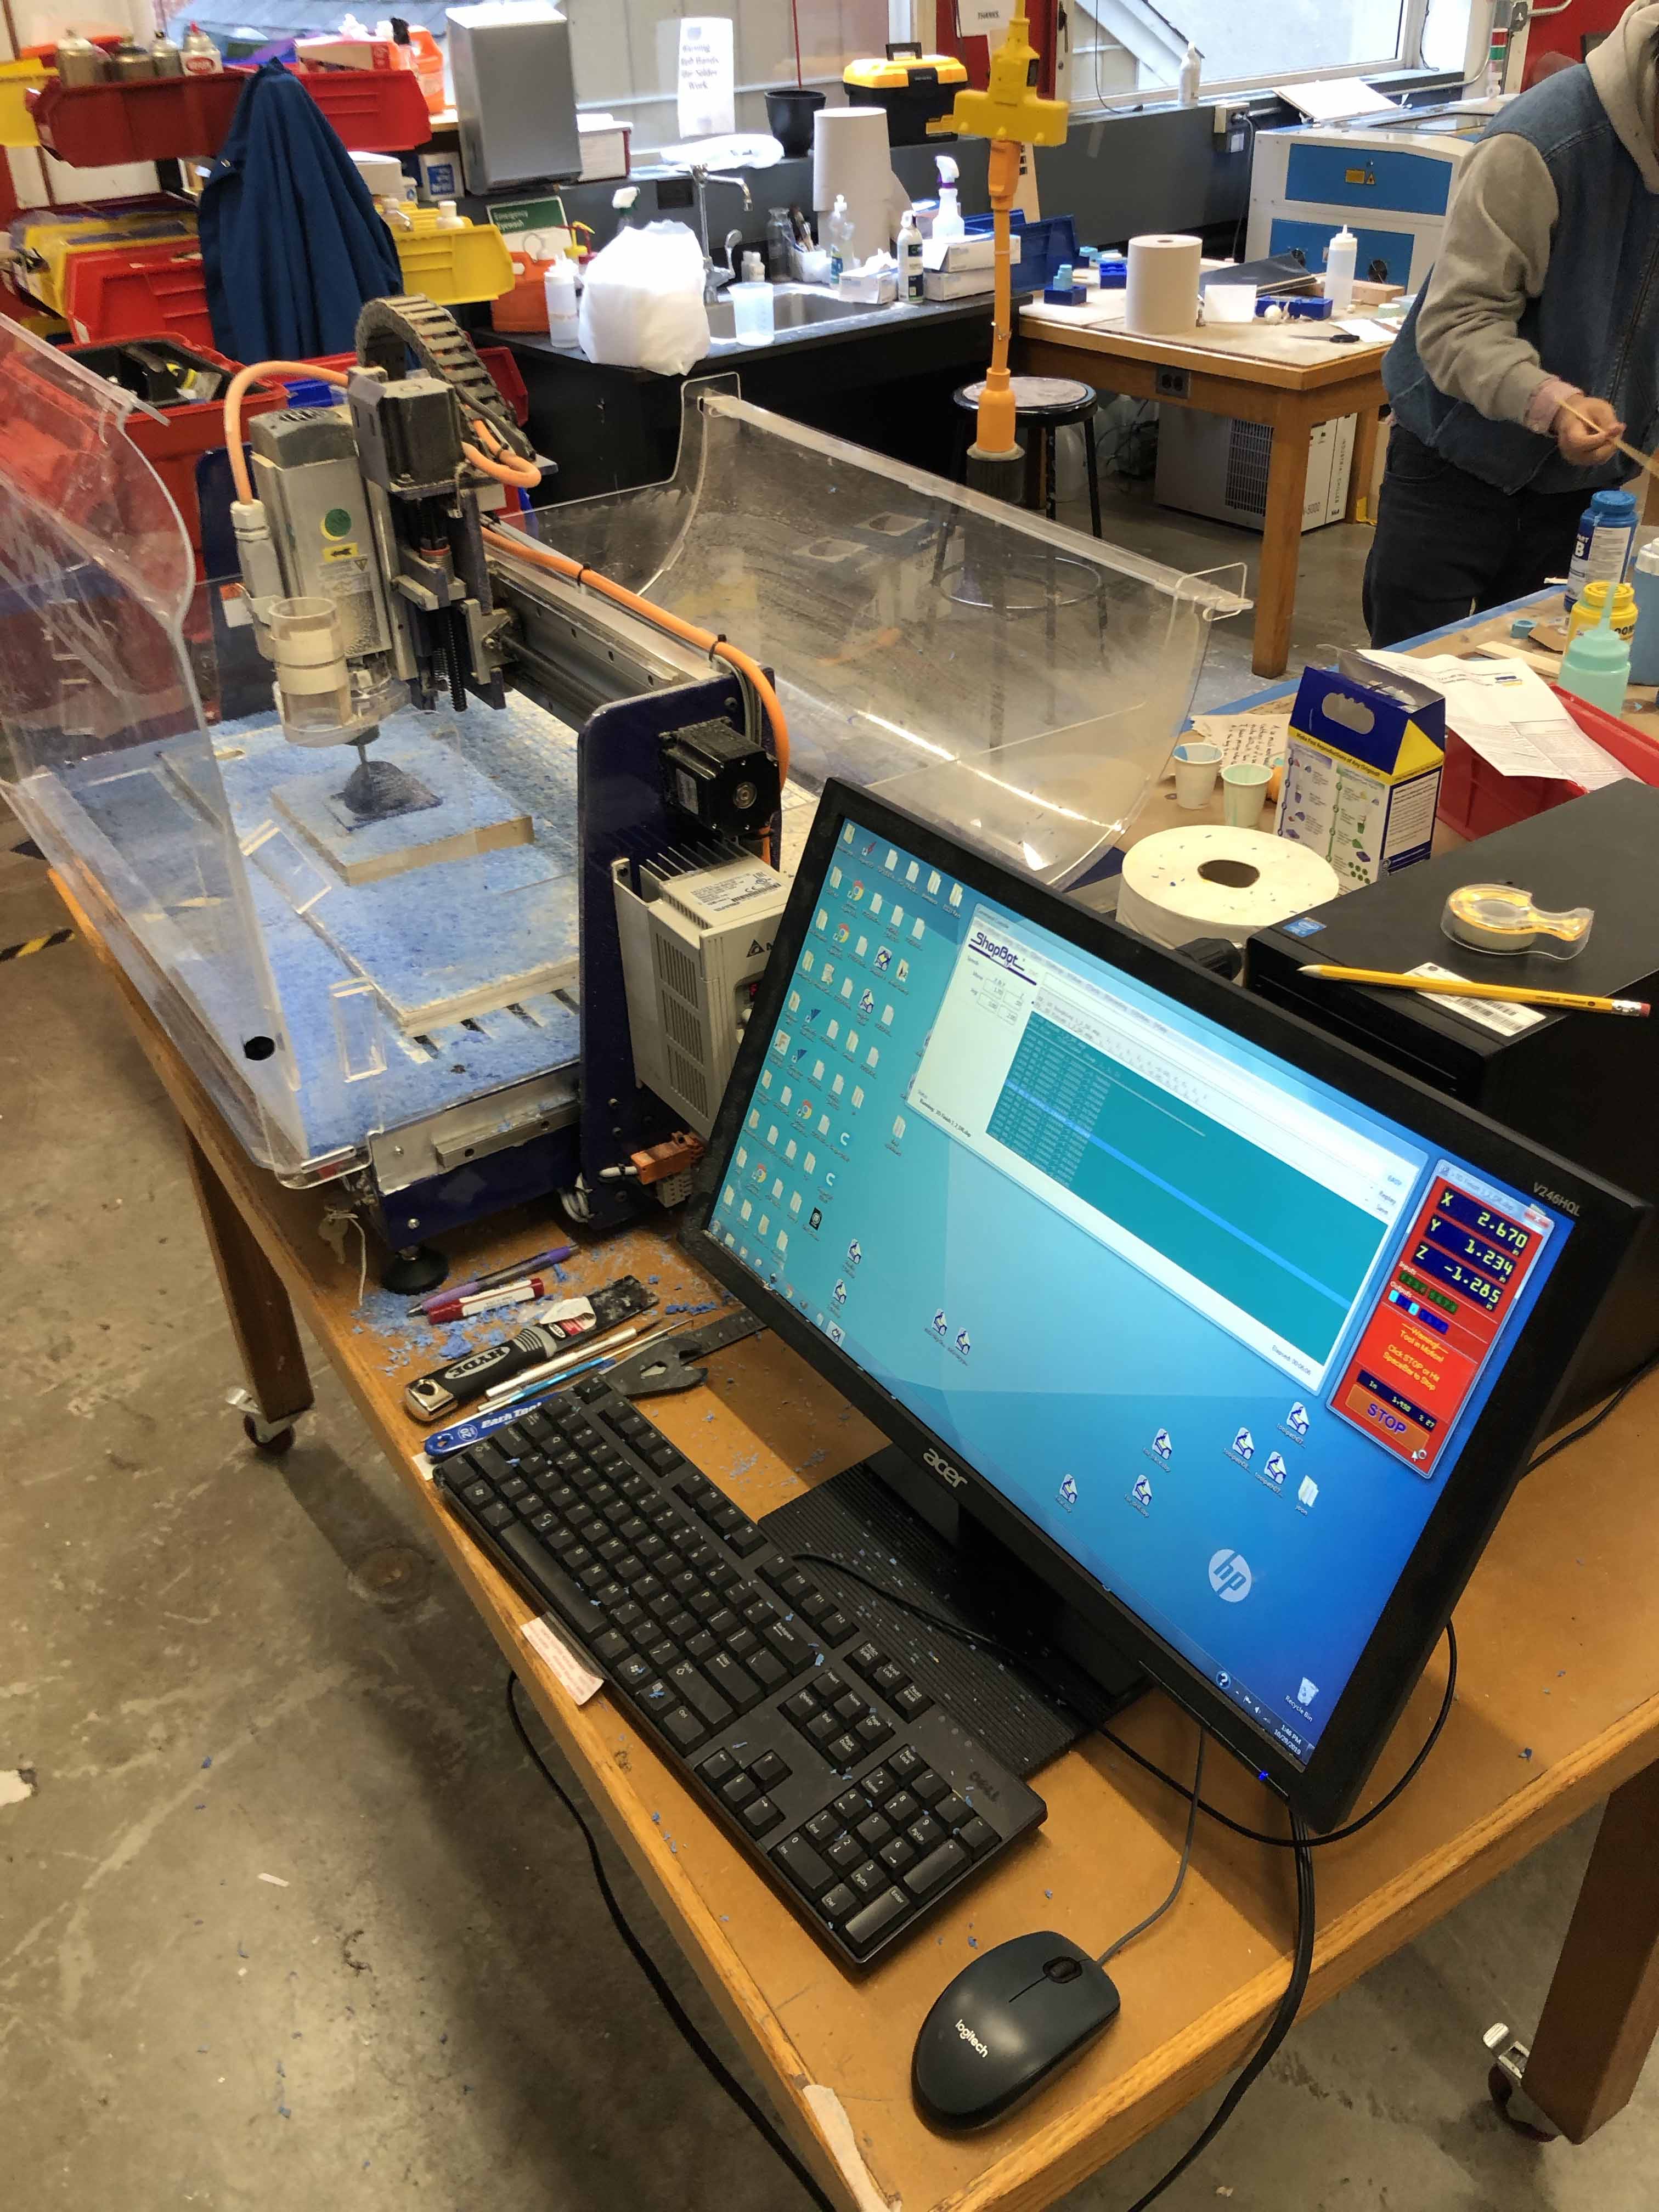
I began using a 1/8 inch end mill, which I soon learned was a downcutting end mill. I used a 50 percent step over and offset the milling in order to create 6.5 mm well for the silicone. For a number of reasons, the results were sloppy and unfortunate the first time around. The end mill ended up creating build-up above the cutting region of the end mill. This means that as it spun, that part would leave remnants on the vertical walls. The downcutting end mill also meant that the chips were not moving clear out of the way, causing issues as well.
In attempting a second iteration, I switched to the more stable 1/4 inch end mill with an up cutting flute. I also changed the 3d roughing and finishing cuts to begin with the bounding condition. This cleared material completely (aside from the dome), leaving no walls and therefore allowing the chips to cleanly fly outward and away from the dome. I also changed the stopover to 5% in the raster setting, to guarantee higher fidelity. This process was much more effective and far cleaner.
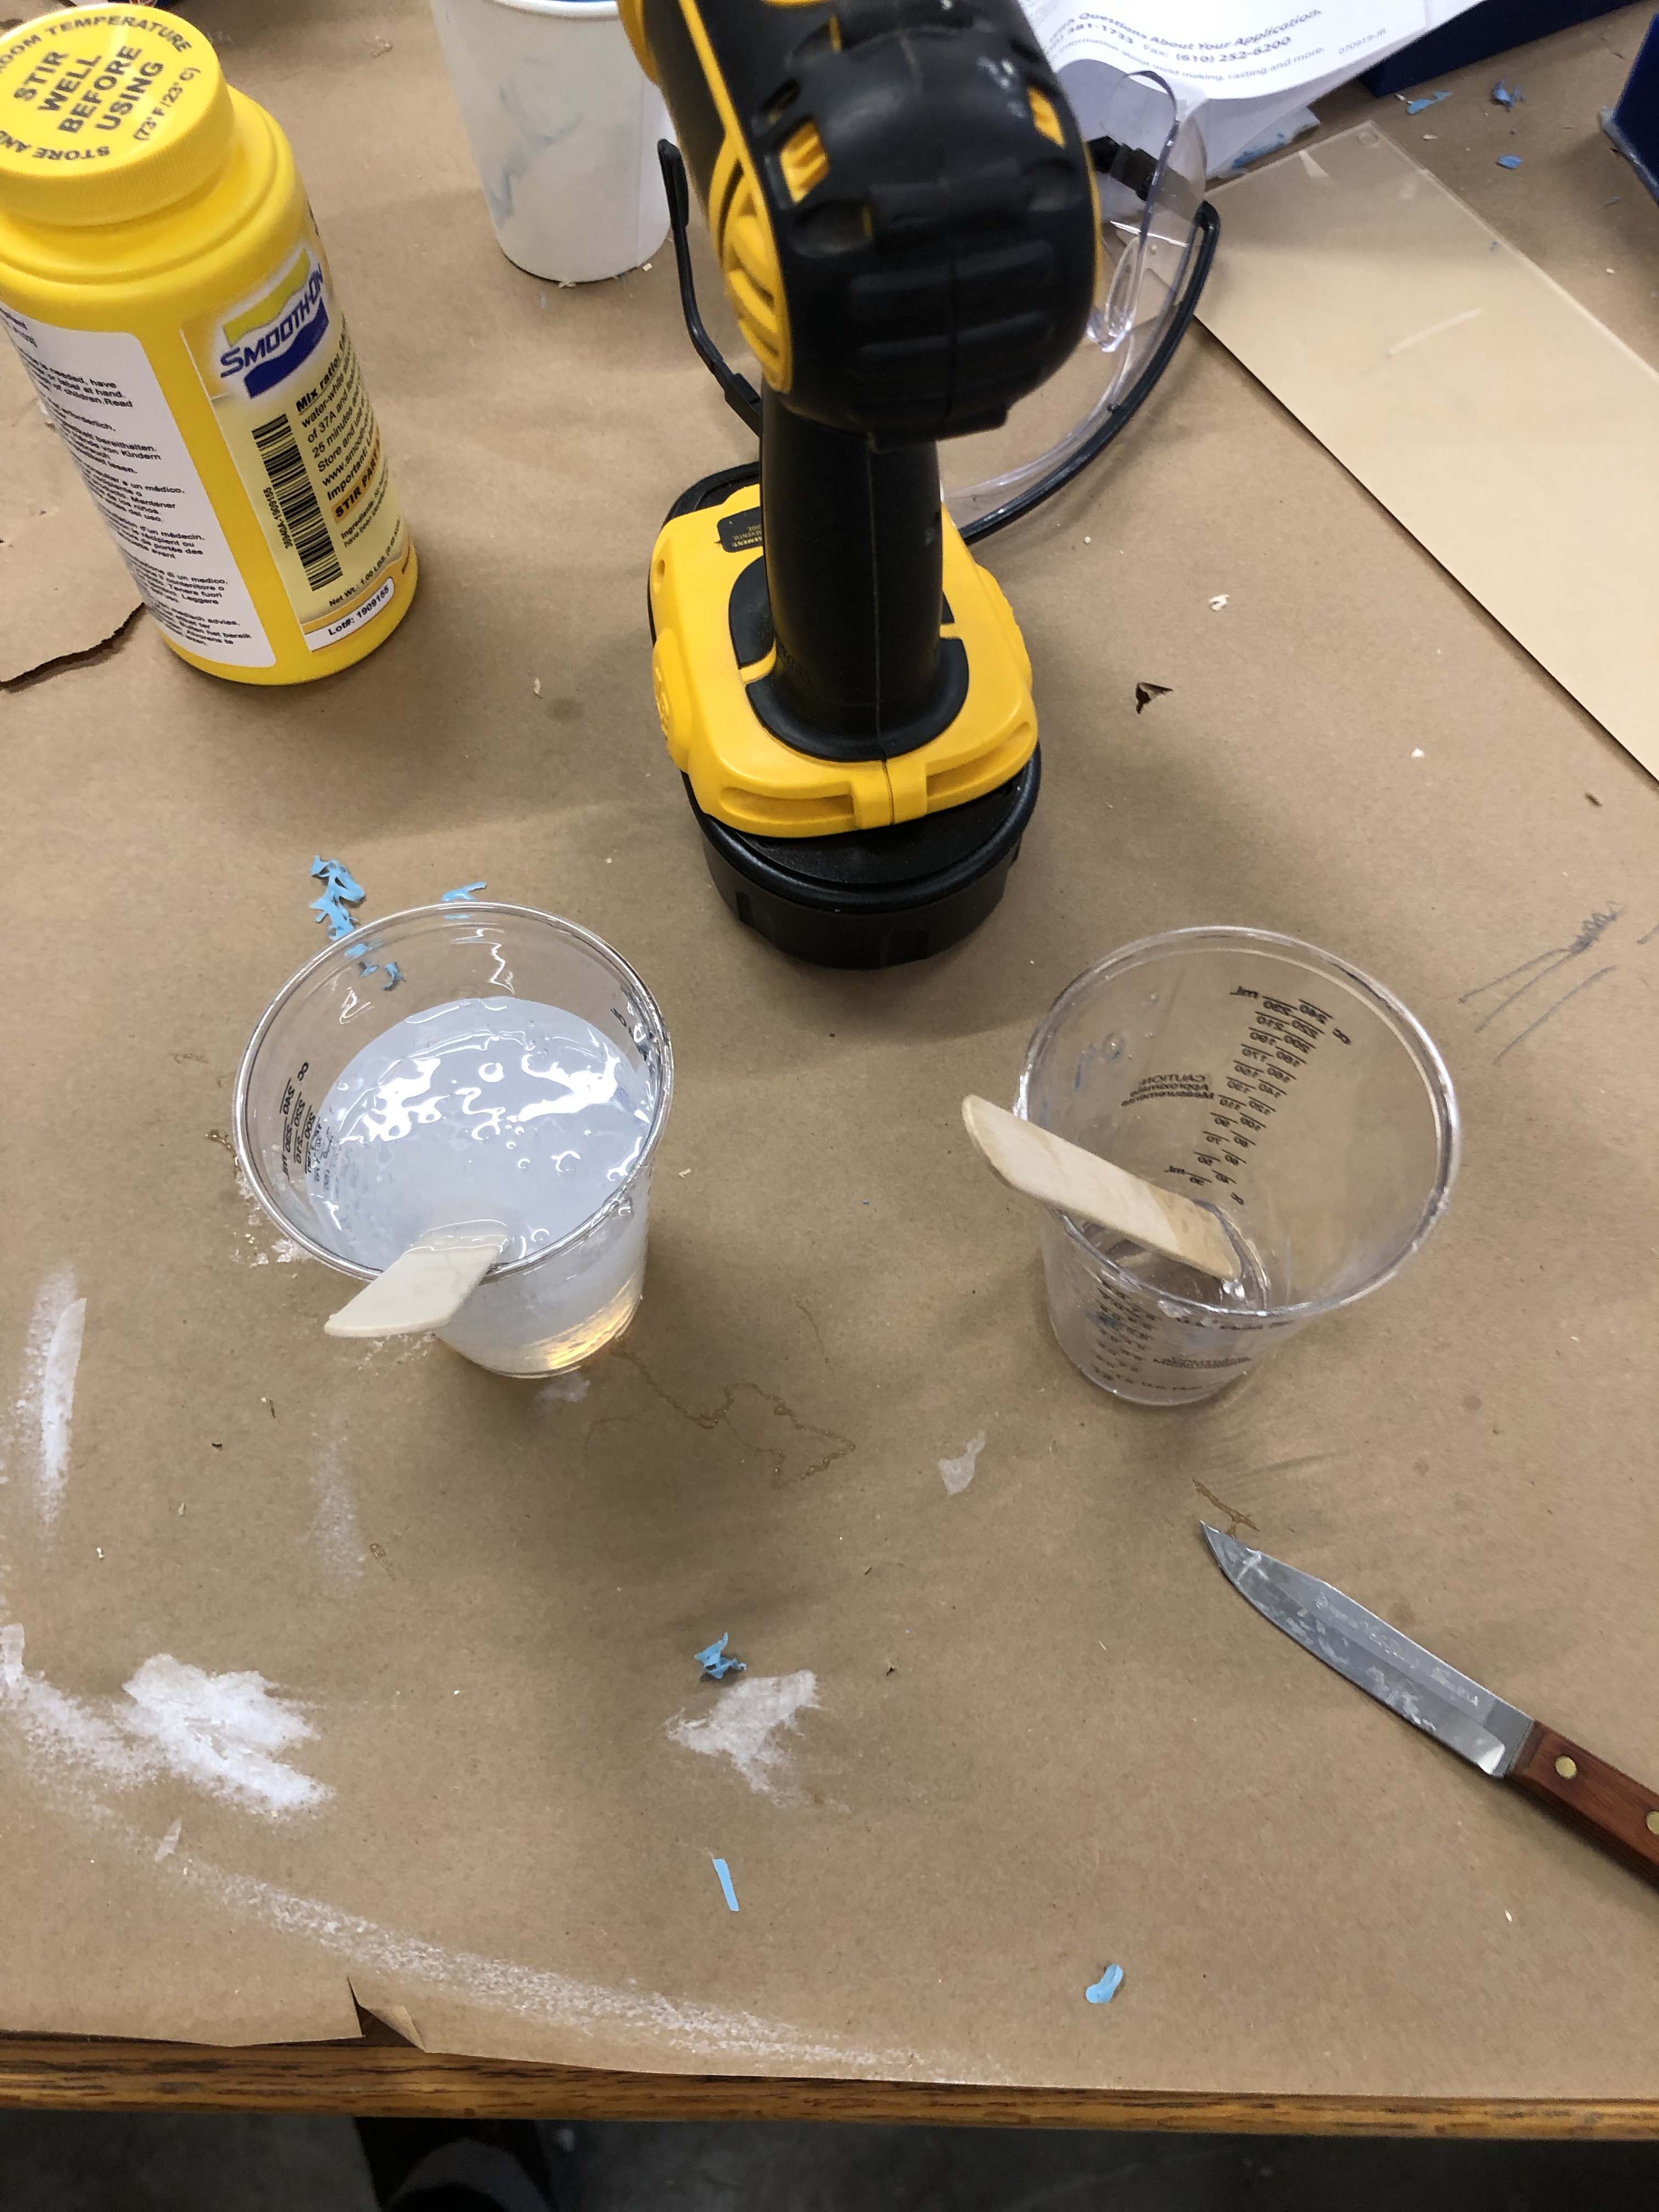
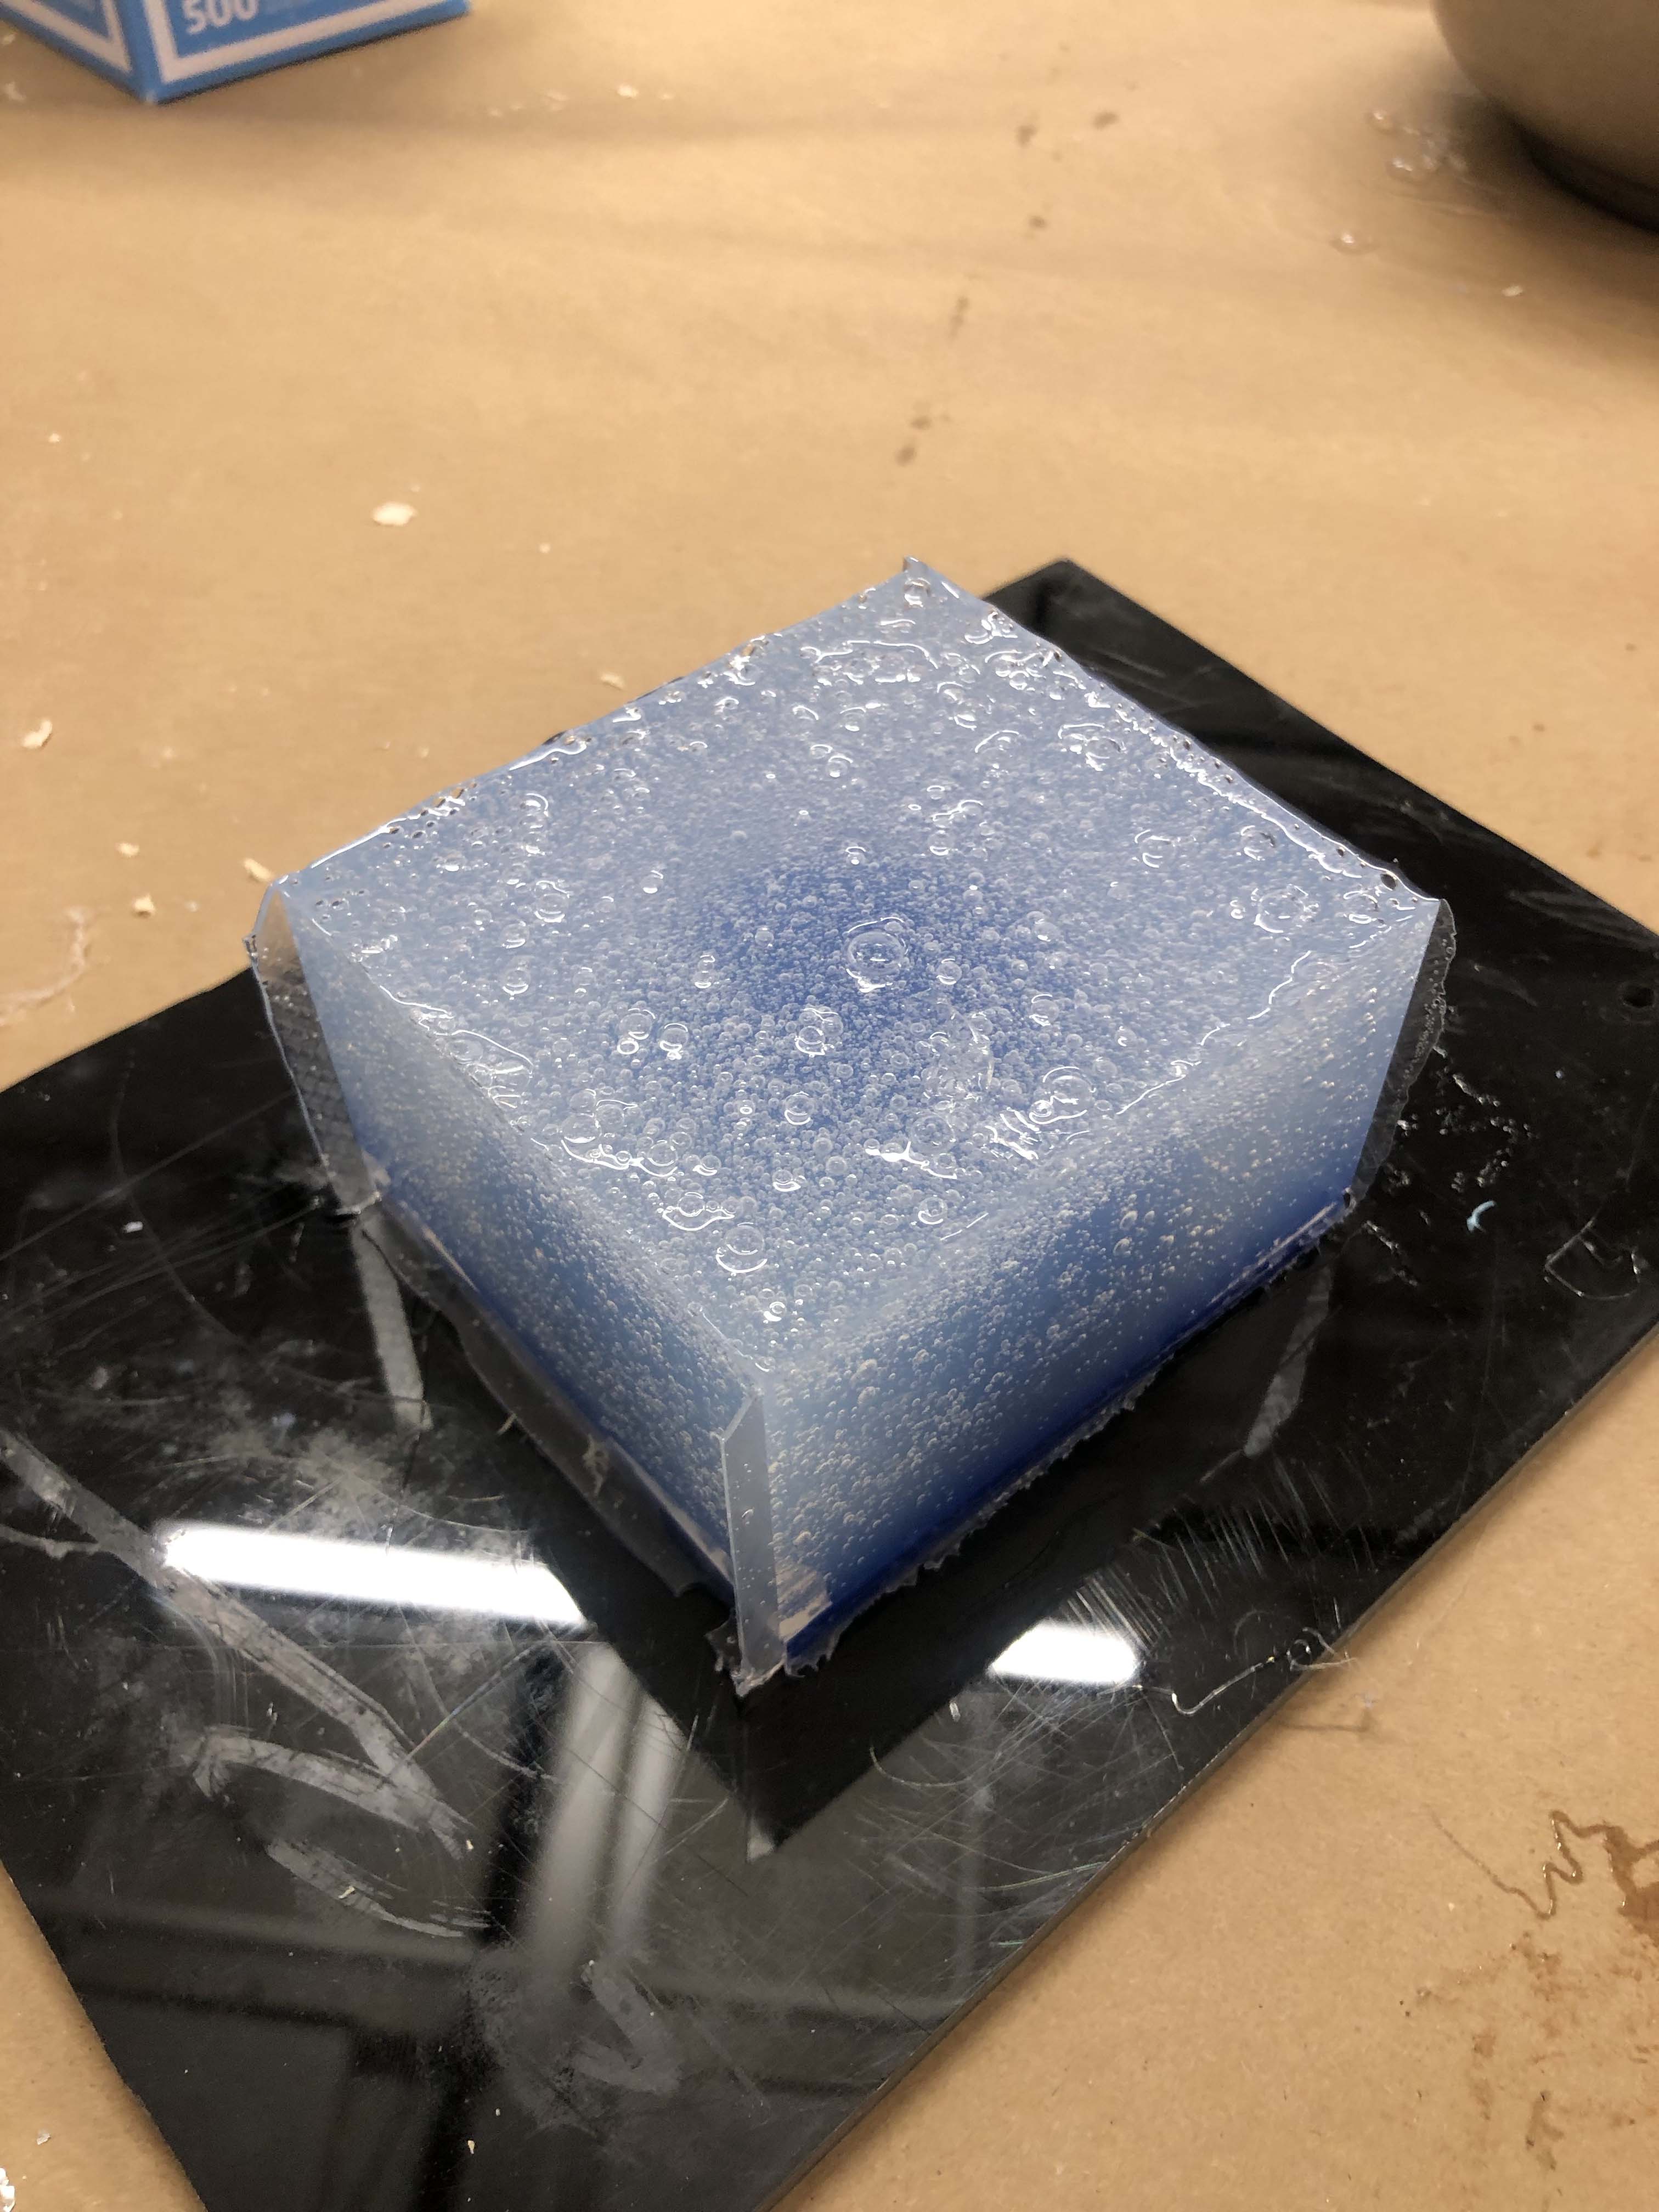
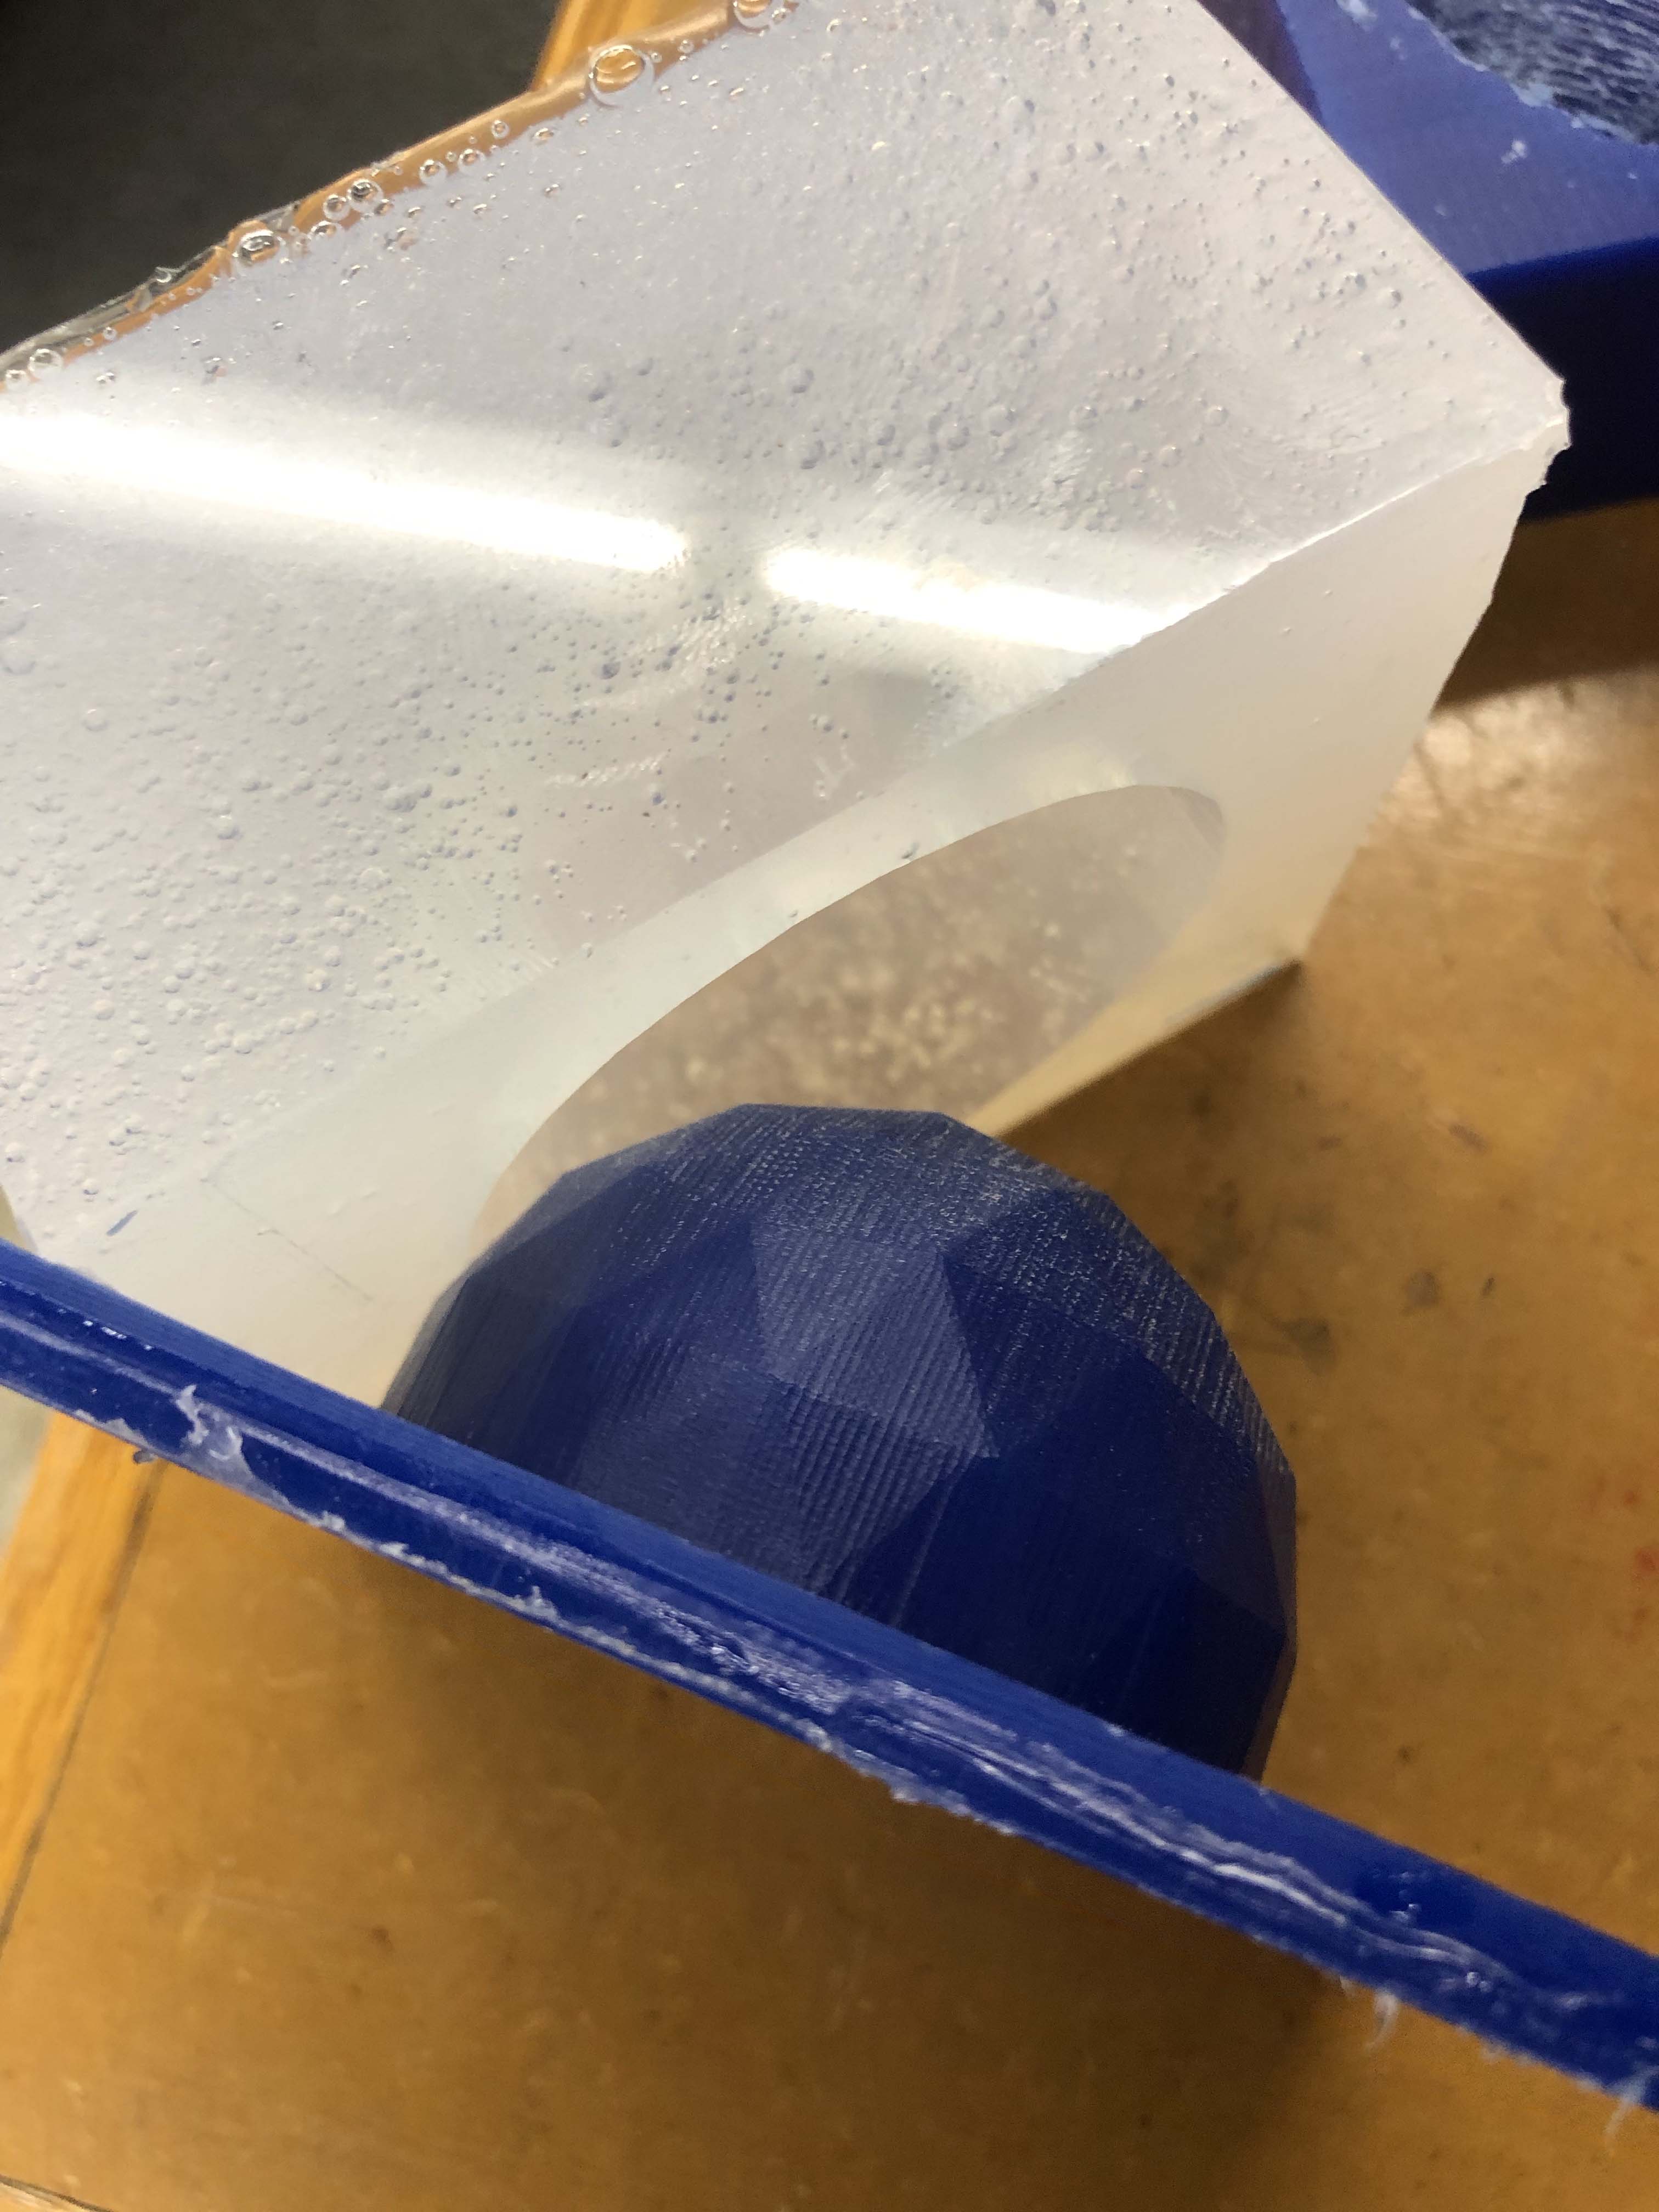
After this, I constructed walls from scraps of plexiglass. The reason one wants to use plexiglass is because of how clean the surfaces are on the silicone after the plexiglass is removed. Other materials will be far rougher. I stabilized and sealed the plexiglass box with hot glue. After this, I followed the Smooth-On instructions and poured. To recap, this involved pouring Part A and B into clear plastic cups (1 to 1 ratio), stirring both for one minute, then pouring one into the other. After this, I stirred for three more minutes and poured that into my mold. Four hours later... and I've got a nice ice cube mold. I took an exacto blade to the edge of the silicone to clean it up and brought it home for cleaning, then freezing.