Week 6: Embedded programming
This week’s assignment is to program your board to do something.
Summary: I programmed the board that I’d made in Week 4 Electronics design to blink and respond to a button.
First, I read an Attiny44 microcontroller data sheet to understand how the pins work and connect to the program.
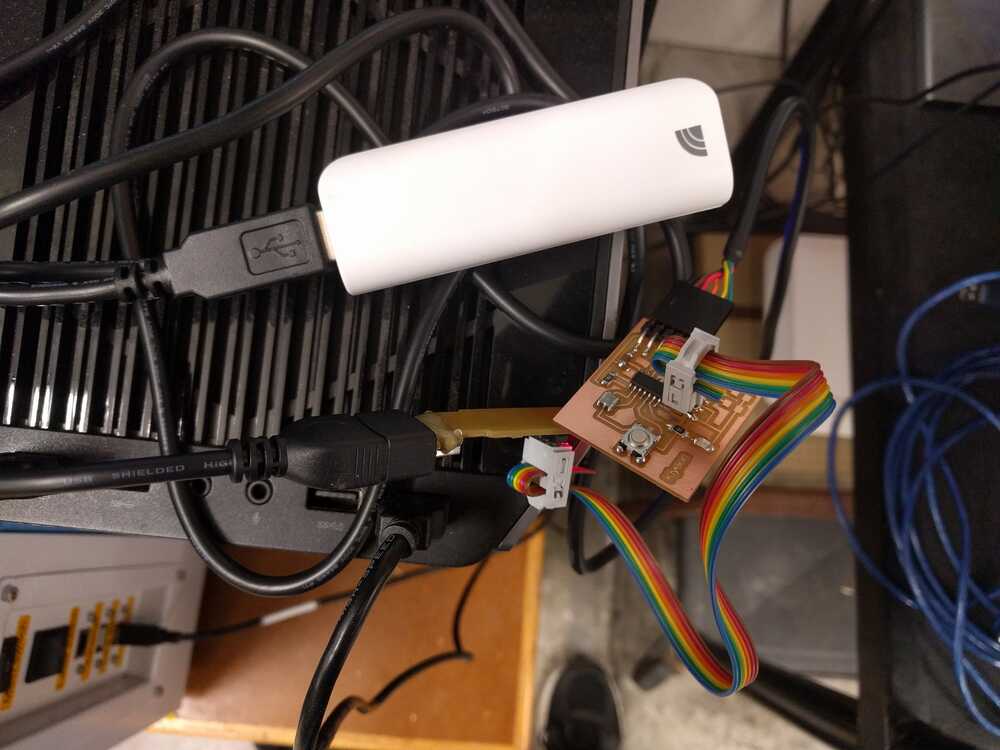
I first downloaded the Arduino software and imported the library. I connected my Arduino board with my computer (via the FTDI cable), power bank, and the in-circuit programmer that I designed in Week 2.
In the Arduino software, I ensured that the settings matched my board by going to Tools – Board and Processor and changing it to ATtiny44.
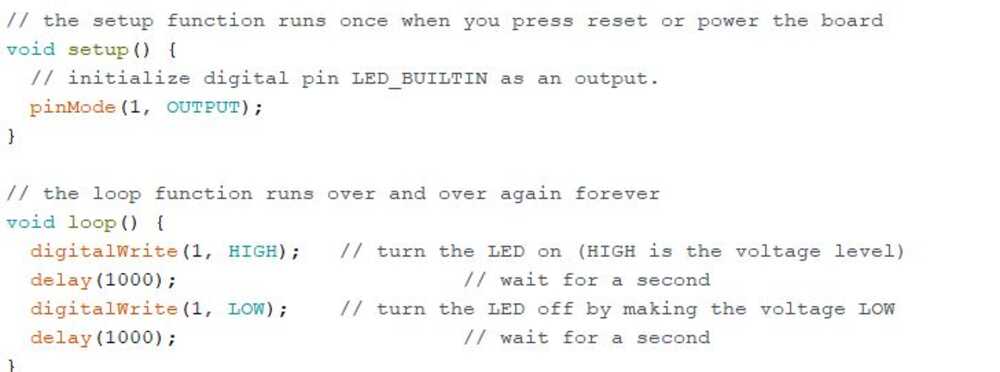
With a code template, I changed the pins names to match my board pins schematic by referring to the data sheet. I needed to change both the pin numbers and letters (PB2 etc.).
First, I tried to “echo” or display what I typed.
Second, I programmed the board to blink every second.
Third, I programmed the board to respond to a button by turning on a LED when a button is pressed. I also tried programming the board so that the LED stays on forever until I turn it off.