Wildcard week: Composites
This week, our goal was to learn how to use composites with our wildcard week section.
See the Wiki for group documentation.
I designed and made a composite hand-windshield for my bike.
First, I designed a set of cylinders and ellipsoids in FreeCAD whose exterior surface would be the mold for my desired shape. I then sliced this into parts and used Aspire to create toolpaths for milling.
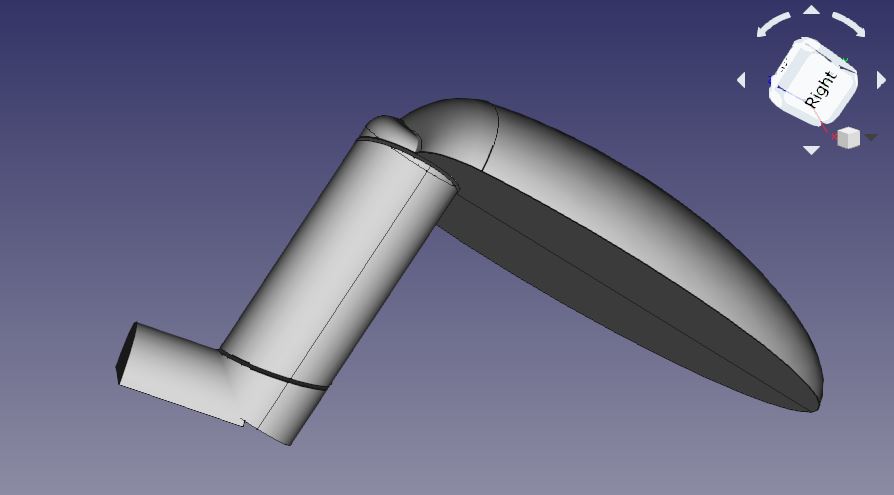
I then used the ShopBot Desktop to mill the molds out of pink foam, using a 0.125" flat endmill and a rough and finish cut. I only went halfway through the 2" foam with the mill, so I cut the molds out with a scrollsaw.
The general schematic of the layers used to mold a composite is shown below.
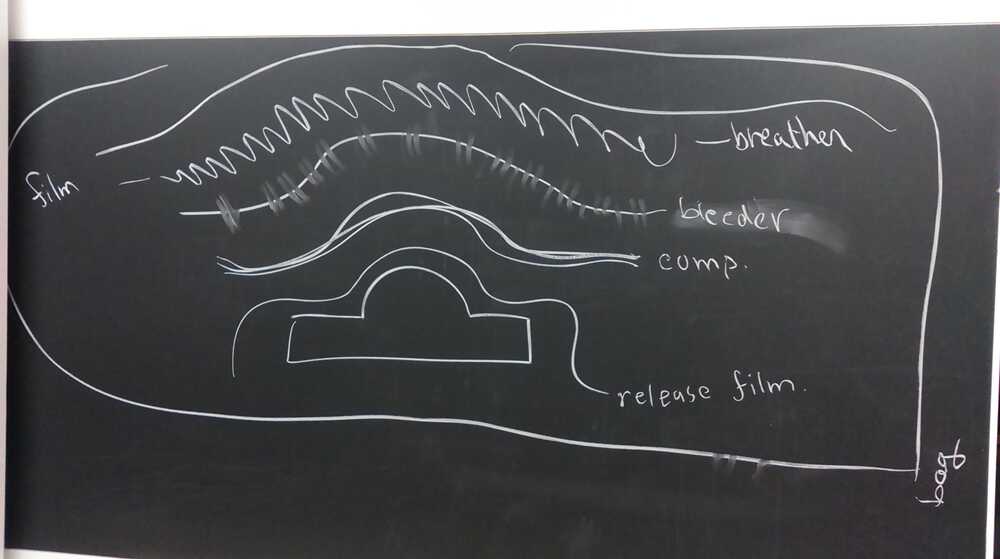
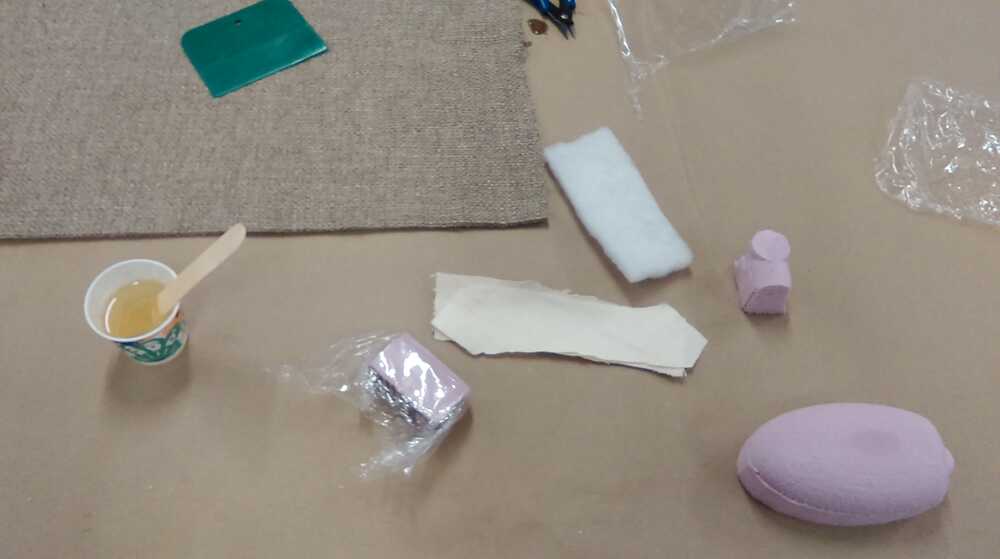
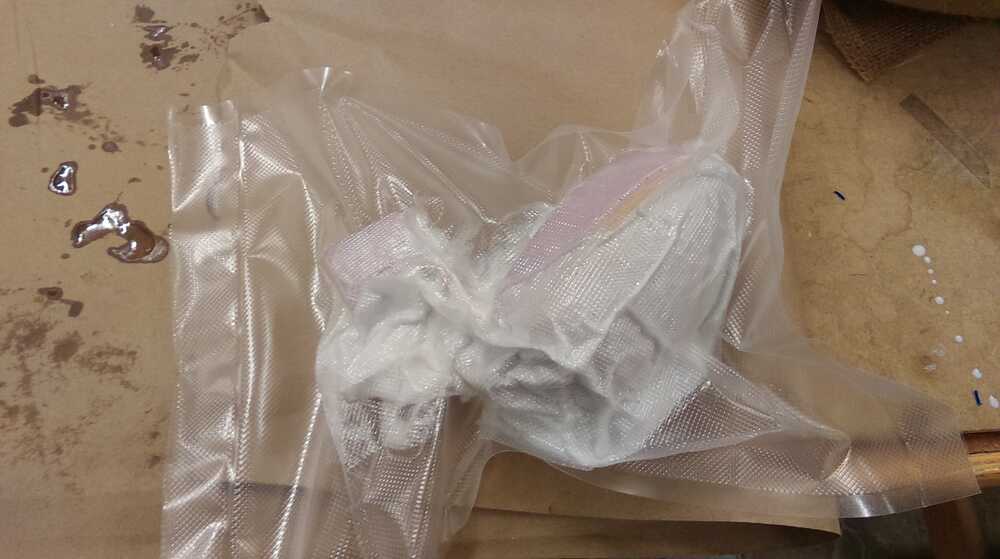
Briefly, a mold is covered with a release layer (plastic film with optional release agent). The fabric (canvas in this case) is cut so that it will not crease when laid over the mold. It is then put on the mold (it is necessary to use more than one layer, and the layers should have different weave orientations). Mixed epoxy is then spread over and pressed into the fabric layers, one at a time until all layers have been added and soaked in epoxy. A perforated release film is then wrapped over the epoxy-soaked fabric to allow for excess resin to escape. Above this, a bleeder layer of fiber is placed to absorb the excess epoxy. The labels in the picture above are a bit off. See This Website for a thorough explanation. Finally, this is all wrapped together with plastic wrap and put inside a vacuum bag, which, when evacuated and sealed, provides about 1 Atm of pressure more or less evenly on the mold.
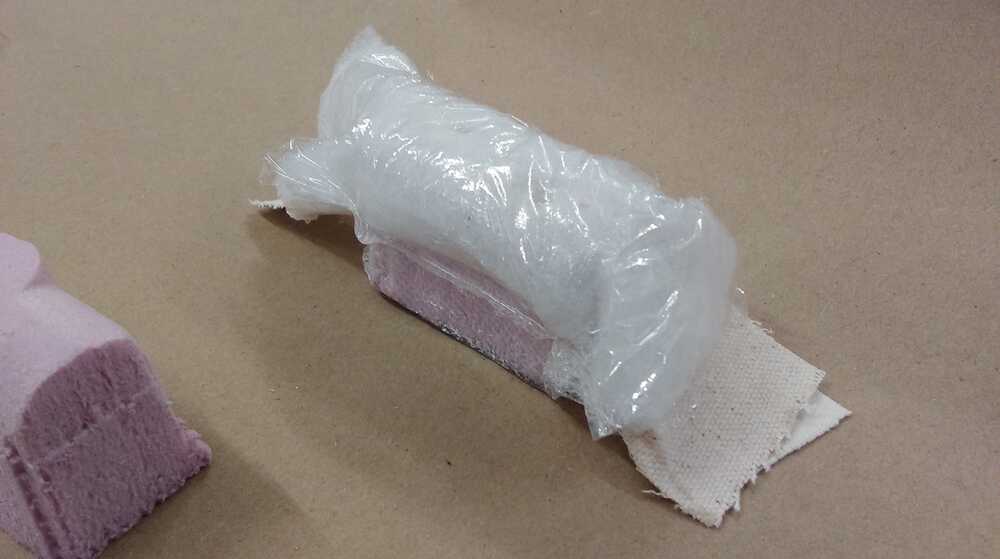
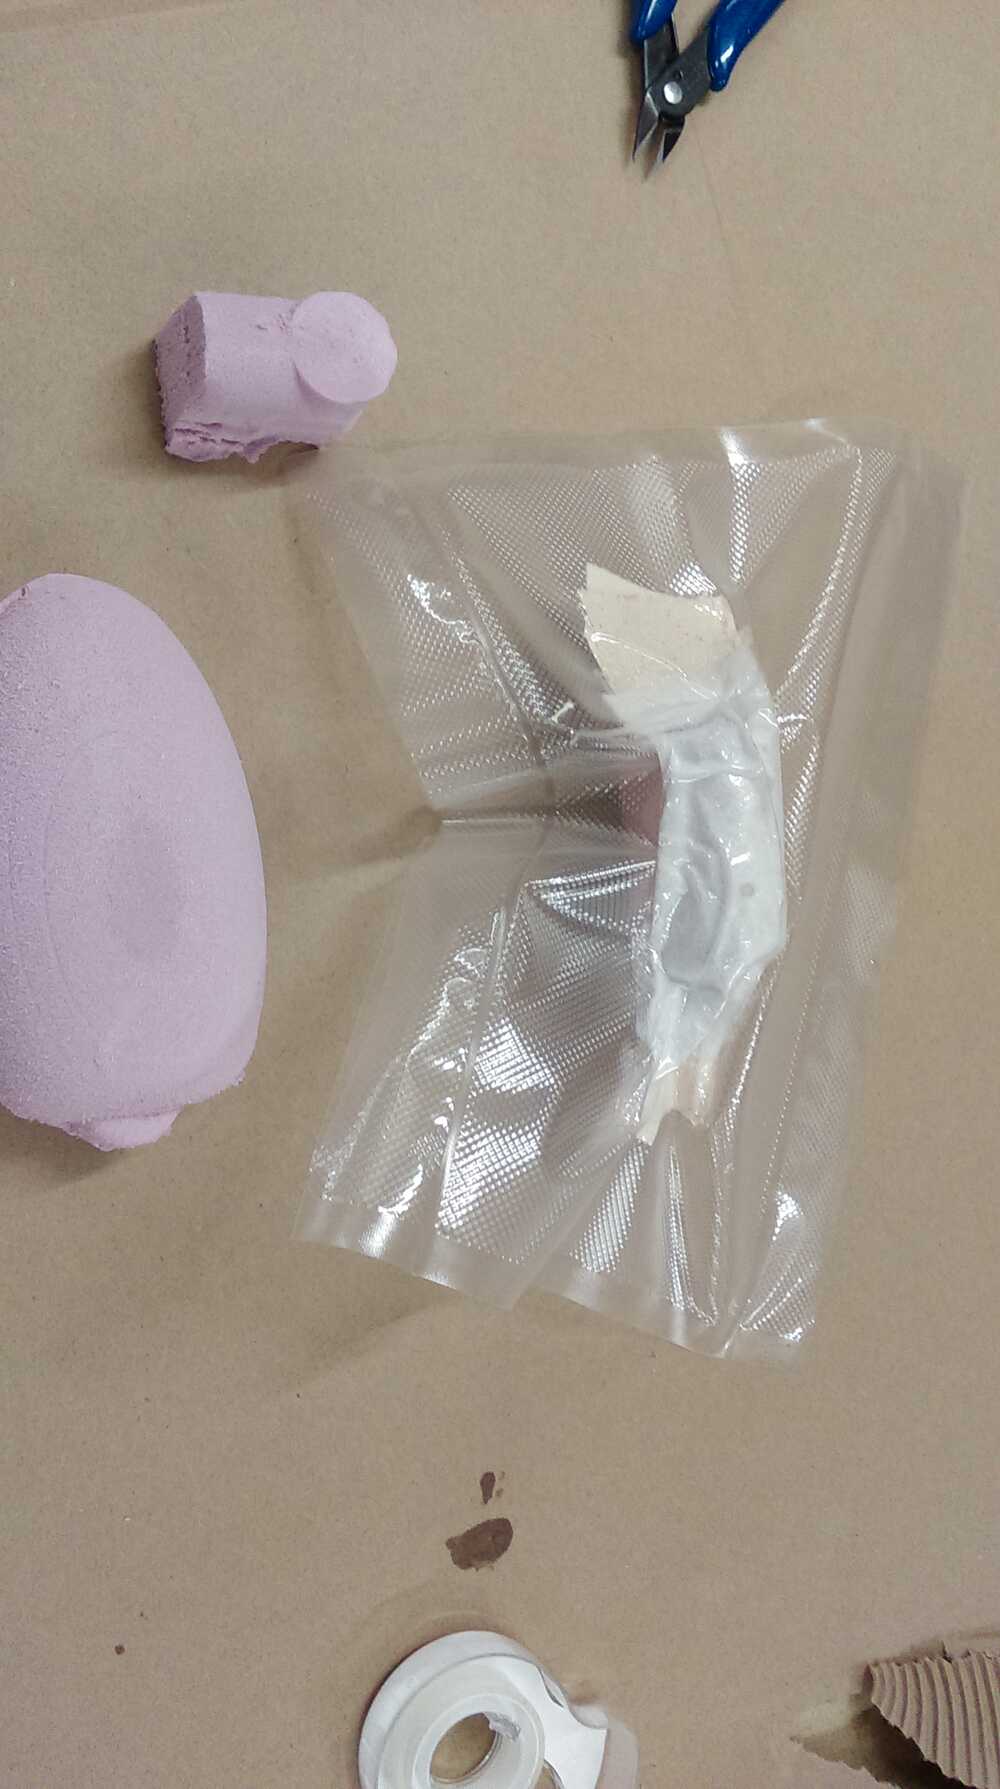
Due to the complex and deep shape of my part, I couldn't cut the mold out of one piece of foam. I could either stack several layers to make a single mold or try to be creative (this would turn out to be a mistake). I made the mold as separate components and started by molding the center segment. I left extra fabric on the ends in the hope of being able to interleave these with the other mold components later for a solid connection. Unfortunately, the excess epoxy soaked part of this extra fabric, forming it into a creased shape. Nevertheless, I went ahead and prepared the other parts of the mold, using a stick to hold them together in the correct orientation.
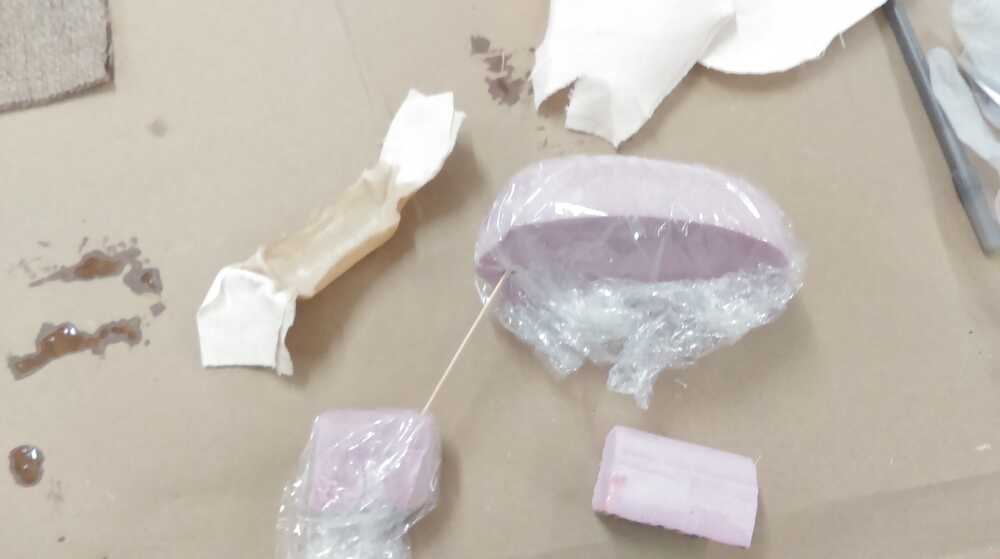
This did not work very well, as applying vacuum to the bag applied significant sideways force to my complex mold, shifting the orientation of the separate mold components.
In the end, I did get a shape vaguely resembling what I was aiming for.
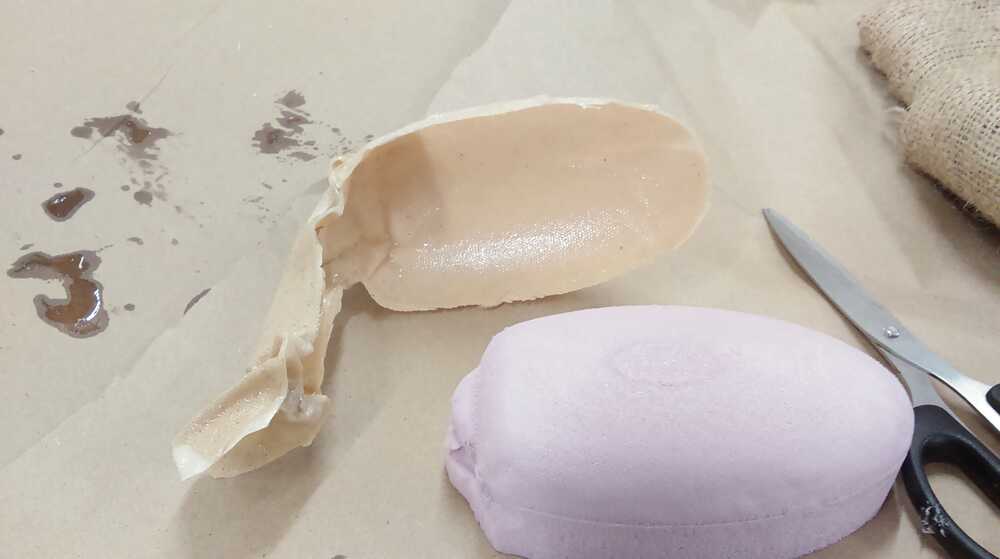
At this point, I realized that I had accidentally used 1:1 resin:hardener instead of 2:1, resulting in a flexible final product. In sum, I learned that I should use a 1-piece mold instead of trying to stick together separate mold pieces in a structurally unstable way. Also, I should be more careful in my epoxy mixing and not do it when I am stressed and in a rush. I am happy with what I learned, if not with the final result.