Week 6
Let's go home
Computer-Controlled Machining
The assignment for this week was to use computer-controlled machining to make "something big." Initially, I was deciding whether to build something functional (like a chair or shelf) or something more artistic (like a sculpture). I settled on the sculpture.
I also wanted to try out the Kyub software which our class was invited to test out, so I hopped onto kyub.com and started messing around. The program works mainly through additive and subtractive construction with boxels, little 3-dimensional cubes of size 2.5cm, 5cm, or 10cm. There are also some non-rectangular shapes that you can use, like pyramids and tetrahedrons. And the best part about Kyub is that it automatically creates svg files of the cuts you would need to make to assemble your creation, finger-joints and all!
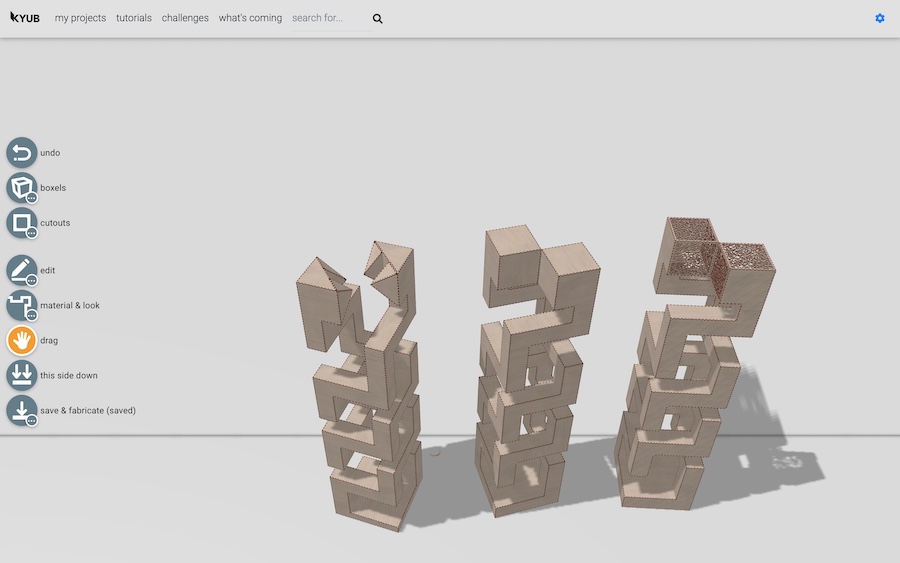
I started designing a 3D sculpture with a base and two bodies that started to wrap around each other, while growing higher and higher.

For the top of the sculpture, I experimented with snake-like heads, two rectangular prisms to represent faces kissing, and the kissing faces, but engraved with a voronoi cutout.
For some reason though, Kyub had a hard time exporting my creations. Probably becuase the software is still being developed. No biggie.

So, I got rid of the other two sculptures and just tried to export the twirling snakes.

and...
NO LUCK!
After all that work designing something complex, I decided I should just take it back to the basic and test something simple on Kyub. I set up a new project and made a single boxel on wood of thickness 11.5mm and exported it for a machine that would have 0 kerf. Could I even computer-control machine this and assemble a mere cube?

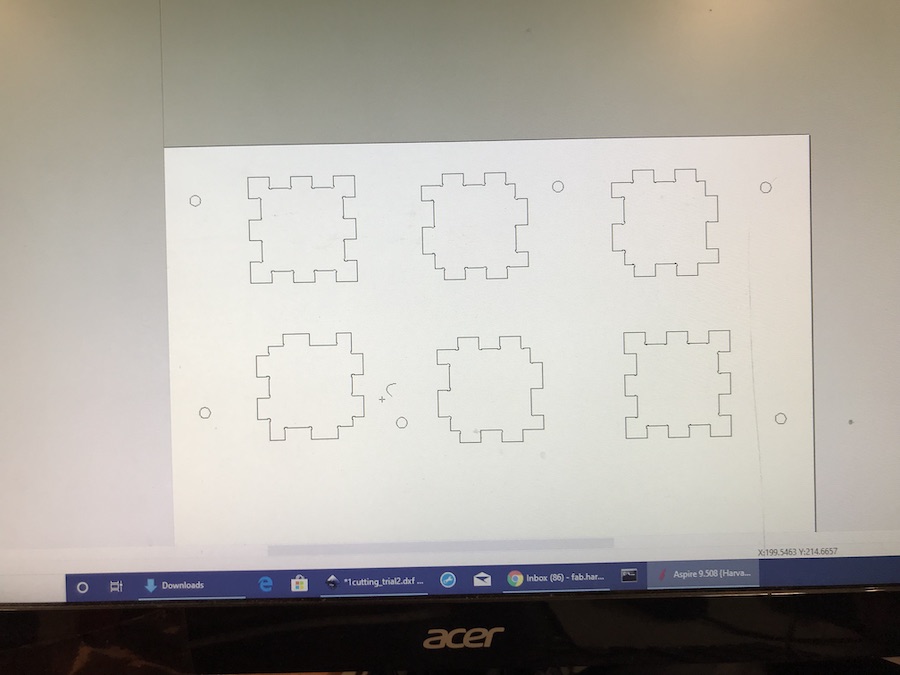
The export worked well! Only thing was that the svg layed out the pieces a bit close together.

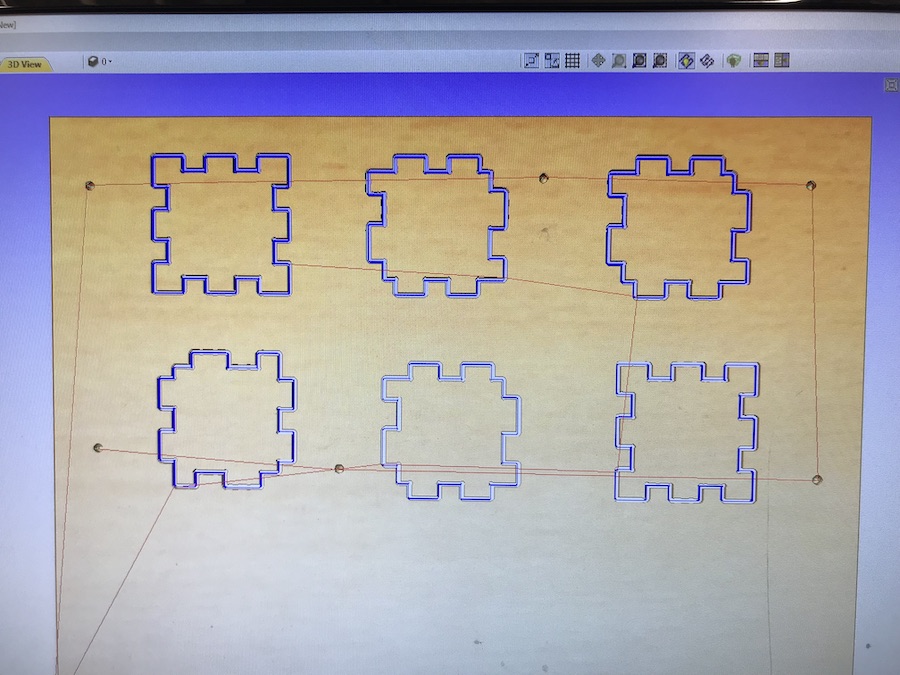
I brought the SVG into Aspire and rearranged the pieces so they were more spread out. I added 6 circles to drill out too. I added dog-bone fillets to the corners of the pieces so that all of the inner corners would get cut correctly. And lastly, I added tabs to the pieces so that they wouldn't fly out of the board while they were being cut.
I calculated the toolpaths for the cube, and saved them as .sbp files.
I went off to the shopbot and cut away! The endmill had a diameter of .125". I first ran the drill bit path. Then, I drilled in some screws to hold down the wood. Then, I ran the profile path which carved out the shapes of the pieces.
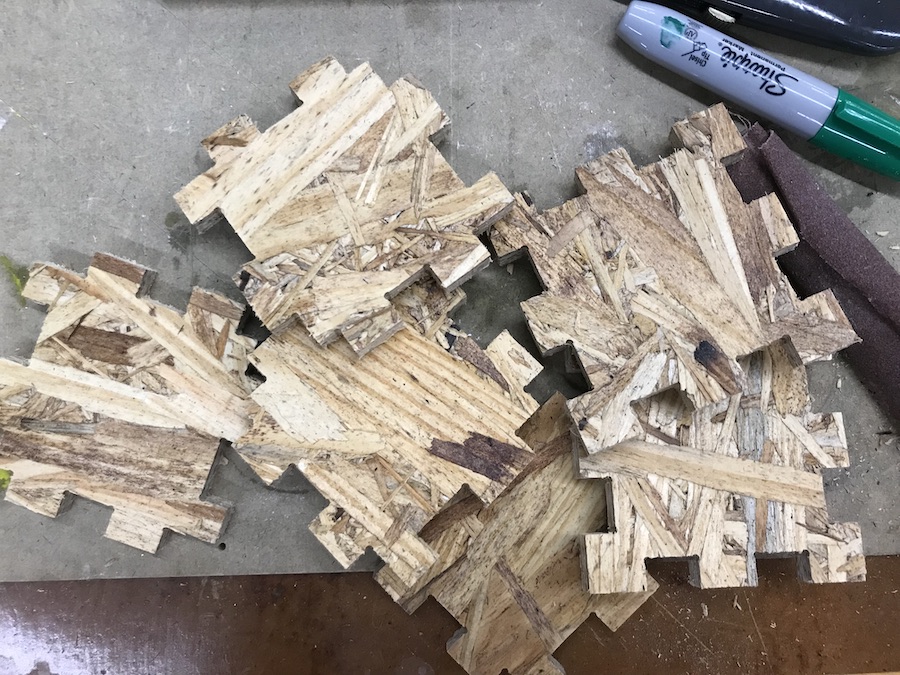
Here are the pieces, all roughed up!
Here they are nice and clean after I sanded down their edges.
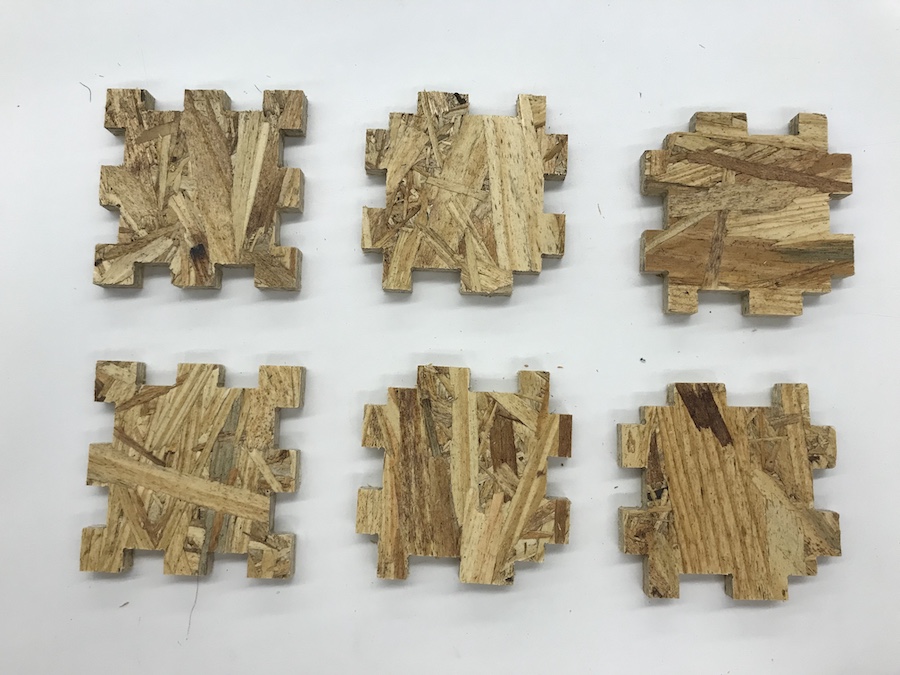
The only problem now was that the pieces didn't fit! They were just too damn tight. I knew that it would be possible to play with the offset for the cut in order for the finger-joints to fit snugly. However, after sinking in many hours designing my original sculpture, failing to get it to export despite changing it in multiple ways, and now spending about 1.5 hours getting this simple cube to not work out either, I felt like Kyub was not the way to go.
I also have a big edit due for my non-fiction film class this Thursday. Because of this and many other reasons, I finally decided I was going to put a cap on the amount of work I was going to put into this week's assignment. If you're not careful, this class can just eat up your precious life and time because there is always something more interesting and more complex you can make for each assignment. The possibilities are endless. Unfortunately, the amount of time in a week, let alone in your life, isn't endless. So, I called it. I just decided to make something big, which is what the assignment asked for anyway. But literally... something big.
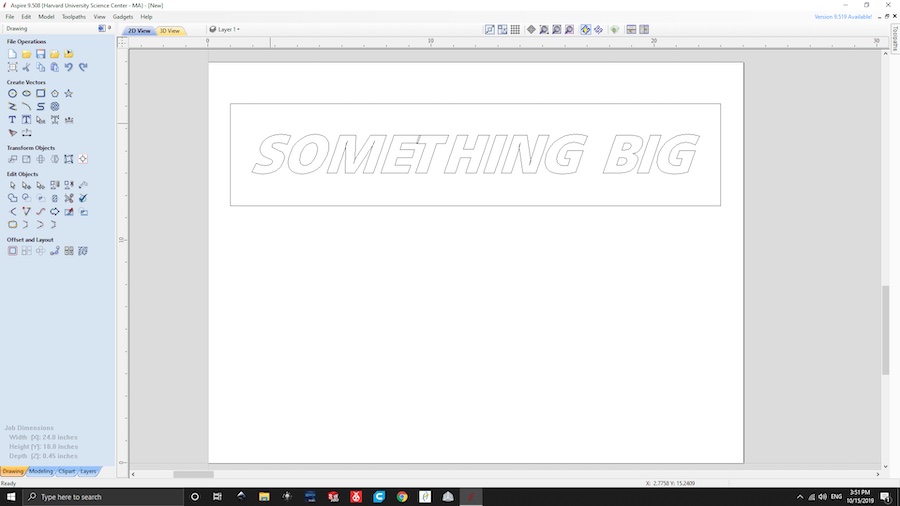
I designed SOMETHING BIG in Aspire.
Generated the toolpaths.
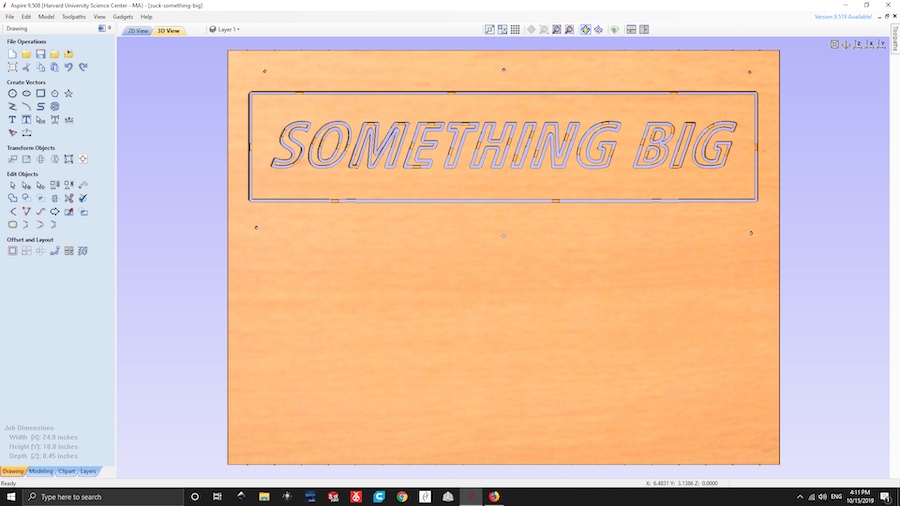
Cut it on the shopbot.
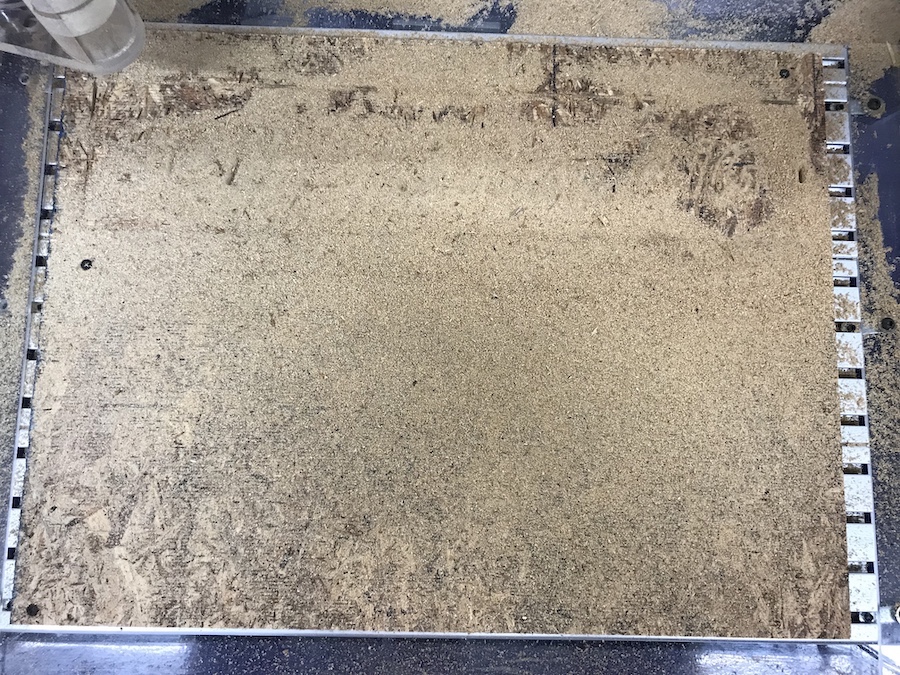
Vacuumed up all the wooden shavings.
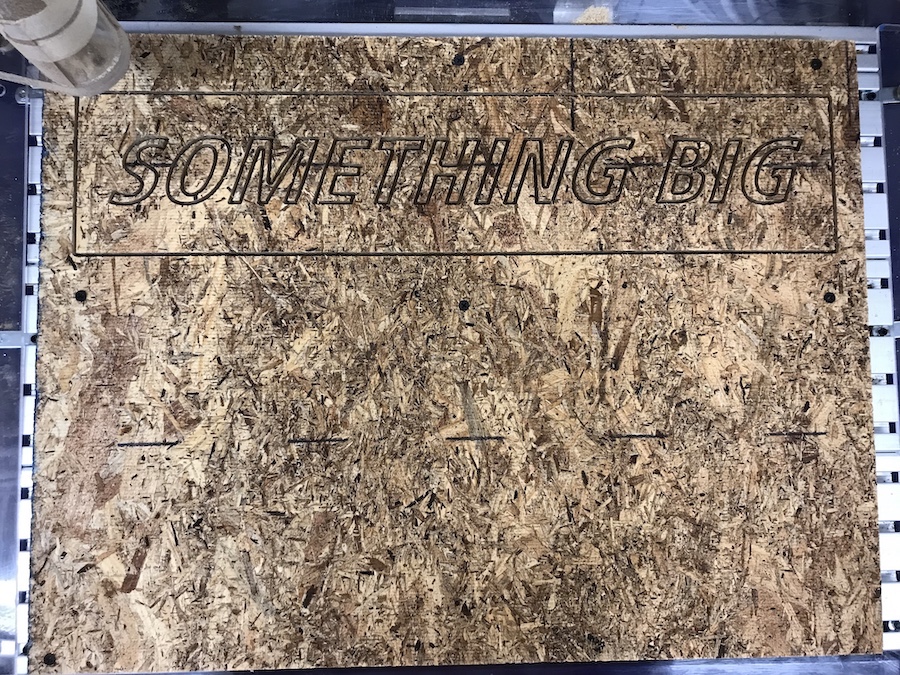
And got myself a nice big ol' something. Or rather, SOMETHING BIG.
