Introduction:
This week we had to make something using a new process or machine.
Workflow
Plan: Try out some embroidery!
Design
I wanted to experiment with fabrics ever since I heard about conductive thread. Funny story, the first time I encountered embroidery, I called it a CNC machine for sewing. So I wanted to take this week to experiment with making something functional with textiles.

This is my startups's logo. Recently, we were talking about making polo style shirts with the logo, so I figured that would be a good place to start. I'm not sure how I'll incorporate a circuit, but I'll figure it out as I go.
Victoria helped me a ton by showing me this tutorial on using Design Studio. From there, it was fairly straight forward.

This was what the design looked like right before sending it off. I had to add in a line to define the regions, and I set colors for each region manually. I also had to define the size, which I eyeballed, and the stitch direction, which I kept as default.
Embroidering
The machine we have is the Brother SE600. The workflow was well documented in their user manual, and I used that extensively. I decided to start with a scrap piece of fabric to work out any kinks, and understand the machine better. I used an iron-on stabilizer, and put it all in the embroidery frame.

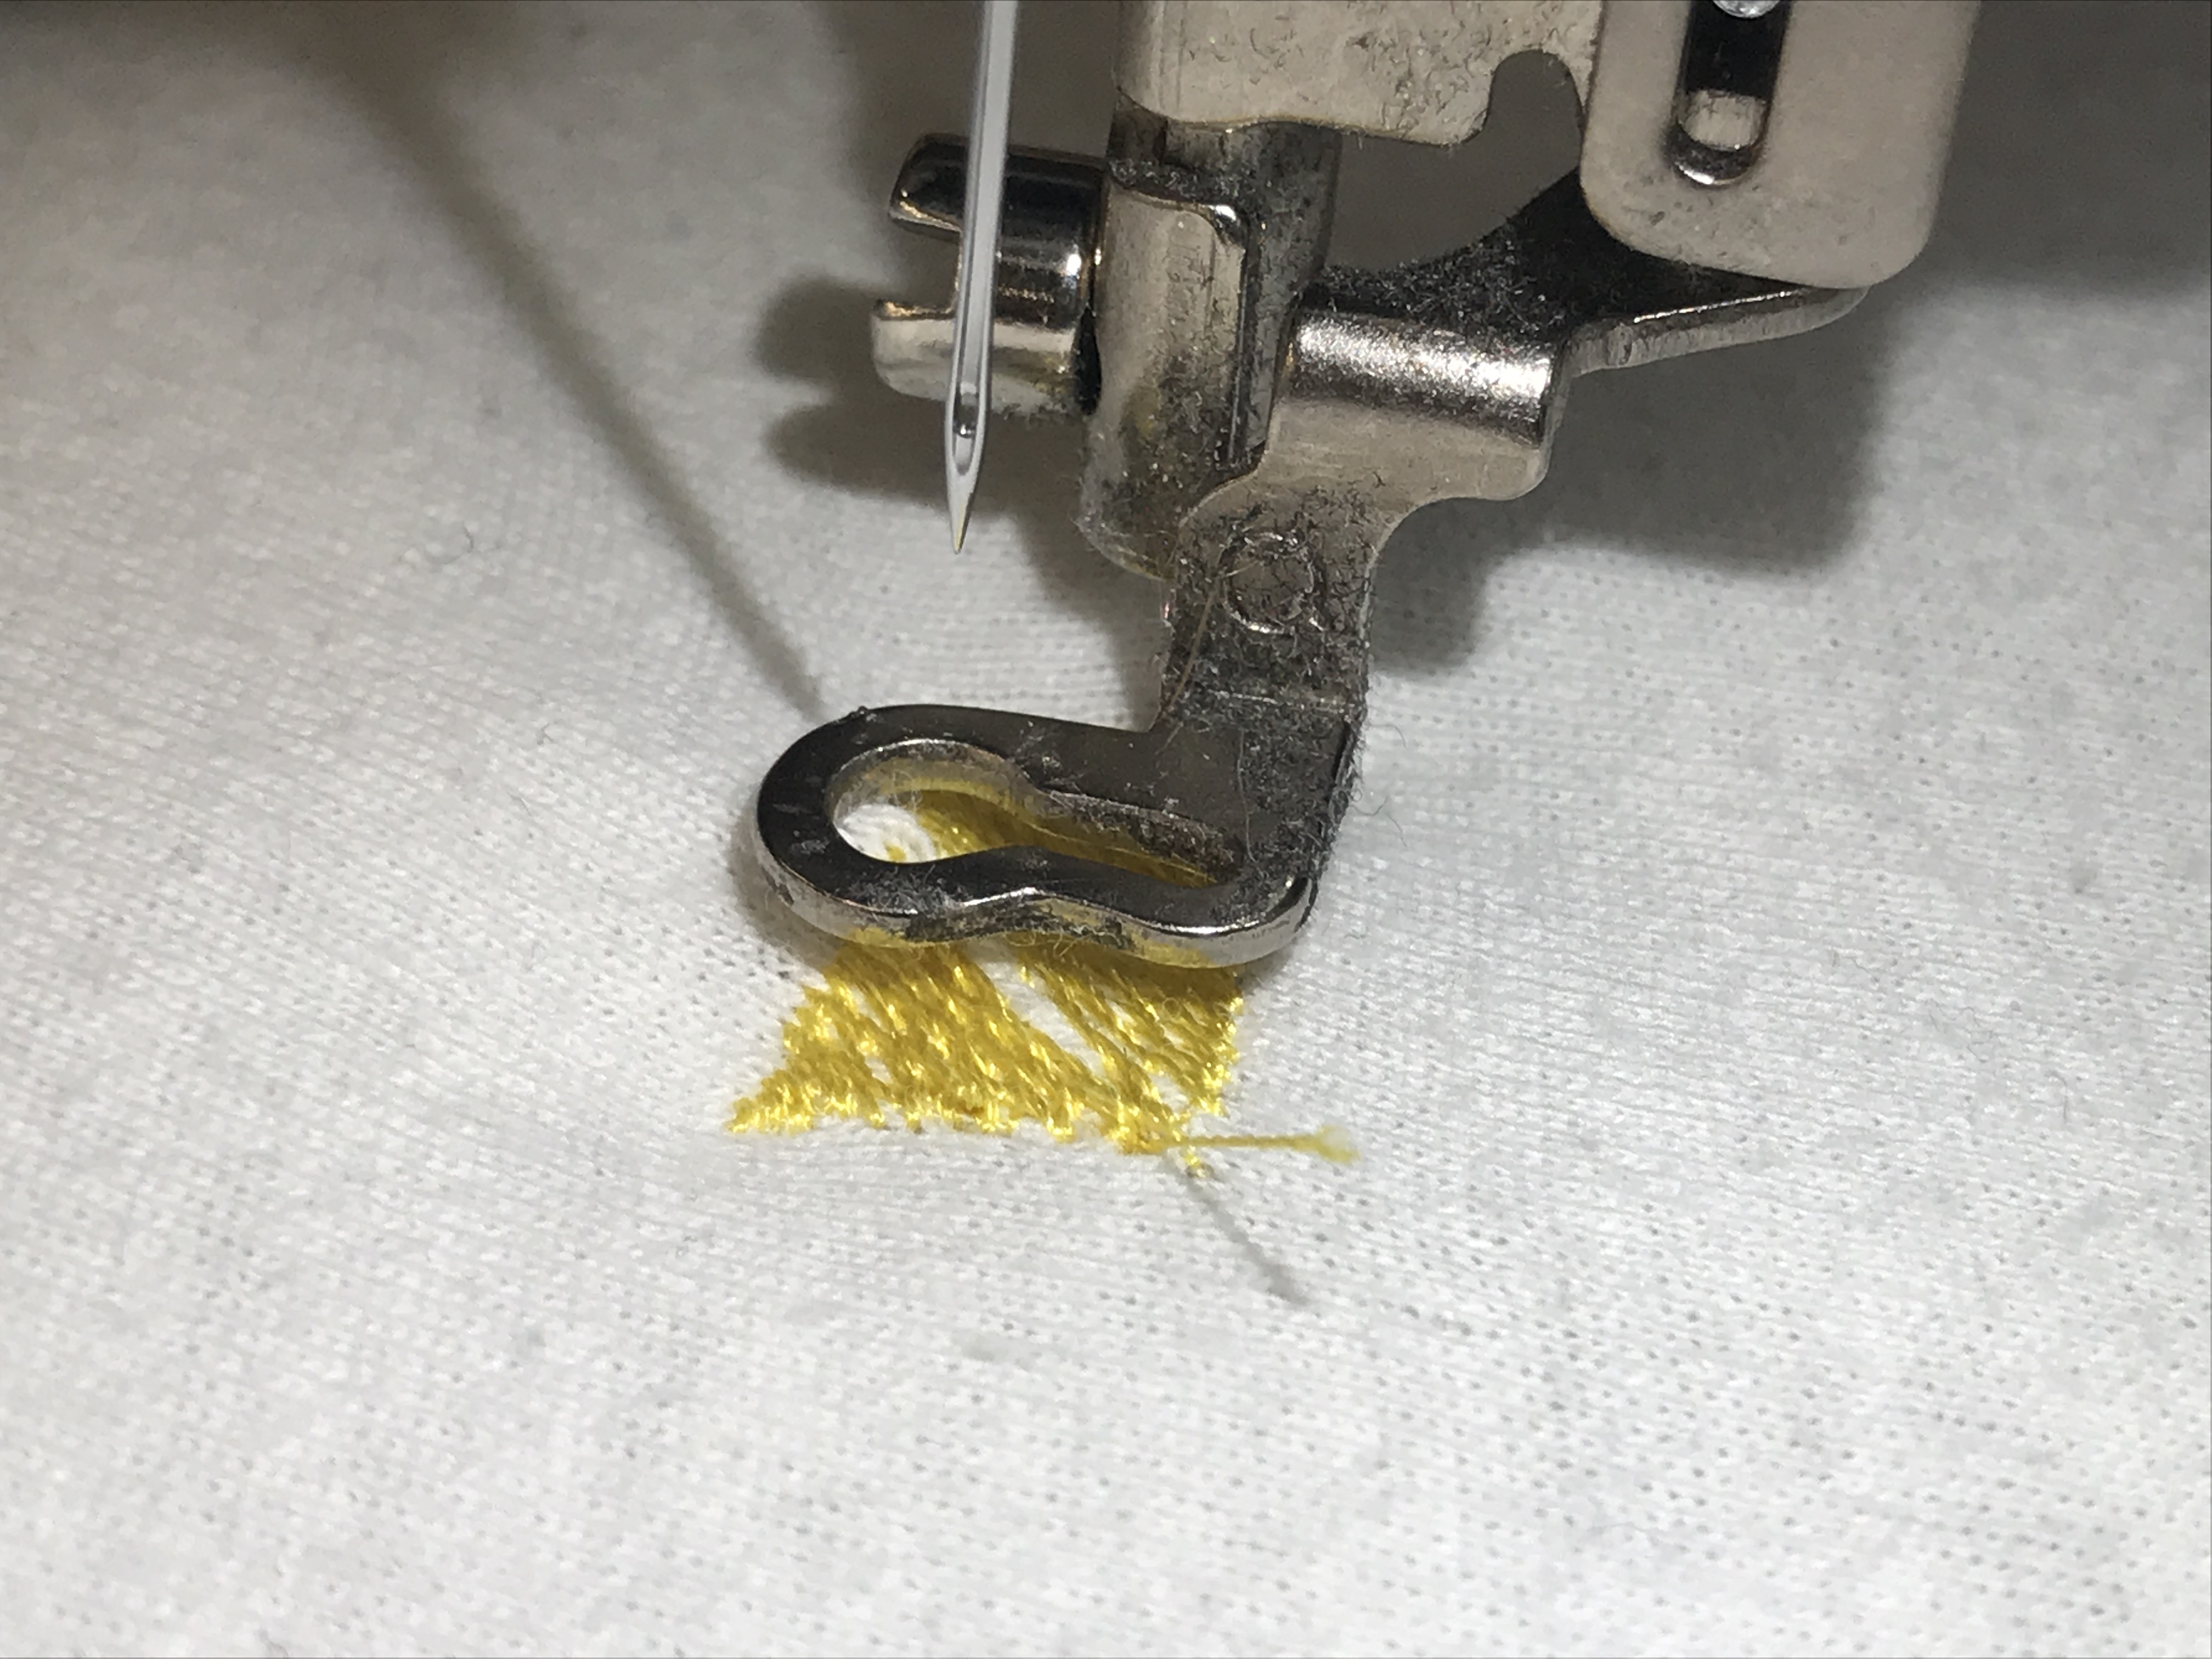
This is the machine at work. It goes surprisingly fast! I neglected to cut off the excess thread after 5 stitches, as recommended, but it looks like I can cut it off later.

The final product on the scrap fabric! All together, it took about 4 minutes, which was surprisingly fast. I noticed that the edges weren't really very close to eachother. I'm not sure if I missed a setting or if my lines to define the regions have some width. I'll ask Victoria next time I see her.
Shirt
Now I decided to get this stitch on a shirt. The first hurdle was figuring out how to get the shirt on the machine. Obviously I needed to get the front layer of the shirt on the machine, and the back layer elsewhere. The best way I could do it was to have the base of the machine "wear" the shirt, and rotating my design 90 degrees. I didn't get a picture of this unfortunately, but it looked silly. I also ended up stretching my shirt a bit to fit it around. Soon enough, I began sewing!
Note the gap in the above picture. Because the shirt was stretched unevenly, the embroidery design also got distorted, and the middle, where the design should meet, had a gap in between.

One thing I wanted to note was how impressed I was with the fact that the machine could automatically detect if the thread was missing. I'm really curious as to what the mechanism that lets this happen - I'm guessing some sort of tension sensor between the needle and the thread holder?

The final product. The distortion did make this slightly less pretty, and when I looked closely, I saw that the way I mounted the shirt had created a small rip. That also affected the pattern generation here.
Once I figure out the proper way to mount a shirt on the machine, I'll try this again.
Circuitry
I decided to have a simple button based light up circuit, using the conductive thread.

We had a bit of thread left, so I had to be careful with it.
My design was to use the gaps in the logo to add the conductive thread as a design, and wire it up in the back. It's a very simple button - battery - LED circuit.

I liked the aesthetic provided by the darker thread.

After routing the thread around the back, and glueing all the components to the thread, this is what it looked like. A little messy, but I ensured the two separate rails were far apart, so there was no chance of a short.

The final product! Here it is with the button not pressed...

And here it is with the LED on!

One thing to note was that I couldn't find a good adhesive for this material. Granted, the point should be that all components be ingrained in the fabric, but I tried to solder the ends of the LED to the thread, and couldn't. I had to opt for hot glue, which was not ideal, and could easily become dislodged.